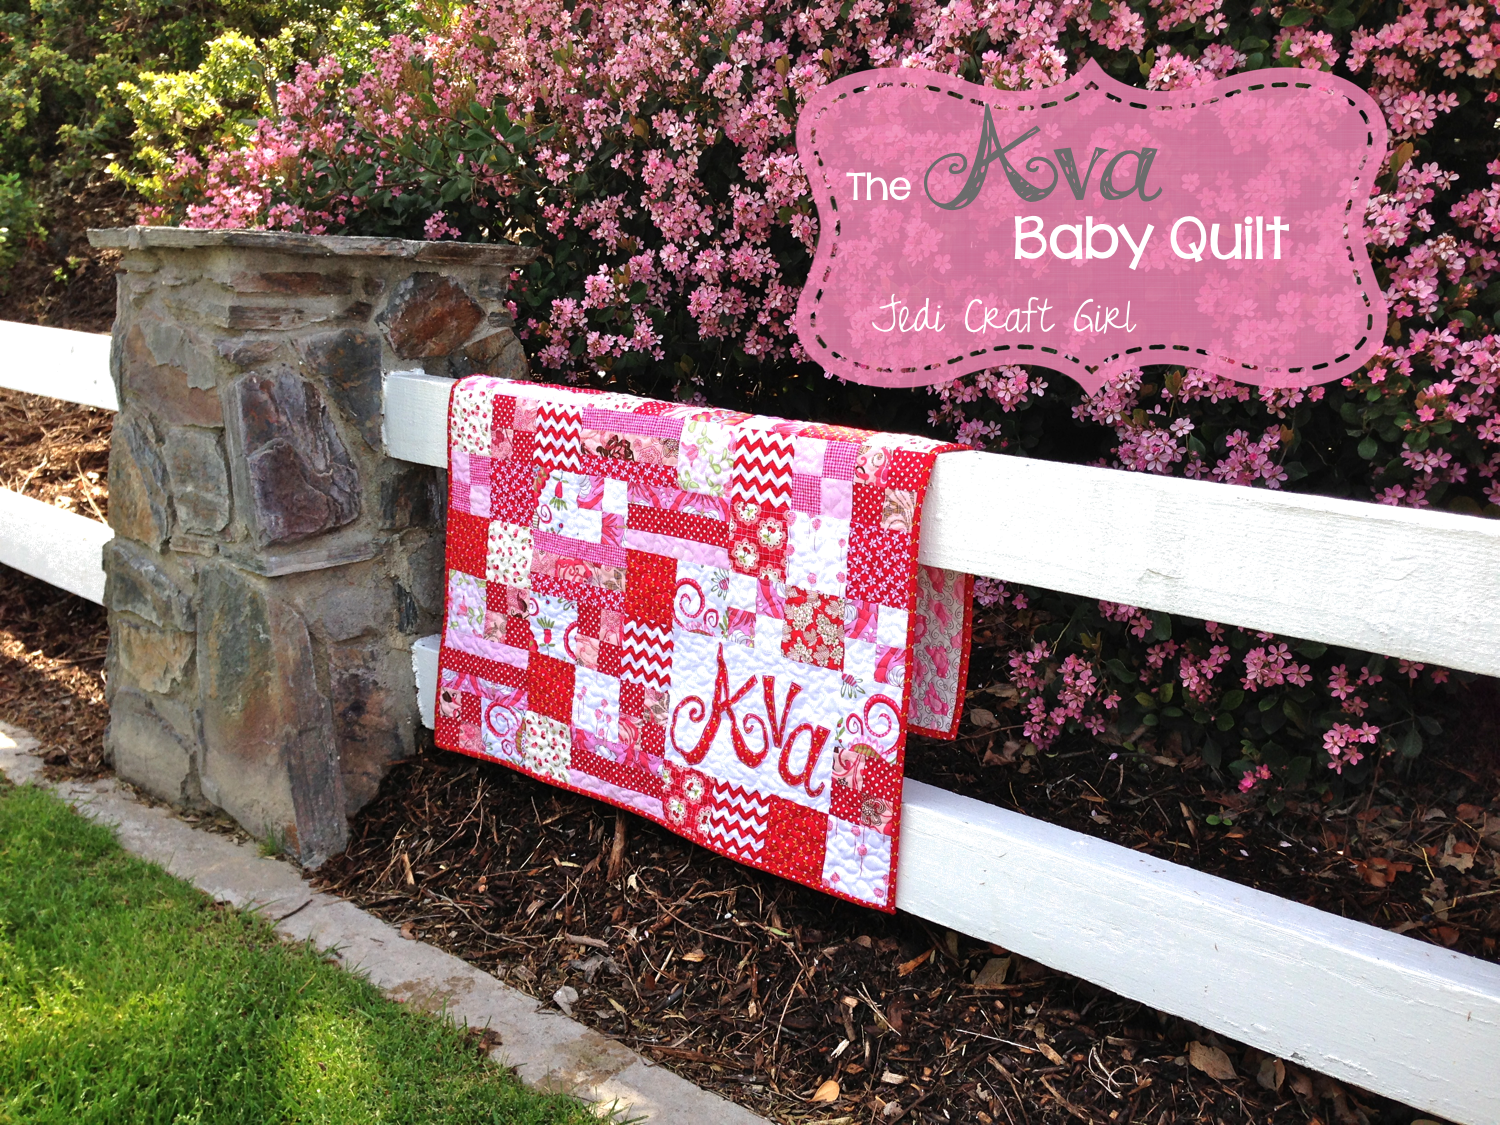
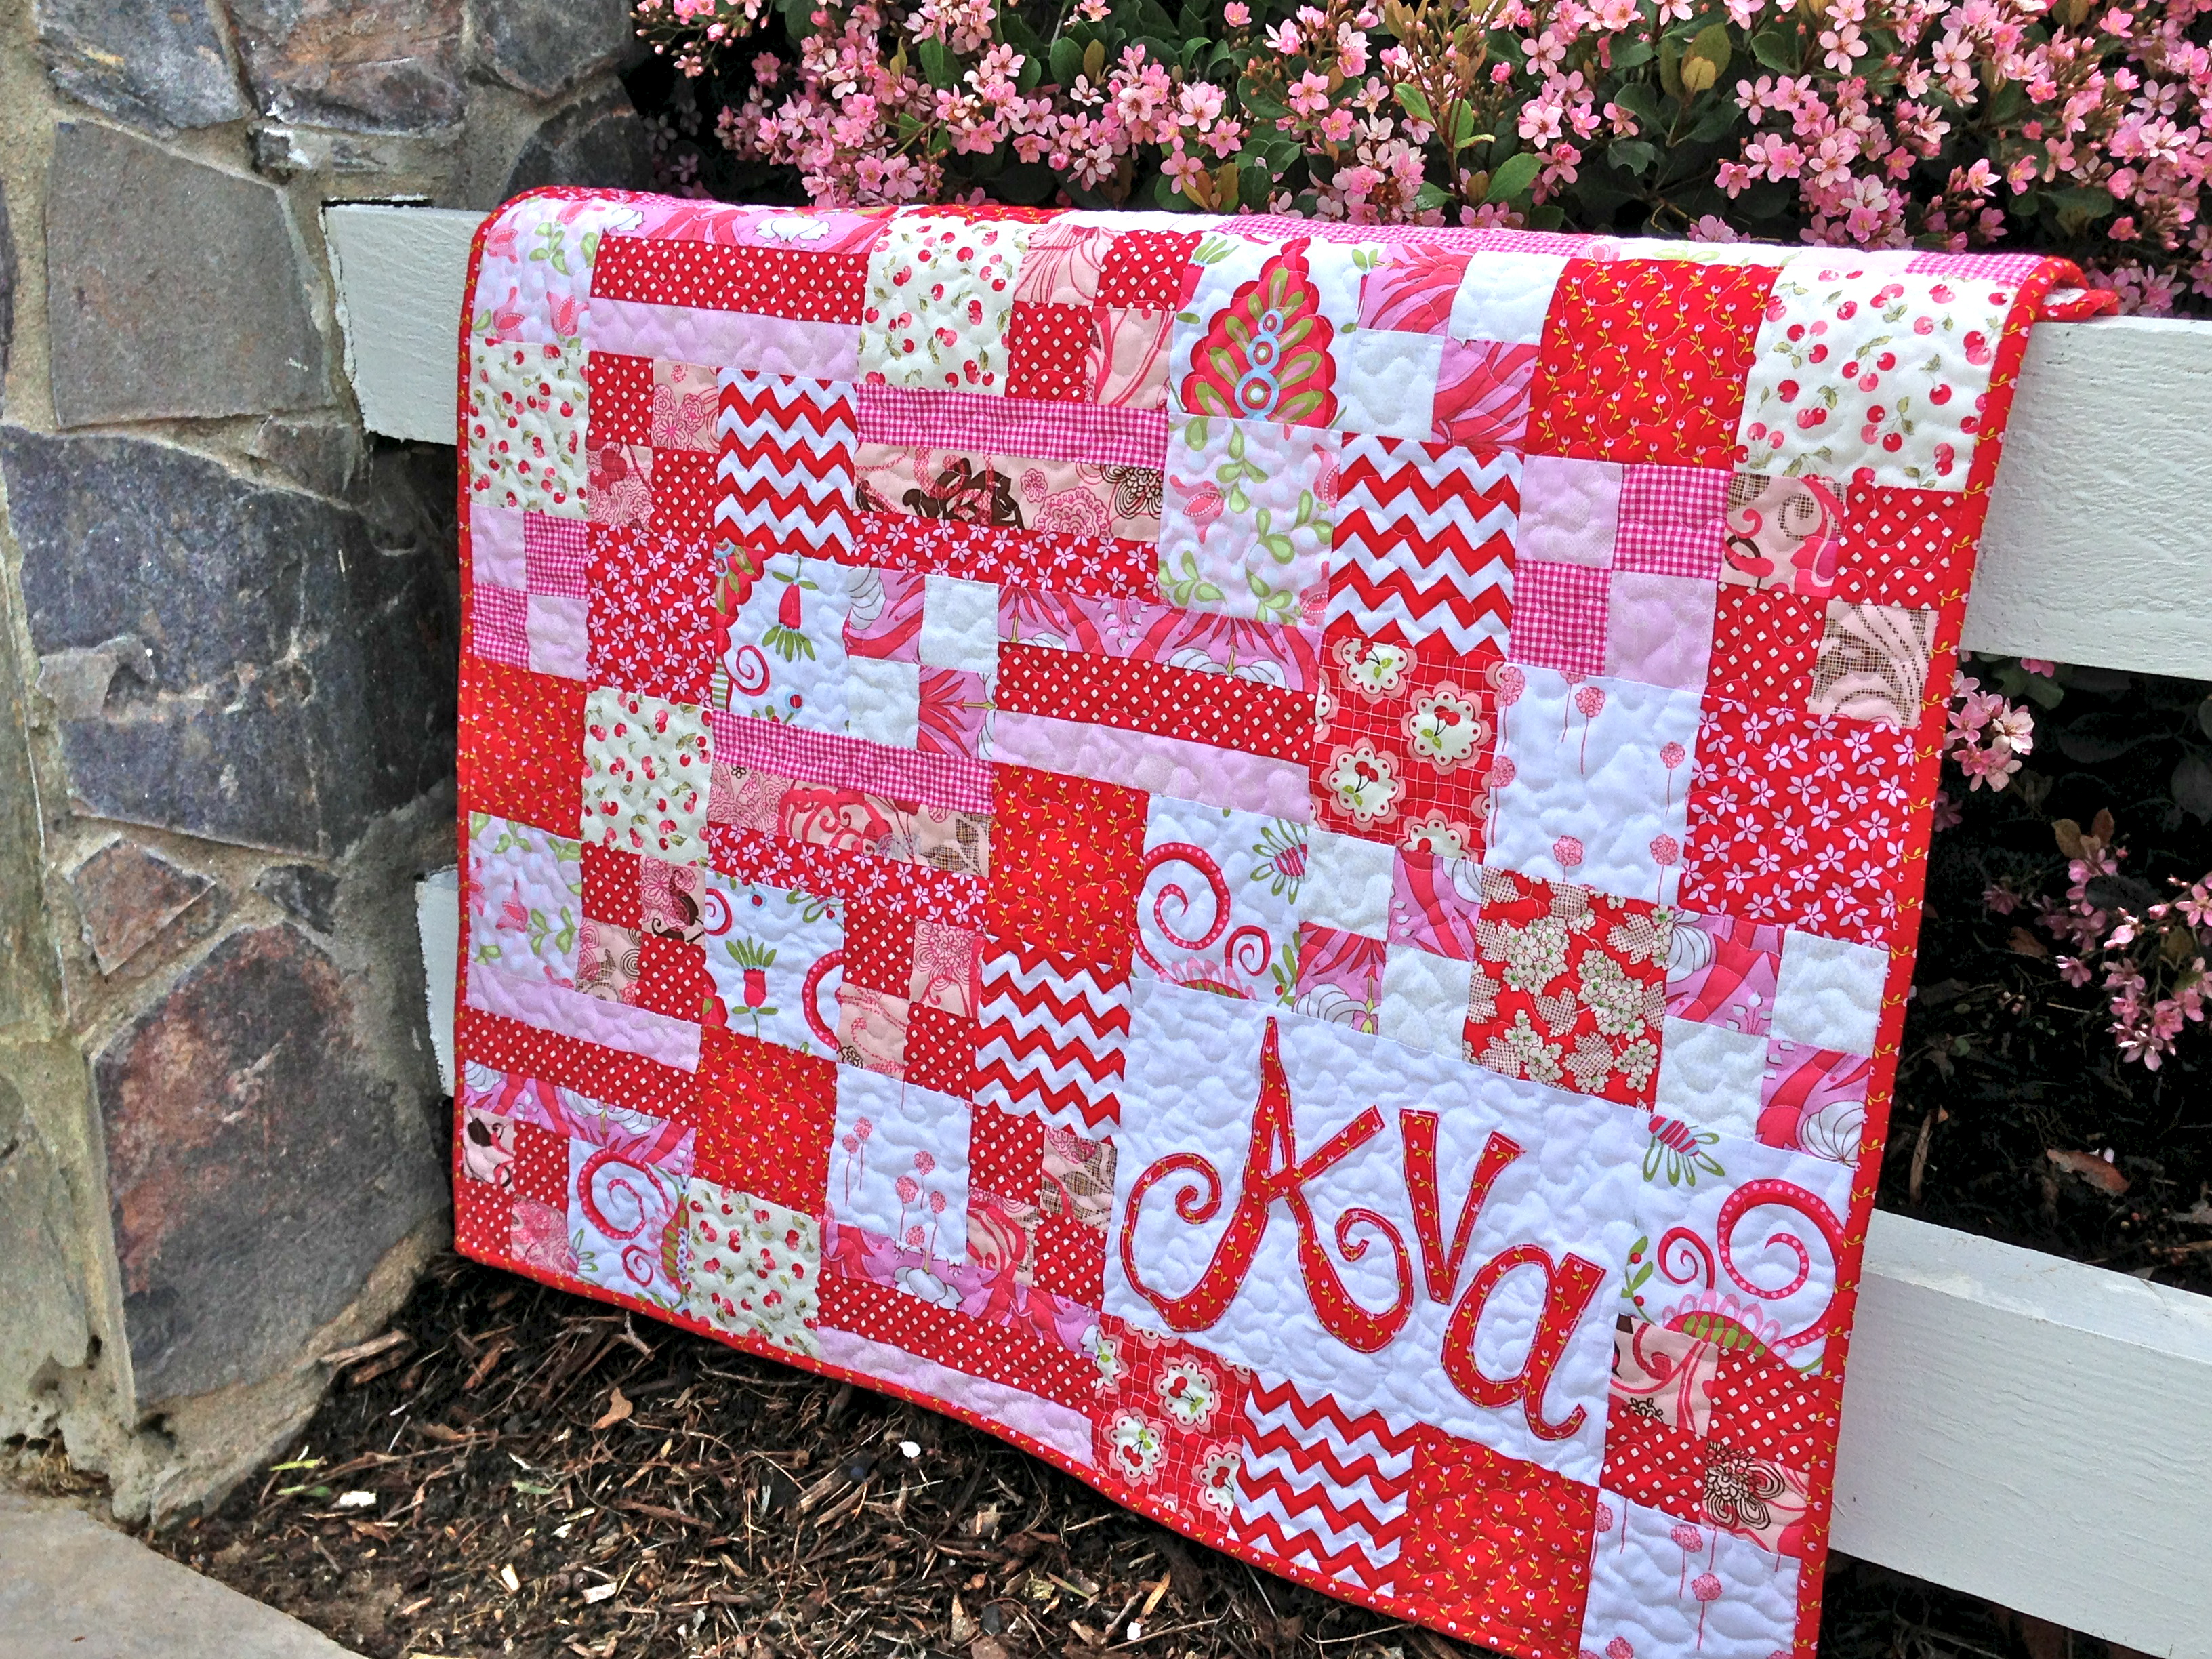
I love to personalize baby quilts when I give them as gifts. I came up with this quilt for a friend who is expecting a baby girl named Ava. I choose the colors based on the nursery colors of Red and Pink. This is a fun, fast quilt to make! and you can create your own pattern based on 3 types of blocks!
All seams are 1/4″
Supplies:
An assortment of coordinating fabrics. I used about 12 different fabrics. I think the more the better for this project. Go ahead, get scrappy!
HeatnBond® Feather Lite
SpraynBond® Basting
Cotton batting
Cutting Instructions: There are 3 components to this quilt: 4 1/2″ square, 4 patch, and a strip set of 3
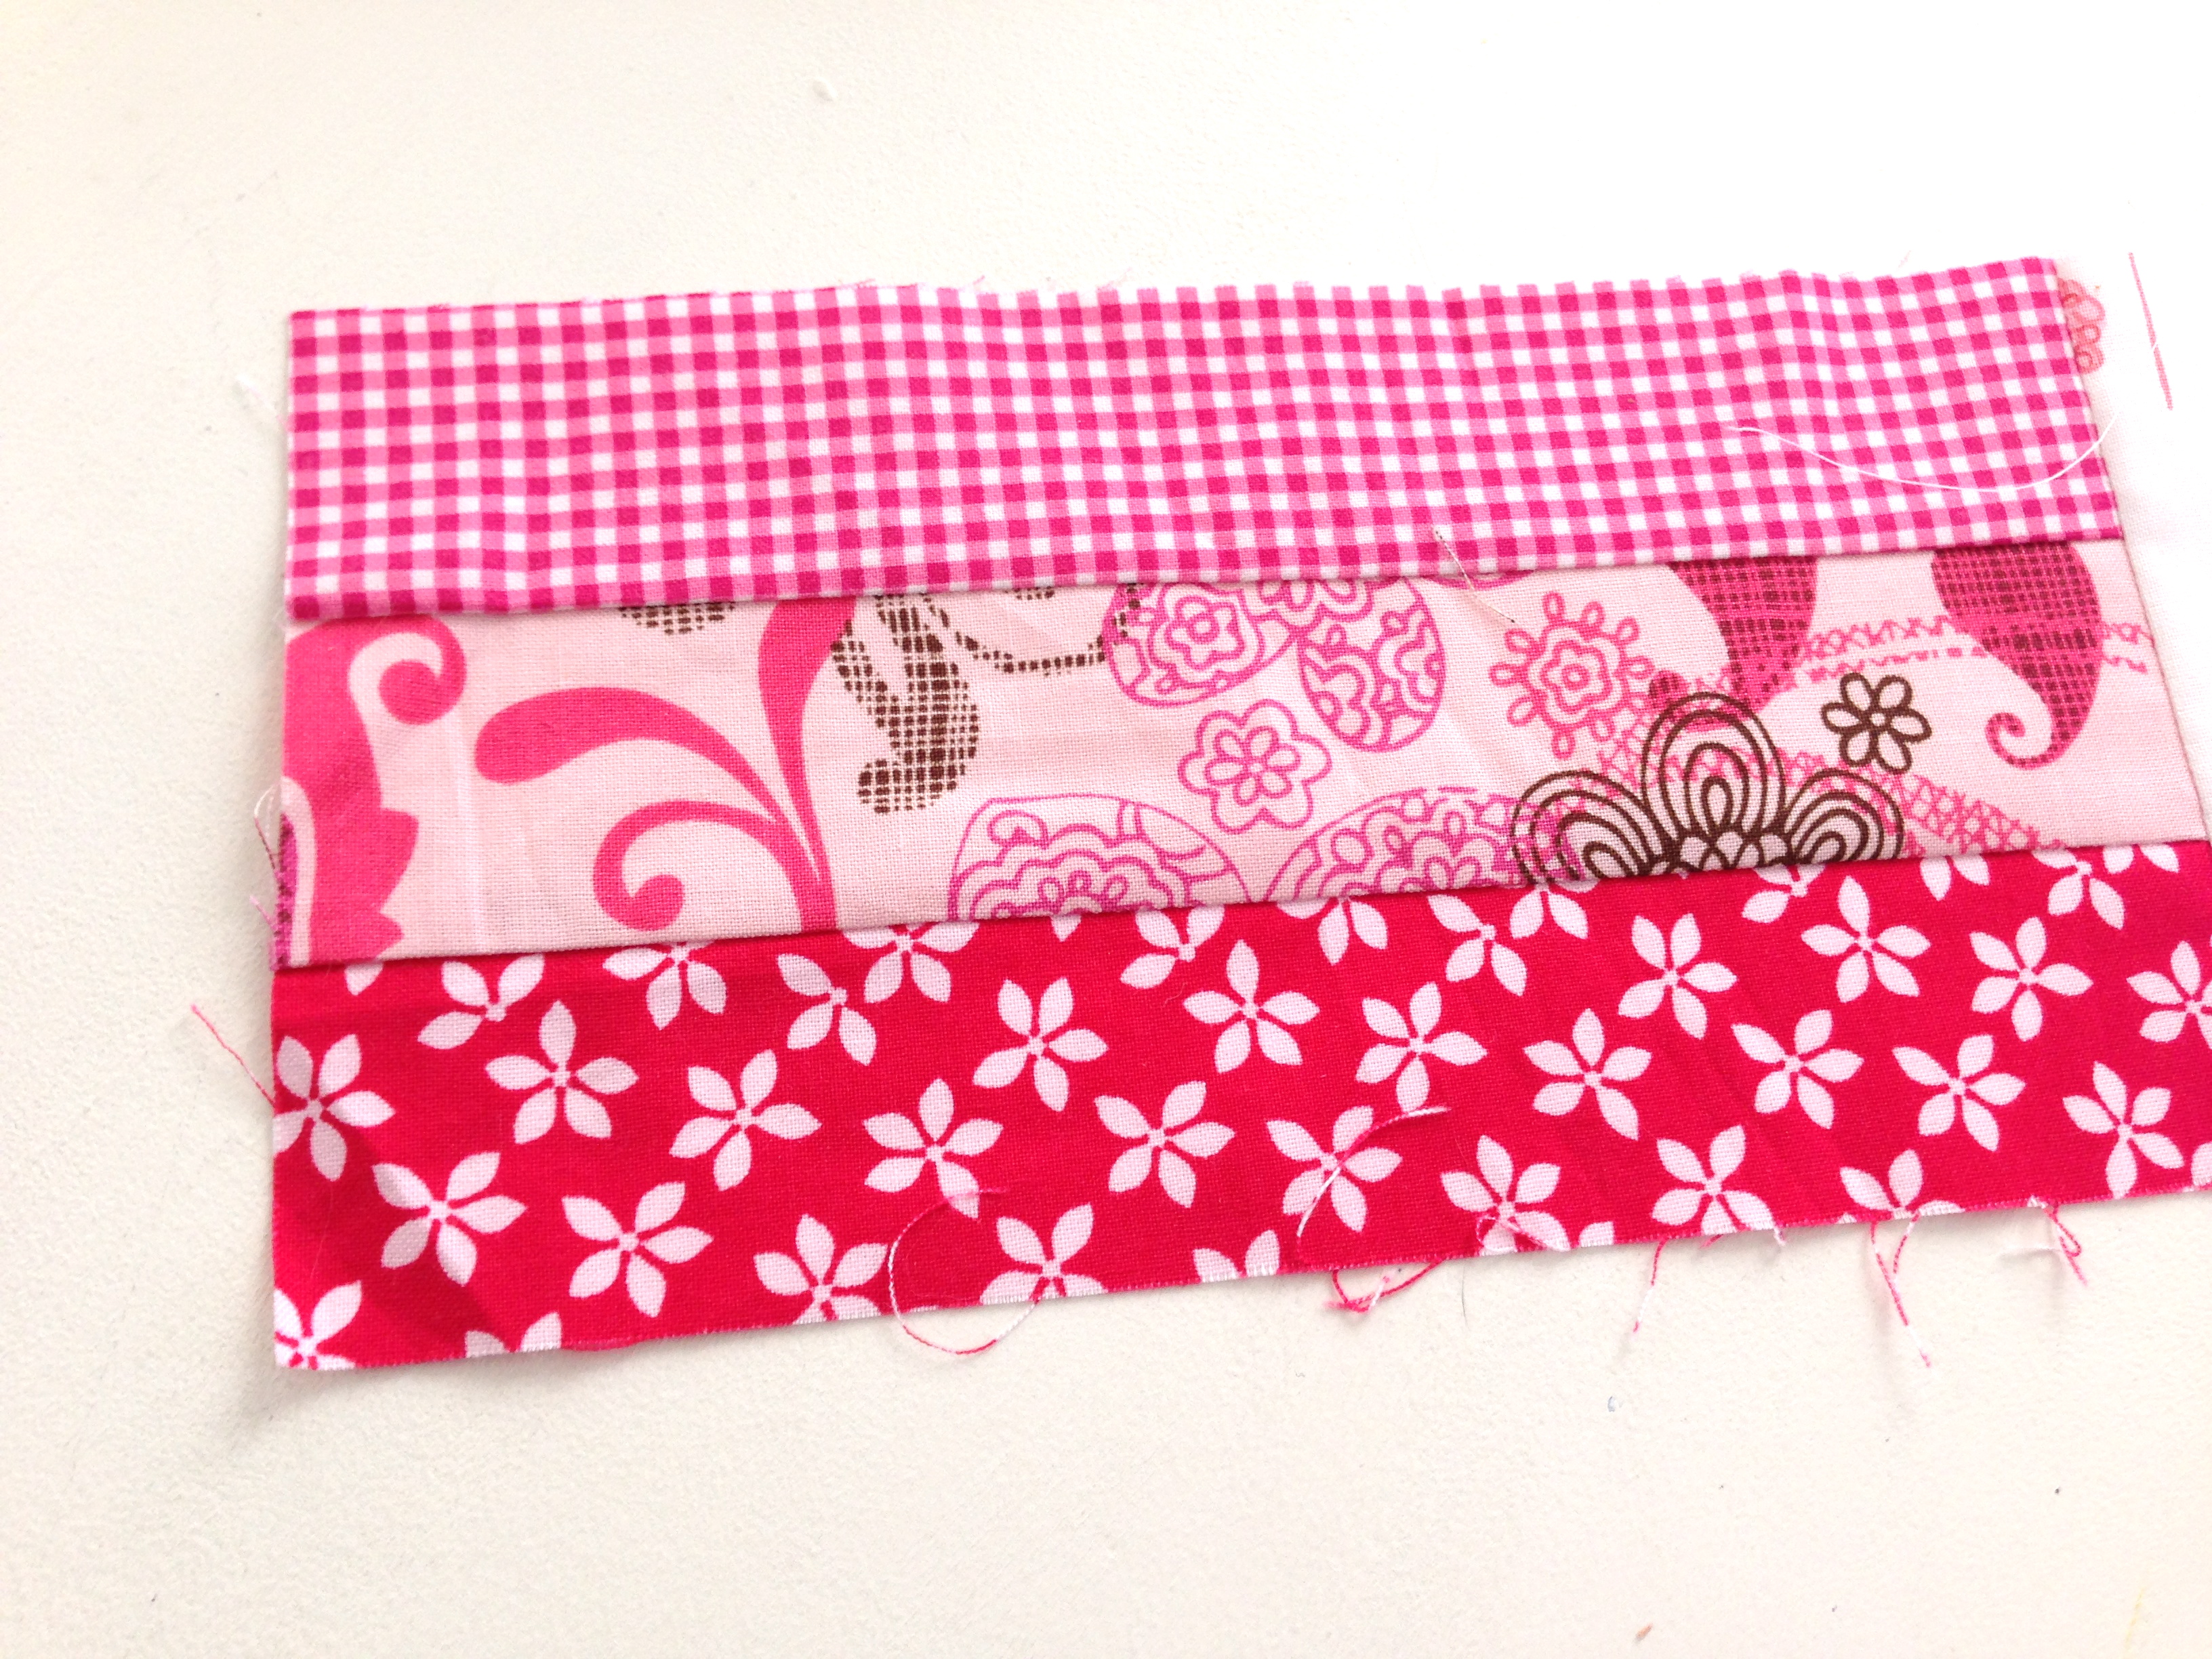
STRIP SET measures 4 1/2″ x 8 1/2″
Cut 2 strips 1″3/4″
Cut 1 strip 2″ (this will be the center of the strip)
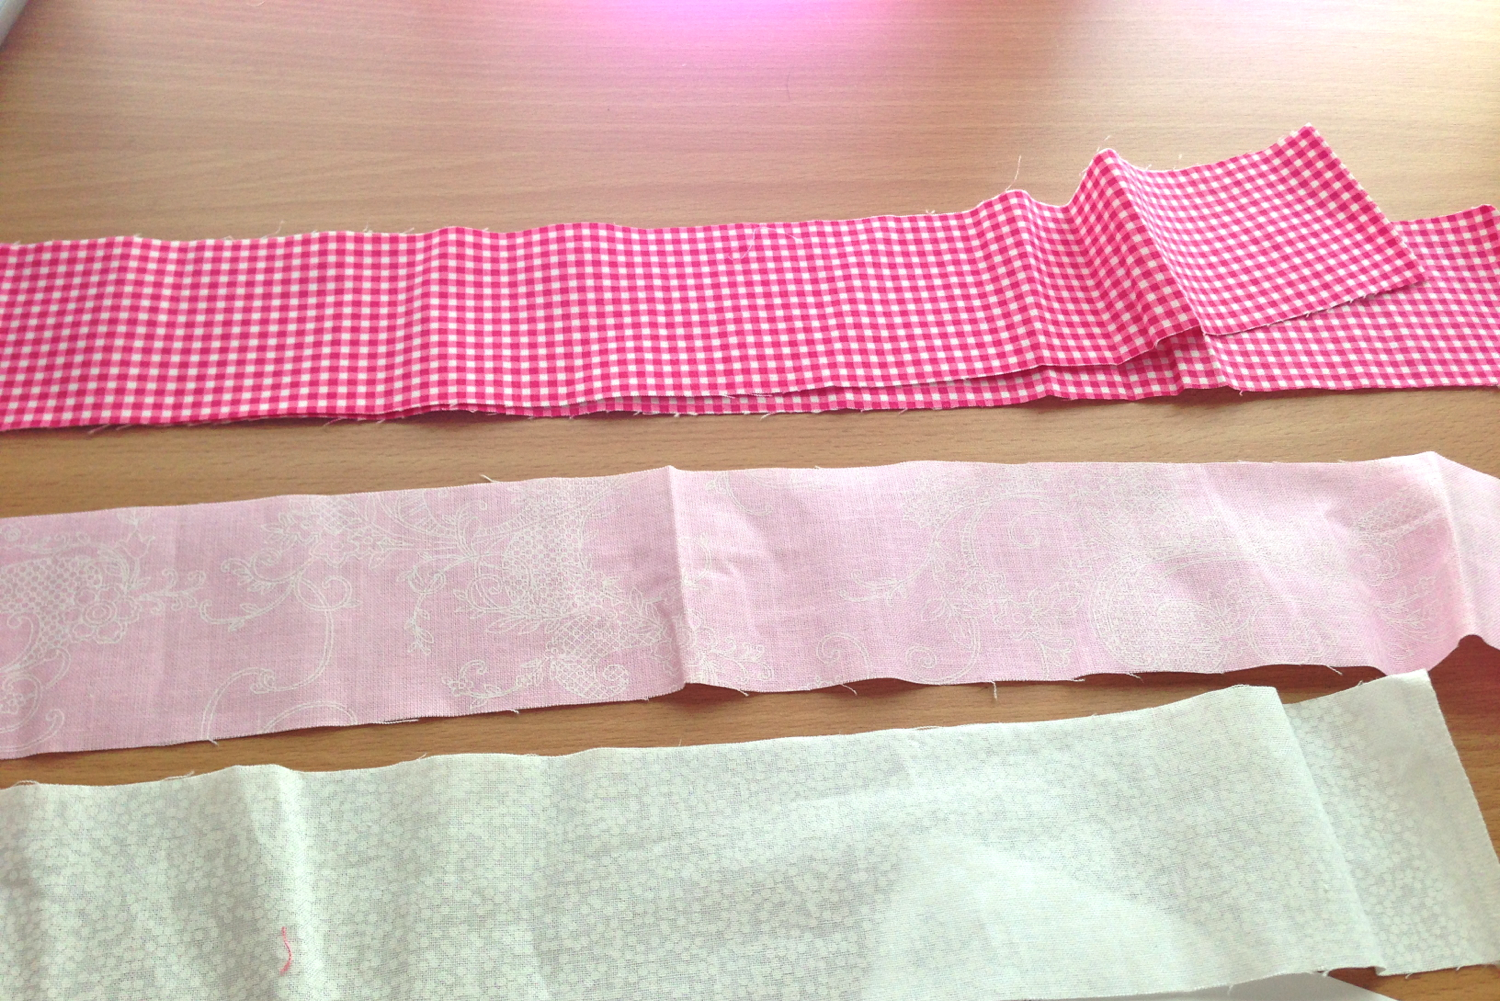
Piece the strips together WOF so the 2″ strip is in the center. Press seems and cut in 8 1/2″ segments. You will need 10 of these. I made 2 different versions. Depending on the width of your fabric, you can get 4 or 5 strip sets out of a WOF.
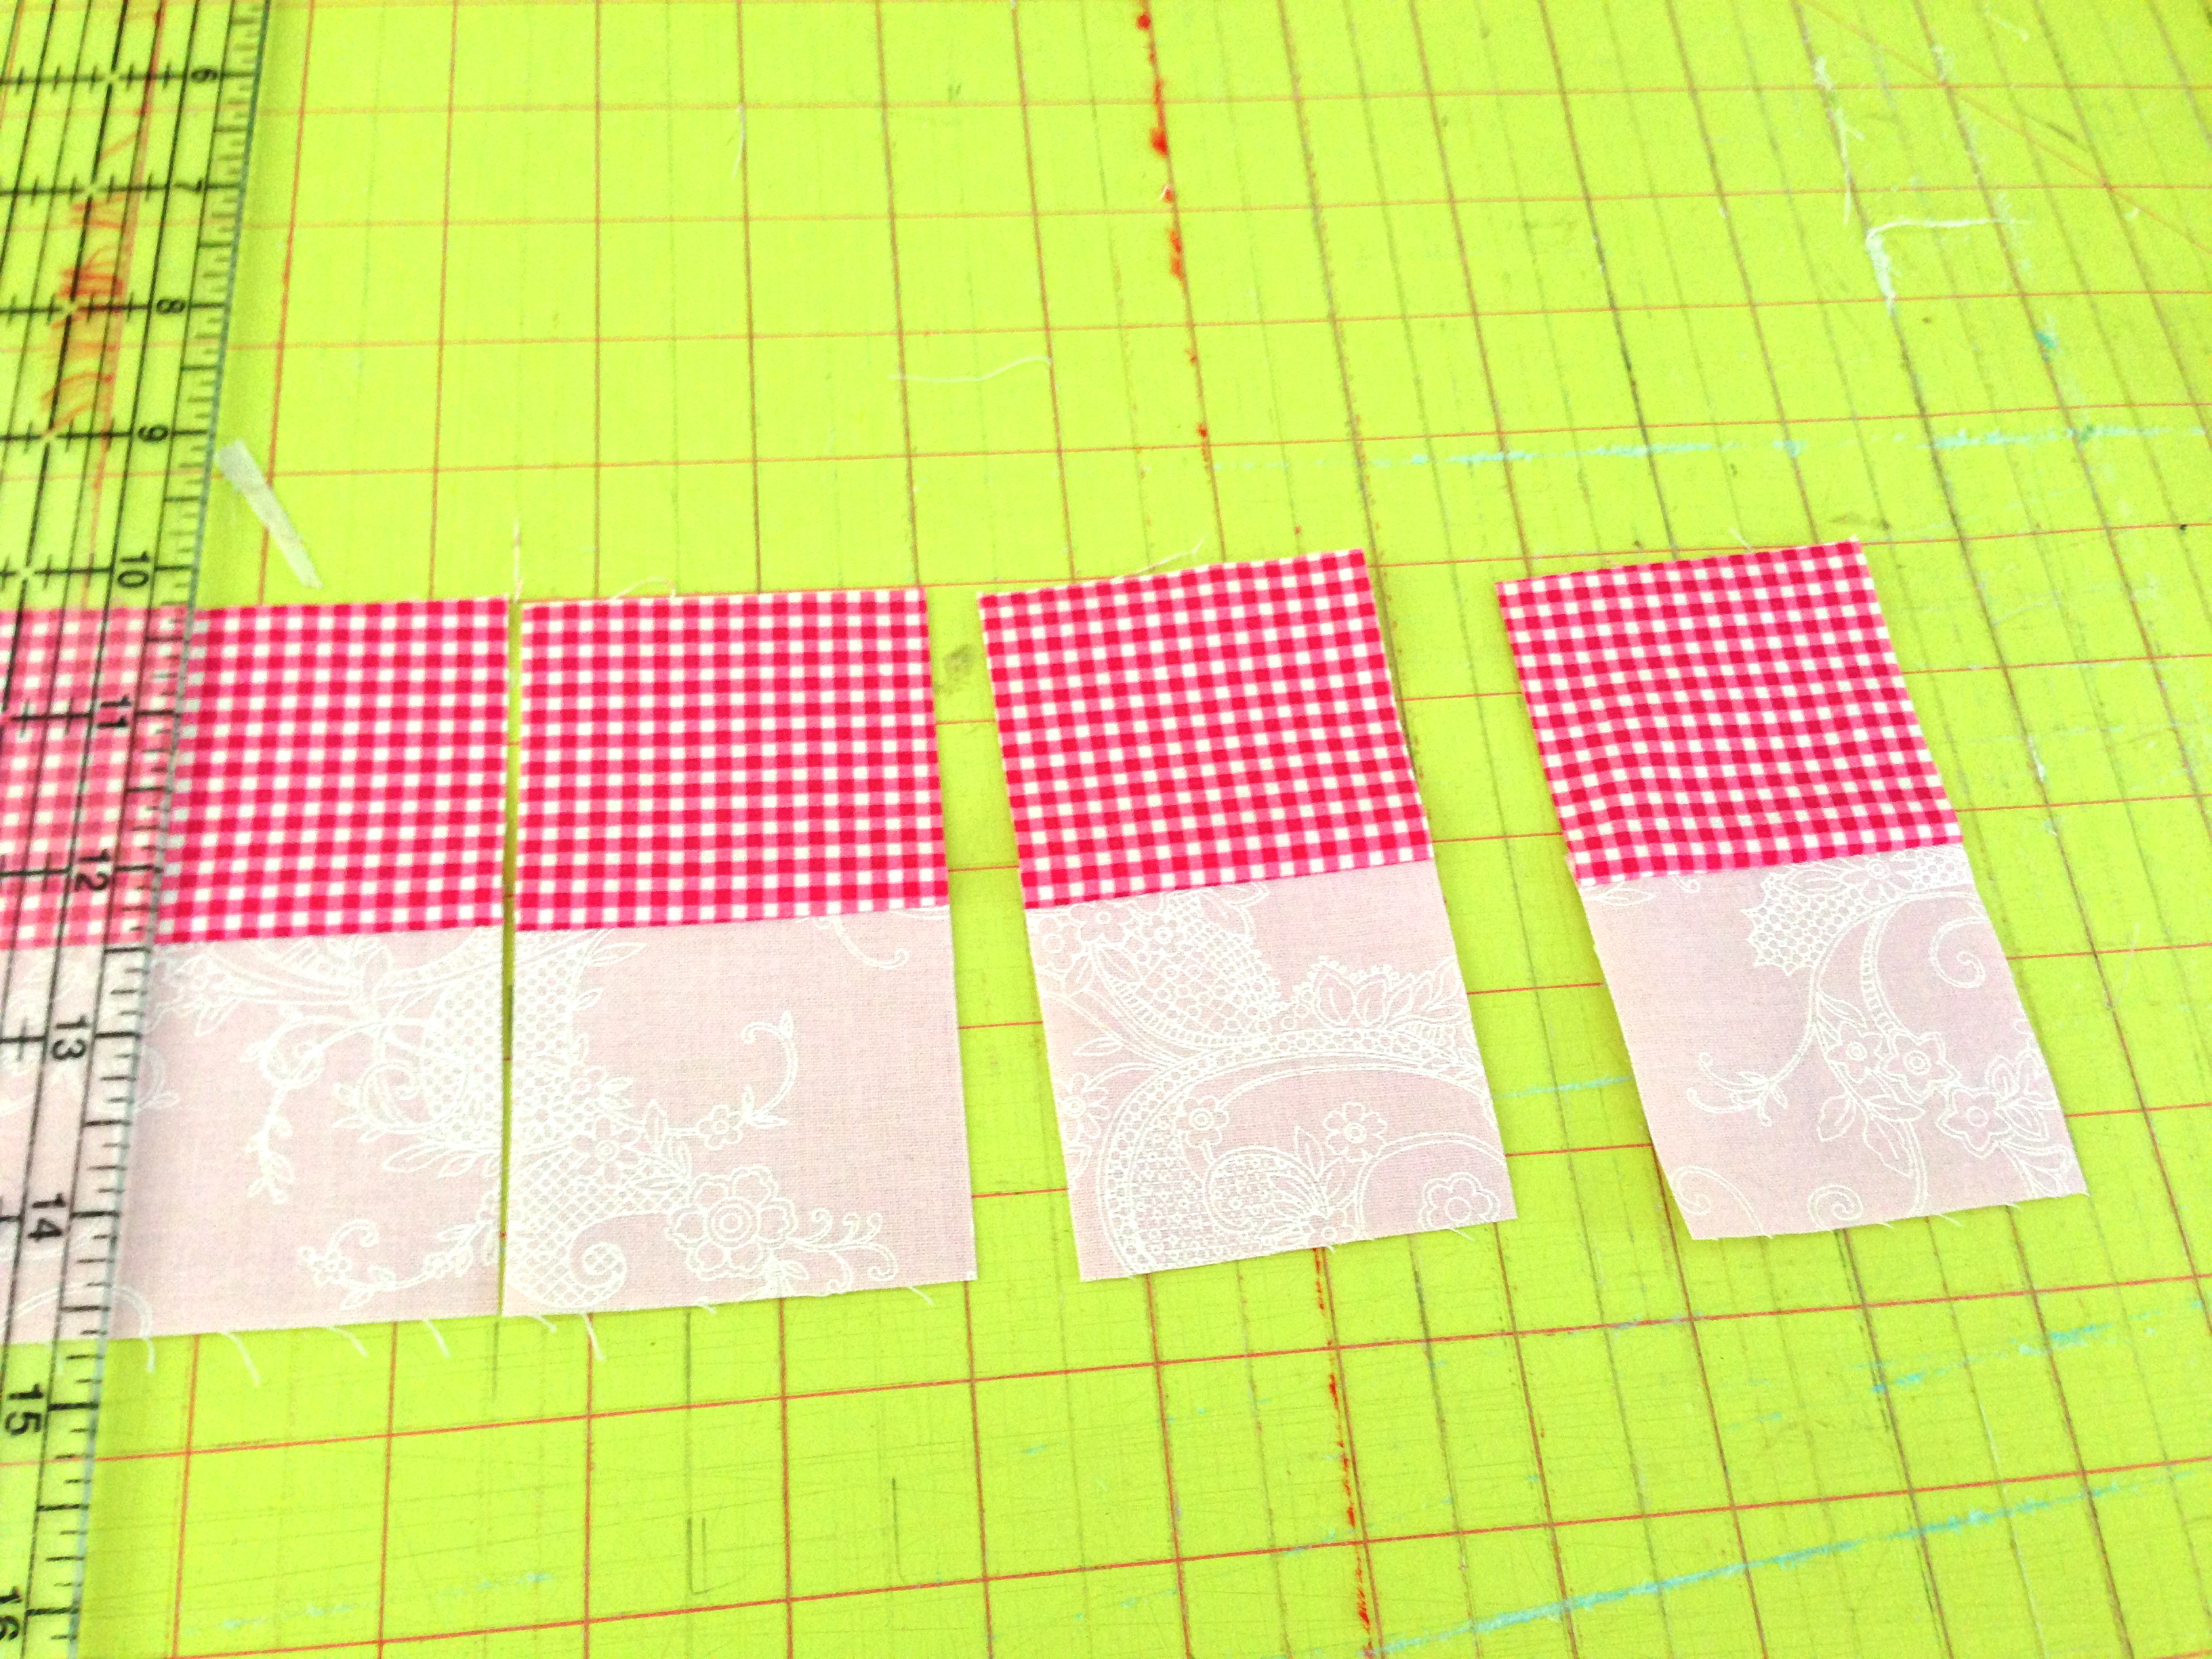
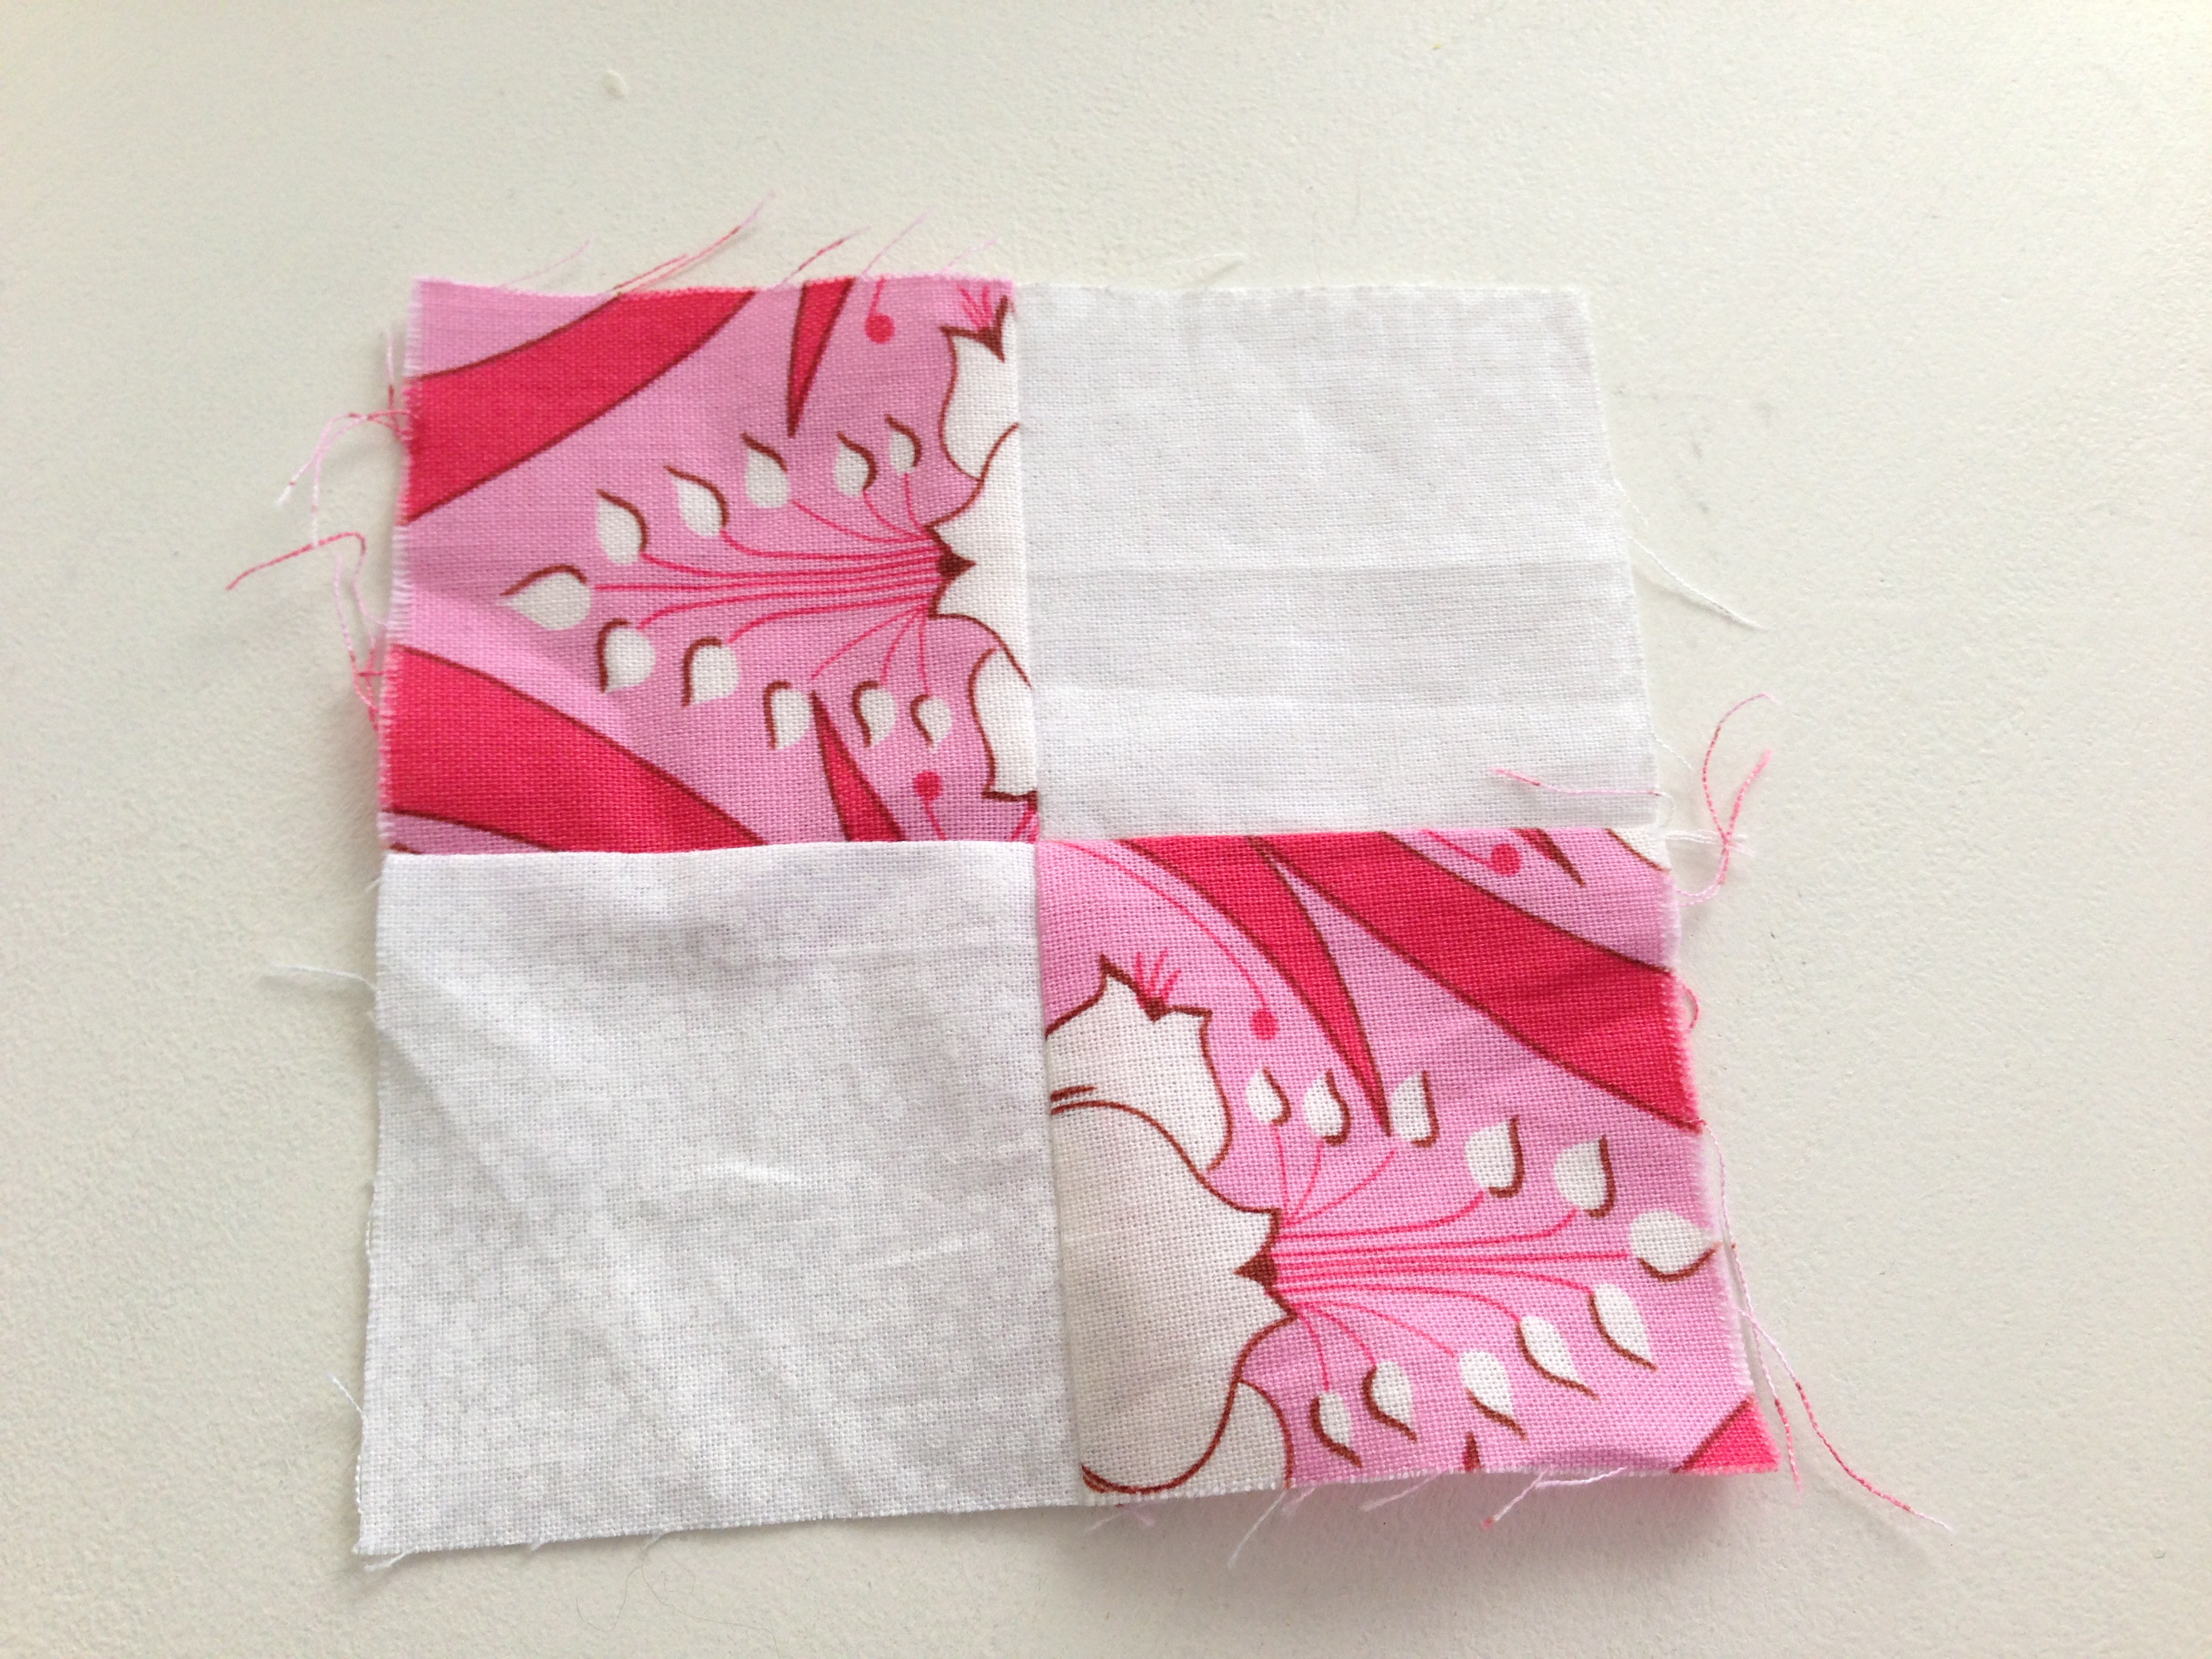
4-PATCH
Cut 2 coordinating strips WOF x 2 1/2″. Sew the two strips together length wise, then cut in 2 1/2″ segments. Press seams to one side. Sew two segments together to form a 4-patch. Make about (23) 4-Patch blocks from different fabrics.
4 1/2″ BLOCKS
You need about (54 to 60) 4 1/2″ blocks depending on how you lay out your quilt.
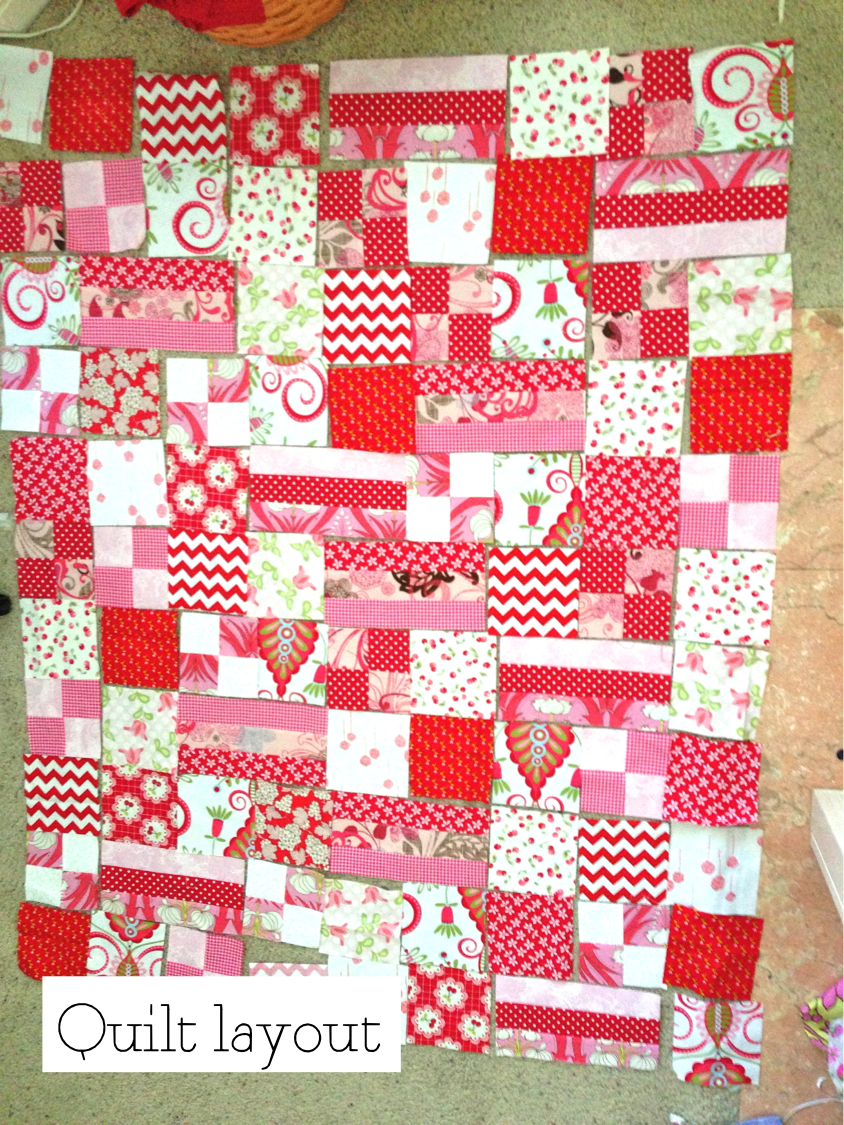
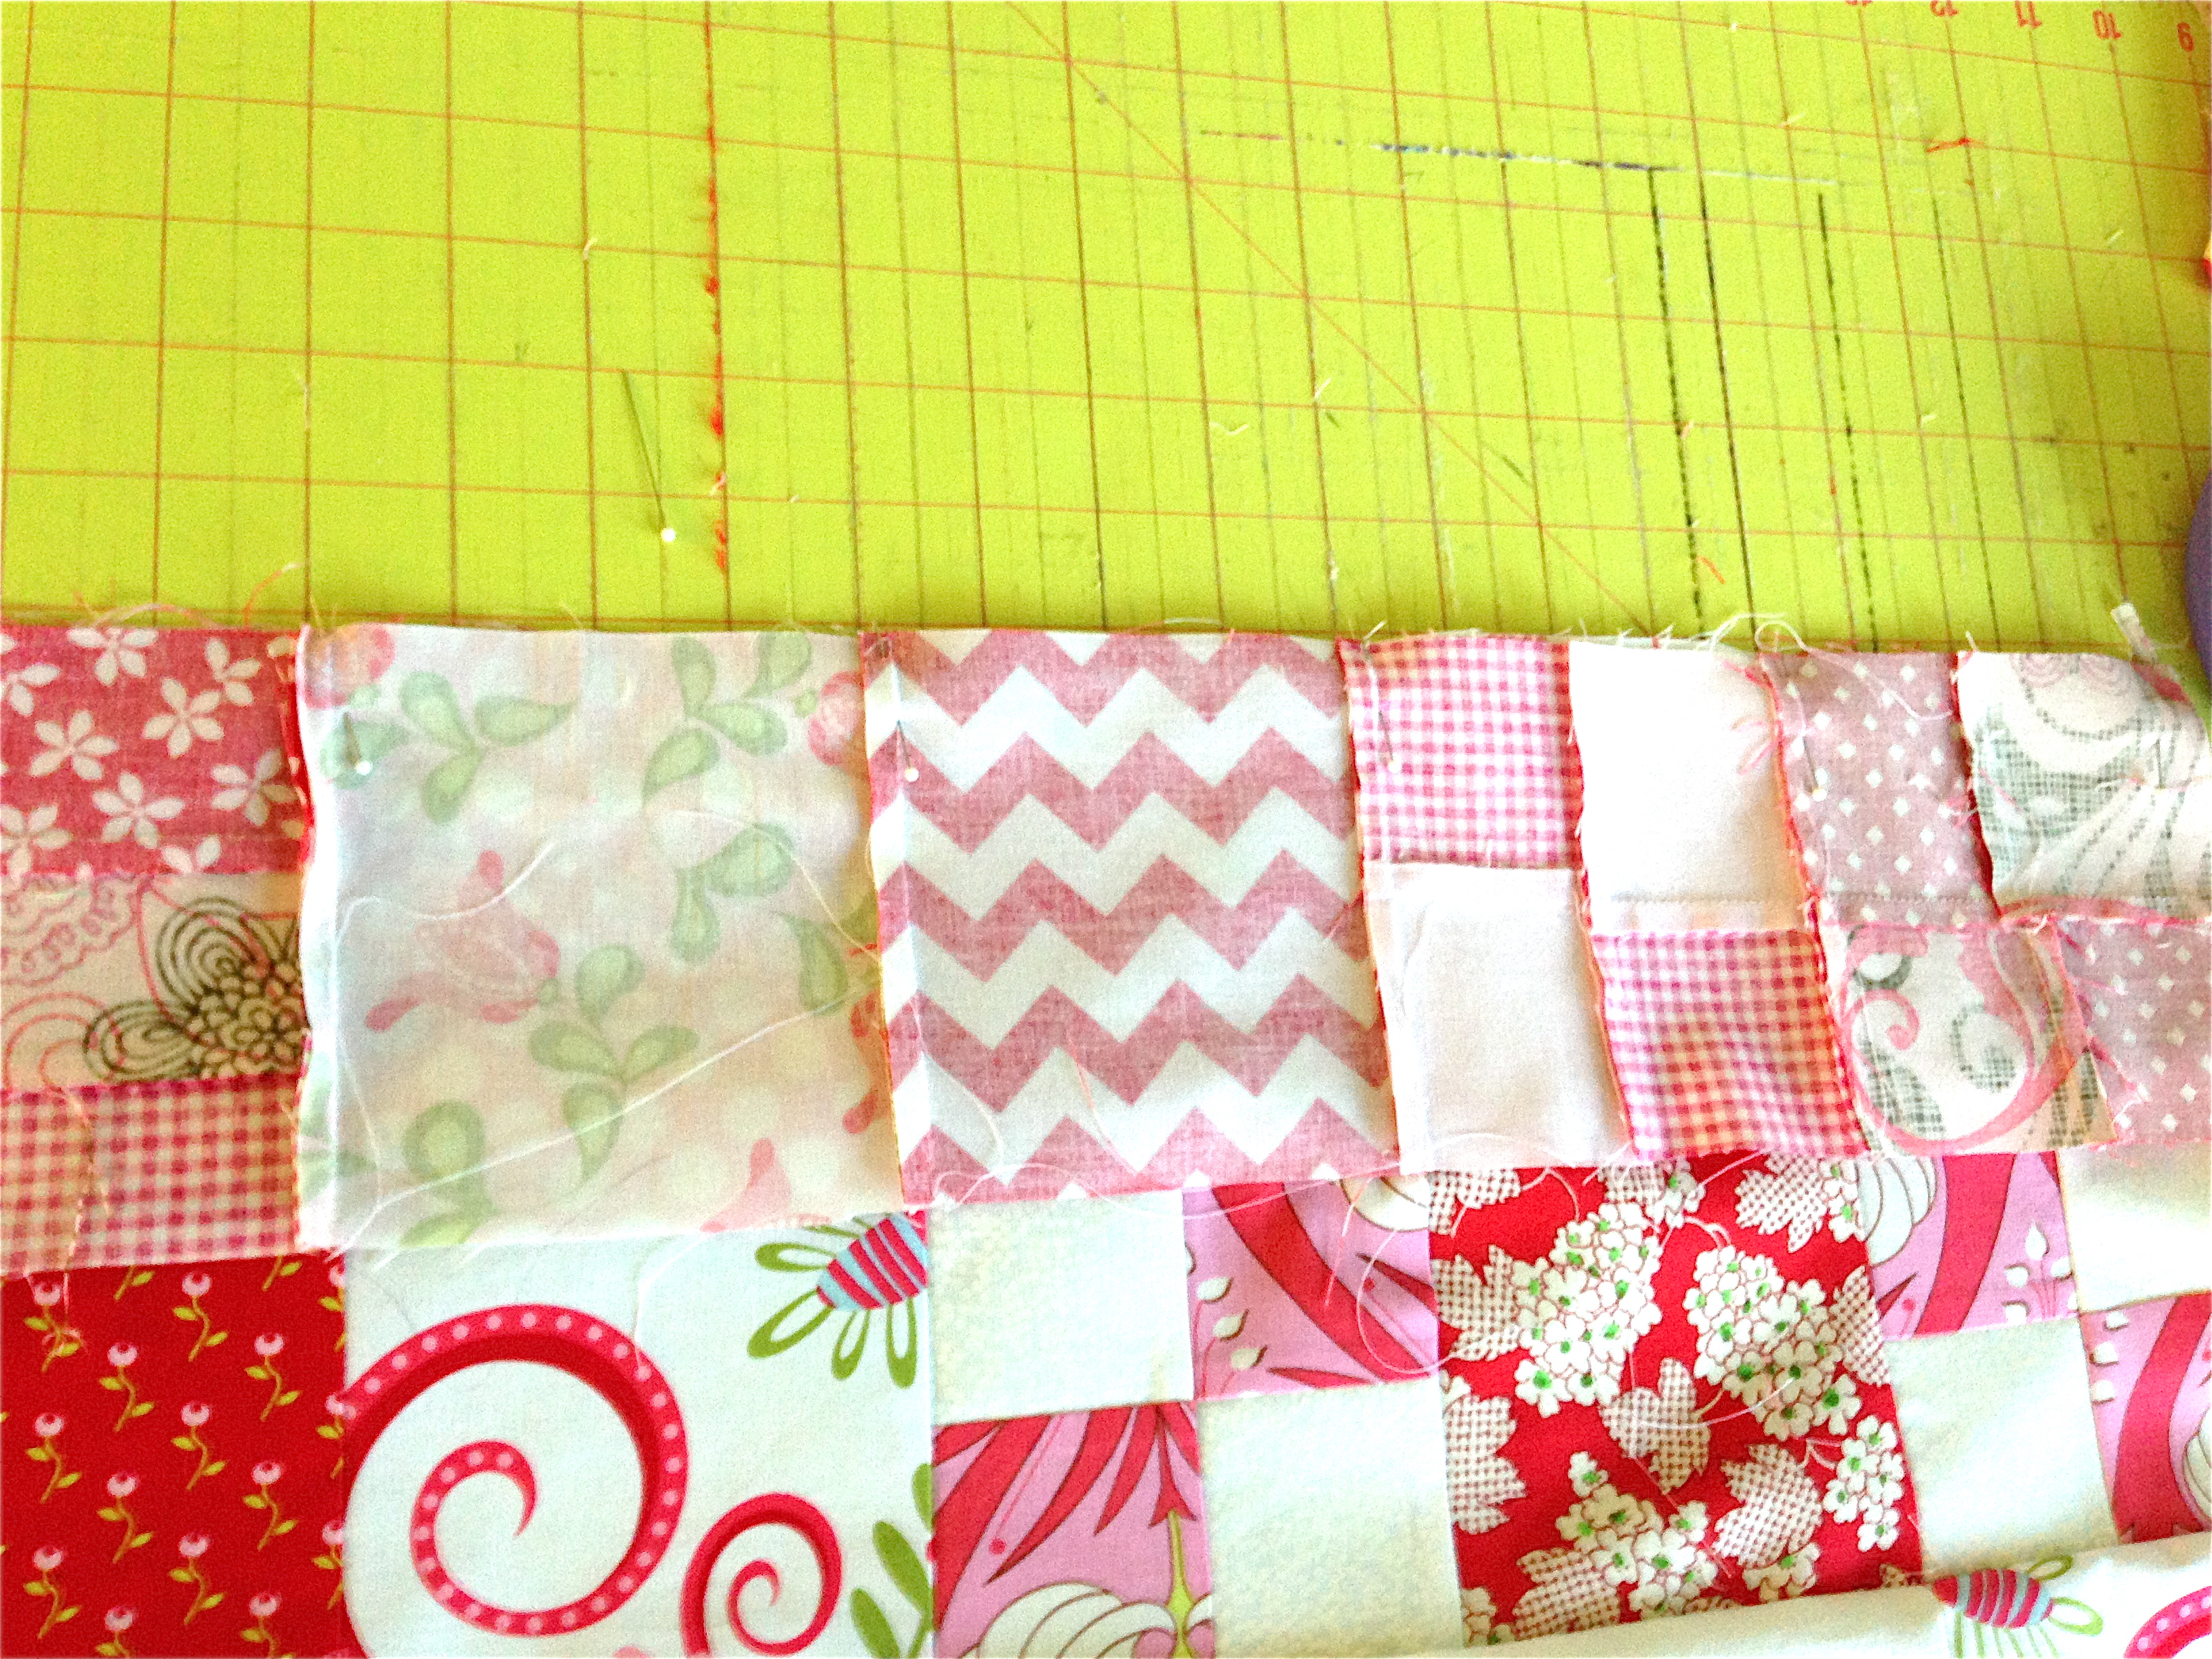
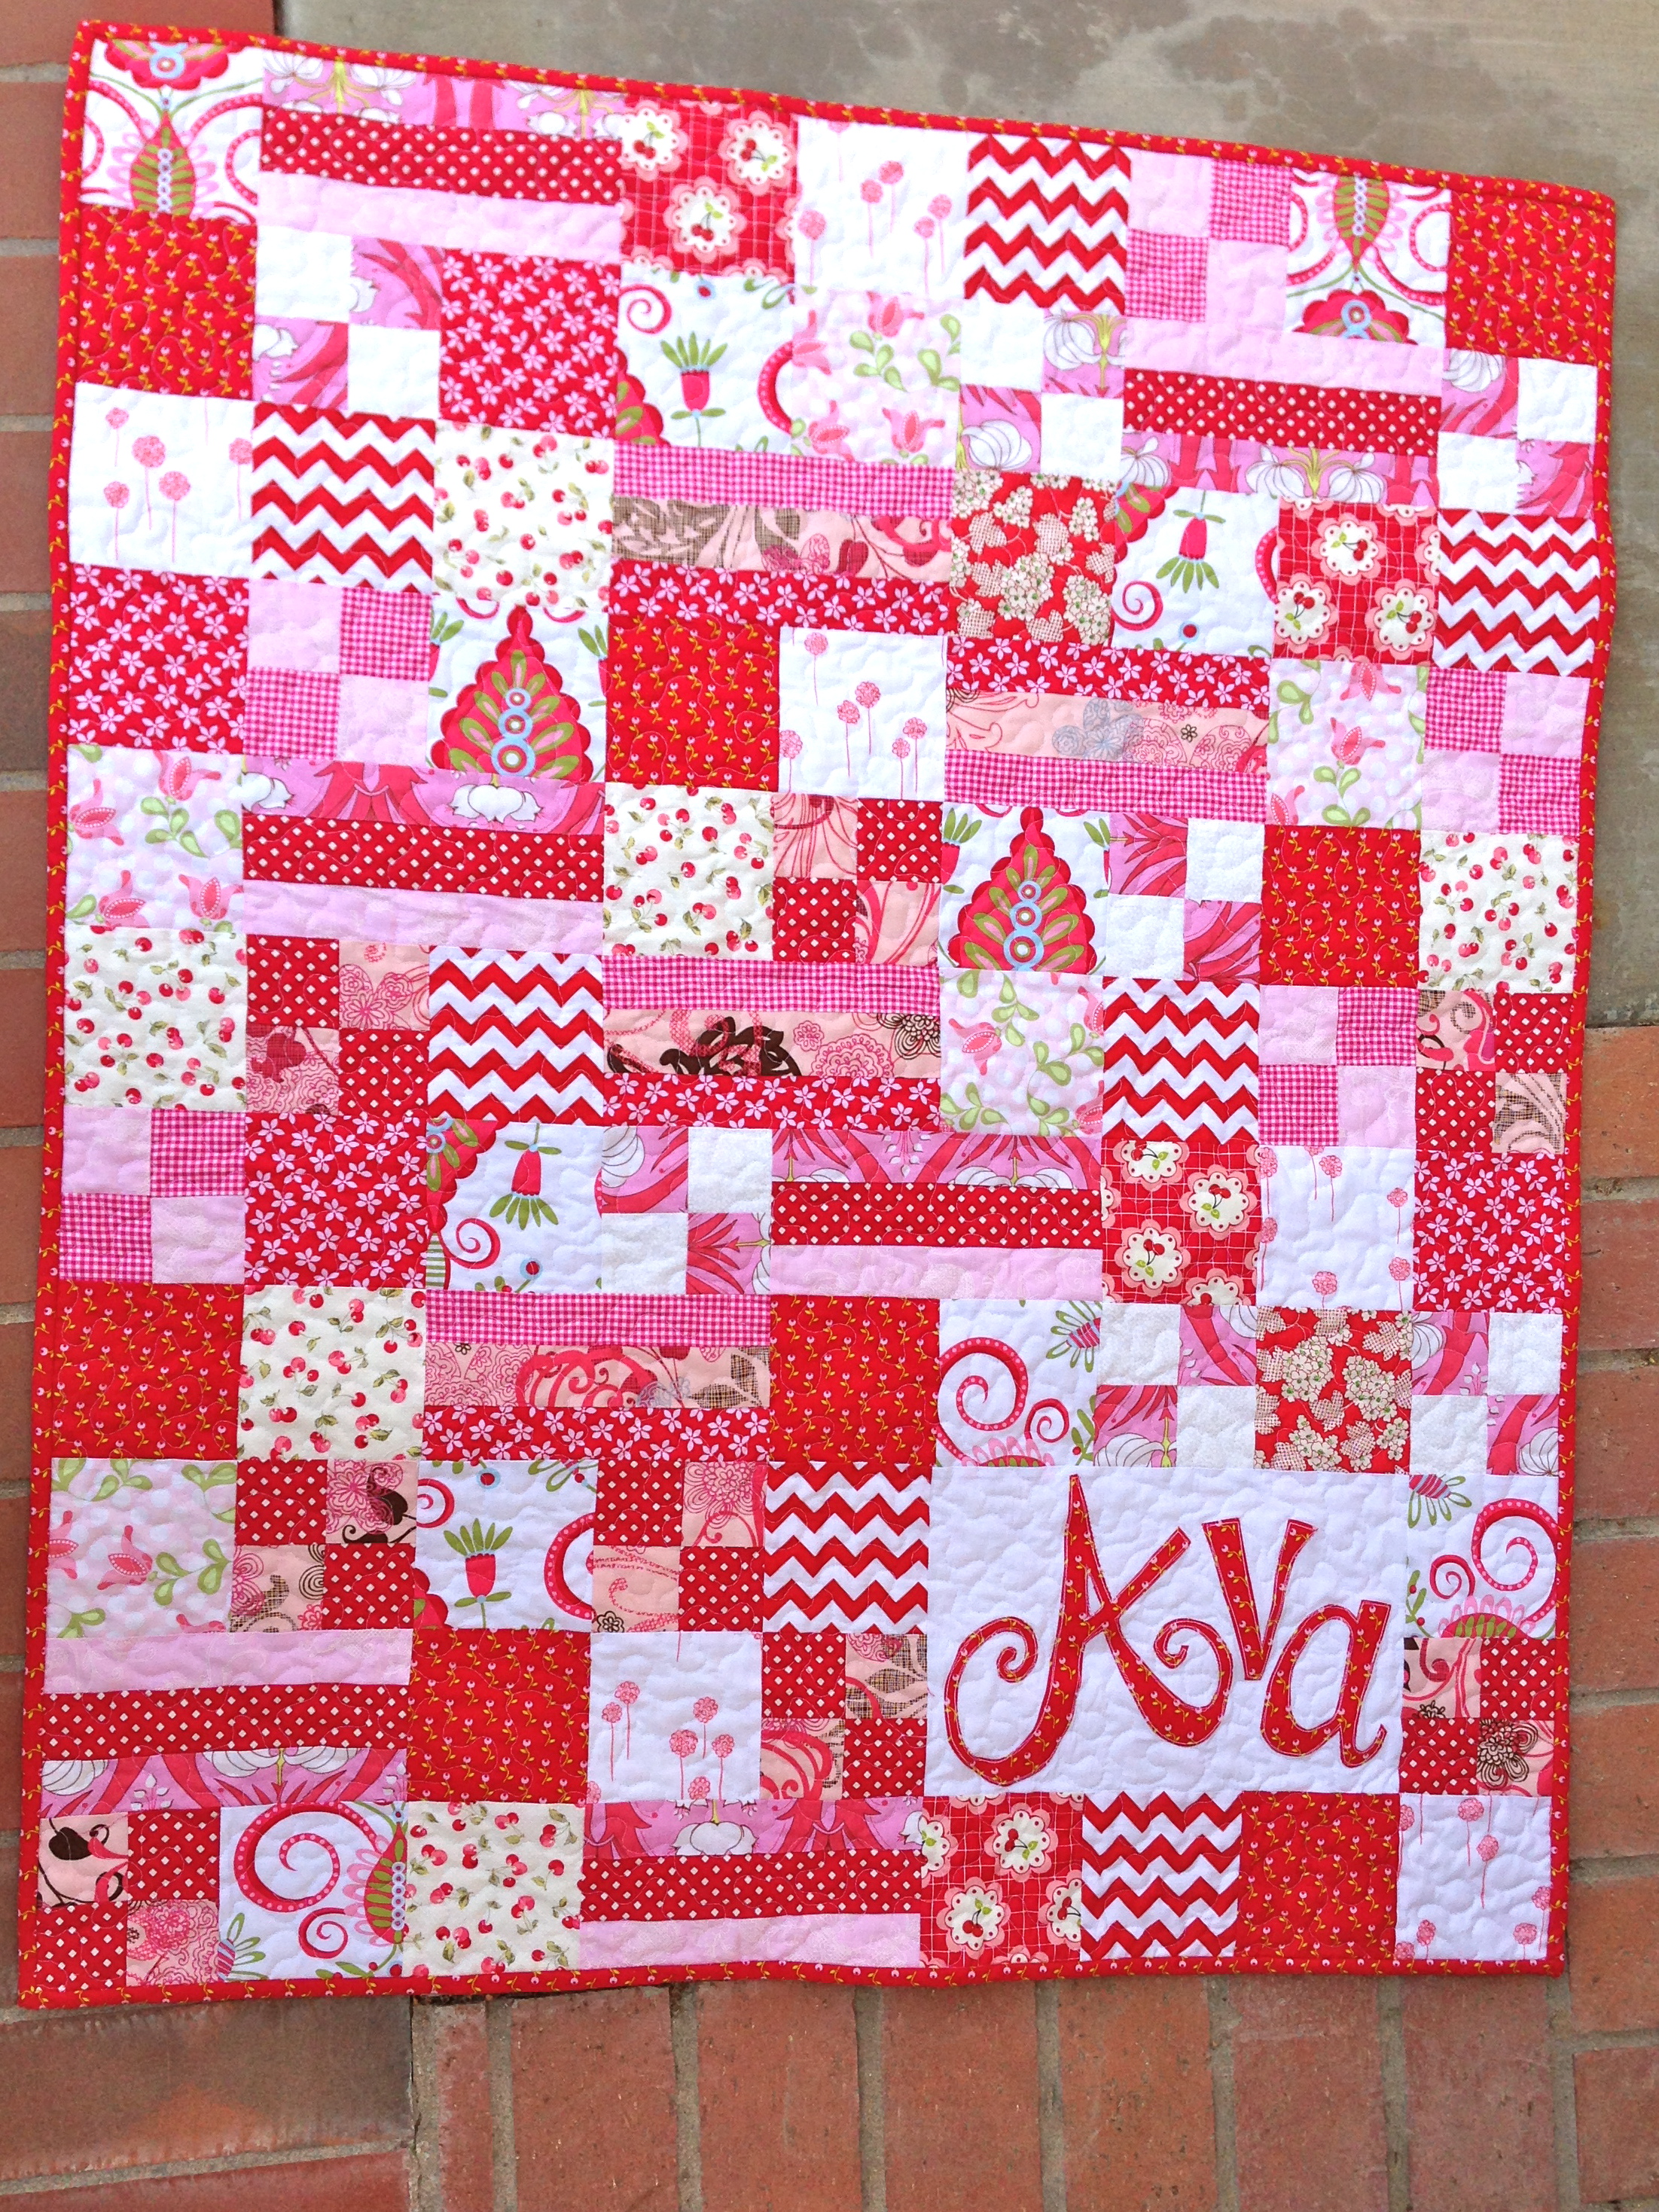
ARRANGE THE QUILT
This is how I arranged my quilt. You can mix it up how ever you like; that is what’s fun about this pattern. I did put (1) 3-strip set in each row. There are 12 rows: 9 blocks across and 12 blocks down.
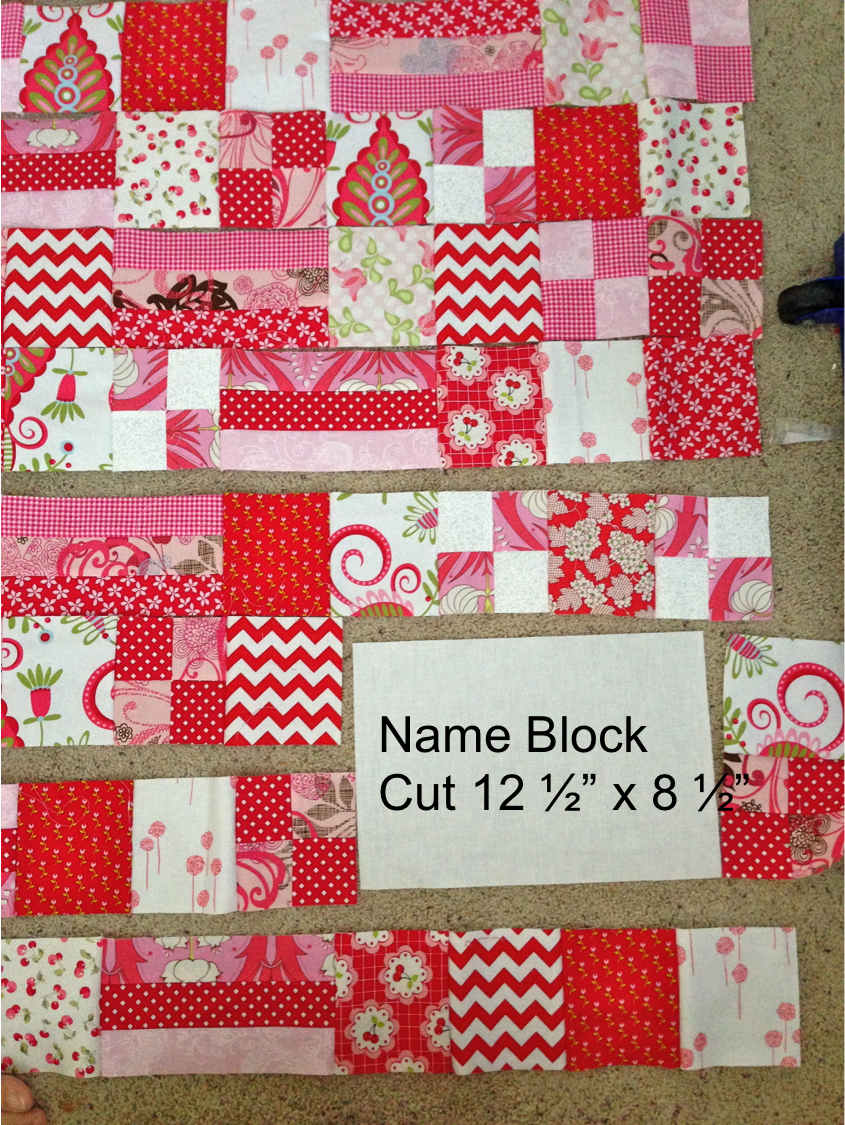
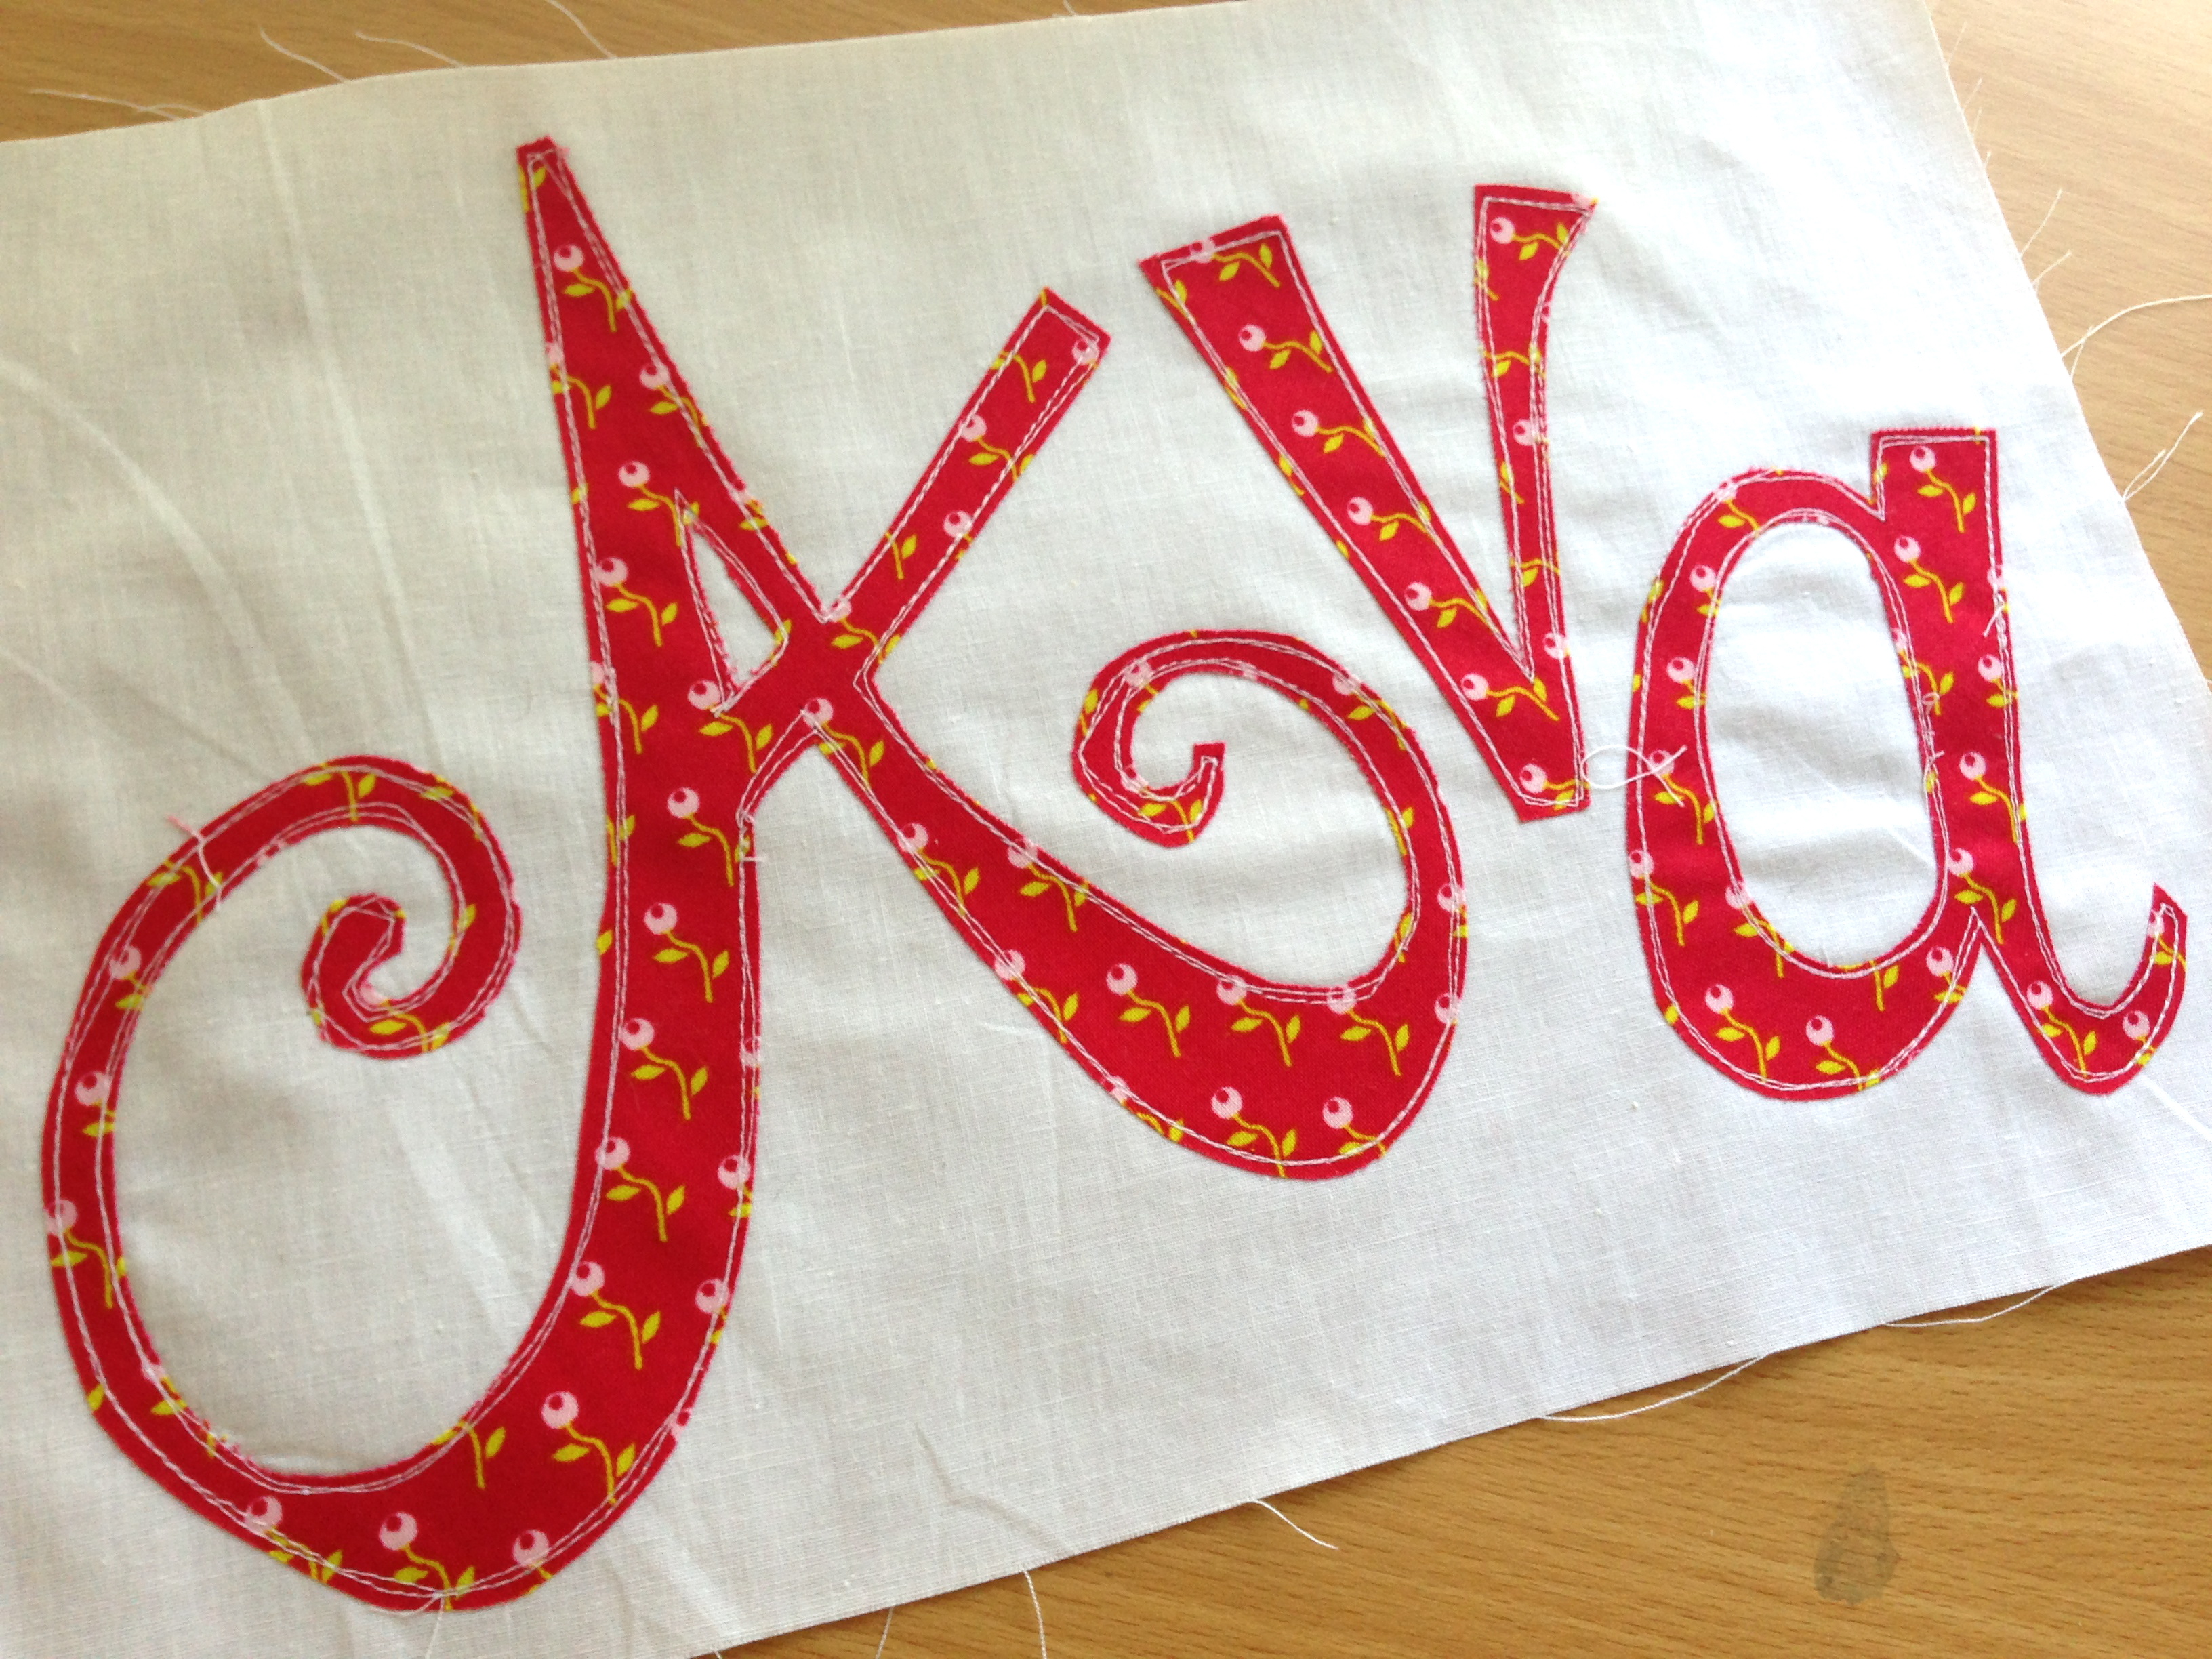
If you are appliqueing a name or word in your quilt, cut a piece of fabric 12 1/2″ x 8 1/2″. If your name is larger, you may need to make adjustments. Remove 6 blocks to make room for the applique piece.
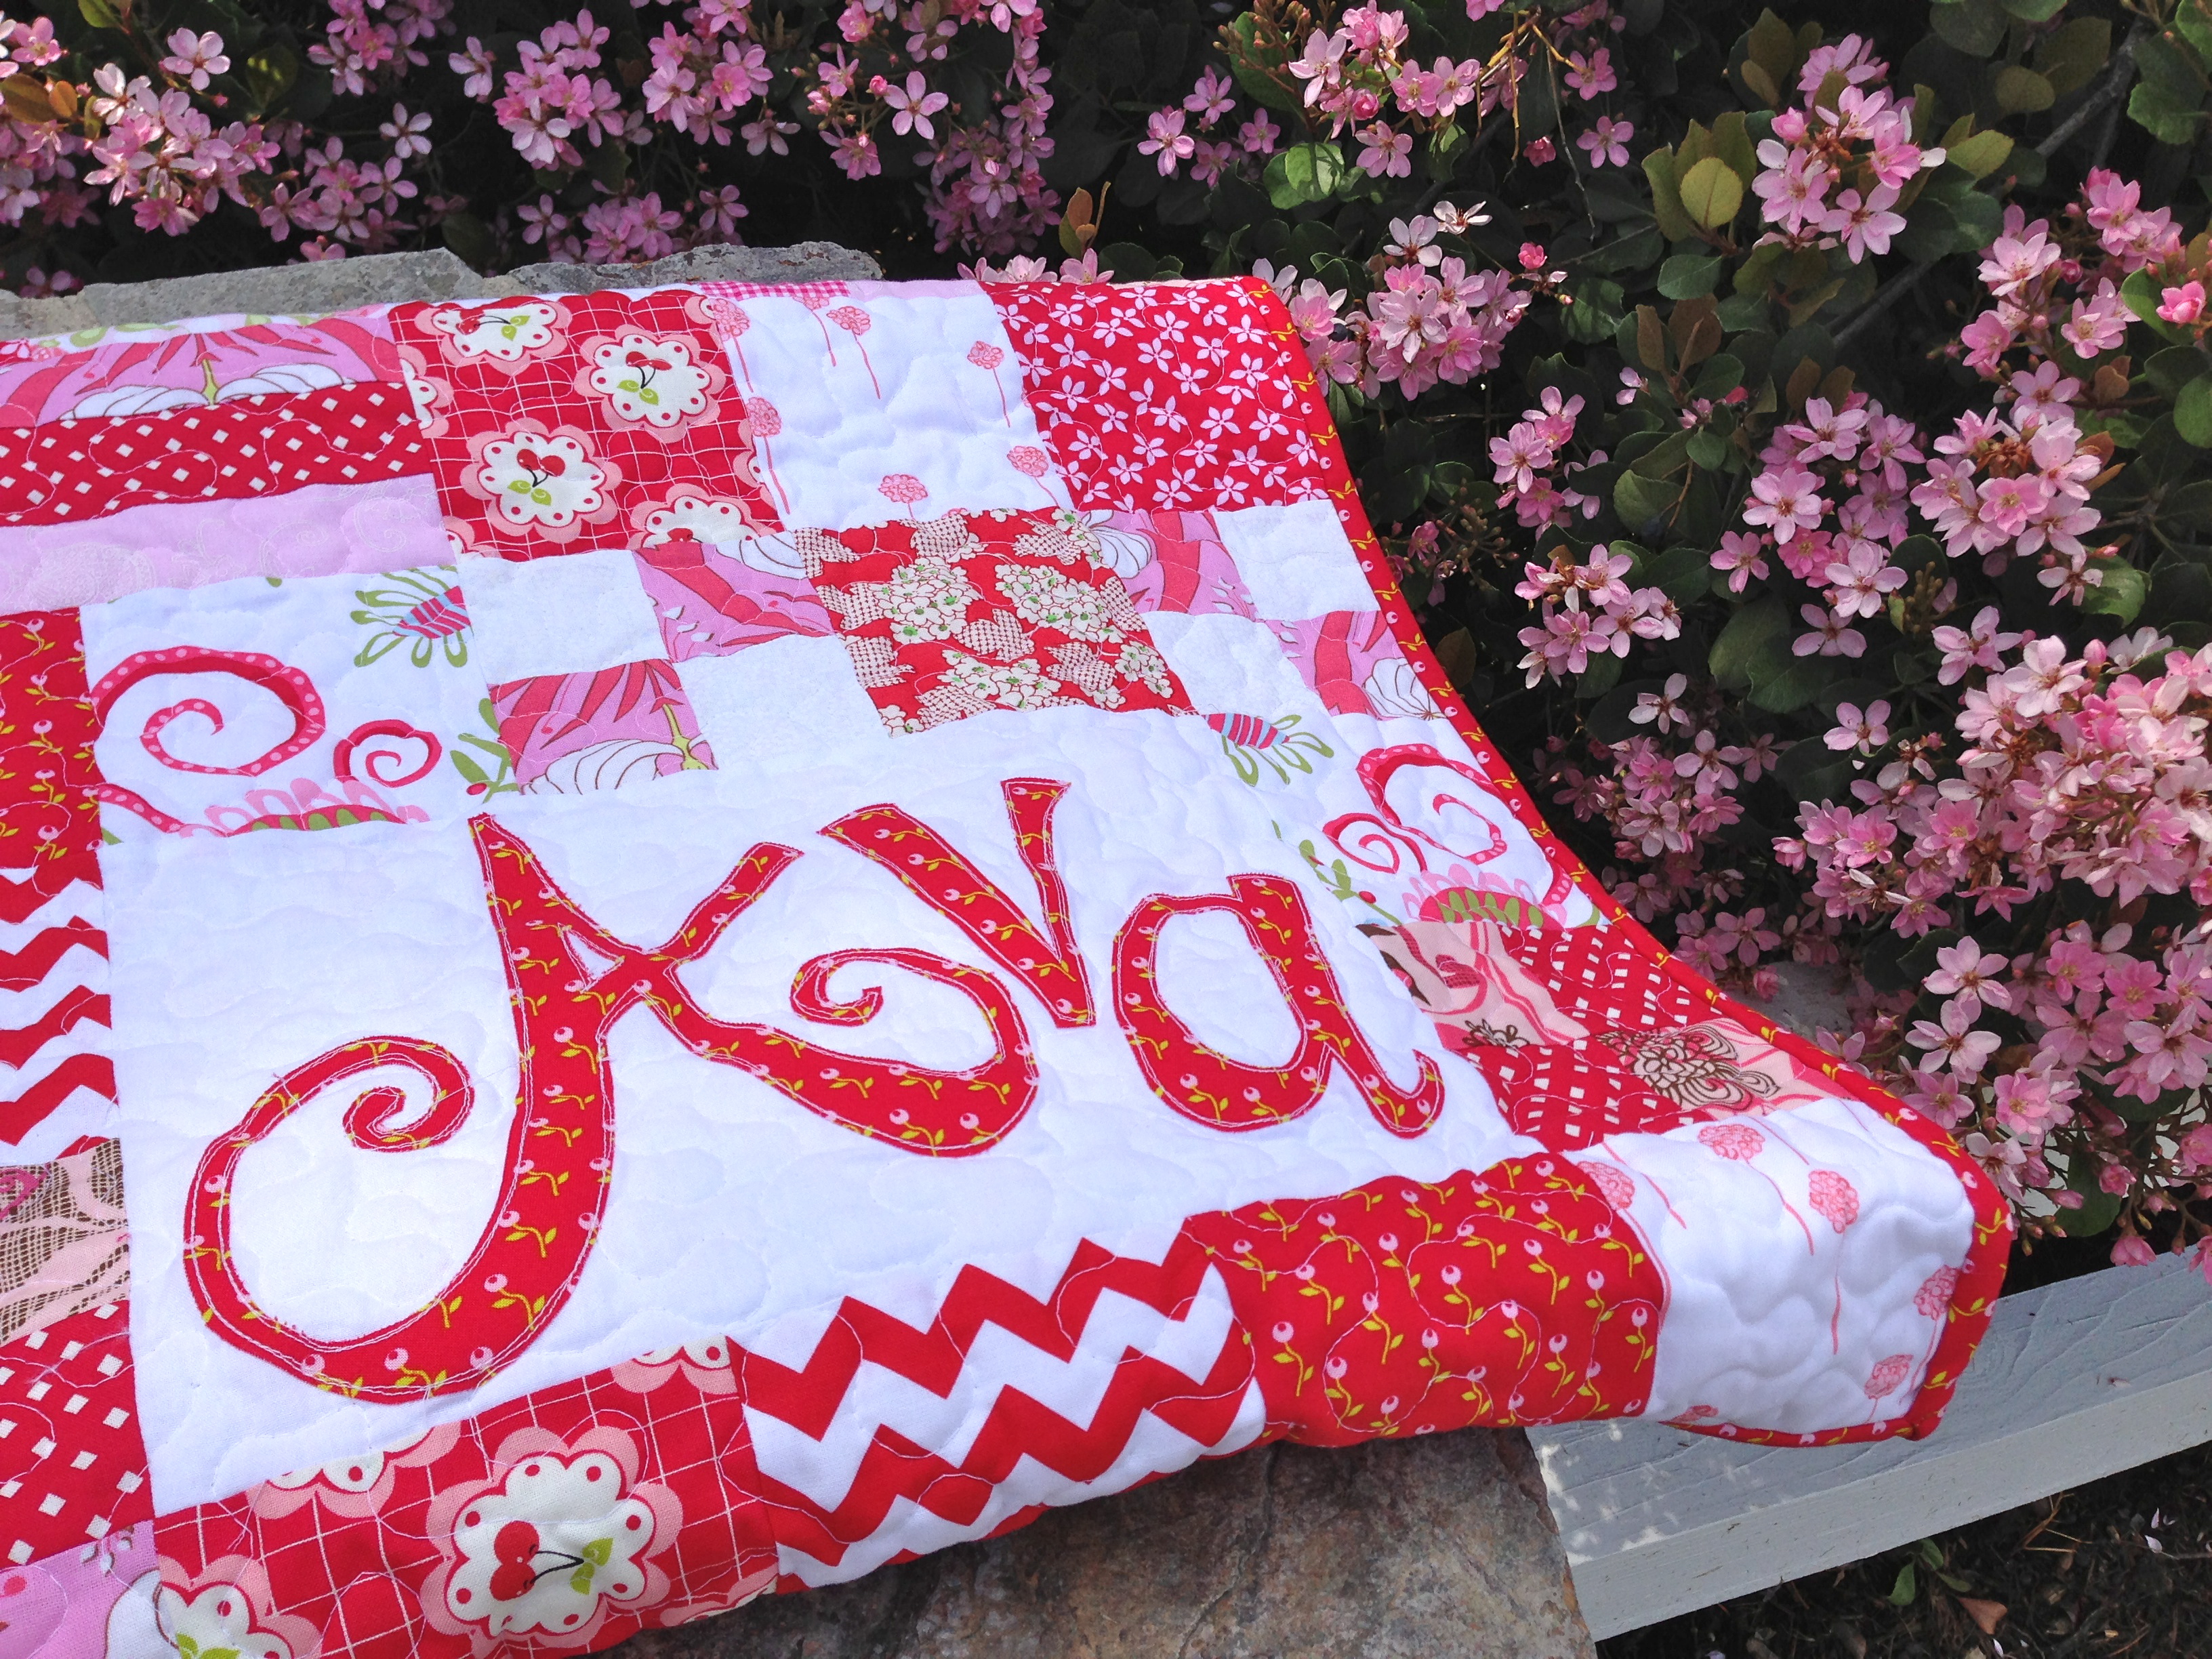
Follow these instructions to use Heat N Bond® Feather lite to applique the name:
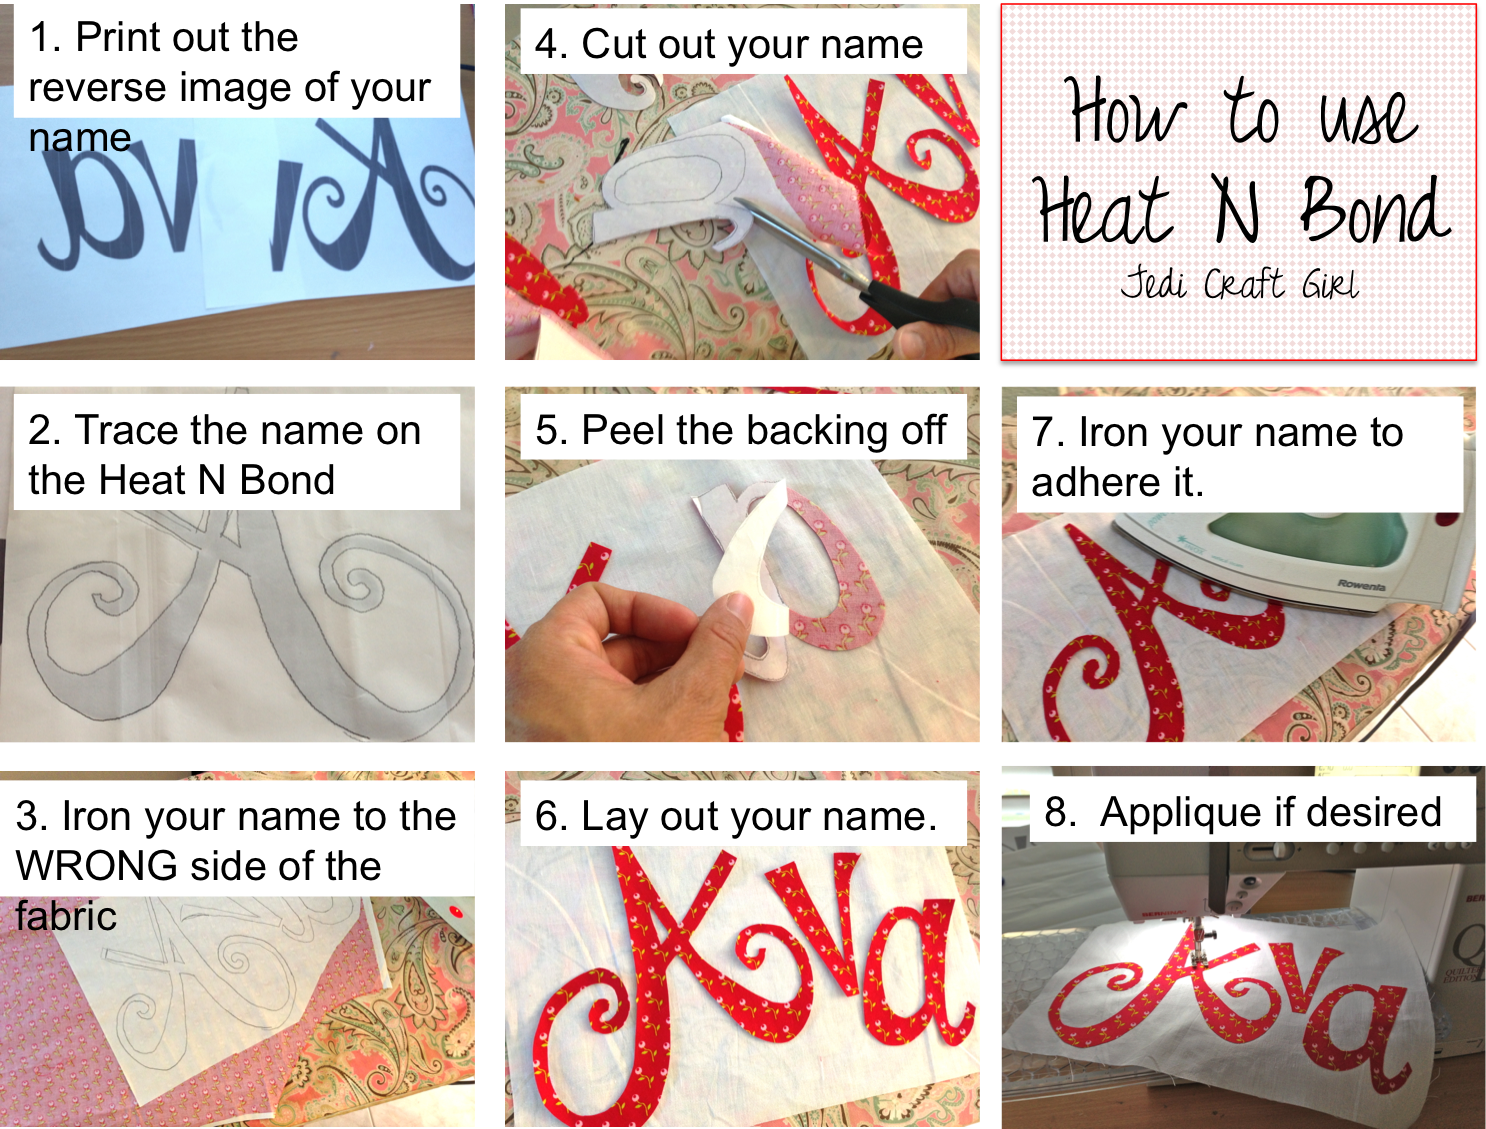
I used a straight stitch to applique around the name – I went around each letter twice.
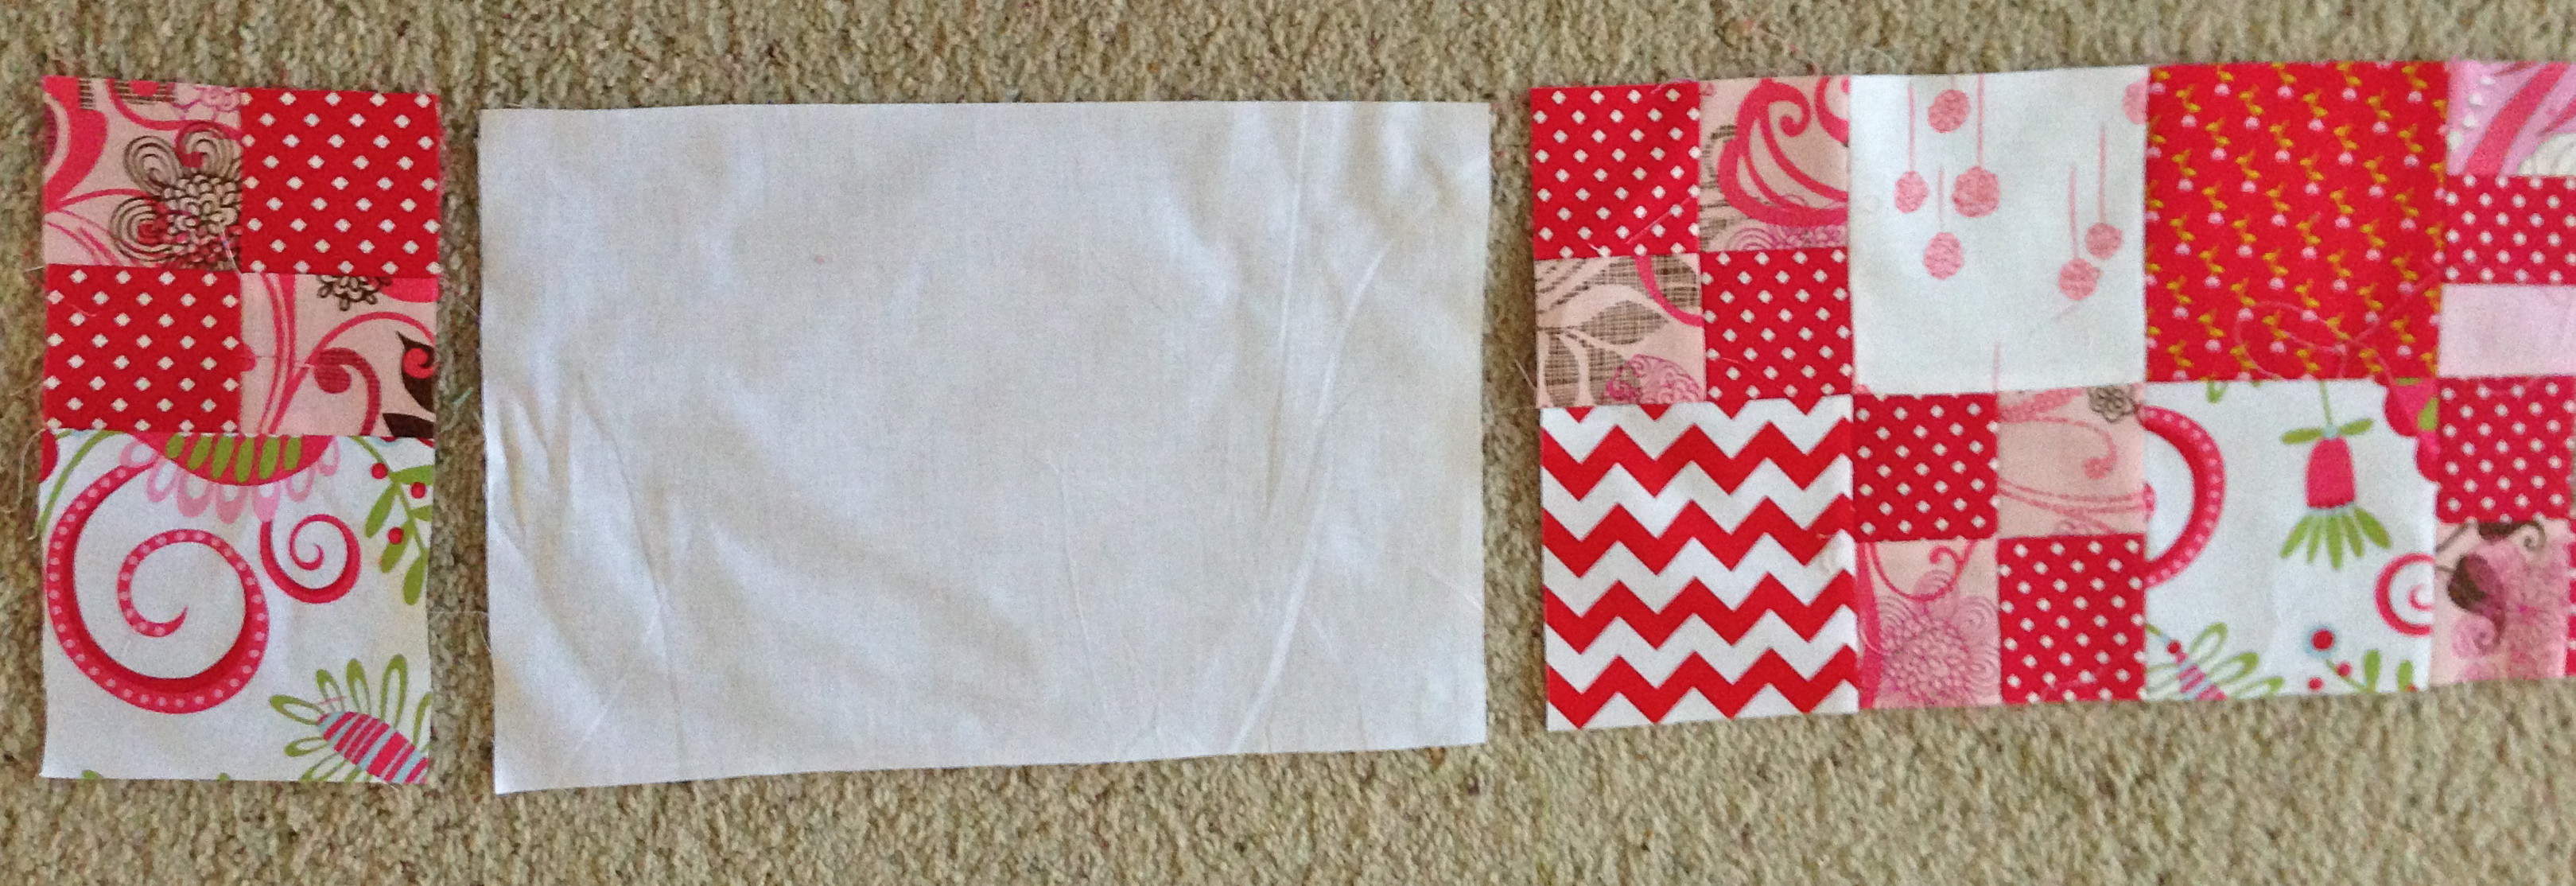
Once you have appliqued the name, piece the block into the rows:
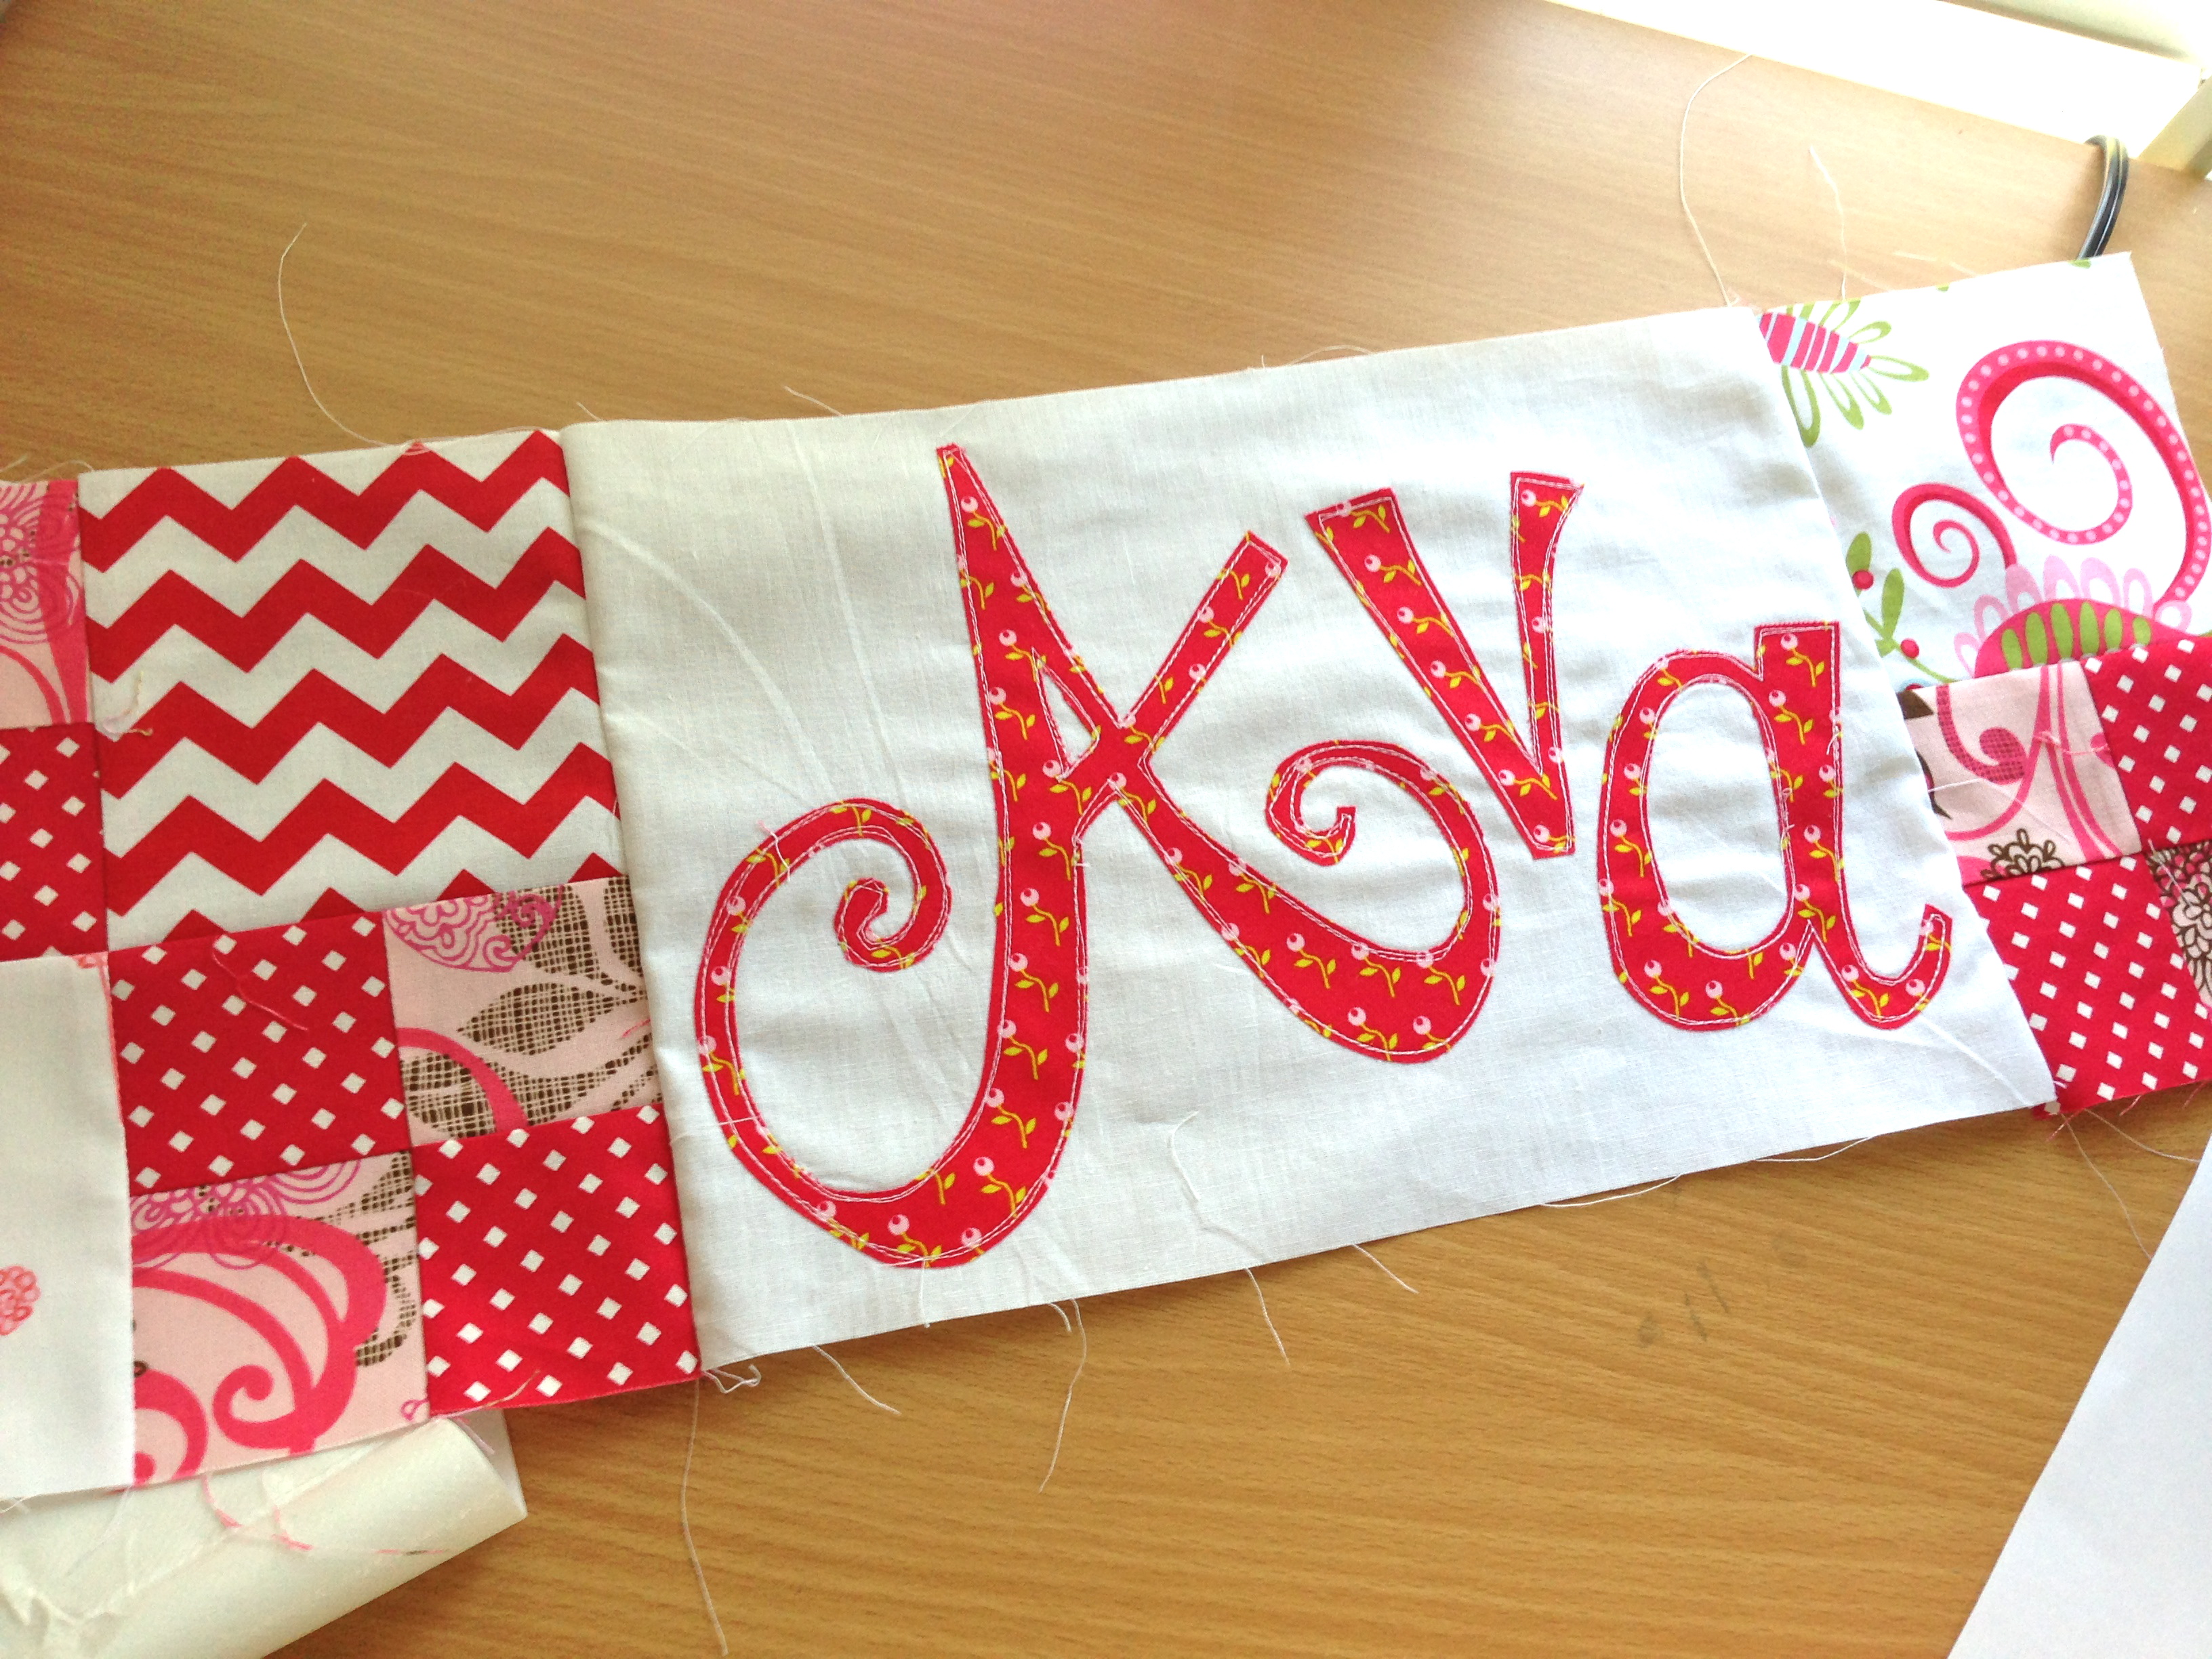
Now you are ready to assemble the quilt. Sew the blocks together row by row. Then sew the rows together. Make sure to alternate how you press each row so the seams match up perfectly. I use pins at all the intersections.
Quilt as desired! Finished quilt is 36″ x 43″
To go along with our fun Quilt Week we’d like to give you a chance to win some fun goodies including this NEW Idea Book from Designer Christina Cameli!