


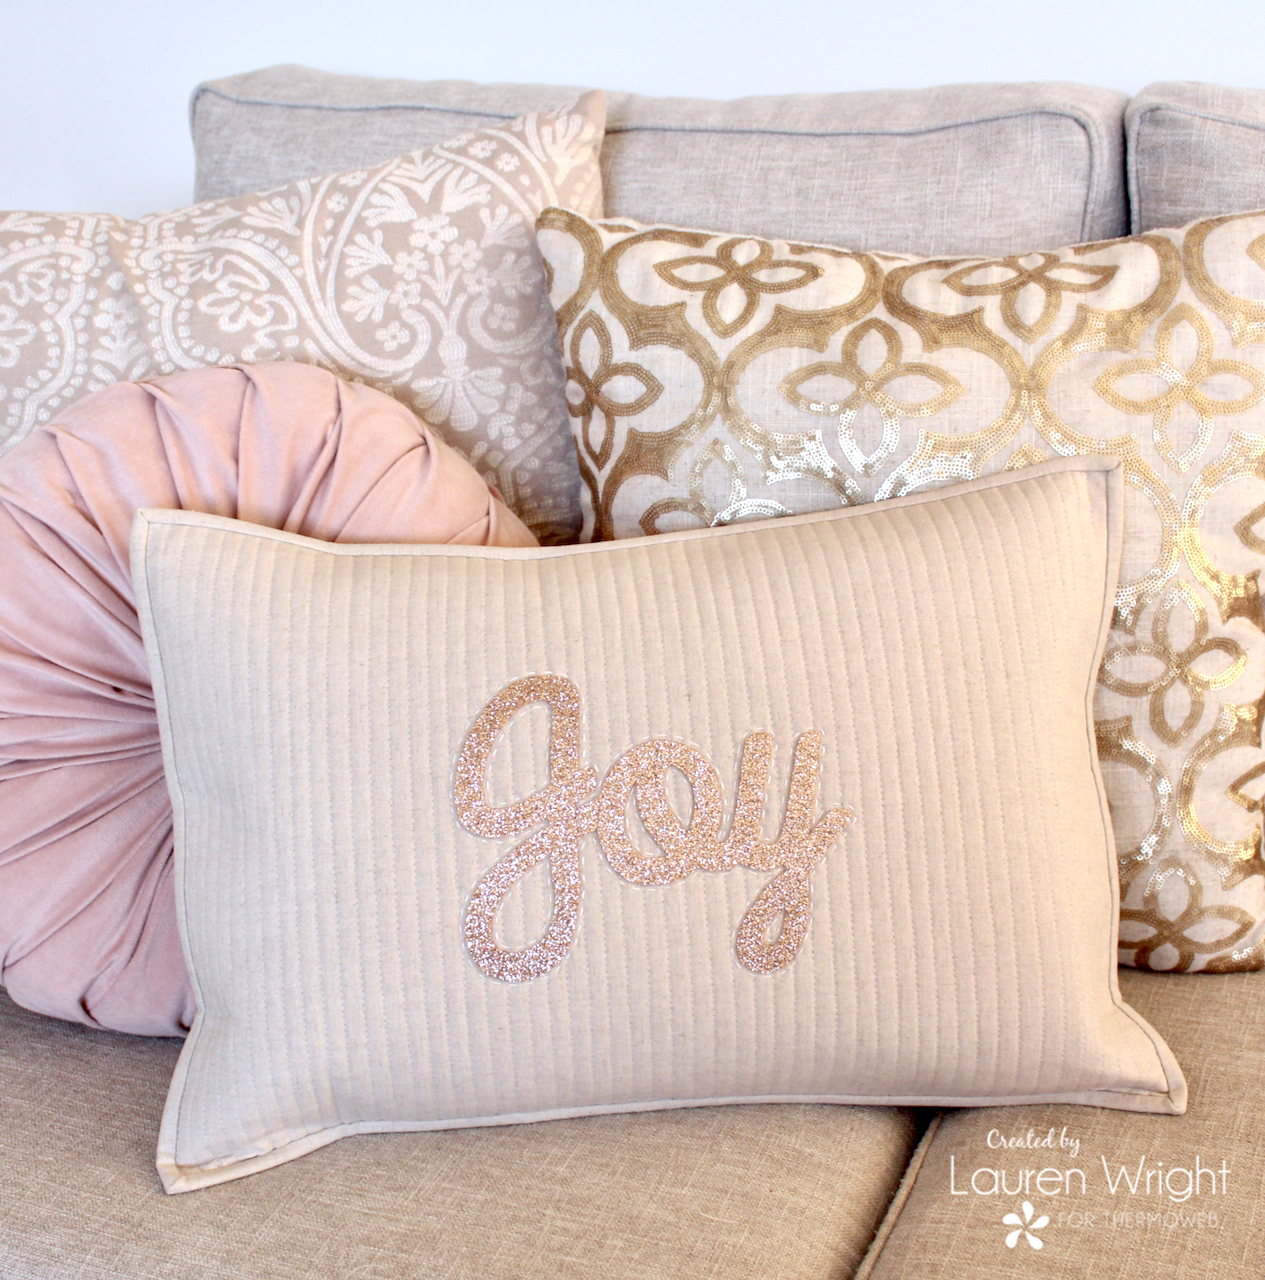
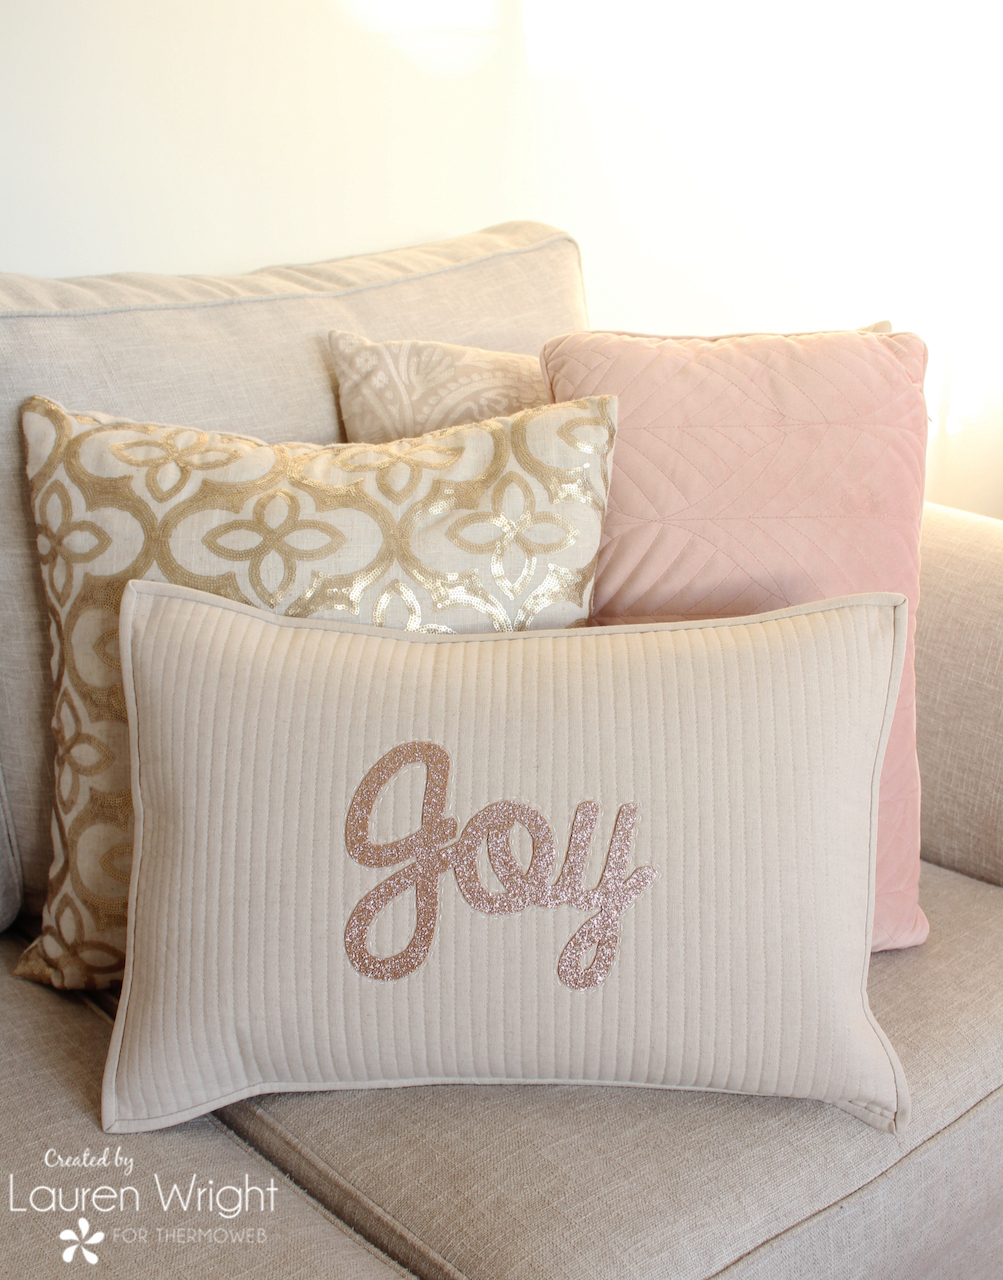
‘Joy’ Christmas Pillow
Bring a touch of glamour to your Christmas decor, with this striking ‘glitter felt’ appliqué cushion! With simple straight machine quilting and hand quilted details too, this design is quick to put together and looks beautiful amongst the throw pillows on the couch.
It features a fresh and light colour palette that suits my Aussie Summer Christmas beautifully! But you could create the design in any colours you like. You could also make adjustments for different pillow sizes. Just make the cover the same dimensions as the cushion insert. And ensure that the envelope closure on the back overlaps by around four inches.
FINISHED SIZE: 20″ x 14″
MATERIALS REQUIRED
- 1 yard of linen fabric
- 8″ x 7″ rectangle of rose gold glitter felt, wool felt (or your preferred fabric)
- 8″ x 7″ rectangle of Heat’n’Bond Ultra Hold
- 22″ x 16″ rectangle of Stitch’n’Sew Sew In Fleece
- Pressing Paper
- White embroidery floss and hand quilting needle
- 20″ x 14″ cushion insert
- Print out of the template
- Basting Adhesive Spray
- General sewing supplies, including a rotary cutter, acrylic ruler and self-healing cutting mat

PILLOW INSTRUCTIONS
Cutting Guide
From the 1 yard of linen fabric, cut;
- Two 2 inch x WOF (width of fabric) strips for binding
- Two 22″ x 16″ rectangles for the pillow front
- 14″ x 10″ rectangle and 14″ x 18″ rectangle for the envelope closure on the back of the pillow
Create the Pillow Front
Save, then print, the Joy template, with no scaling or cropping. The template has already been reversed for appliqué.
TIP: To make a larger appliqué, simple increase the print size on your printer settings.
Trace the template onto the paper side of the rectangle of Heat’n’Bond Ultra Hold. Roughly cut out, leaving a 1/4″ space from the drawn template lines.

Position the Heat’n’Bond with the shiny side facing the wrong side of the rectangle of felt. Use the Pressing Paper to protect the felt and press the Heat’n’Bond in place.
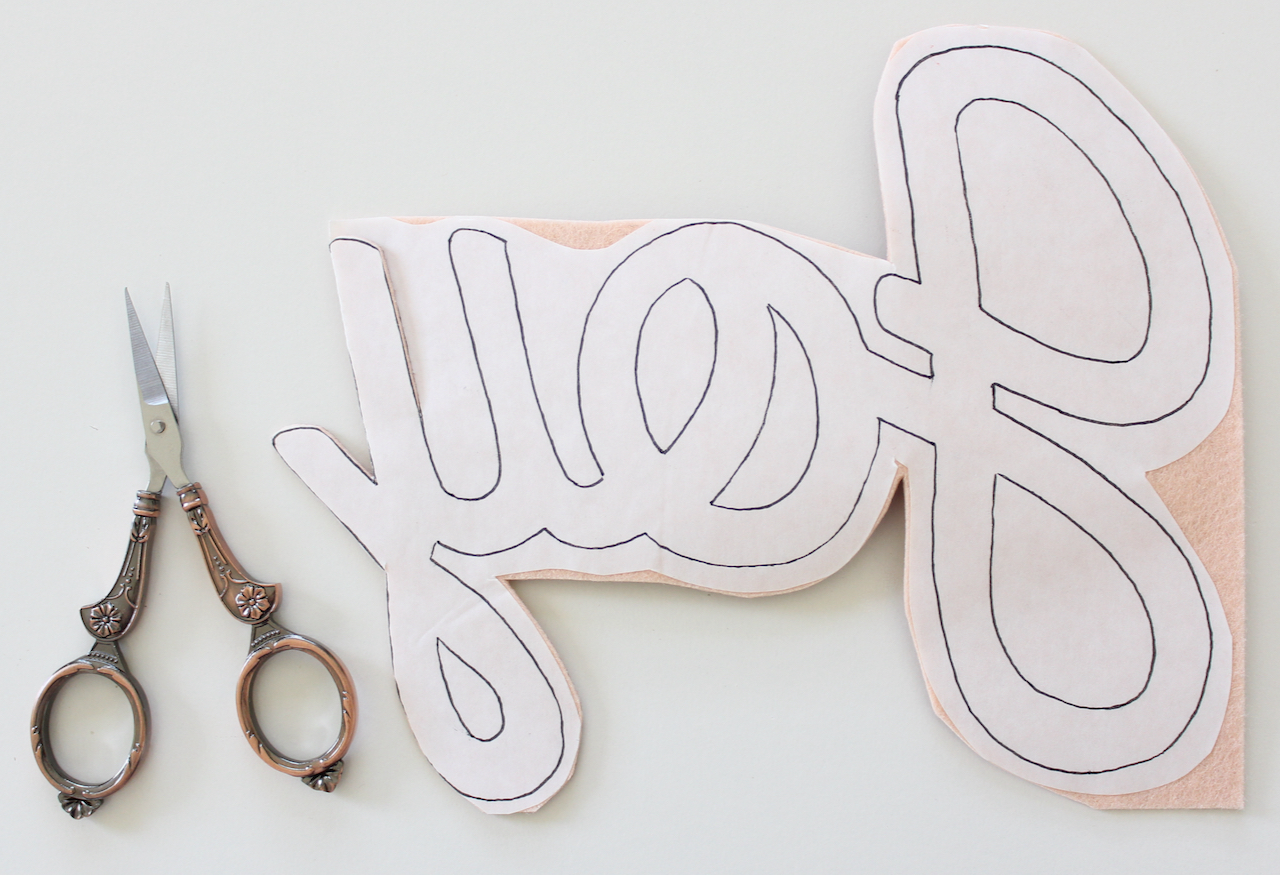
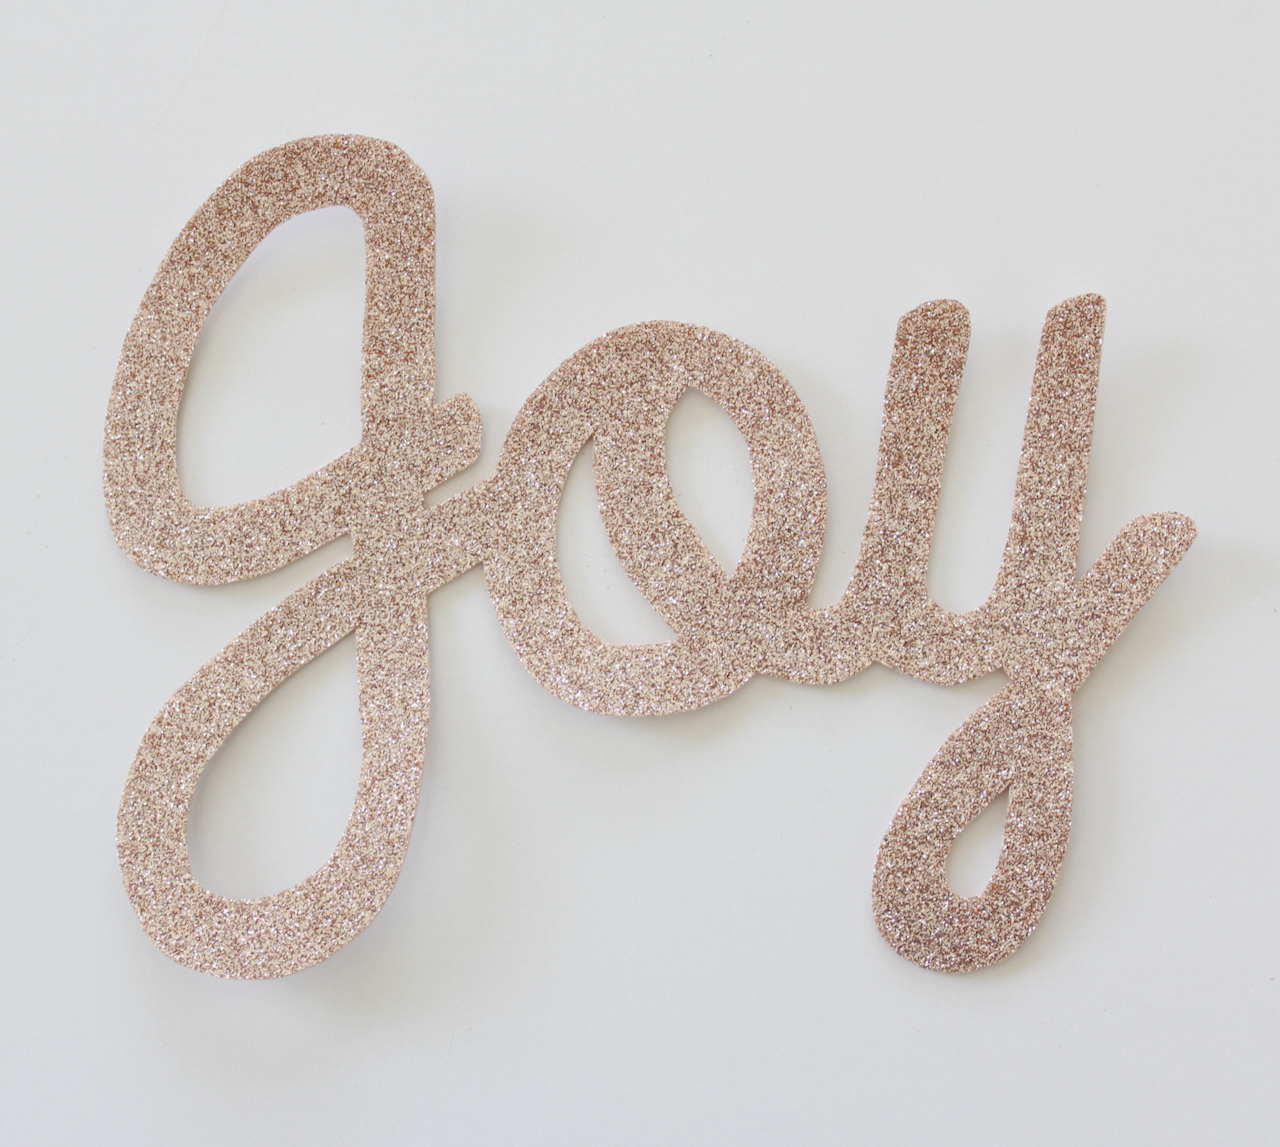
Cut out the template on the drawn line, being sure to remove the centers in the looped letters too. Set aside.
Assemble a quilt sandwich to make the pillow top. Use the basting adhesive spray to secure the rectangle of sew-in fleece to the wrong side of one of the 22″ x 16″ linen rectangles. Apply adhesive to the other side of the fleece and secure the remaining 22″ x 16″ rectangle of linen, ensuring again that the right side is facing out. Press all three layers together well.
Quilt the pillow top using your preferred method. I used simple vertical straight line quilting on the sewing machine, using the edge of my walking foot as a guide between rows. If using this method, be sure to continually quilt in the same direction, i.e. top to bottom.
Use a ruler to find the center of the pillow top.
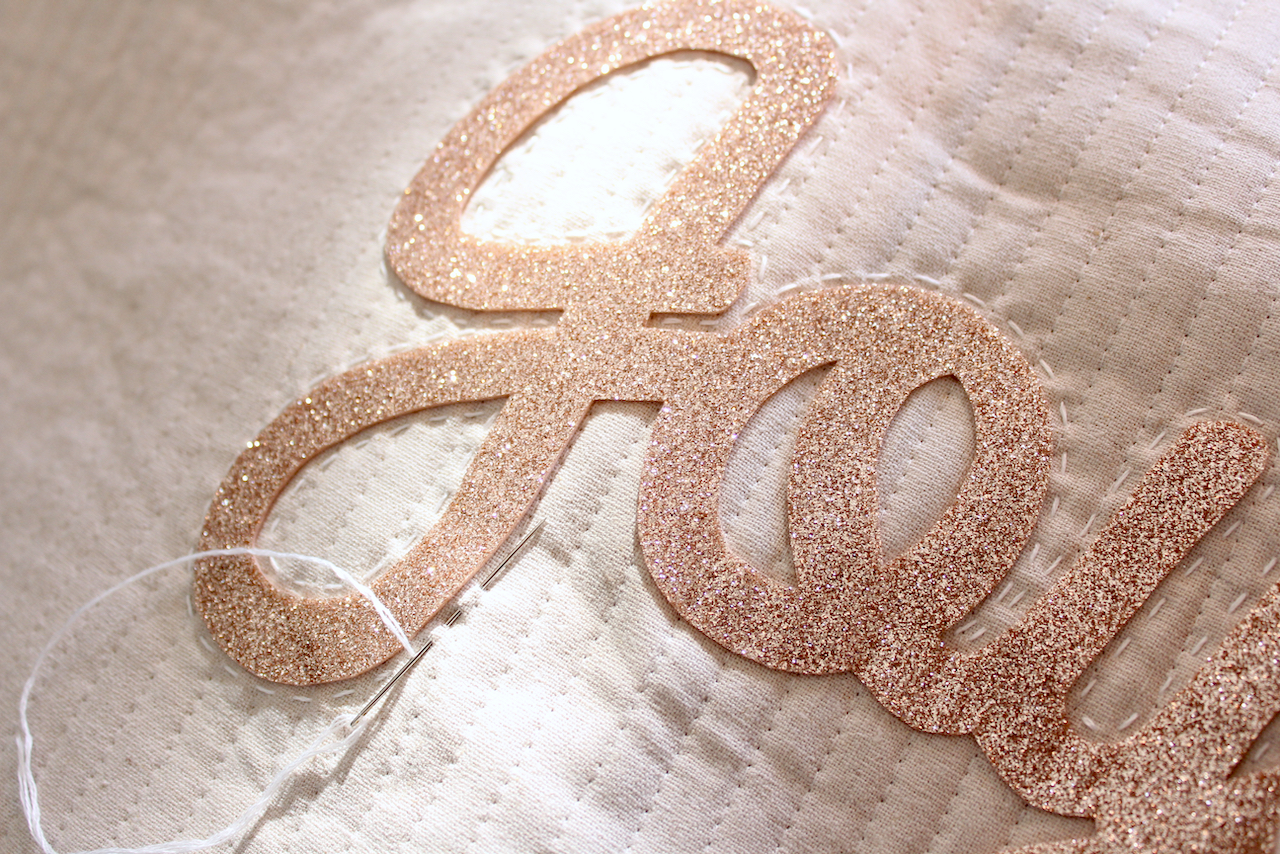
Peel off the backing paper from the back of the felt ‘Joy’.
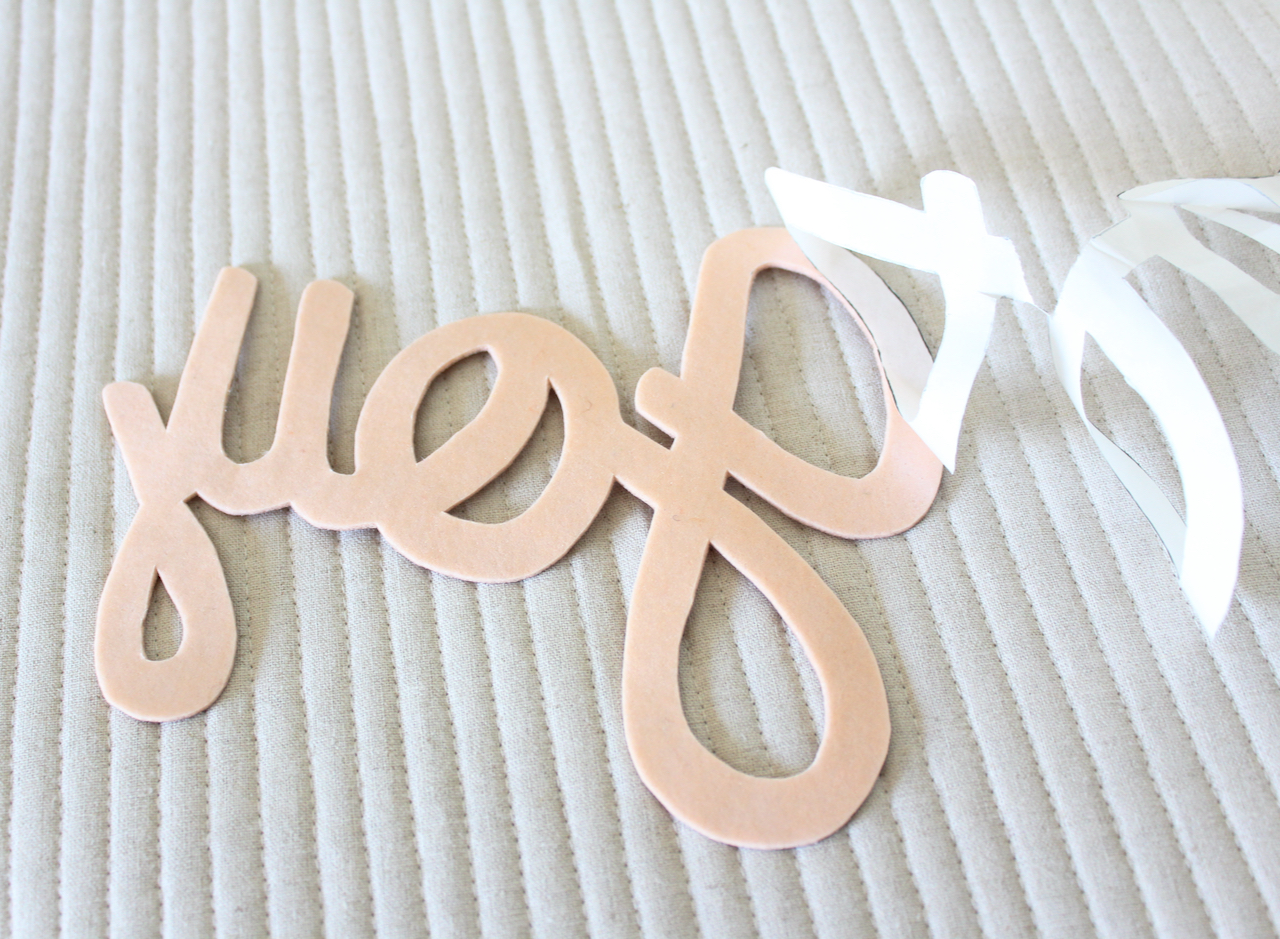
Centre the felt word on the quilted pillow top. Cover it with the pressing paper and press with a warm iron to secure.
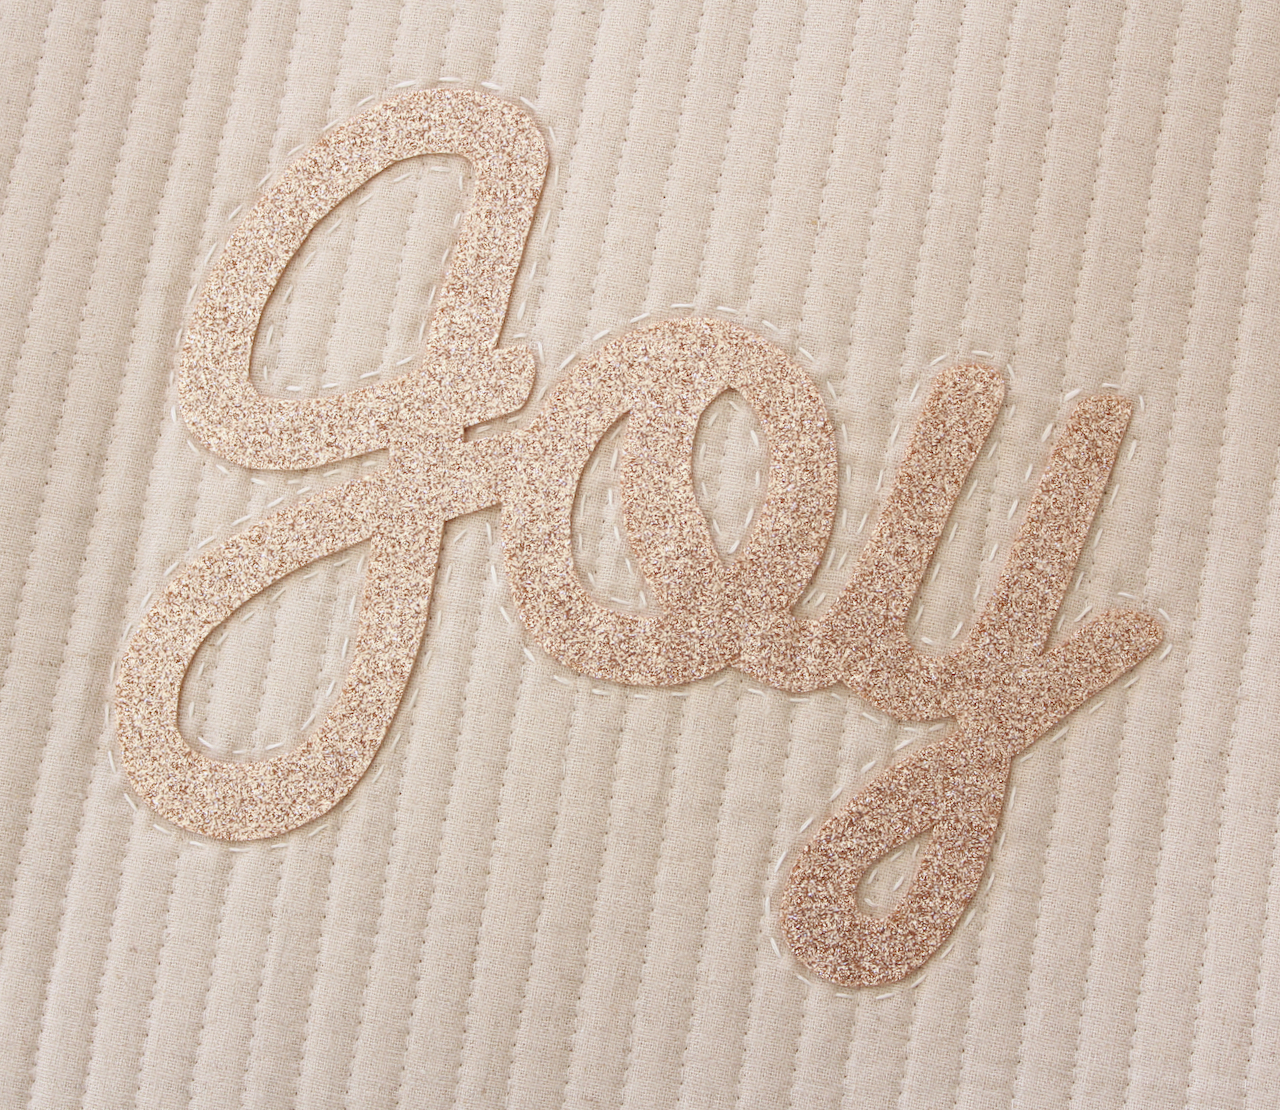
Using three strands of white embroidery floss, hand quilt running stitch details about a 1/8″ from the edge of the felt. Be sure to also stitch inside the loops.
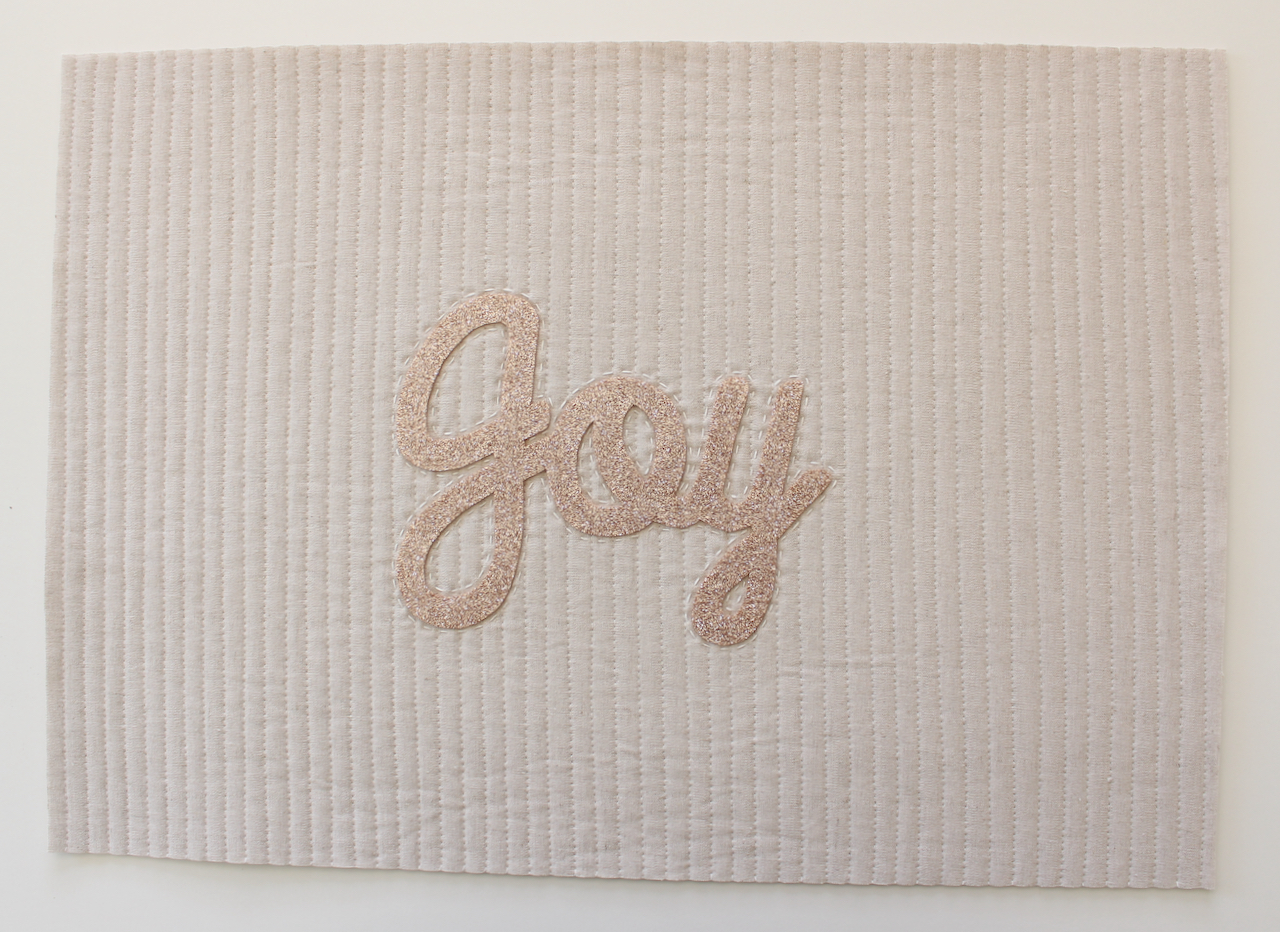
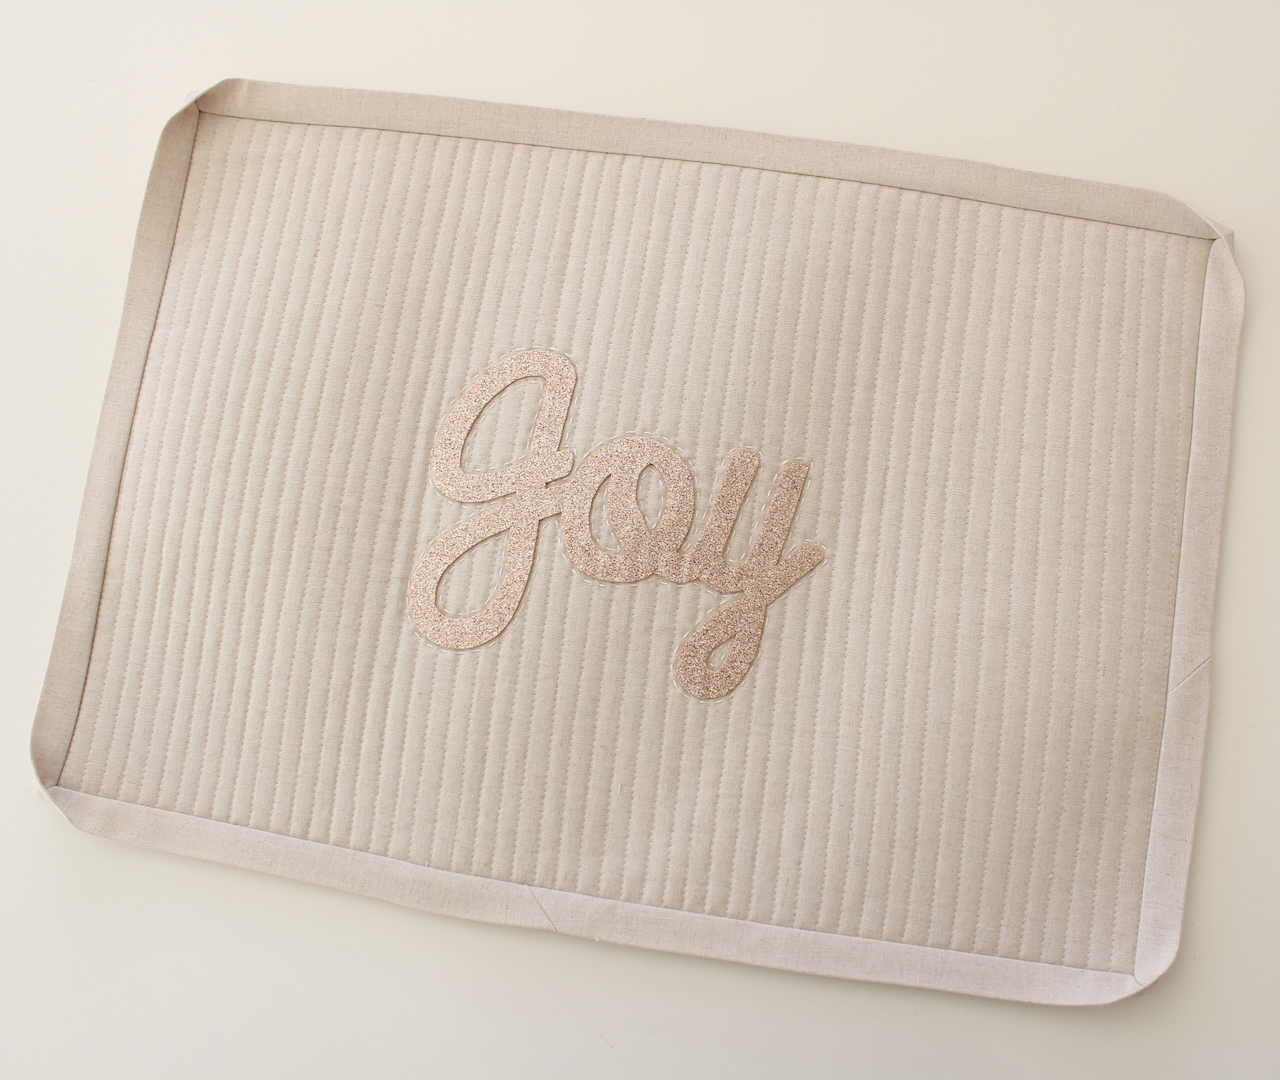
Trim the panel down to 20″ across and 14″ high. Ensure that the felt word is centered.
Assemble the Pillow
Hem the 14″ lefthand side of the 14″ x 10″ rectangle of line. Fold over a 1″ seam allowance to the wrong side and press. then fold over again, press and stitch close to the fold line.
Use the method described above to hem the 14″ righthand side of the 14″ x 18″ rectangle of linen.
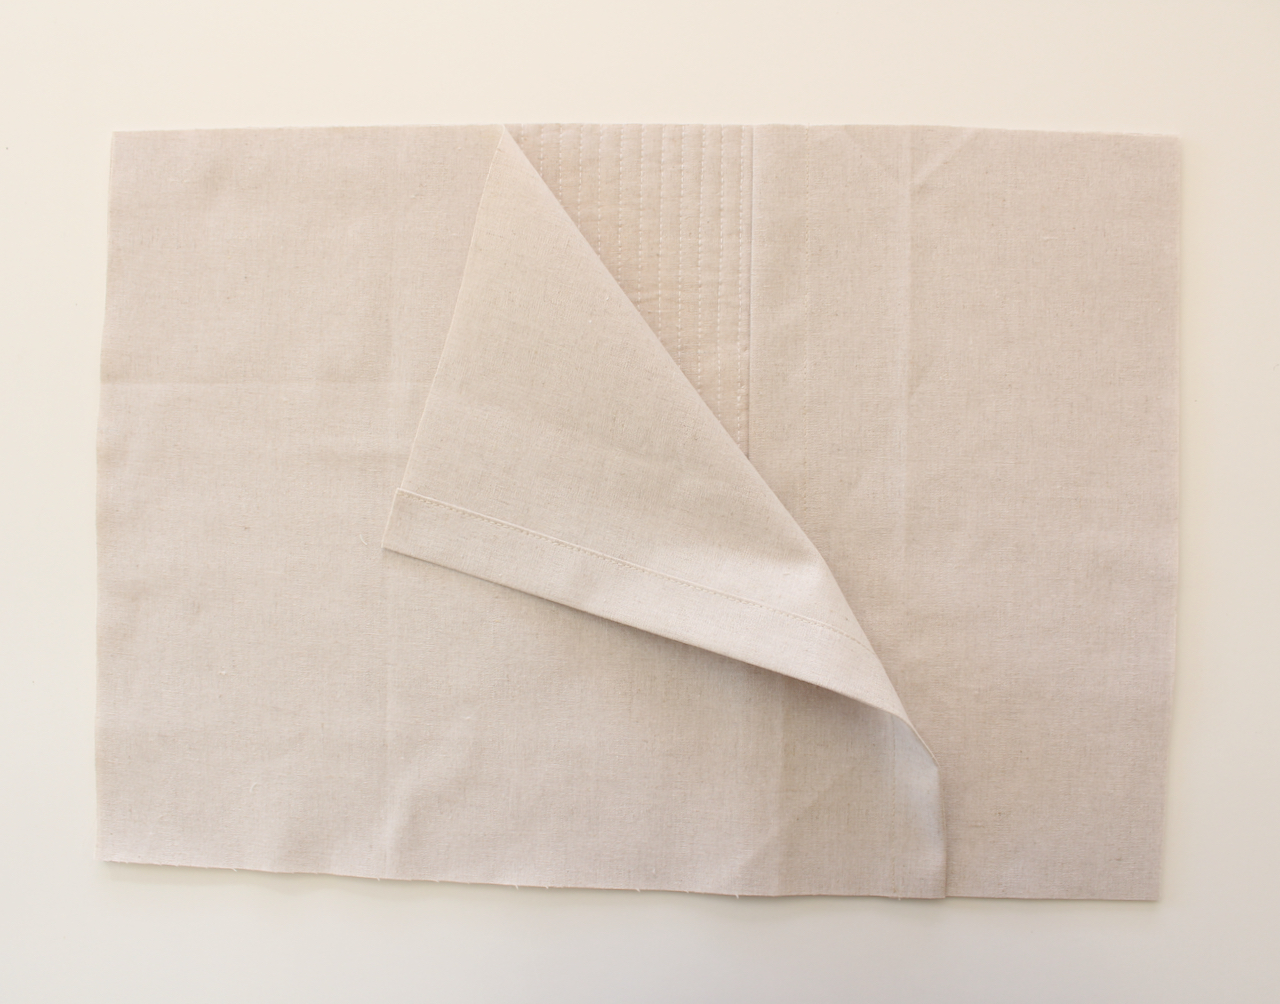
Place the pillow top face down on a flat surface. Position the short linen rectangle on the right-hand side of the pillow top, being sure to line up all the fabric edges. Ensure the folded over hem is facing the back of the pillow top (see image below).
Repeat this process to line up the remaining linen rectangle on the opposite side, ensuring both hemmed fabric edges overlap.
Sew the linen rectangles to the pillow top using a scant 1/8″ seam allowance. Carefully backstitch the sections with the hemmed fabric (for extra stability).
Join the two 2″ strips of fabric width on the diagonal and trim away the excess seam allowance. Open the seam flat and press.
Press the fabric strip in half lengthways to make 1″ wide binding.
Use your preferred method to bind the edges of the pillow. Align the raw edges of the binding on the top of the pillow edge and stitch in place, being careful to mitre the corners and join the binding carefully at the end.
Press the binding flat and then turn over the raw fabric edge towards the back.
Blind stitch the binding in place.
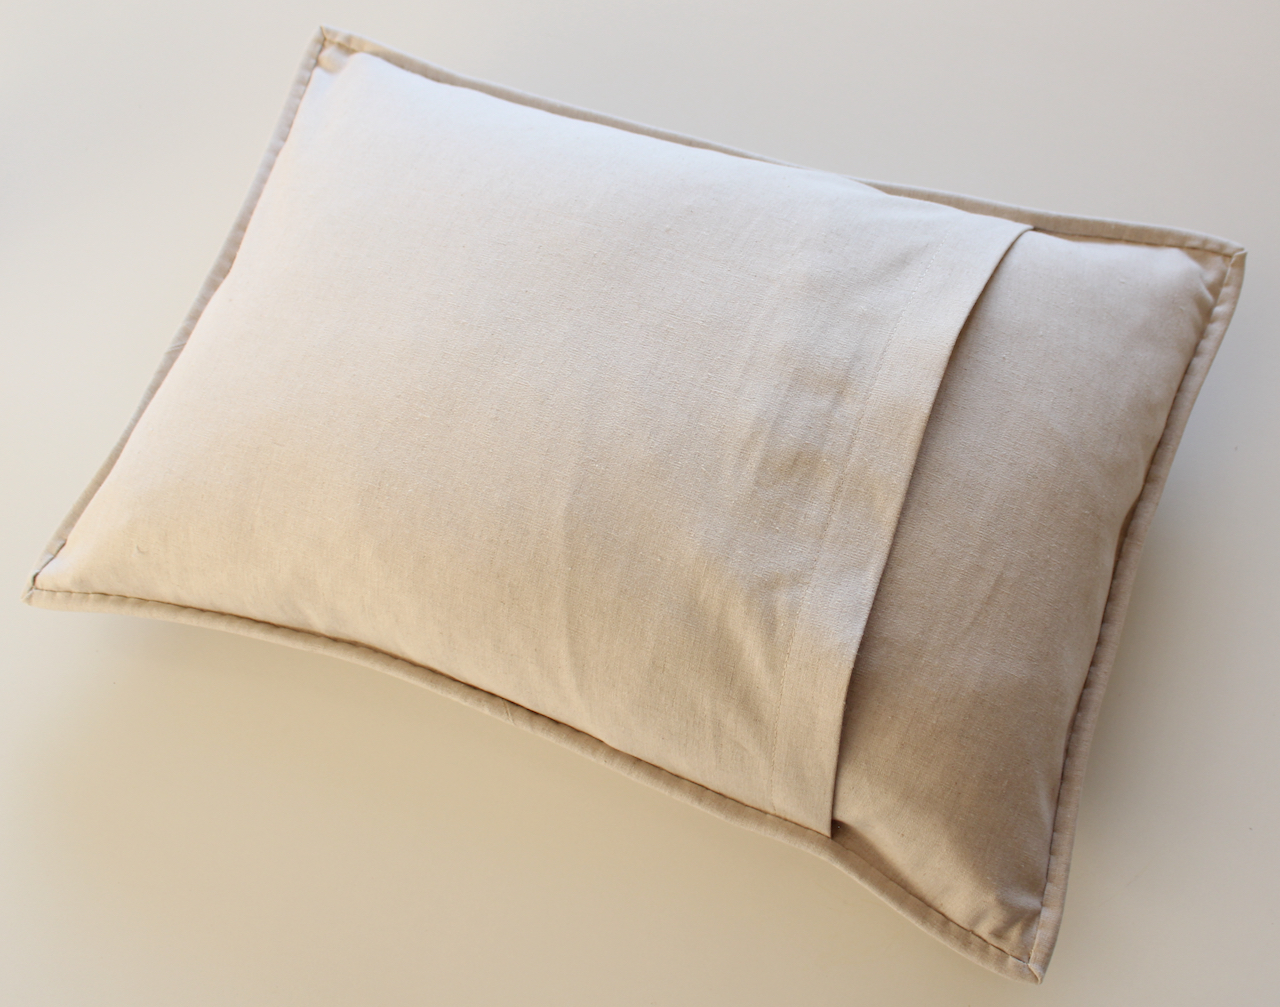
Pop in your cushion insert. The back of the pillow will look like this…
And the front will sparkle and shine for you as it catches the sun on the couch!
HAPPY STITCHING!
I hope you’ve found this project easy and fun. If you’ve enjoyed it, you might like to stop by my blog and check out the other simple tutorials I have there. You’ll find tips for appliqué, working with wool felt, English paper piecing and more.
If you make the Joy Pillow, be sure to share it with me. I get such a buzz out of seeing my designs in the wild! Visit me on Facebook or share it on Instagram and tag @mollyandmama. Use the hashtags #thermoweb #heatnbond and #mollyandmama.
Happy stitching, Lauren x
[…] Joy Pillow Tutorial […]