


Have you seen all the FUN projects with Therm O Web and Basic Grey over the past week or so?! If not, you need to go check them all out. Lots of inspiration, ideas and tips on using Therm O Web products.
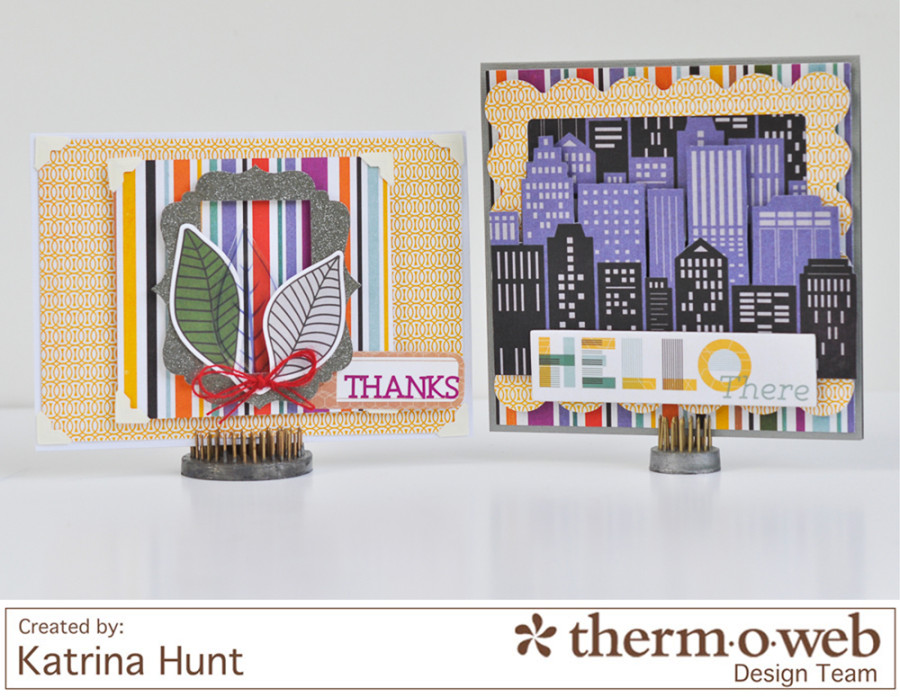
It’s Katrina today to share a couple of cards and a few step out photos of how I did them. I also have a layout to share with you. I used the Second City collection from Basic Grey and I think this is one of my favorite Basic Grey collections. (And I have a few!)
Therm O Web Supplies:
Therm O Web 3D White Foam Squares-1/4 inch
Therm O Web 3D White Foam Squares-1/2 inch
Therm O Web Lots O Zots™-Medium
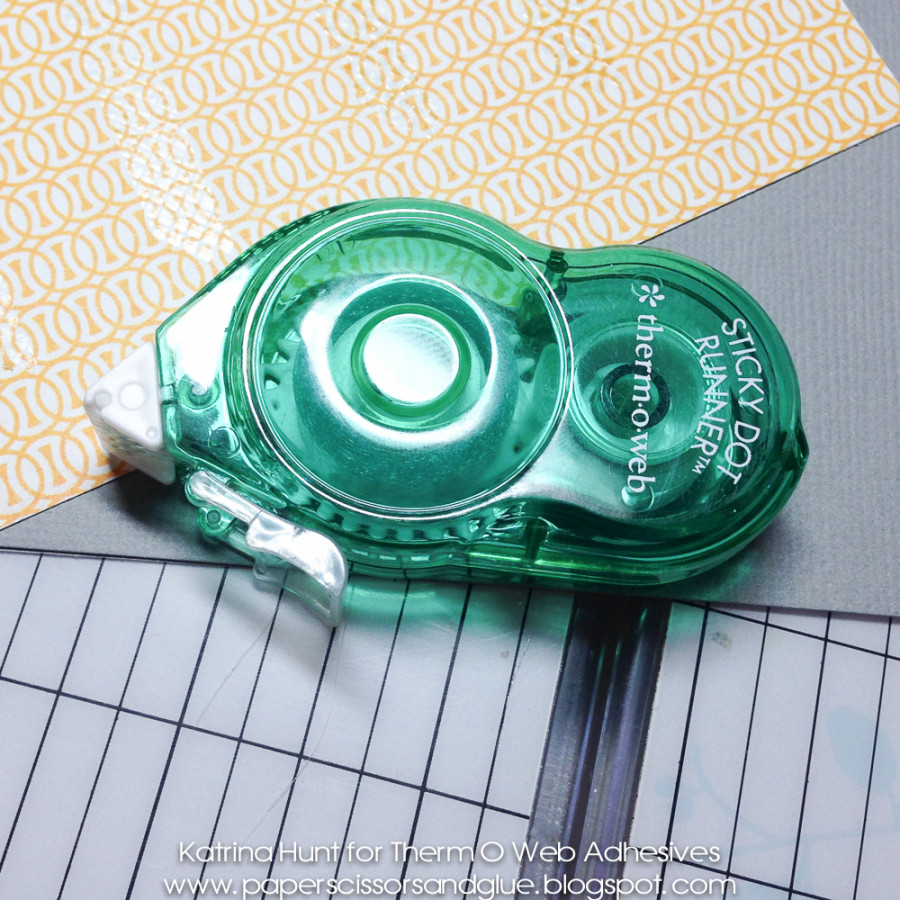
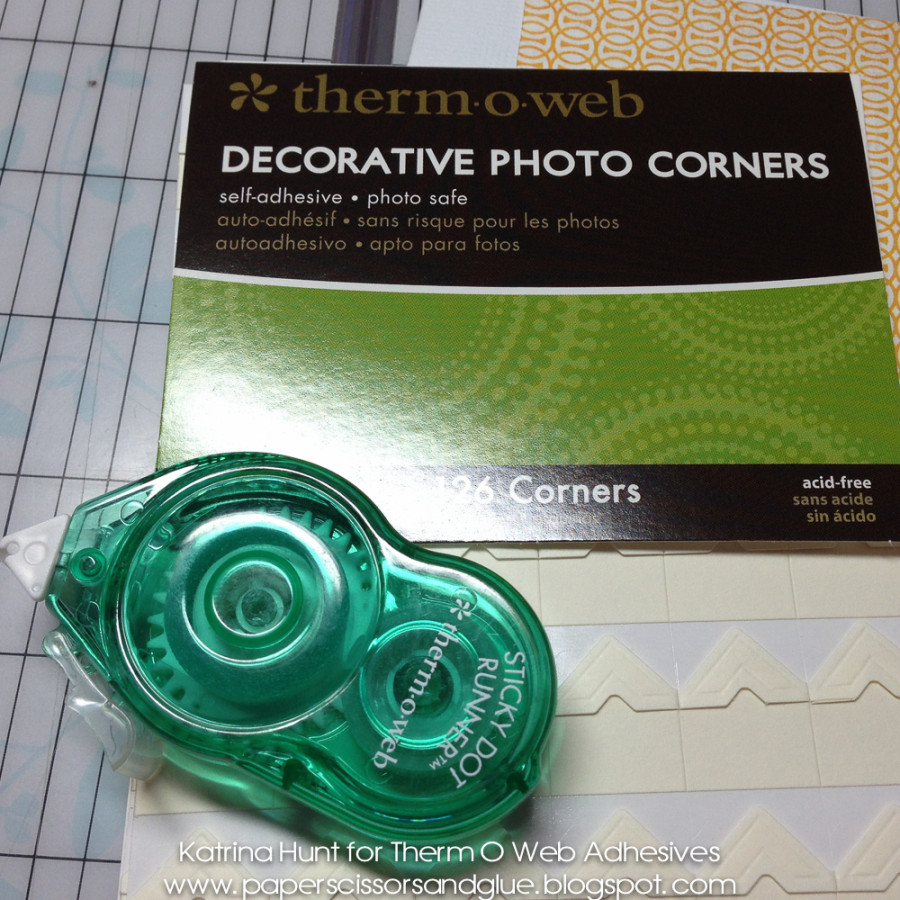
Therm O Web Sticky Dot Mini Runner
Therm O Web Decorative Photo Corners-Ivory
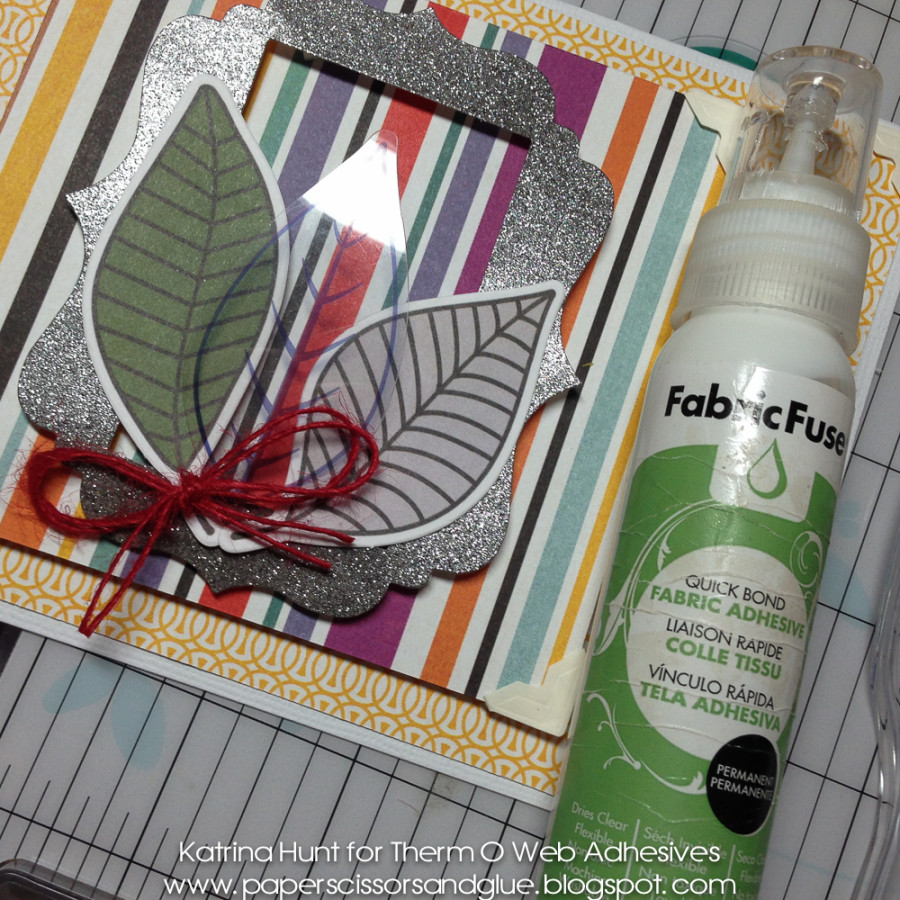
Therm O Web Fabric Fuse™ Liquid Adhesive
Therm O Web iCraft Adhesive ™Tape-1/4 inch
Therm O Web Glitter Dust™ Vintage Photo Frame Assortment-Silver
Other Supplies:
Cardstock-American Crafts; Pattern Paper, Die Cuts and Emellishments-Basic Grey (Second City); Twine-May Arts; Silhouette Cameo with cutting file
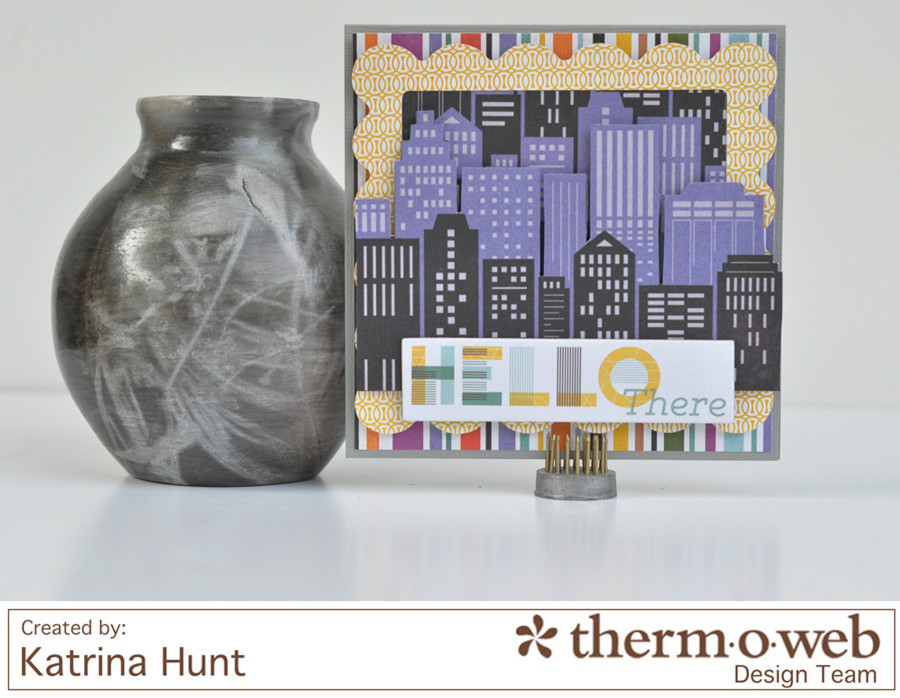
1. Cut card base 6×6 inches. Cut background paper 5.75 inches square and with Sticky Dot Mini Runner.
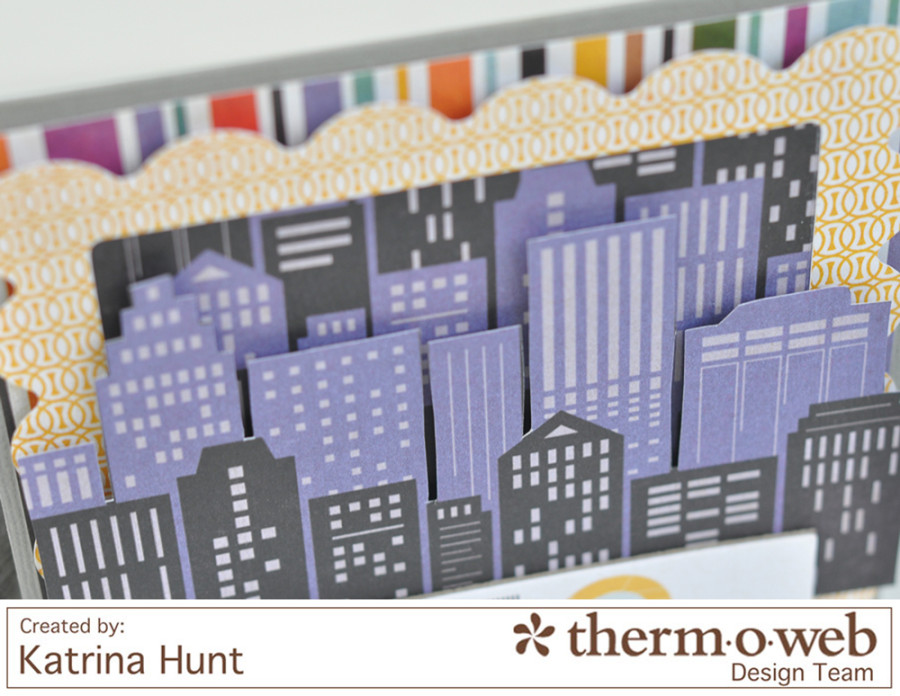
2. Cut scallop frame with die cutting machine (or die) and attach one layer of the cityscape paper to the back with the iCraft Adhesive™ Tape. Place tape on the edges and attach to the back of the frame.

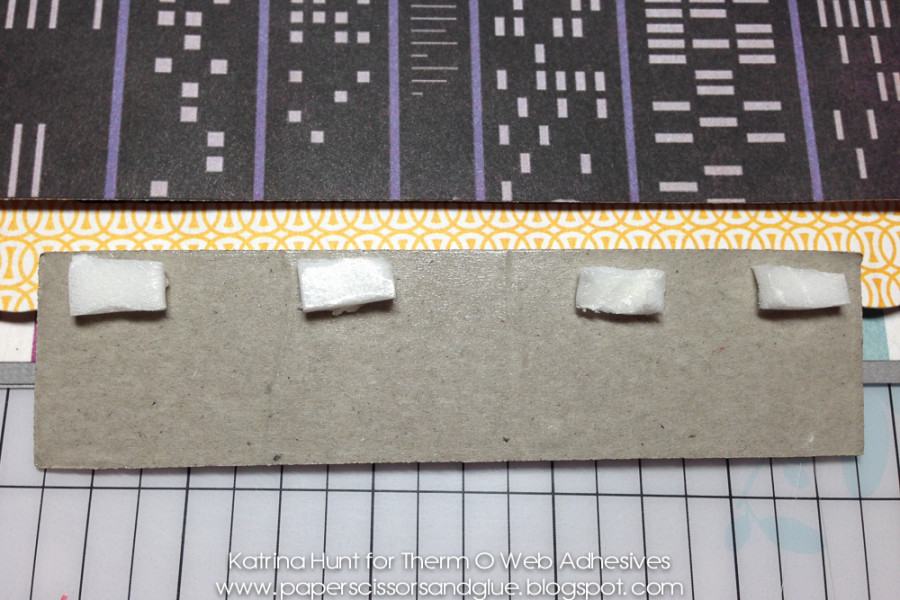
3. Use 3D Foam Squares to pop up the scallop framed piece from the background paper.
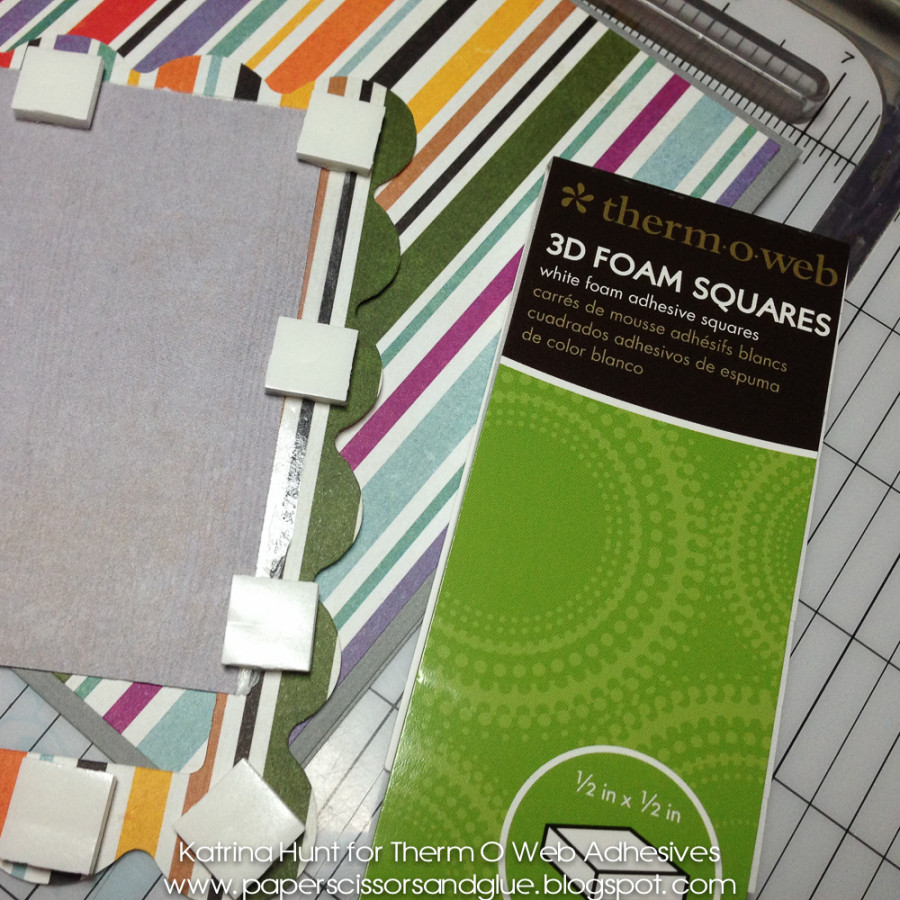
4. Hand cut a section of cityscape out of the pattern paper. Layer it on the front of your scalloped frame and background paper with 3D Foam Squares, making sure to show some of the buildings of the background at the top. After that is completed, attached your chipboard sentiment, using the 3D Foam Squares to balance the dimension of the second cityscape layer. Cut the 3D Foam Squares-1/2 inch in half and use the halves along the bottom of the chipboard piece.

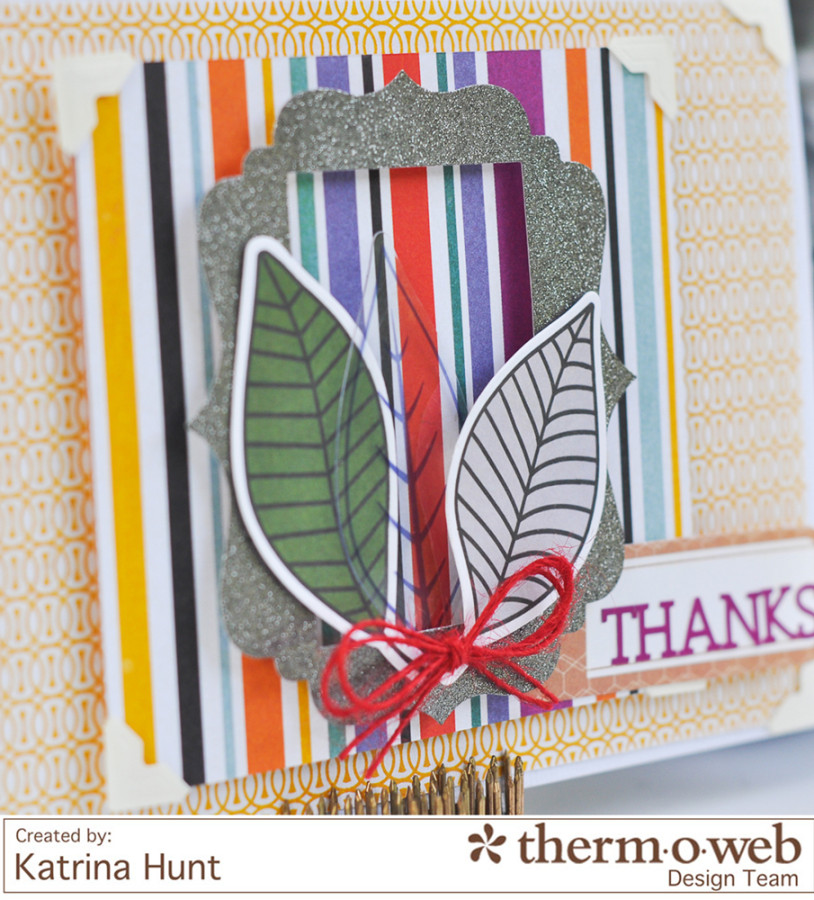
1. Cut card base 5 x 7 inches. Cut background pattern paper 4.75 x 6.75, attach Decorative Photo Corners in Ivory to all four corners and also use the Sticky Dot Runner to attach this piece to the card base.
Designer Note: These photo corners are a GREAT item to have in your supplies. There are 126 corners in each package and they go a long away!
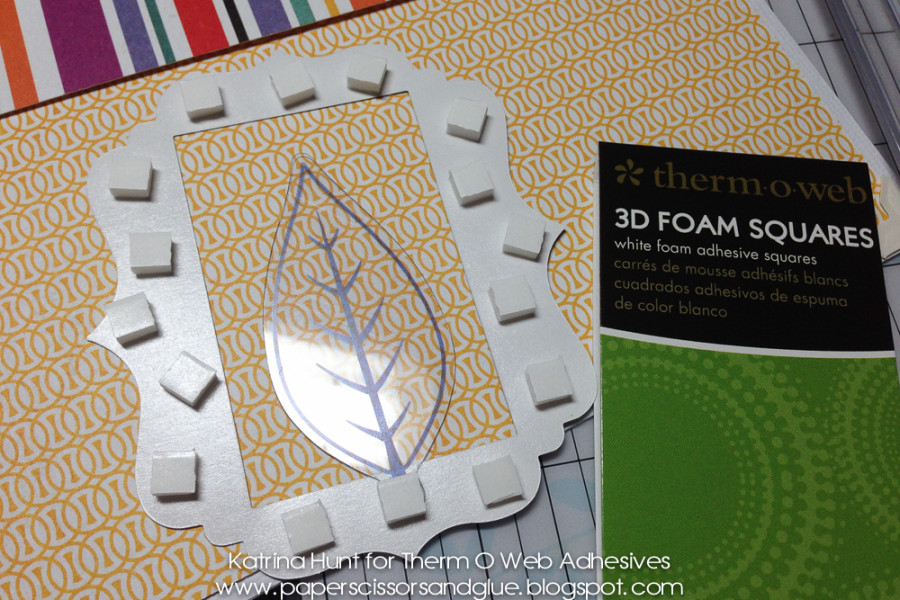
2. Cut striped paper 4.25 inches square and attach photo corners to the corners. Use 3D Foam Adhesive to pop this layer up. Create framed area with a Glitter Dust™ Vintage Frame and embellishments. Use the new Liquid Fabric Fuse™ to attach a twine bow to the center of the leaf cluster. Use 3D Foam Adhesive to pop up this entire area.
Designer Note: The back of the frame is self adhesive, so it was perfect to attach the stem of the transparent piece to, hiding the adhesive.
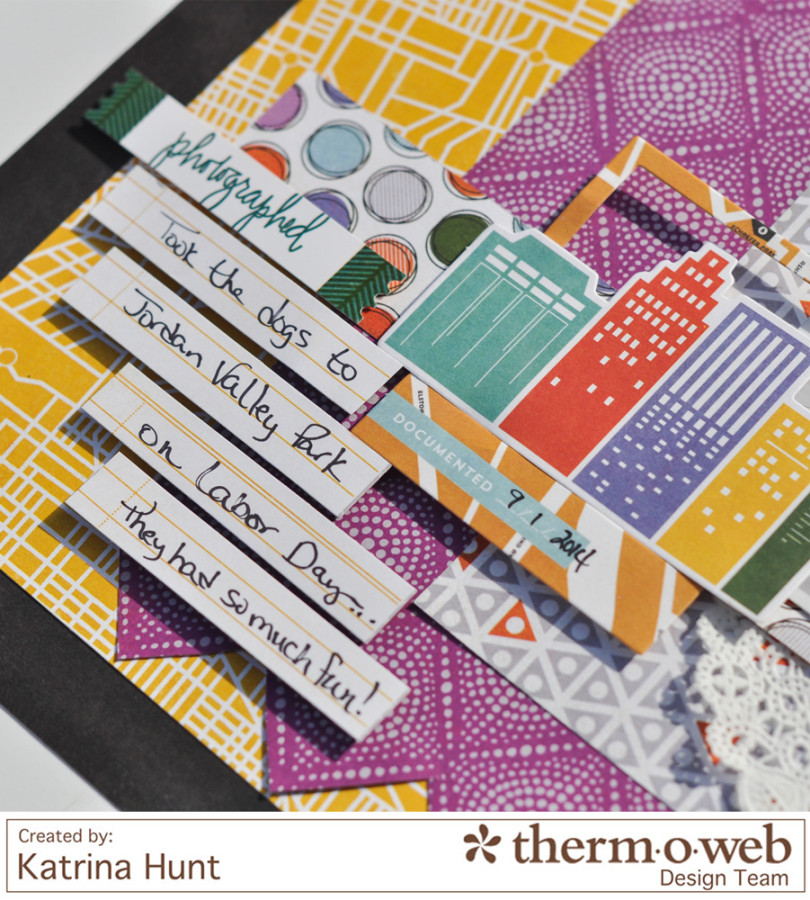
Next, I was having so much fun, I made a layout! No step out photos, but I used lots of 3D Foam Adhesive, the Sticky Tape Runner and Zots™!
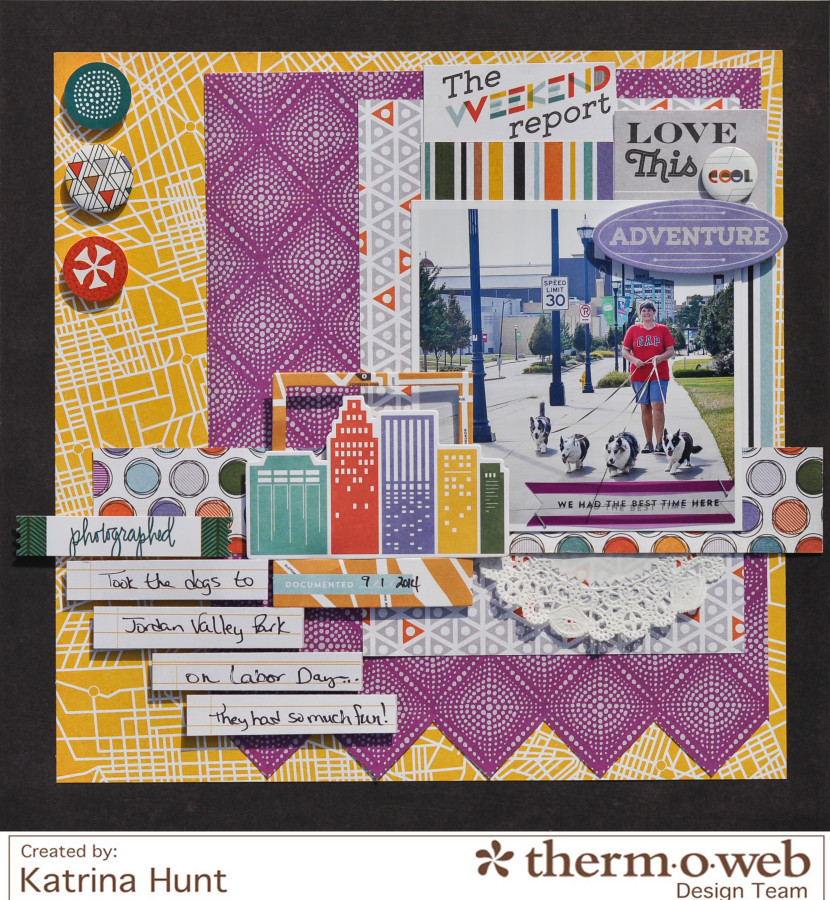
Designer Note: Zots™ are great to attach all the fun metal flair pieces that are popular right now! I used them here to attach this one.
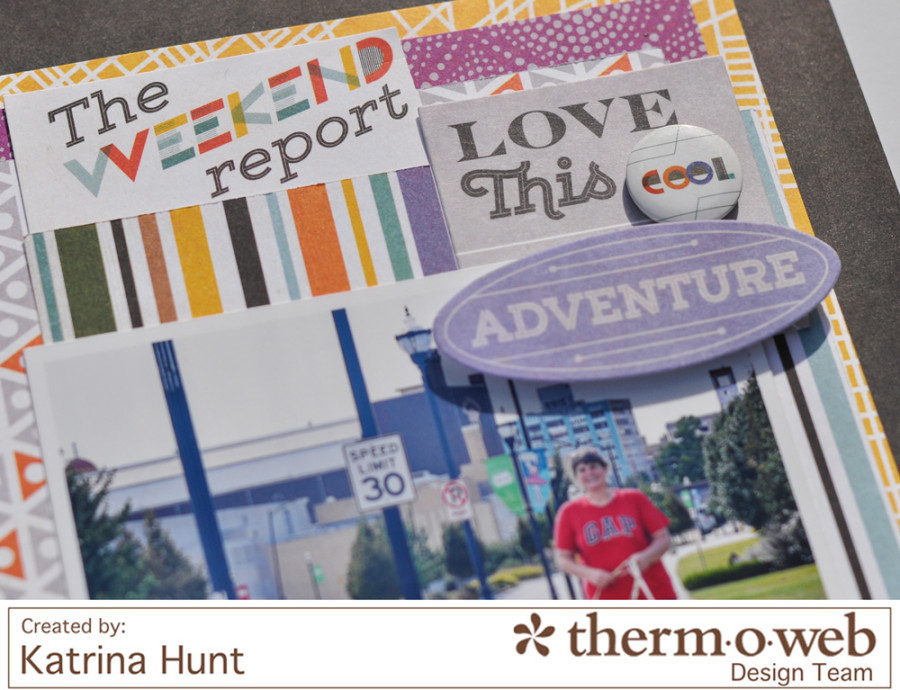
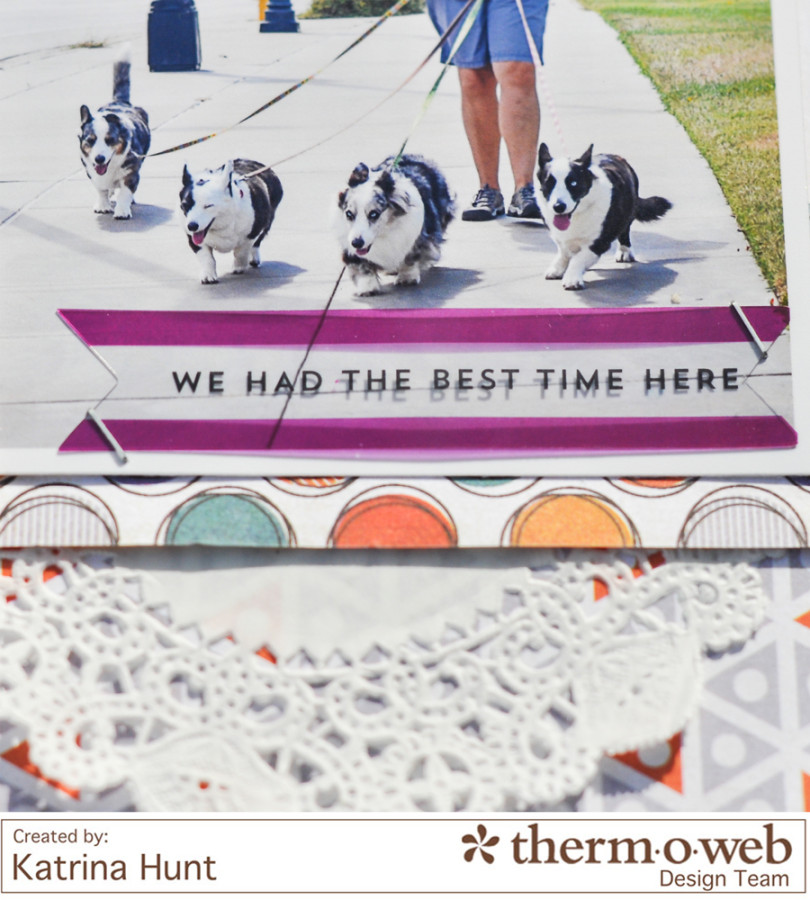
Designer Note: Use 3D Foam Adhesive to attract attention to journaling or areas you want to spotlight.
Thanks for stopping by the Therm O Web blog today! Make sure to leave a comment for a chance to win a prize pack. I have another layout on my blog. You can find that layout HERE.
Katrina Hunt


Carla Hundley
September 11, 2014 at 12:13 pm (10 years ago)Lots of fun layouts and
great layering!
Carla from Utah
Trena J
September 11, 2014 at 2:52 pm (10 years ago)Cool cards!!
Amy M. C.
September 11, 2014 at 3:26 pm (10 years ago)Fun collection! Thanks for the giveaway!
Denise Bryant
September 11, 2014 at 5:36 pm (10 years ago)Beautiful projects! I love the dimension from the 3-D Foam Squares!
Shelly Hein-Simmons
September 11, 2014 at 7:20 pm (10 years ago)I need some of those glitter frames! Your layers and dimension on these projects are awesome!
Linsey
September 12, 2014 at 10:20 am (10 years ago)They are both totally fabulous!