


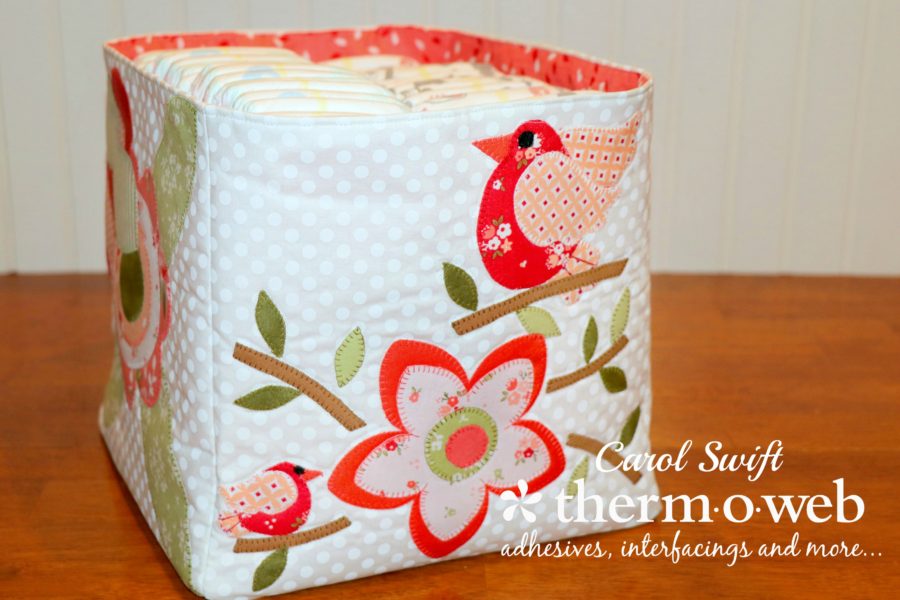
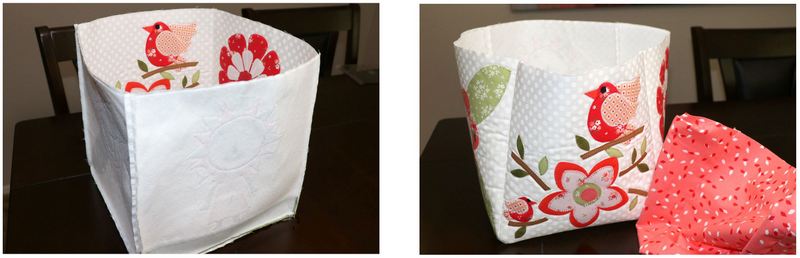
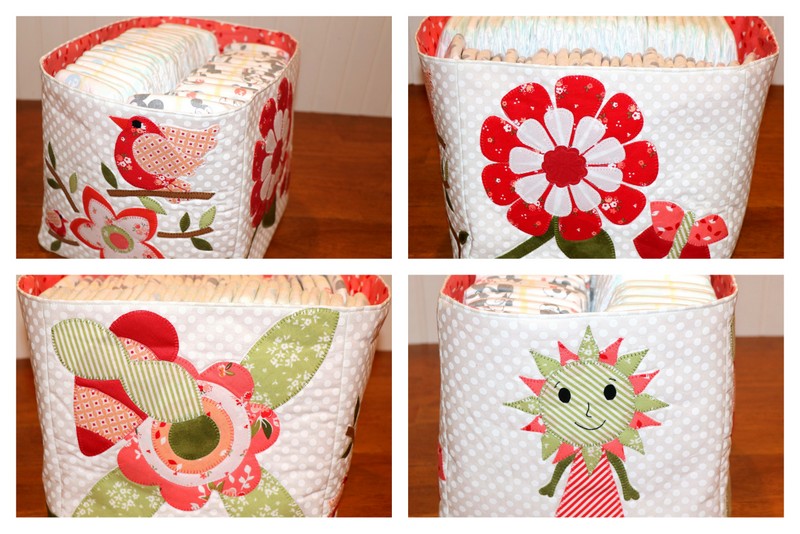
Last week we shared four different blocks for the ThermOWeb Spring Sew Along and now this week we’ve got some fun and beautiful projects to use those blocks in. Today I’ll kick off the project week with my Spring Sew Along Basket that’s really easy to make. Those sweet blocks went together to create a 10″ fabric basket that is perfect for all sorts of things. My daughter has a household of all boys, so giving her this basket to store diapers added a feminine touch to a corner in her room. It would also be great for holding patterns or craft supplies! HeatnBond Fleece Fusible High Loft added just the right amount of stability to hold the sides up without being stiff.
Spring Sew Along Basket
by Carol Swift
Basket Supplies:
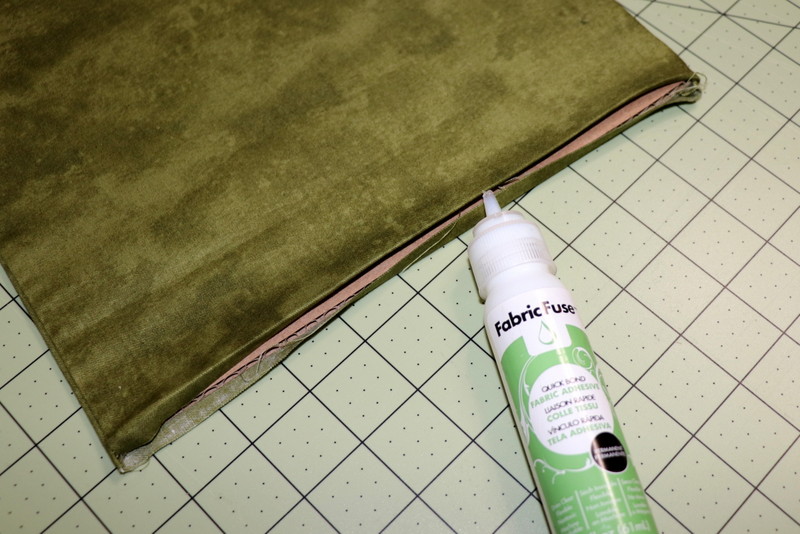
Fabric Fuse Adhesive
Heat n Bond Fleece Fusible High Loft
Aurifil Thread
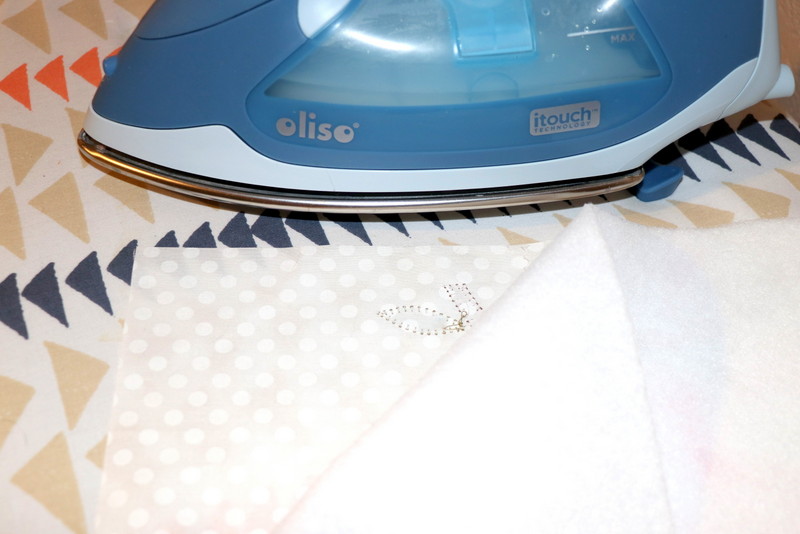
Oliso Iron
Four applique designs from ThermOWeb Spring Sew Along Designers:
Designer Carla Henton from Creatin’ in the Sticks
Pattern found HERE
Designer Kim Lapacek from Persimon Dreams
Pattern found HERE
Designer Amy Warner from Sew Incredibly Crazy
Pattern found HERE
Designer Carol Swift from Just Let Me Quilt
Pattern found HERE
Fabric Needed:
1/2 yard Outer Basket
1/2 yard Lining
8-10 miscellaneous fat quarters for applique and base cover
Cutting instructions for 10” square basket:
Cut 5 – 10½” x 10½” squares, four for sides, one for bottom, Outer Basket
Cut 1 – 30½” x 30½” square, Basket Lining
Cut 5 – 10½” x 10½” squares Heat n Bond Fleece Fusible High Loft
Cut 2 – 10½” x 12”, cardboard base cover
Cut 1 – 10” x 10” cardboard square, basket base
Sewing Instructions: All seams are sewn at 1/4″. Apply applique designs following individual sew along pattern instructions.
Spring Basket Pattern and Instructions
Spring Basket
Step 1: Iron Heat n Bond Fleece Fusible High Loft to wrong sides of the five 10½” x 10½” squares. Be sure to use a protective pressing cloth when ironing on fusible fleece.
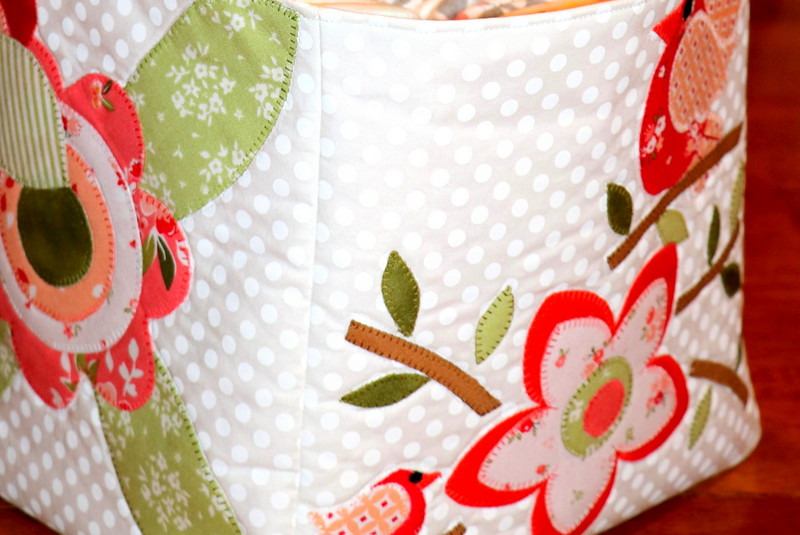
Step 2: Quilt straight lines or other designs on right sides of 10½” x 10½” squares with fleece.
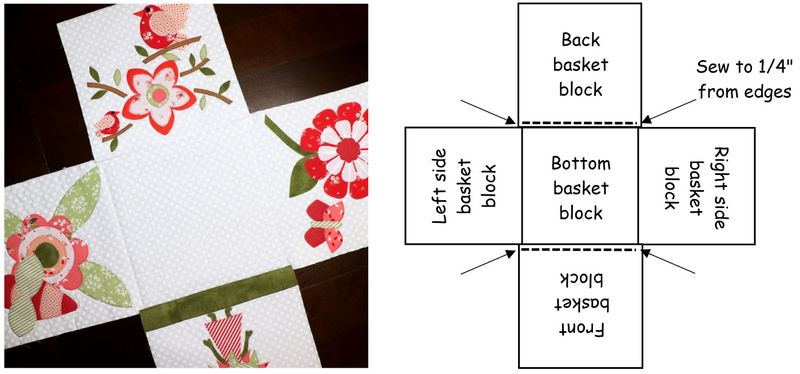
Step 3: Sew Outer Basket – With right sides together, sew left side, bottom basket, and right side 10½” x 10½” squares together. Pay attention to the direction of designs and sew the bottom of applique blocks to bottom basket block. Press seams open. With right sides together, sew back basket square centered on bottom basket square to 1/4″ from edges (sides will overlap seams.) Press seams open. With right sides together, sew front basket square centered on the opposite side of bottom basket square (sides will overlap seams.). Press seams open. *Be sure to use a protective pressing cloth when ironing on fusible fleece.
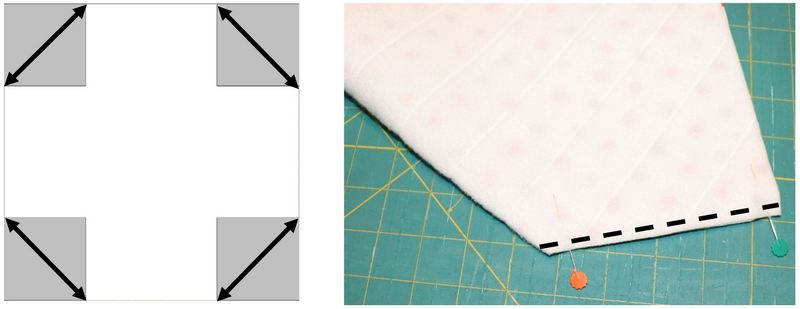
Step 4: Basket Lining – Cut a 10” x 10” square out of each corner of 30½” x 30½” square lining.
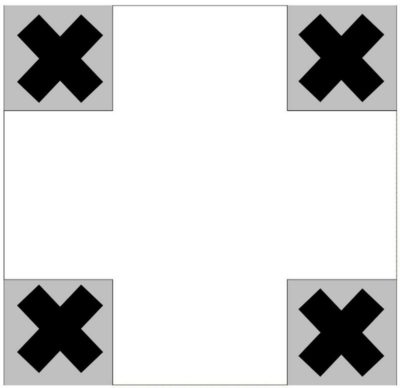 Step 5: Fold corners of Outer Basket, right sides together, as shown by arrows; pin. Sew 1/4” from edges. Turn right side out. Repeat with lining. Press seams.
Step 6: Place lining outside outer basket, right sides together. Pin top edges together matching seams and sew 1/4″ from raw edges, leaving a 3” opening for turning.
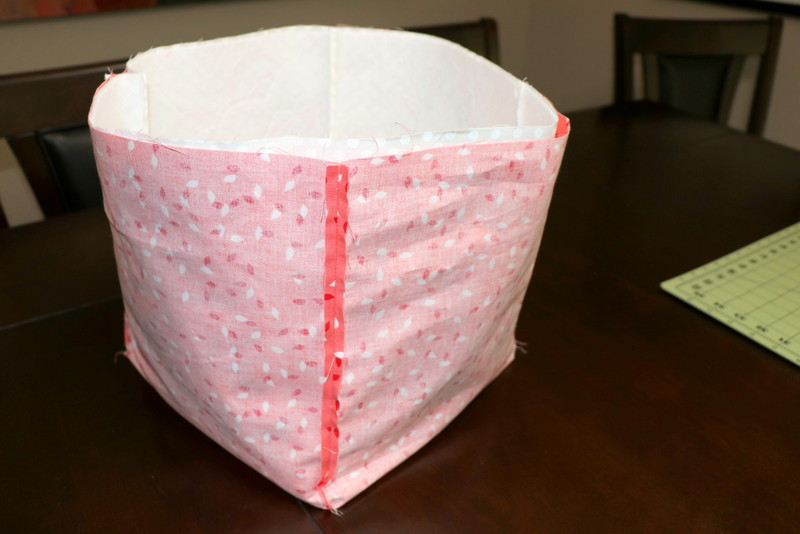
Step 7: Turn fabric inside out through the opening. Press edges. Sew around top of basket close to the edge.
Step 8: Sew basket base fabric, right sides together around three edges; leave one short end open. Turn inside out and press. Slide cardboard square into the open end. Spread a small amount of Fabric Fuse Adhesive along open ends of fabric; tuck in ends; let dry. Insert in basket bottom.
All four sides of the basket are so fun to sew! Be sure to add your finished blocks and/or projects to Instagram or Facebook and tag us at #thermoweb.
Be sure to come back this week for three more ways to use all the sweet blocks in the Spring Sew Along!
March 26 – Carol Swift
March 27 – Kim Lapacek
March 28 – Amy Warner
March 29 – Carla Henton