


Happy Tuesday Crafters!
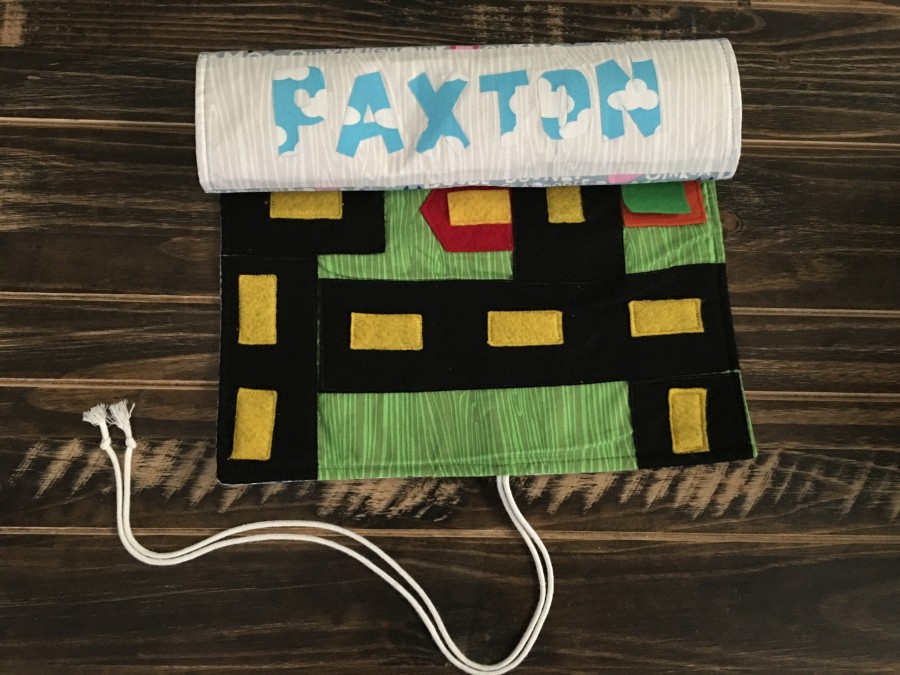
I have a great tutorial for you today that is perfect for kiddos on the move to keep them busy on the go. I made this mat for my best friend’s little boy’s second birthday and they use it all the time at restaurants and in the car! My little one is too small yet for it, but I plan on making him one in a year or so.
Project Supplies:
*1/2 yard exterior fabric (cut to 15″x26″
*1/2 yard interior fabric (cut to 15″x26″)
*fat quarter of fabric for inside zipper pocket (cut to 15″x4″, 15″x6″)
*16″ zipper
*fat quarter for outside name panel (cut to 15″x6″)
*fabric scraps for front name
*1 yard of ribbon or string (cut to 2 16″ pieces)
*hermoweb HeatnBond® Fusible Fleece (cut to 15″x26″)
*thermoweb HeatnBond® Craft Fusible Interfacing (cut to 15″x26″)
*thermoweb HeatnBond® Iron-on Adhesive lite
*Fleece for “town”
*Oliso Iron
*Sewing Machine, Fabric Scissors, Pins, Thread, Cutting Board, Rotary Cutter, and Rulers
Project Instructions:
Step One: Create the Exterior.
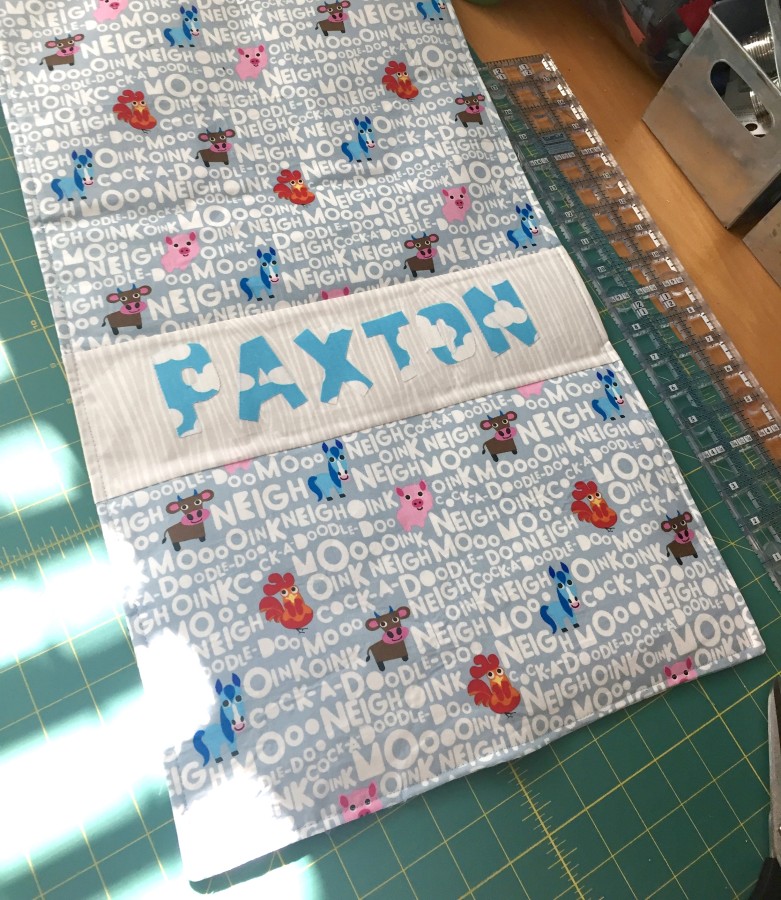
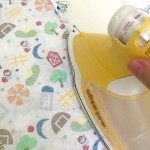
Take your fabric scraps and fuse the iron on adhesive to the back. Cut out your letters for the name by hand or by machine. (I like to print them from a computer and trace them onto the adhesive before I fuse it on) Iron your name to the outside name panel. Choose where you would like the name plate to go in the exterior panel. Cut across the 15″ portion of the exterior and sew your name panel to each side of the 15″ cut. Size your exterior to 15″ by 26″. Now take your craft fusible and adhere it to the back of your exterior panel. (This is an extra step I like to take to create a durable product) Next fuse the fleece to the craft/exterior panel. Iron well.
Step Two: Create the Interior
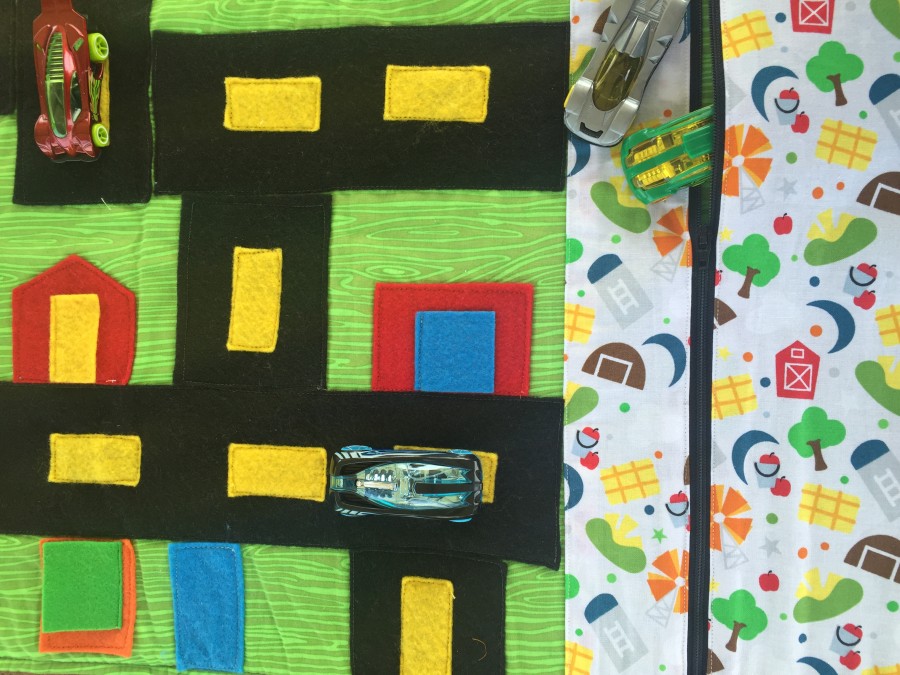
Take your zipper pocket pieces and iron one 15″ side wrong side together by 1/4″, then by another 1/4″. Repeat this for the edge of the 15″x4″ piece that will go in the middle of the inside panel. This will seal the raw edges inside to prevent fraying. Now sew the two folded sides to each side of the zipper. Align your zipper panel to the inside panel, making sure that the raw edge of each panels is together. 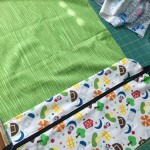 Sew around the zipper panel 1/4″ to secure it to the interior. Now you have a zipper pocket for the cars! The fun part is next. This is going to be where you get to play with the felt! I started with 3″ strips of black felt and started to cut and arrange how I liked it, making sure that it all connected. Then I cut 1″x2″ pieces of yellow felt to create the middle lines of the road. I sewed all of this down with coordinating thread.
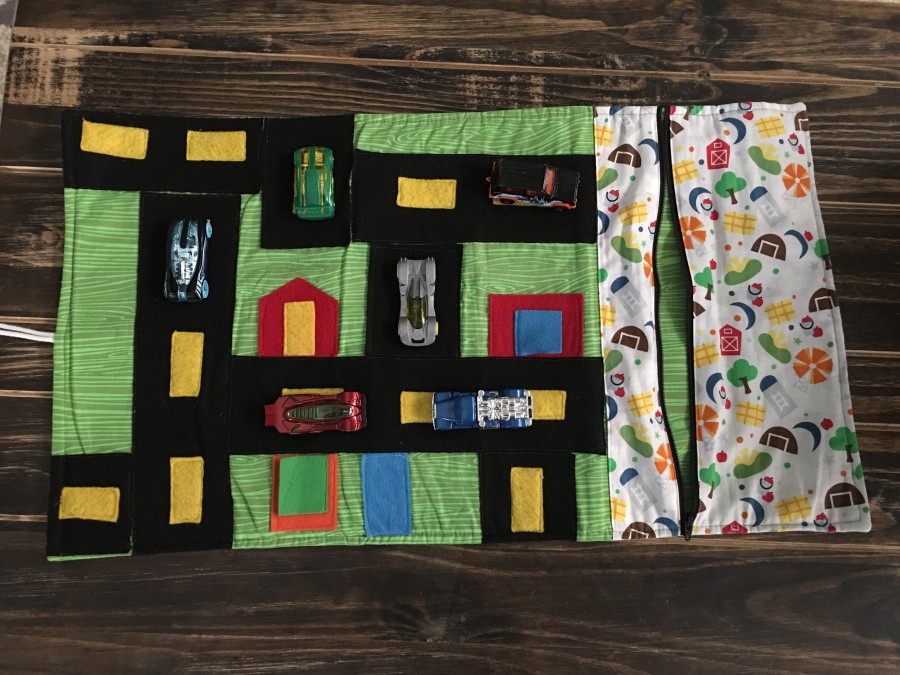
 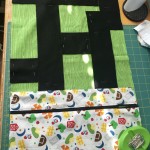 After my roads were assembled I played around with colors to create buildings!This is really a place for your creativity to come in! You could even create landscape. (my skills weren’t up to par for that!)
Step Three: Attach the Exterior/Interior
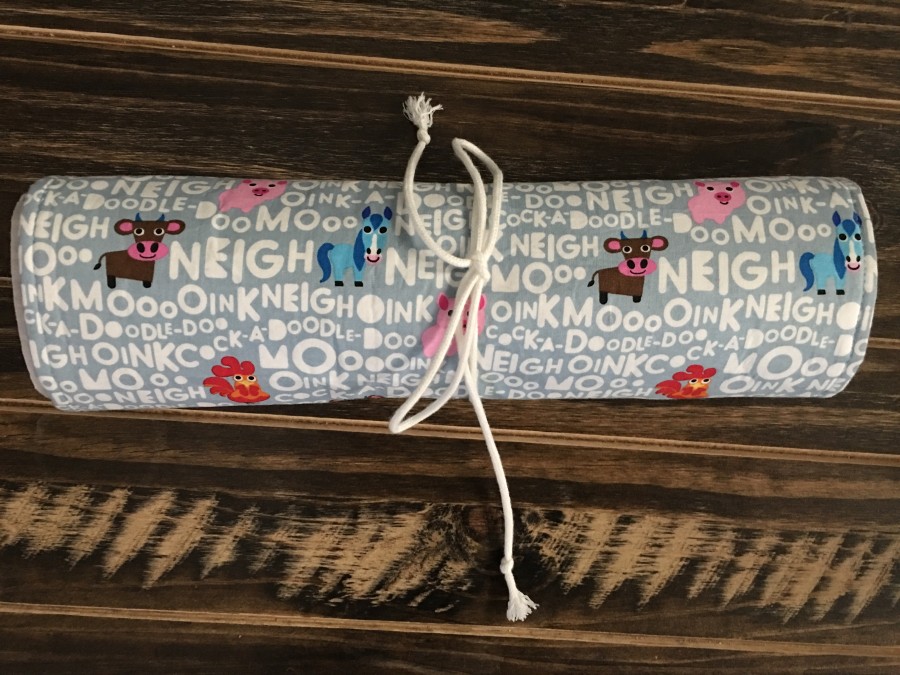
Now that you have both of your pieces assembled, it’s time to put it all together! The first thing you will want to do is to take your two ribbon pieces and baste them to the middle of one of your 15″ exterior panel sides. Take your exterior and interior panel and lay them right sides together, pin and sew 1/4″ around leaving a 3″-4″ hole for turning right side out. (I like to pin down the ribbon to the exterior panel so it doesn’t get caught up in the sides when I’m sewing) Trim the corners and turn right side out. Iron well and then topstitch around the whole project. Iron one more time, add your cars and enjoy!!
Thanks for following along! Happy Sewing~ Kristen Wright
[…] Child’s Portable Car Play Mat Made With Fusible Fleece, by Therm O Web […]