


Hello Friends! It’s Juliana with you here today to share a Mixed Media Canvas I created using some of the new Therm O Web Mixed Media products by Rebekah Meier Designs. Even though I don’t do a lot of mixed media projects, I really enjoy stepping outside the box and playing. These new Mixed Media products are perfect for helping you step outside your comfort zone and play!
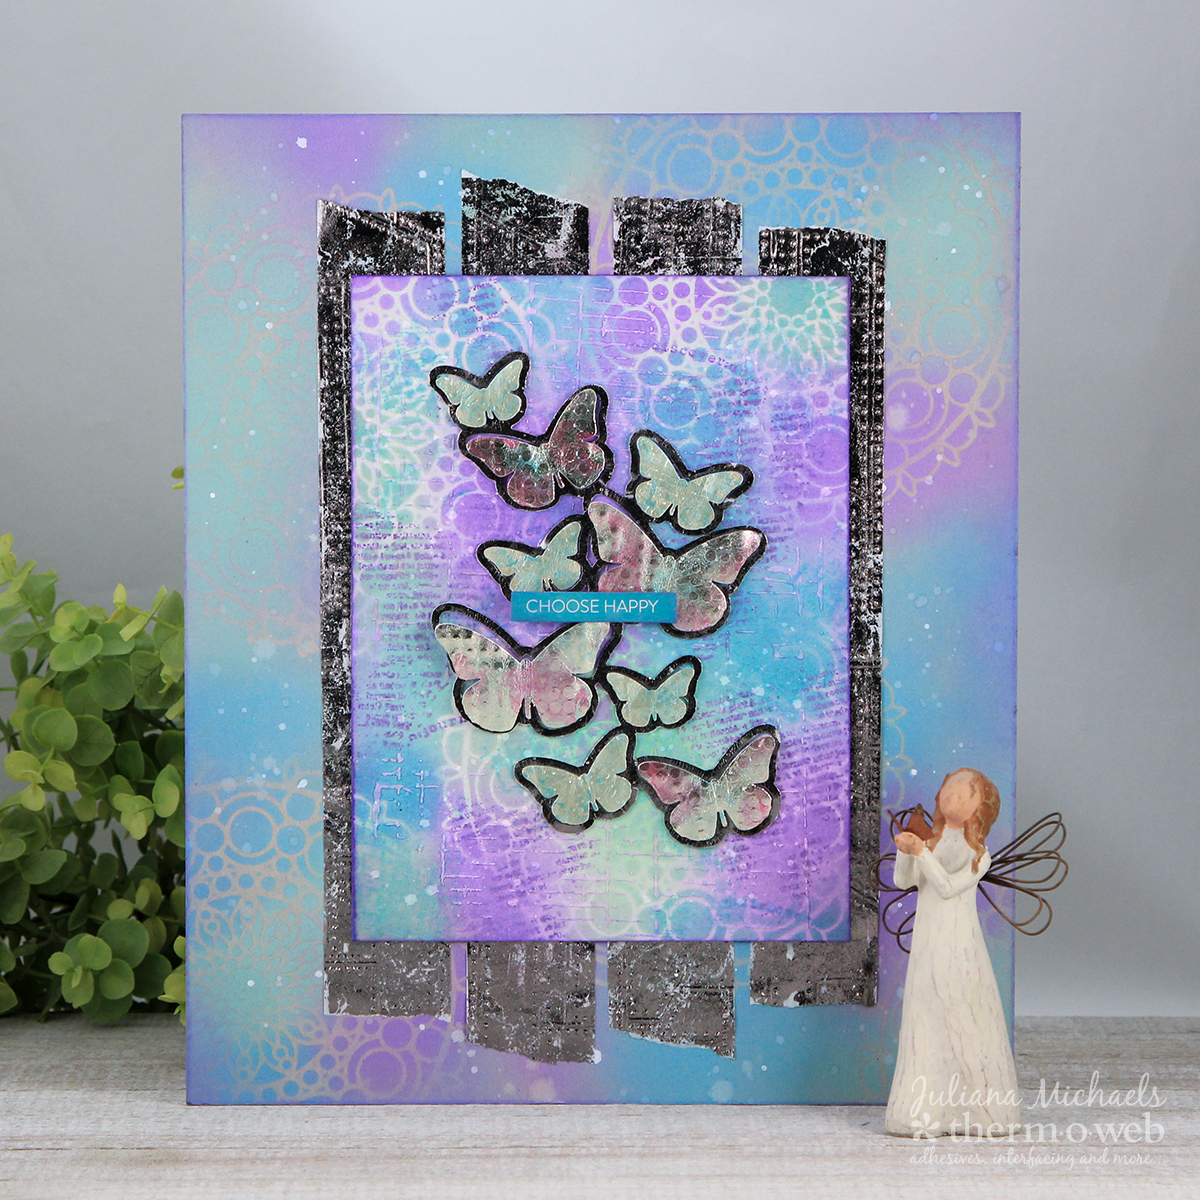
Mixed Media Canvas
The first step in creating a mixed media canvas is to select a surface. You can use an art canvas, a piece of wood or even a piece of chipboard. My project is created on a piece of chipboard, so feel free to use any surface you desire when creating with mixed media.
To create the base, cut a piece of chipboard to 12 x 10 inches. Position a stencil on the chipboard using a low tack tape and ink over it using Distress Oxide Ink. Use a foam blending tool to blend the colors. Reposition the stencil to another location and repeat the ink application and blending process. After the enter 12 x 10 surface is stenciled as desired, dip a paint brush in watered down white acrylic paint and flick the paint onto the surface.
Creating the Top Layer
The next step is to create the top layer. Begin by cutting a piece of chipboard to 6 x 8 inches and then cut a piece of Rebekah Meier Designs Mixed Media Art Paper to the same size. Peel off the liner and adhere it to the top of the chipboard. Repeat the stenciling process. Because the art paper is white, it will make the colors a little more vibrant and help the focal point pop.
Use a script or text stamp with a pigment based ink to add some depth and interest. While any ink will work on the Art Paper, I recommend using a pigment ink when stamping on top of water based inks. A more distressed look can be achieved if you stamp without a stamping block and hold the stamp with your hands. To add a bit of texture mix a small amount of ink into white gesso. Apply the gesso over a stencil and allow to dry.
Creating the Focal Point
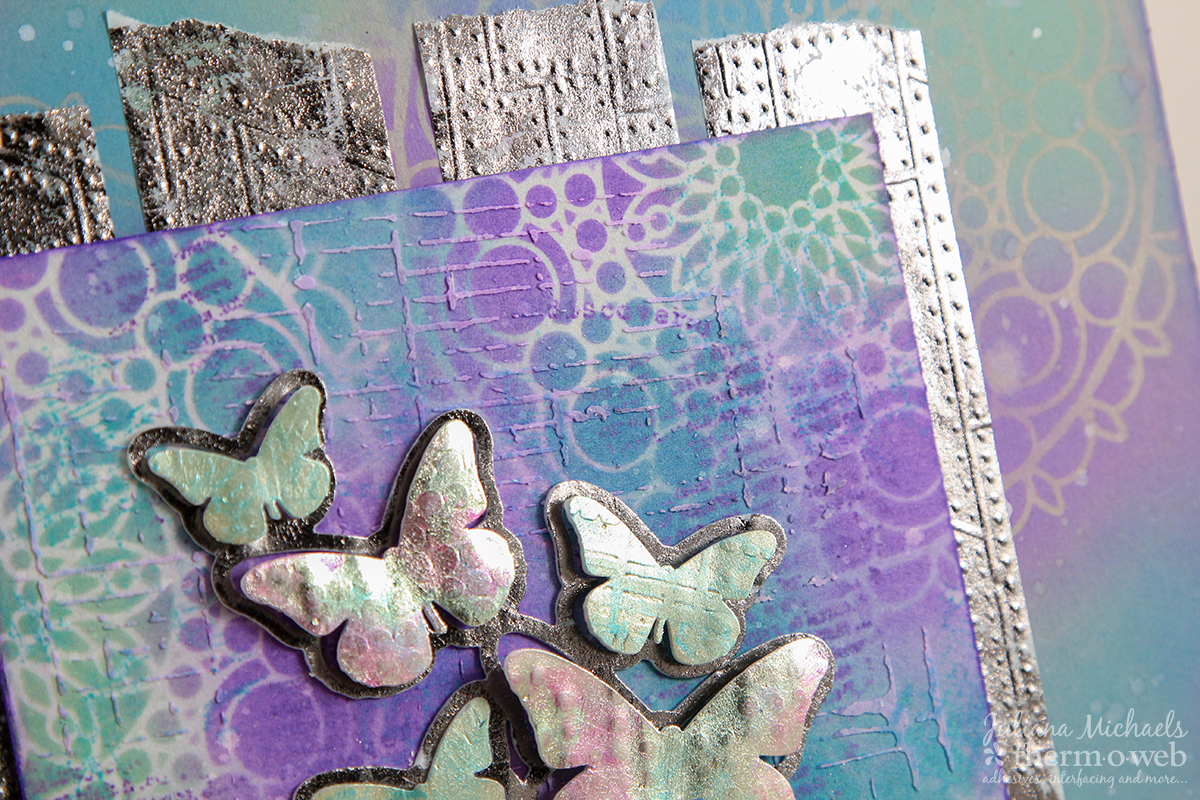
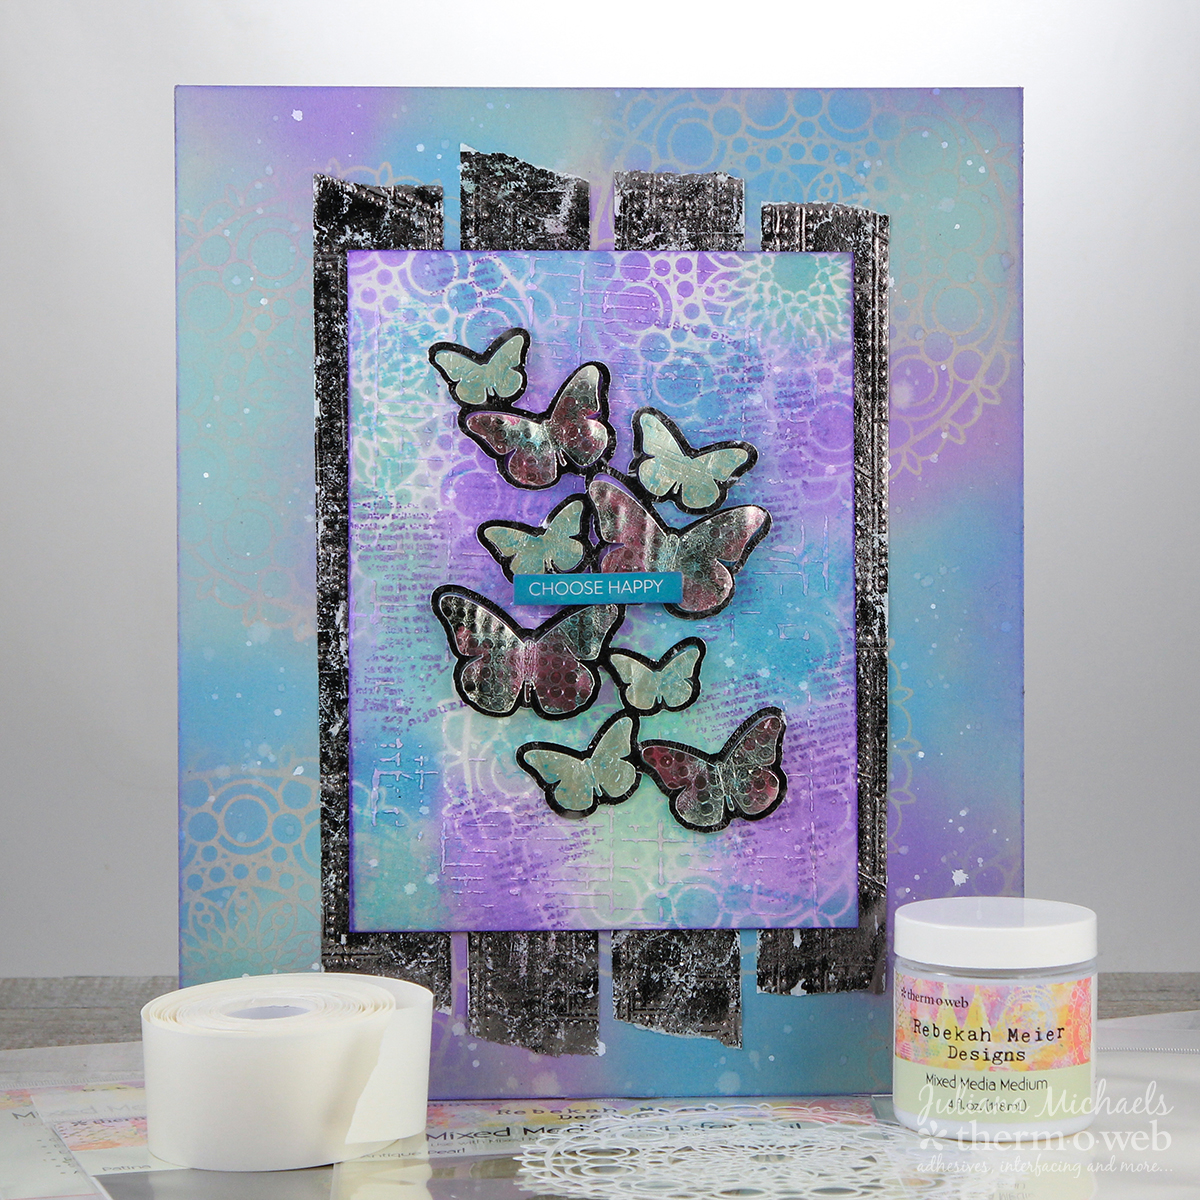
Now it’s time to work on the focal point of the canvas. Die cut some butterflies using Rebekah Meier Designs Mixed Media Foam Sheets. Peel off the top liner from the foam and place a piece of Rebekah Meier Designs Transfer Foil in Antique Pearl on top. Gently burnish the foil onto the foam and peel off the transfer sheet to reveal the foiled butterflies. Place the foiled butterflies into an embossing folder and run them through your die cut machine.
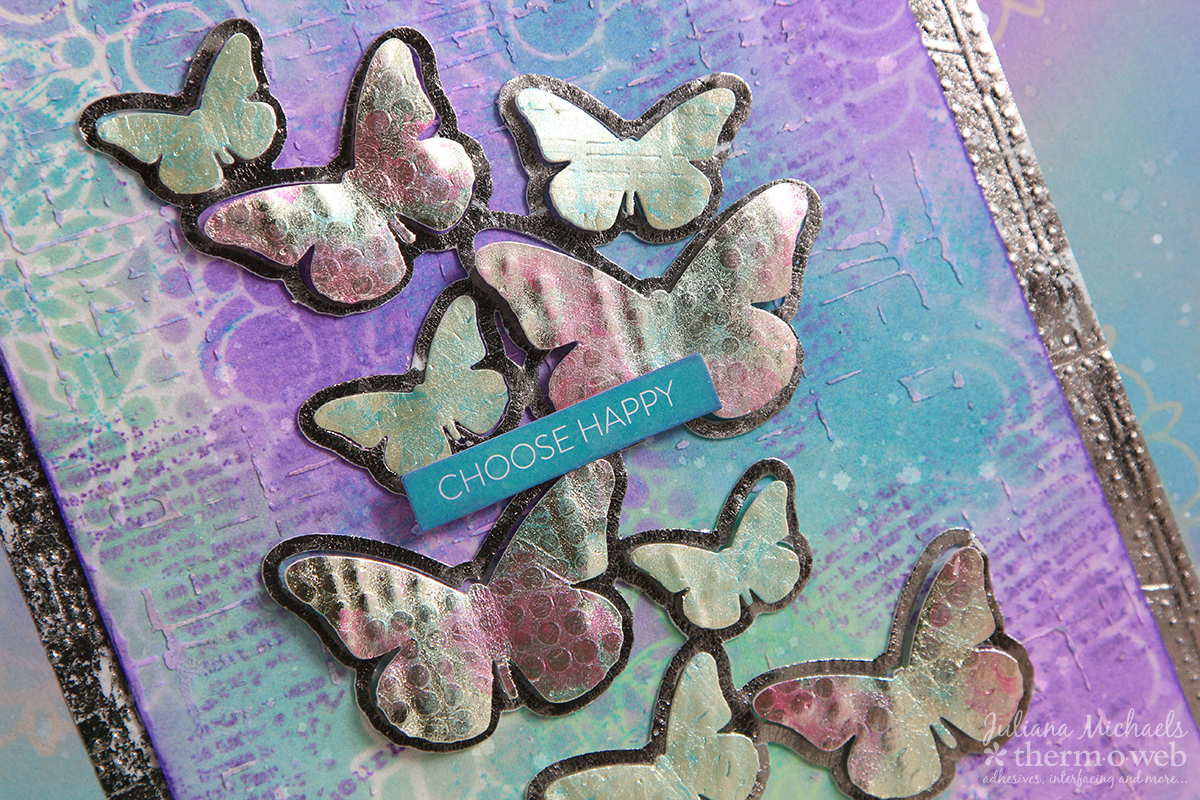
Next, apply a small amount of metallic paint in a coordinating color to the butterflies using your finger to give it a more distressed look. You can repeat the foiling process on the outline butterfly die cut using Rebekah Meier Designs Transfer Foil in Patina. Peel off the liner and adhere this piece to the top layer. Adhered the individual butterflies by either peeling off the back liner. To give them a more dimensional look, you can attach them using 3D Foam Squares.
Rebekah Meier Designs Art Tape
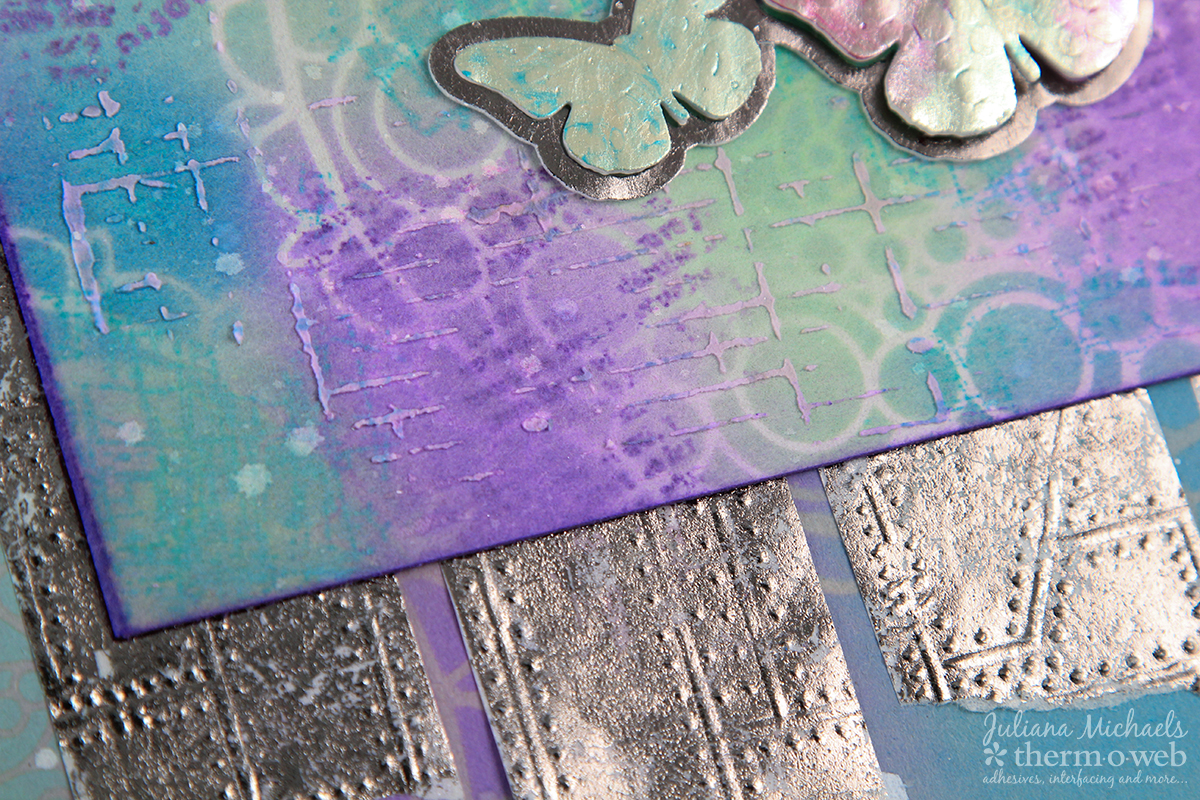
The strips of metallic looking paper were created using the Rebekah Meier Designs Art Tape. Tear strips of tape to fit behind the top layer of chipboard. Peel off the liner and place a piece of Rebekah Meier Designs Transfer Foil in Patina onto the tape. Use your finger to burnish the foil into the adhesive. Next, position the strips in an embossing folder with the foiled side facing upward and run them through your die cut machine. Adhere the strips to the background using iCraft Mixed Media Liquid Adhesive.
To complete your mixed media canvas, center and adhere the top layer to the chipboard canvas base using iCraft Mixed Media Liquid Adhesive. Your canvas is now finished and ready to decorate your home. I hope you enjoyed learning more about using the Rebekah Meier Mixed Media Products to create a mixed media canvas!
HUGS!
Juliana