


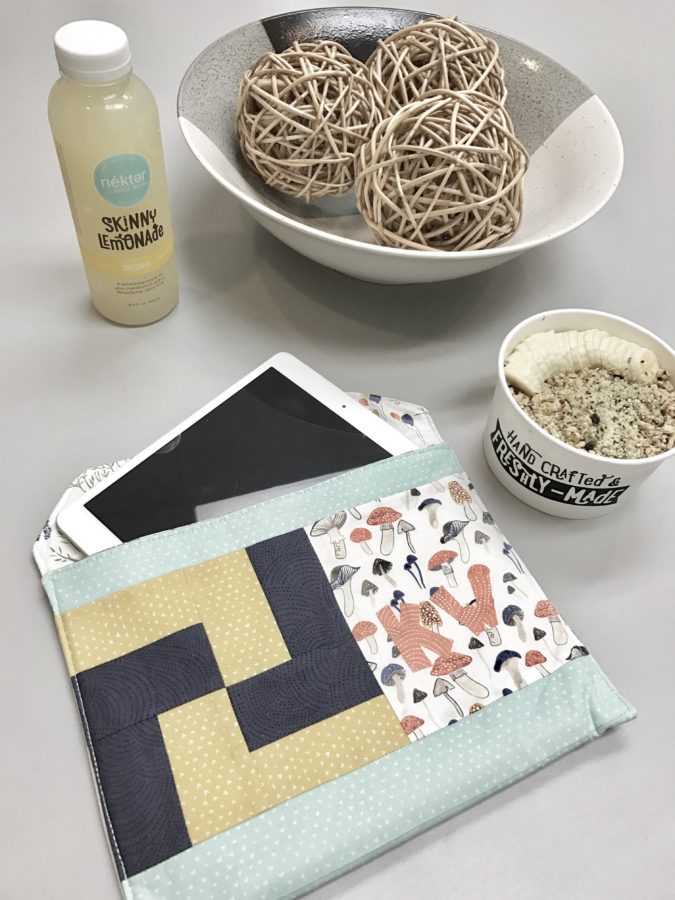
Part Two of my Cover Series is here!! I knew I wanted to make a computer/ipad case that matched my new cutting machine cover, but I didn’t want to to assemble it with a zipper. And so the idea of a “clutch” was formed!
It’s a quick sew and allows for tons of creativity, which I love. Projects (for me) have to be something I could see myself making but give enough room for some adjustment. I hope you love it as much as I do!!!
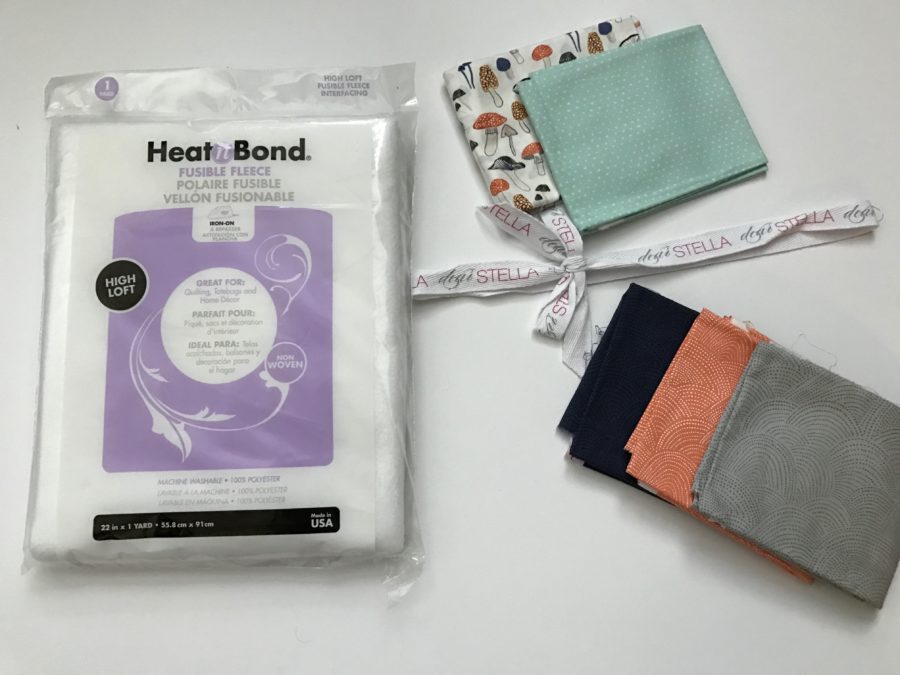
Project Supplies:
Thermoweb Heat n Bond® Fusible Fleece
Thermoweb Heat n Bond® Lite
Fat Quarter for Outside Main
Four Fabric Scraps for Outside Blocks/Decorating
Fat Quarter for Lining
Oliso Smart Iron
Sewing Supplies: Machine, Pins, Thread, Scissors, Rotary Cutter, Rulers, Water Soluble Marker
Project Instructions:
Measure your laptop width and lengths. Mine measure at 11 1/2”x 8 1/2”. In order to get your dimensions you add a 1/2” to the length and width. You will create one long outside/lining piece that will then be folded to create your clutch.
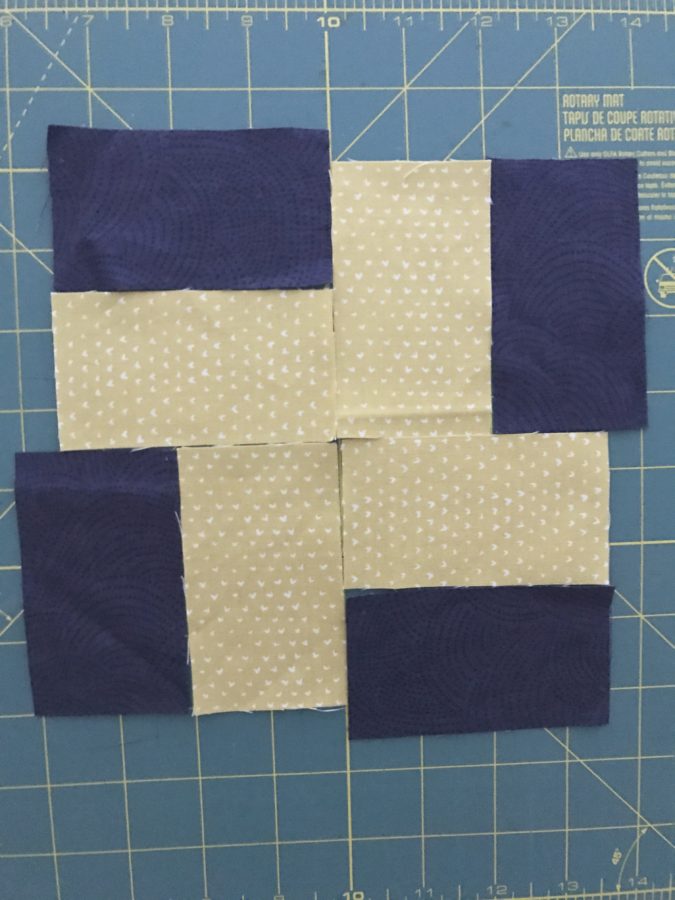
Cut out the front panel to be 9”x12”. This is where I pieced mine or you can choose to do a solid front panel. I cut my main fabric into 2-2”x12” strips. I made a fun 6”x6” block by using two contrasting colors of scrap. I cut 4-3 1/2”x2” pieces of each color. Laid it out and sewed it together to create a block (see photo below). I then attached another scrap to it to make it 6 1/2”x12. Sew the main fabric pieces cut to the top and bottom to create your front panel.
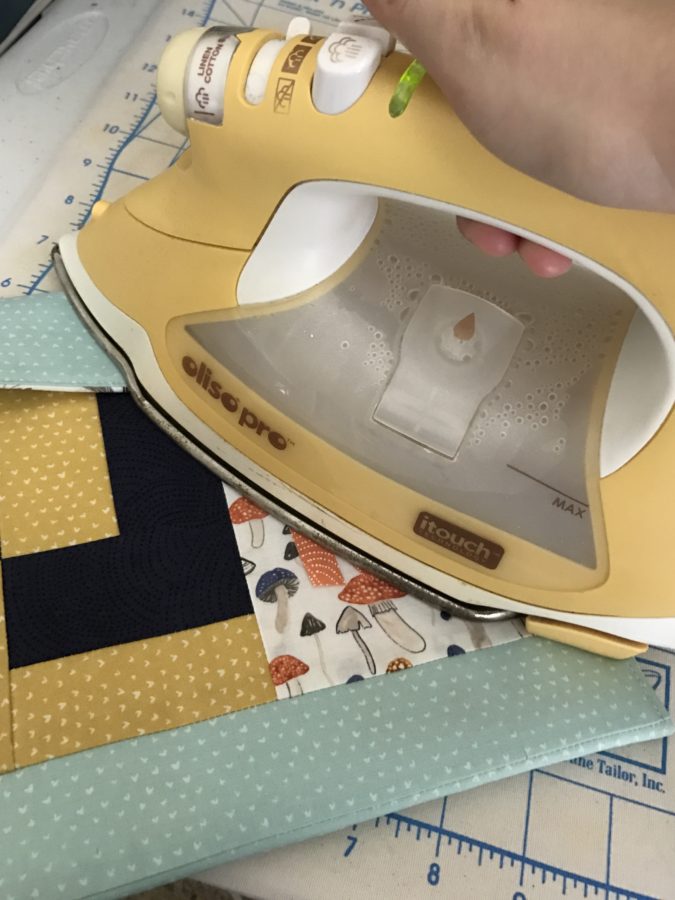
Cut out the back panel to 9+3” (Height +3”) x 12”. Sew it to the bottom of your front panel. You now have your outside panel. Cut a piece of fusible fleece to the side of your outside panel and iron it on the the wrong side. On the two corners of your back panel mark two inches away from the edge on the top and side. This will be your guide to create your clutch corners.
To create the lining you can cut one long panel the same length as your outside panel or you can cut a front and back panel and sew it together like above (this would be necessary for directional prints).
Pin your outside panel and your lining wrong sides together. Sew around the project (making sure to sew diagonal triangles at your two marked points), leaving a 3” hole to turn your project inside out. Topstitch around the entire project to seal the edges. Fold the outside panel wrong side together at the middle seam, creating your envelope. Using your topstitch line sew from the bottom of the side to the top of the side sealing the sides of your clutch.
Optional Details: Take your remaining scraps and cut out letters or symbols and iron on using heat n bond lite. Add two KAM snaps to close your project.
Can’t wait to see what you all create! Happy Sewing!
Kristen Wright of Two Blondes and a Sewing Machine