


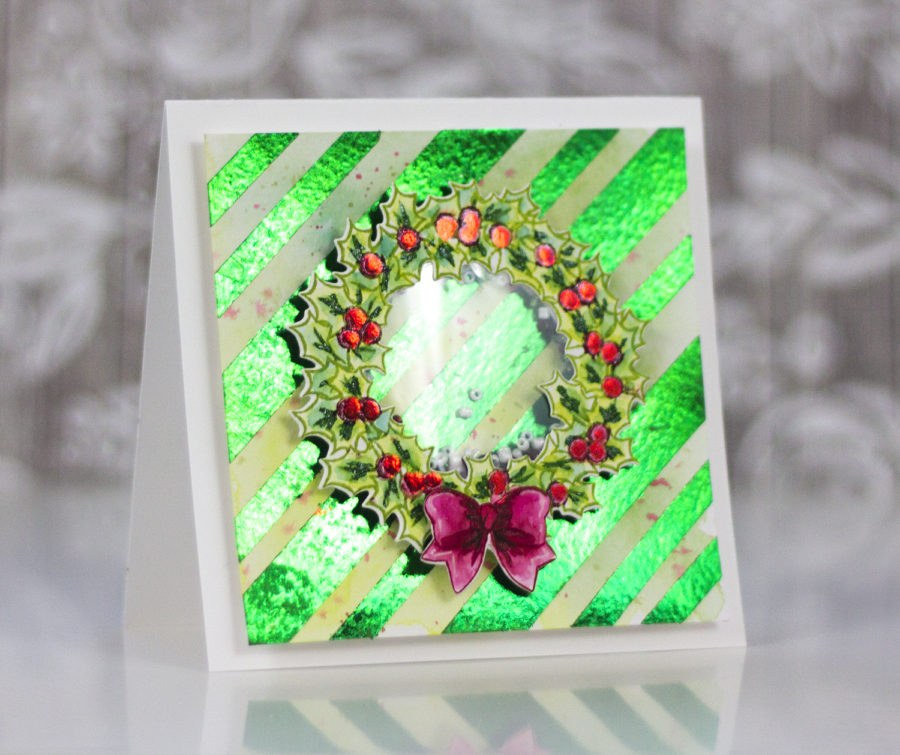
Hi! Chrissie here! Do you ever run into that unthinkable problem? You know what I’m talking about – no patterned paper that works with your project! Worry no more! DecoFoil™ to the rescue. I’ll show you how to (simply) add foil to a boring old piece of watercolor cardstock to make a professional-looking background for your cards, tags or layouts!
Therm O Web Supplies (Wreath Card):
ICRAFT ADHESIVE™ TAPE • 1/2 IN
ICRAFT ADHESIVE™ TAPE • 1/4 IN
DECO FOIL™ TRANSFER SHEETS • RED
DECO FOIL™ TRANSFER SHEETS • GREEN
DECO FOIL™ WHITE FOAM ADHESIVE
MEMORY TAPE RUNNER XL™
DECO FOIL™ ADHESIVE PEN.34FLOZ
Other Supplies (Wreath Card):
Art Impressions Christmas Wreath Stamp and Die Set
Spectrum Noir Sparkle Pens Red Berry, Emerald, Green
Spectrum Aqua (watercolor markers): Moss, Evergreen, Bud Green, Crimson, Burgundy
Waterbrush
Die Cutting Machine (Big Shot used)
Scissors
Bone Folder
Watercolor Cardstock
Clear Acetate
Blue Moon Beads
Papertrey Inks Pure Poppy, Green Parakeet
Pentel Touch White Pen
Powder or Chalk Bag
Project Instructions:
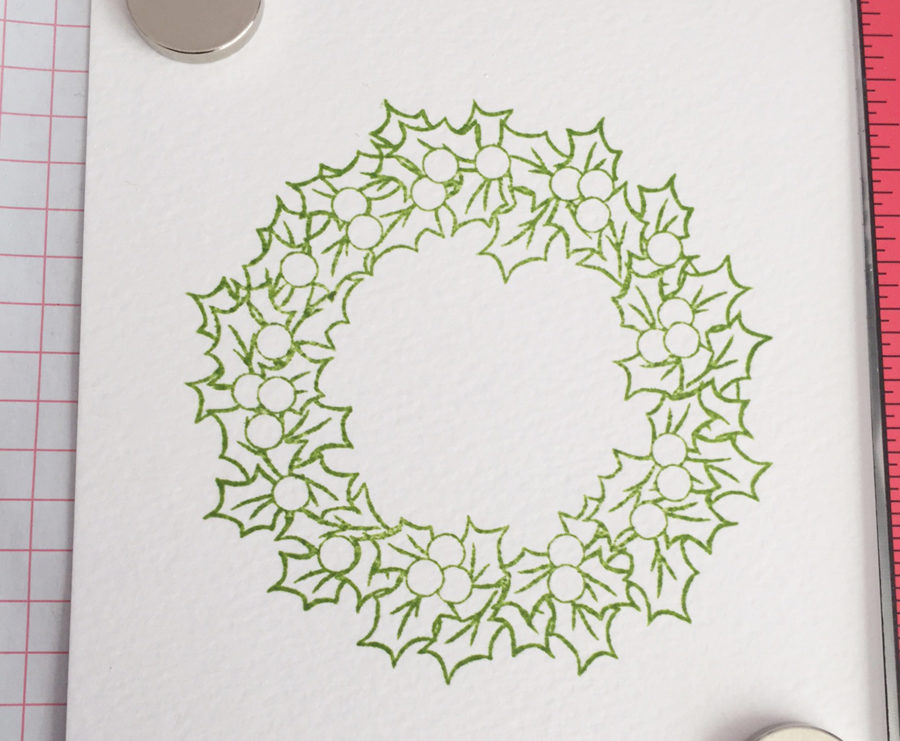
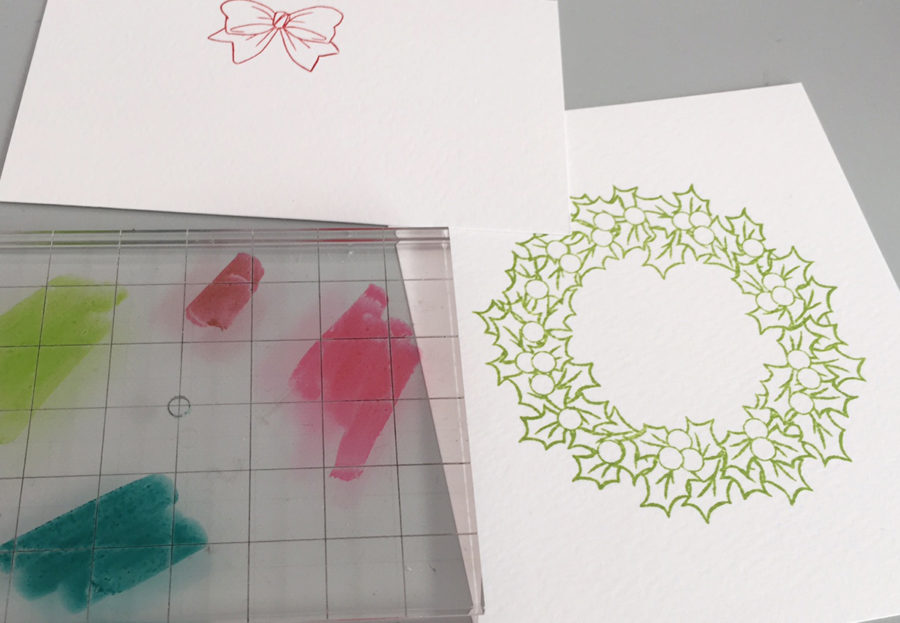
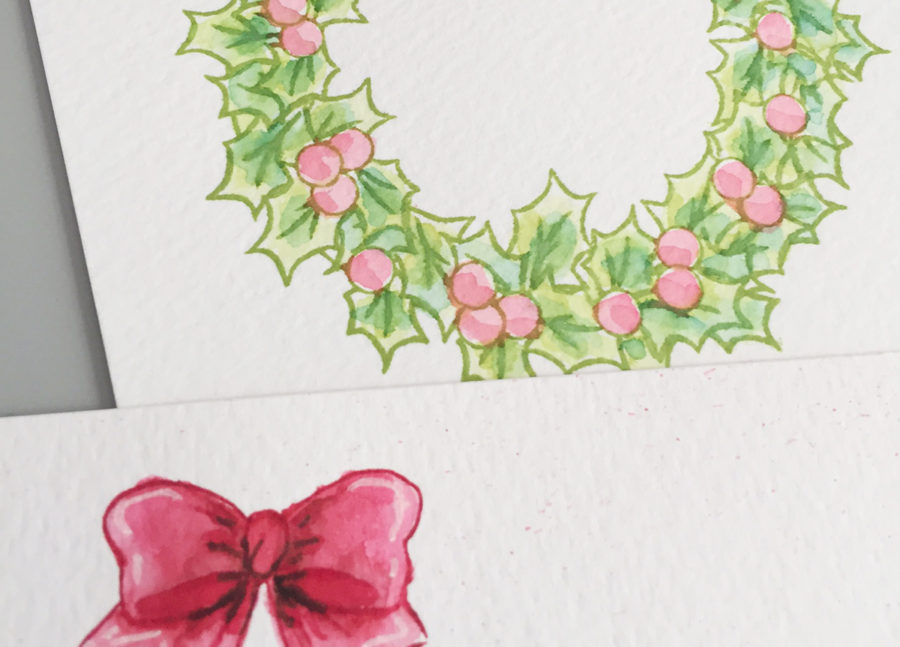
Let’s create the shaker wreath card first! Stamp the wreath from Art Impressions Christmas Wreath set in green on white cardstock.
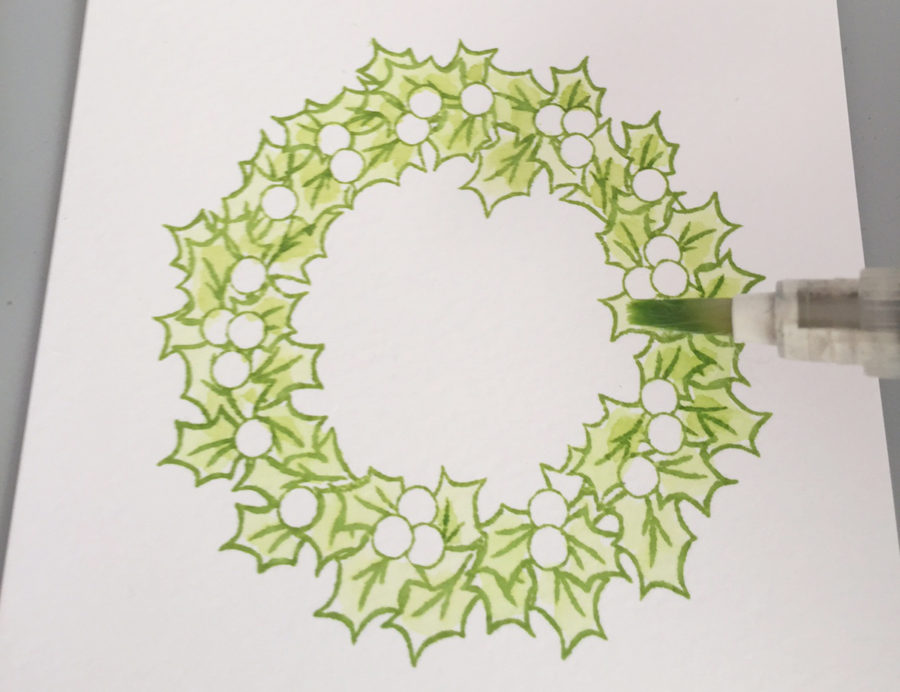
Then, color it in. Use any medium (Spectrum Aqua Watercolor Markers were used for this project along with a waterbrush).
I also used some of the same ink I stamped the image with to color in the wreath. I picked a little bit up with my waterbrush and ‘painted’ it in.
Color in the bow. For the bow and the wreath, add a few highlights using a white pen or marker.
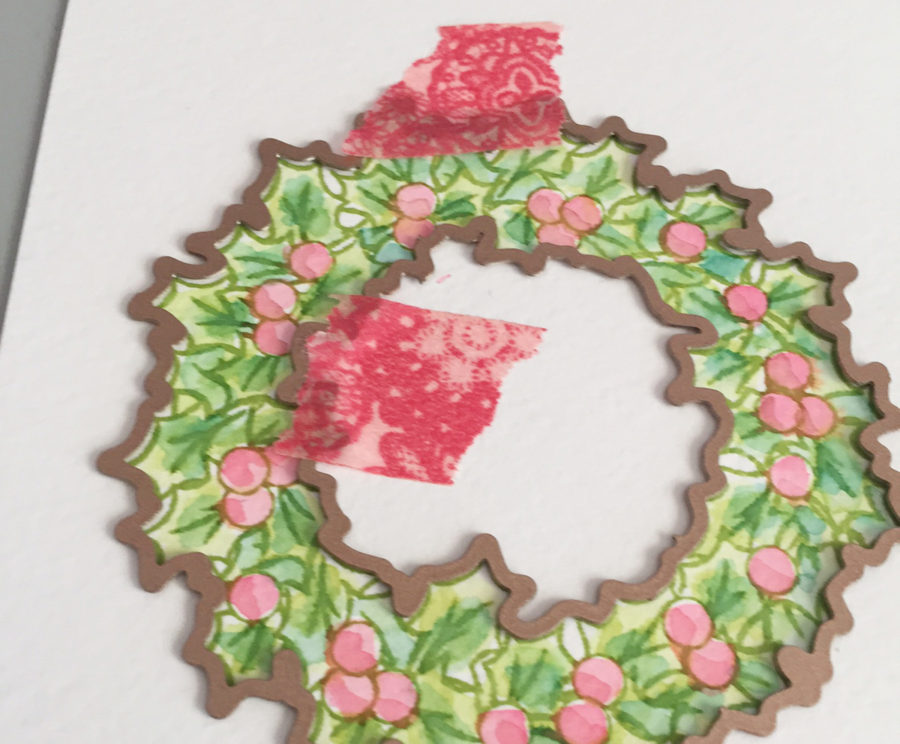
Die cut the wreath and the bow. I recommend using washi tape or some other type of repositionable tape to hold the die down so it doesn’t move while in the die cutting machine.
Flip the die over. Trace a circle on acetate. This can be messy! It will be hidden, so don’t worry about being perfect. 🙂
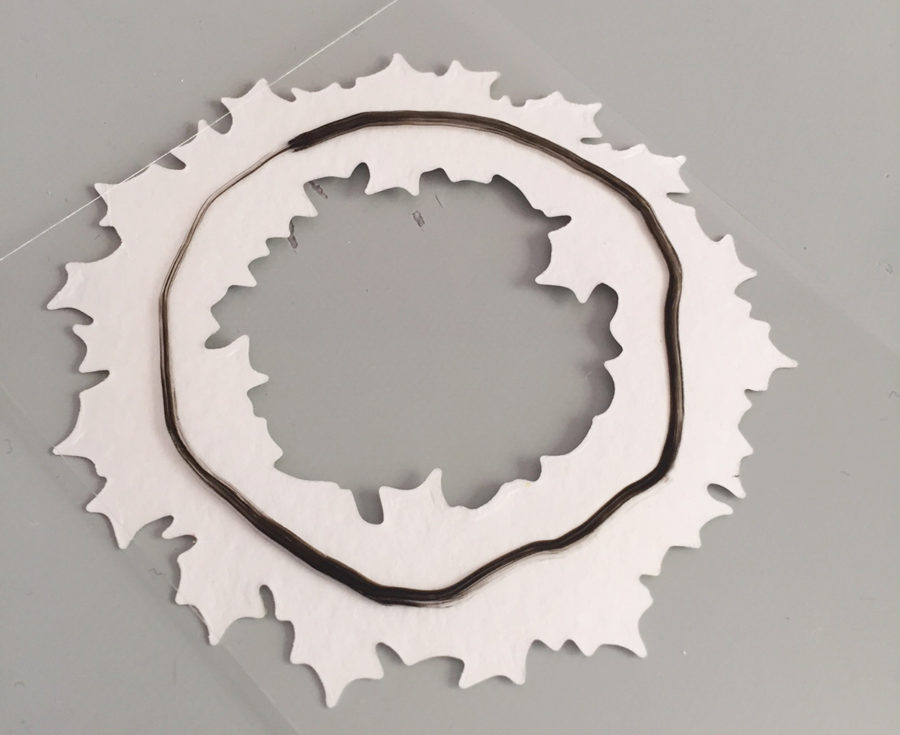
Adhere the acetate to the backside of the wreath using a tape runner. Then, trim down some Foam Adhesive. I trimmed down a few pieces to about 1/4 inch a piece. Wrap the foam around the circle. Leave enough space so it won’t show through on the front. I stacked it so there were 4 levels of foam. This leaves more room for the shaking!
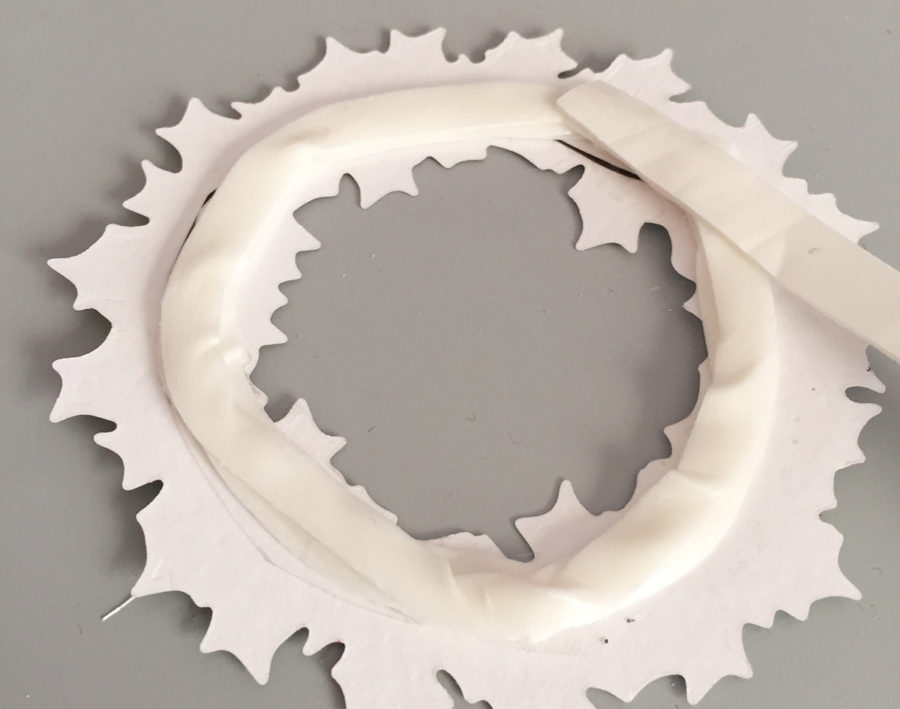
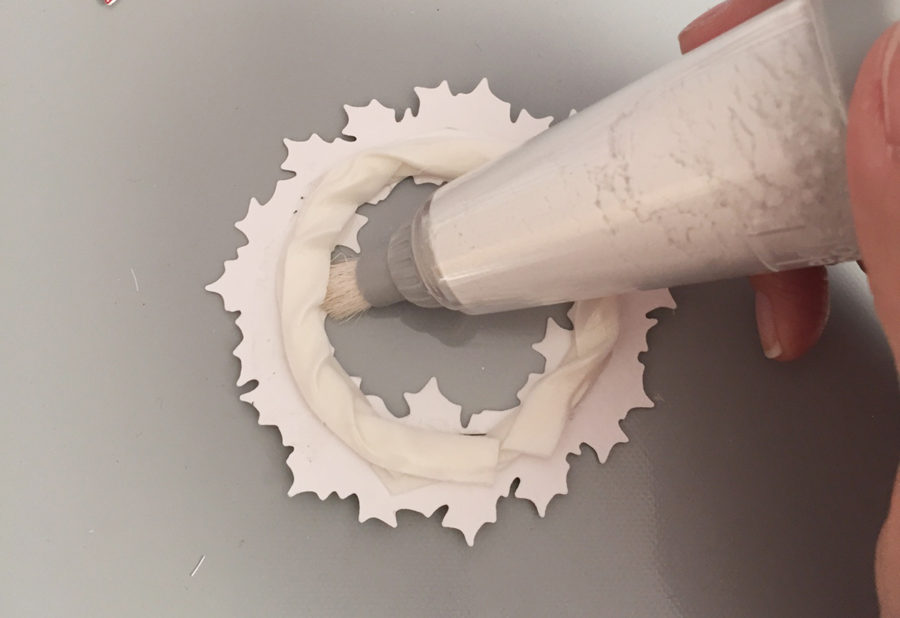
Use a powder tool (or chalk bag) around the edges to deactivate the adhesive. Otherwise, the shaker elements could stick.
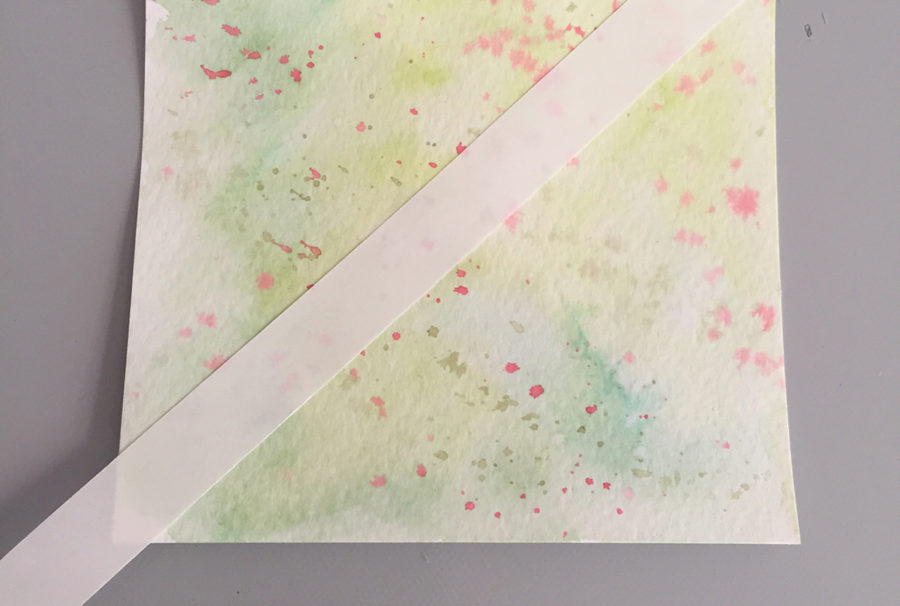
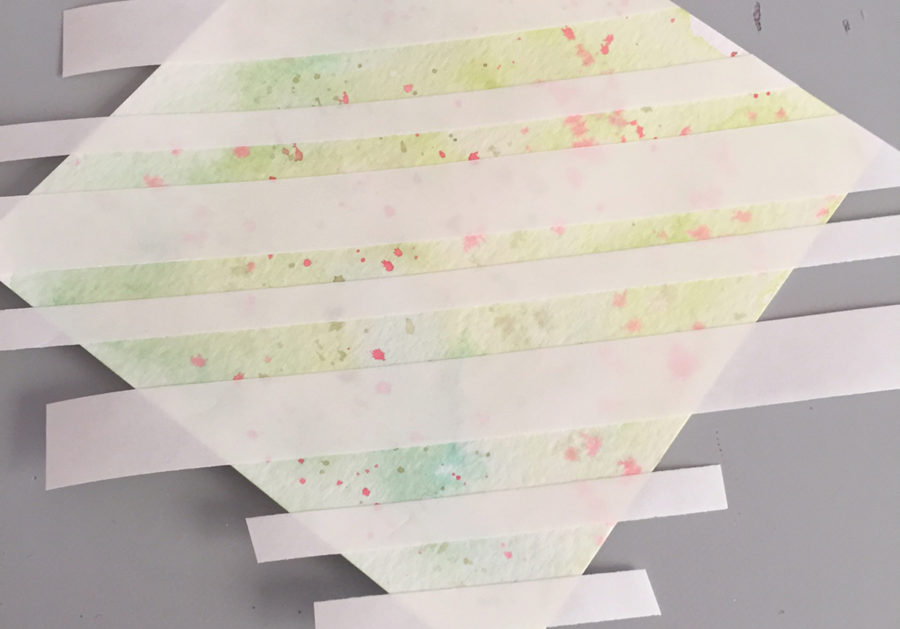
On a piece of cardstock, add some watercolor (I used Spectrum Aquas again, the same colors as the wreath). Trim down some Easy Tear tape and place them across the panel. I was inspired by candy canes for this technique. You can alter the sizes or use the same size strips.
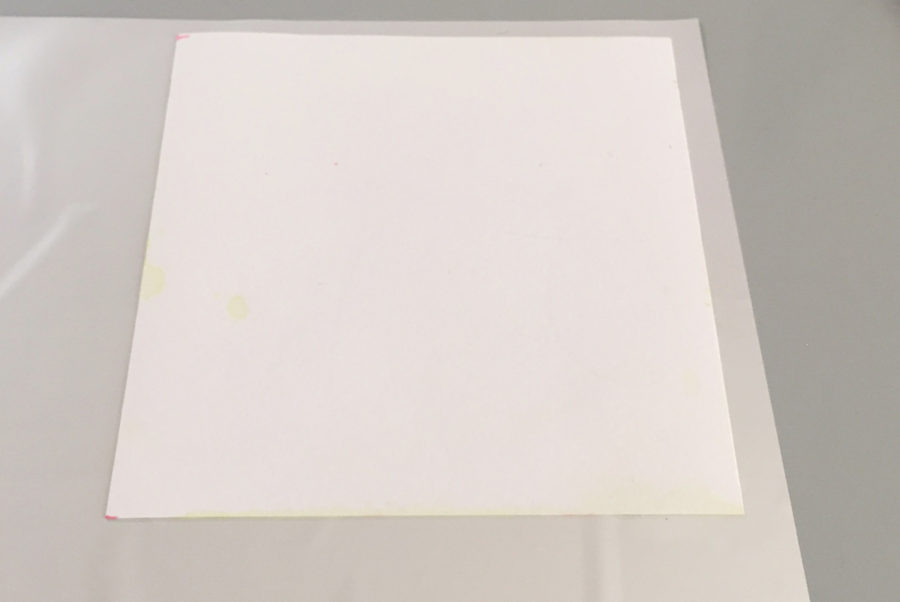
Trim off the excess adhesive around the edges.
Peel off the release tape on the front and place the panel onto the silver side of the foil. Burnish with a bone folder or rub with your fingers.
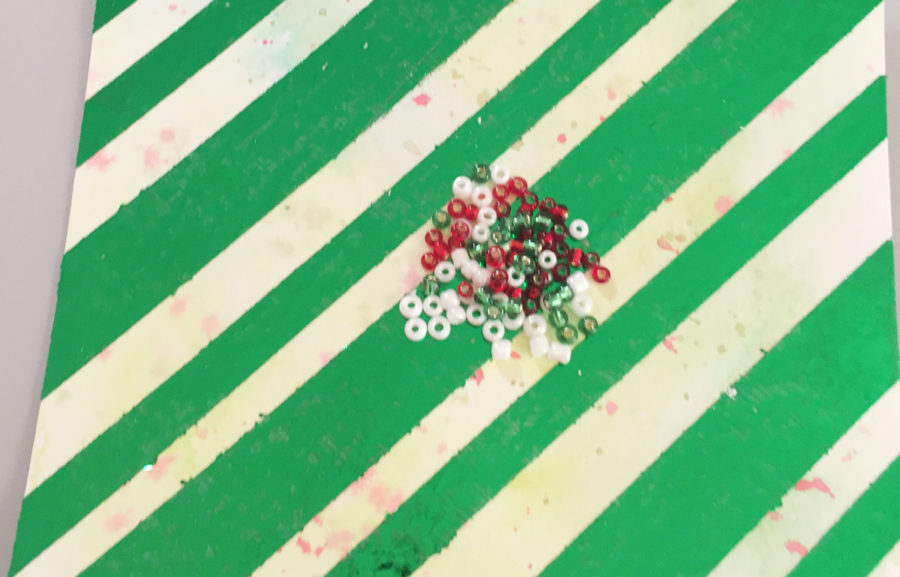
Voila! Foiled background! Now, add some beads to the center area where the shaker wreath will end up.
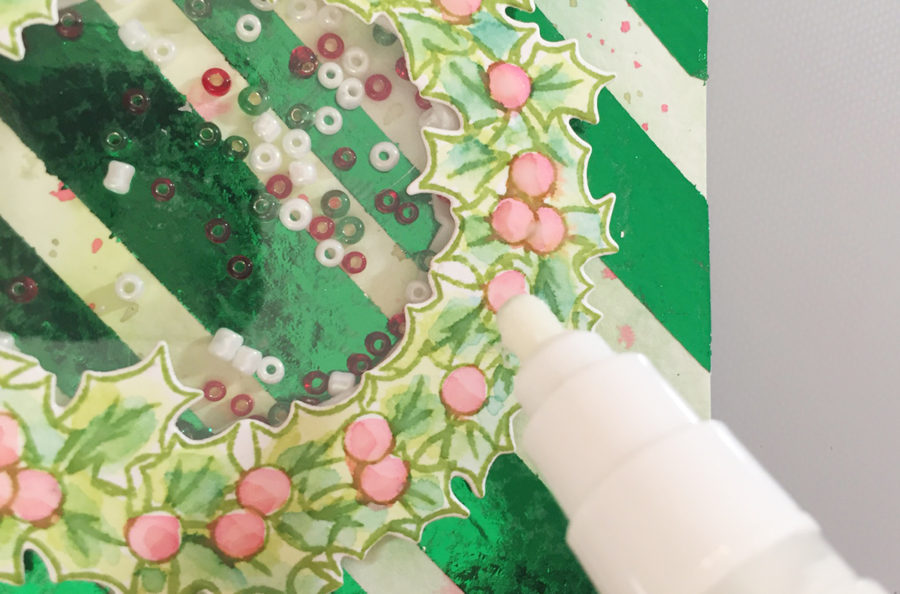
Carefully peel off the release tape from the back of the wreath (foam adhesive) and press down onto the card panel. Then, add some adhesive to the berries using the DecoFoil pen. Keep in mind that this pen will not necessarily be perfect – this is more of a loose medium, just to add a little more foil to the card.
Wait for the adhesive to dry and then press the Red DecoFoil down onto the areas that you added the adhesive.
Be sure to join us tomorrow for more beautiful Art Impressions projects and a giveaway as well! We’ll see you then!
BunnyD
October 24, 2016 at 1:21 pm (8 years ago)I like the watercolour background between the foiled stripes! Nice touch instead of plain white cardstock. A shaker card is a fun idea for a holiday card. Something different from the usual.