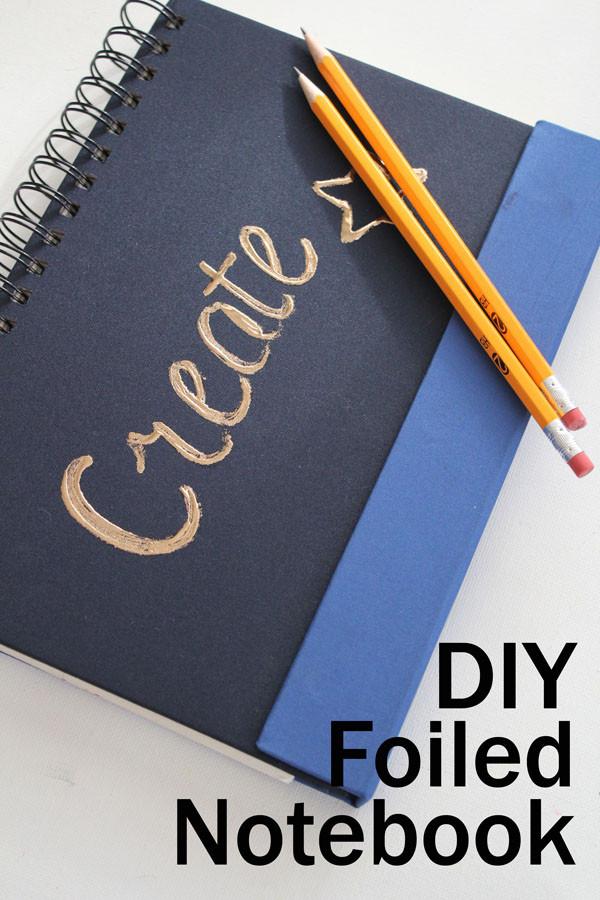
You don’t need fancy machines or a laser printer to add foil to your school supplies! With a paintbrush, you can add your own lettering to any surface – like this spiral-bound notebook!
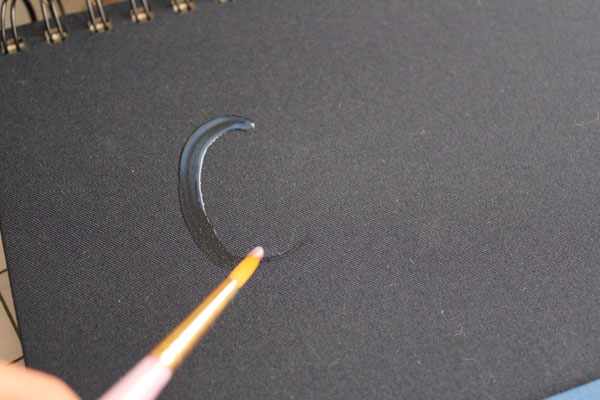
Squeeze the adhesive onto a scrap of paper, then dip your paintbrush in, and paint on the design. The adhesive isn’t self-leveling, which means you get to see all the great brushstrokes that make the design really stand out.
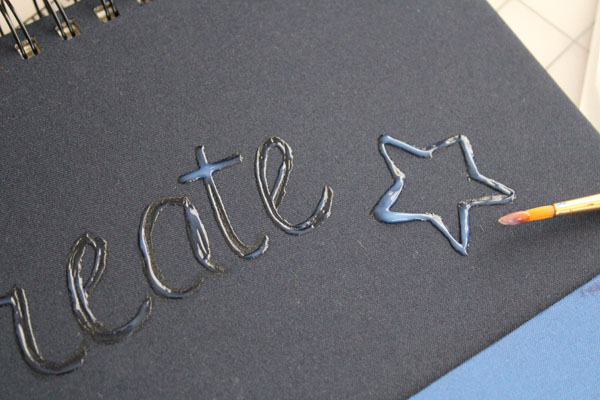
Paint in the whole design. You don’t want the adhesive to be super thick, but don’t be afraid to add a generous layer – especially if you’re painting on a porous surface like paper, cardboard, or fabric.
Wait until the adhesive is dry. 4-6 hours, or overnight. If you see any “milky” spots left, it isn’t dry yet!
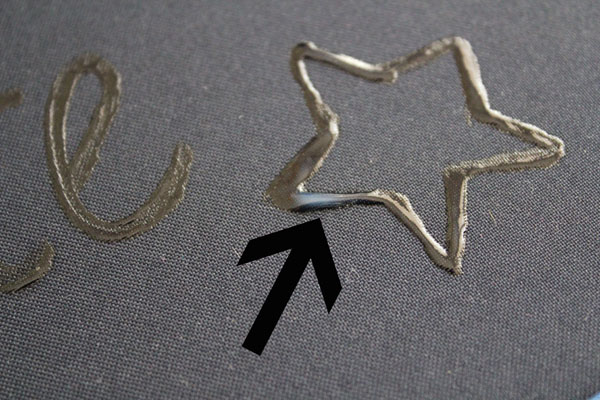
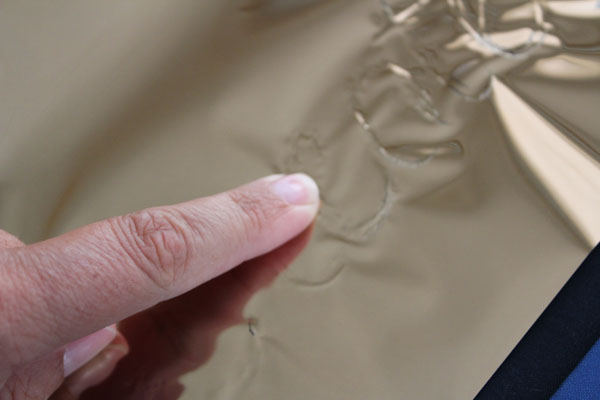
Once the adhesive is dry, place your Deco Foil, colored side up, on top of the adhesive. Press with your finger to secure the foil to the adhesive. For the best shine, use the soft, padded part of your finger, not the finger nail.
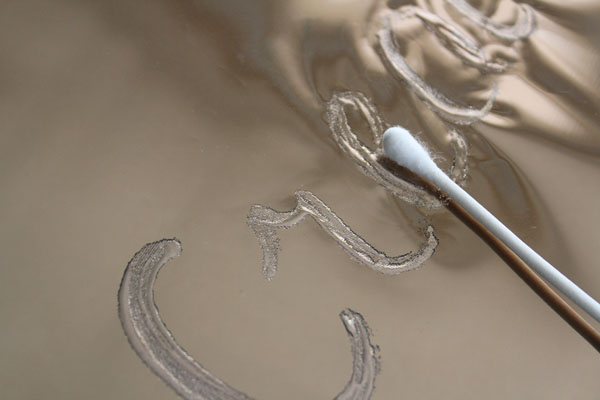
I find that a cotton swab works really well for securing the foil.
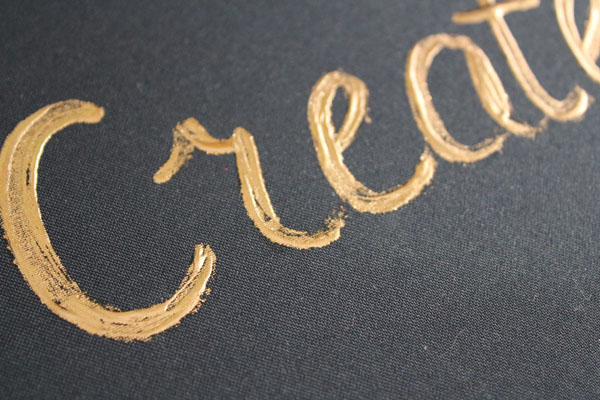
You will see the Deco Foil™ releasing from its backing. Once you’re satisfied, you can lift up the backing and admire your foiled folder!
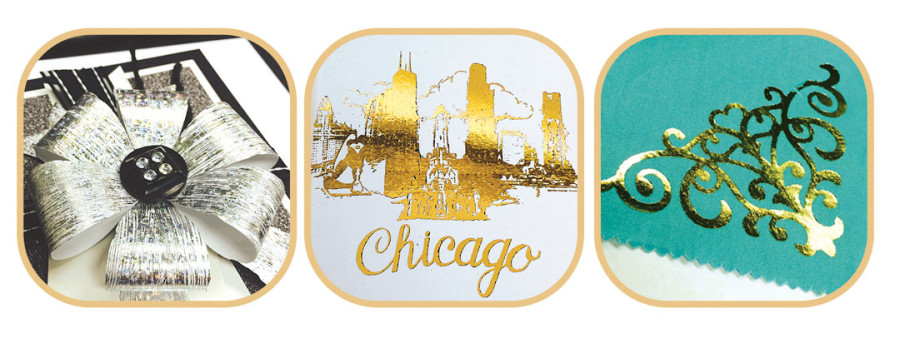
Foil all the things!
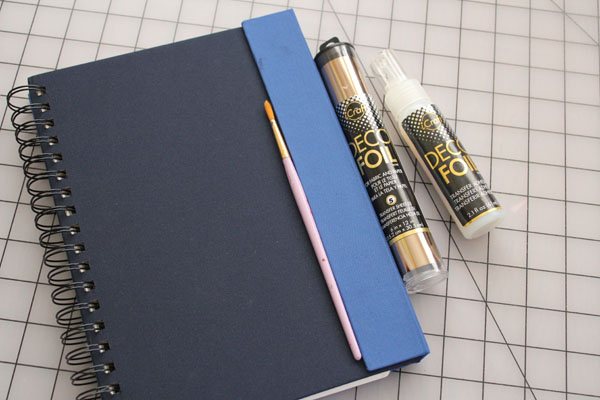
Stop by our website to shop for today’s Deco Foil™ project supplies along with your favorite Zots™, SuperTape™, HeatnBond® and more!
by Designer | Comments Off on Create a Simple Foiled Notebook