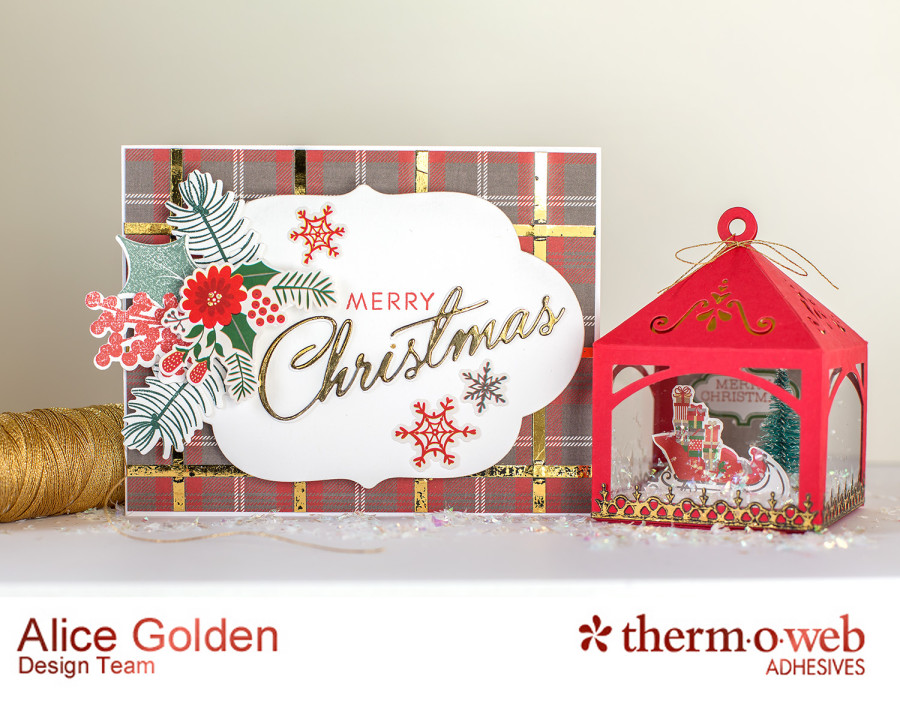
Hello there! Alice here to share a handmade ornament and matching card made with products from Photo Play’s Dear Santa collection that have been embellished with Deco Foil™- a very merry match indeed.
Let’s start with the ornament. First, die cut two panels from red cardstock. Add 1/8″ iCraft Easy-Tear tape to flaps around window openings and edges where panels attach.
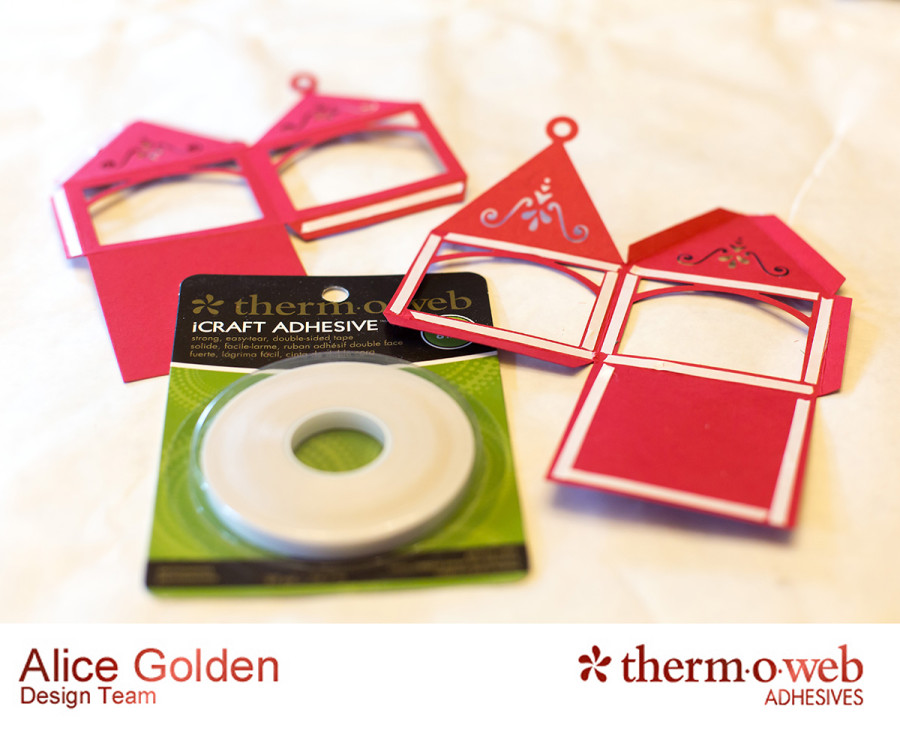
Use 1/8″ Easy-Tear tape to attach pieces of Gold Deco Foil directly behind the cut outs on the roof of the ornament. No special adhesive or heat source required! It’s also a good way to use up scraps of foil.
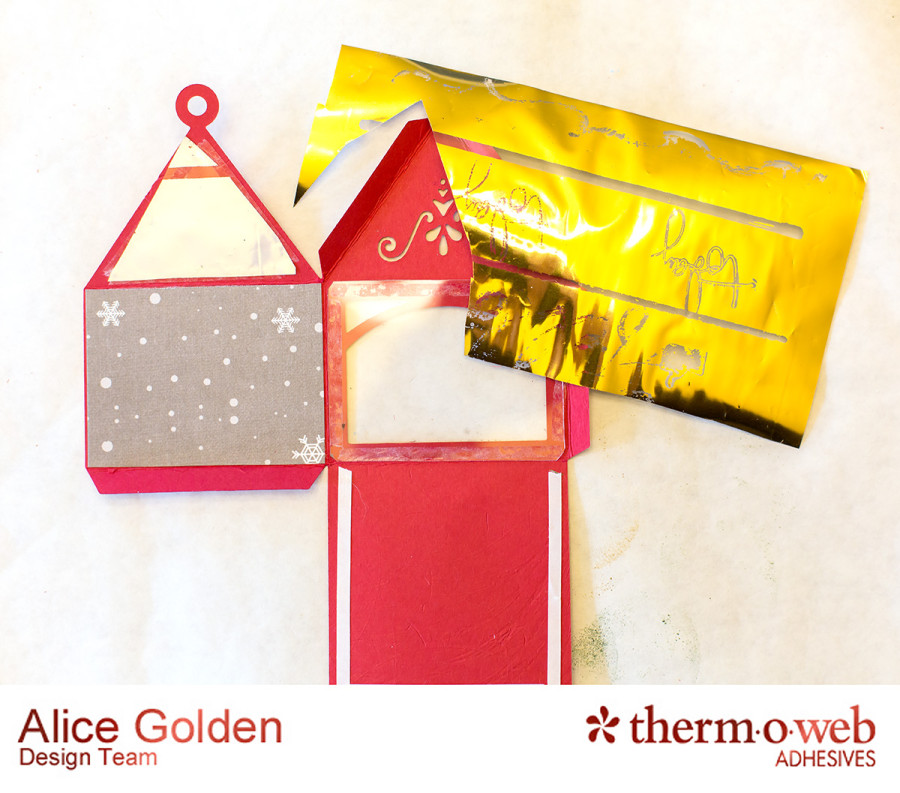
The Deco Foil really adds eye catching shine through the tiny openings on the ornament.
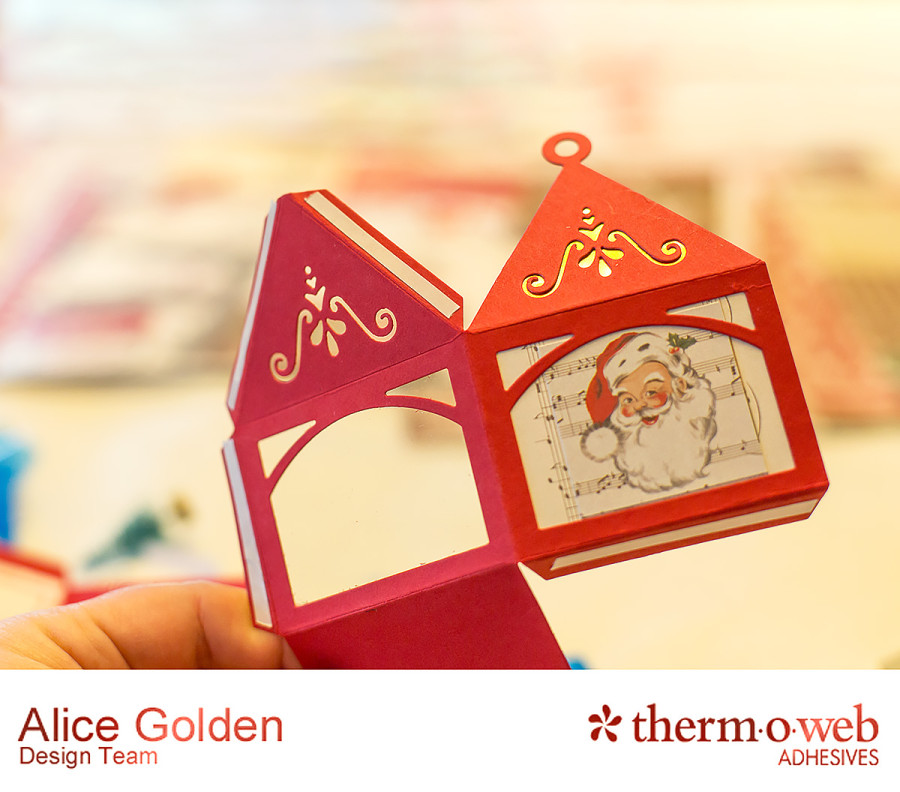
Cut three pieces of craft plastic to fit front and side window openings and adhere using 1/8″ Easy-Tear tape. Cut gray snowflake section from patterned paper and adhere to back window so pattern is showing on the inside. This will create the backdrop for the scene. Use Deco Foil liquid adhesive to add dots of glue over each snowflake on the paper. Once adhesive is dry (will remain tacky to the touch) apply Silver Star Deco Foil by placing the foil over the adhesive color side up and rubbing to transfer.

Cut the sled and “Merry Christmas” label from the cover sheet that comes with the collection. Adhere the sled to a piece of white cardstock and trim, leaving a small piece of cardstock at the bottom that can be bent back to create a flap. Glue the flap to the base of the ornament to make the sled appear to be freestanding inside the ornament. Adhere a small tree behind the sled and the sentiment label on the back wall. Sprinkle faux snow inside the ornament and seal the edges with iCraft Easy-Tear tape.

To create the decorative border, die cut two strips from the adhesive backed toner sheet. When using intricate dies, in order to prevent sticking it is helpful to place a piece of parchment paper between the toner sheet and the die.
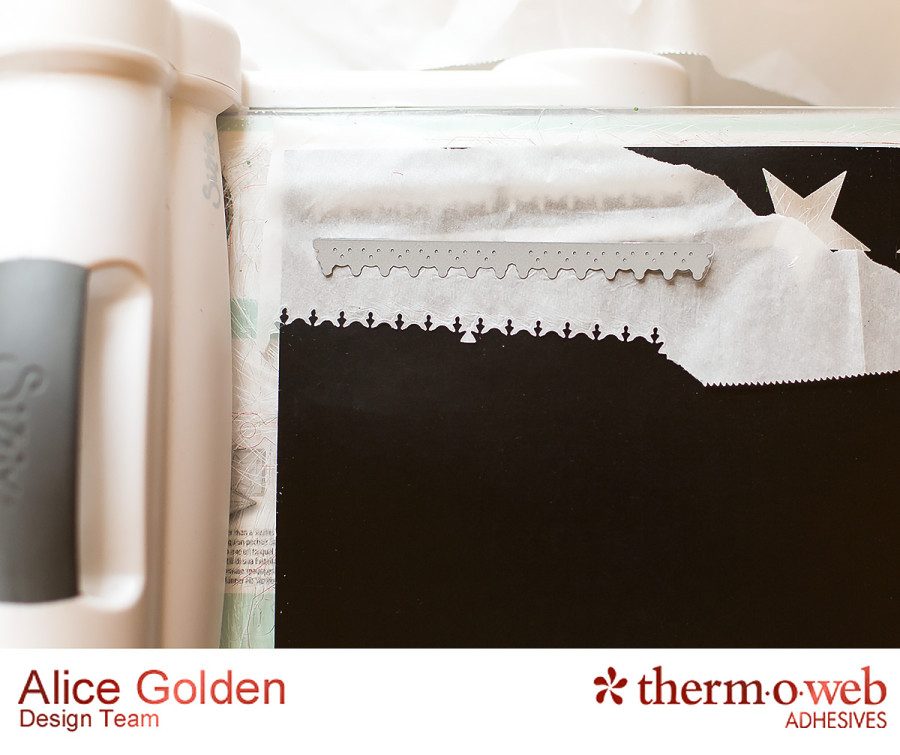
Then use a laminator to apply gold Deco Foil over the die cut toner pieces. Remove the protective liner from the back of the foiled toner pieces and adhere to the bottom of the assembled ornament, as shown. Note: Sometimes, especially when working with detailed die cuts or smaller pieces, you won’t get complete coverage of the toner first time around. In this case, I liked that bits of the black were visible as I thought it created a more vintage look and feel. To get better coverage, try running the piece through your laminator with the foil twice.

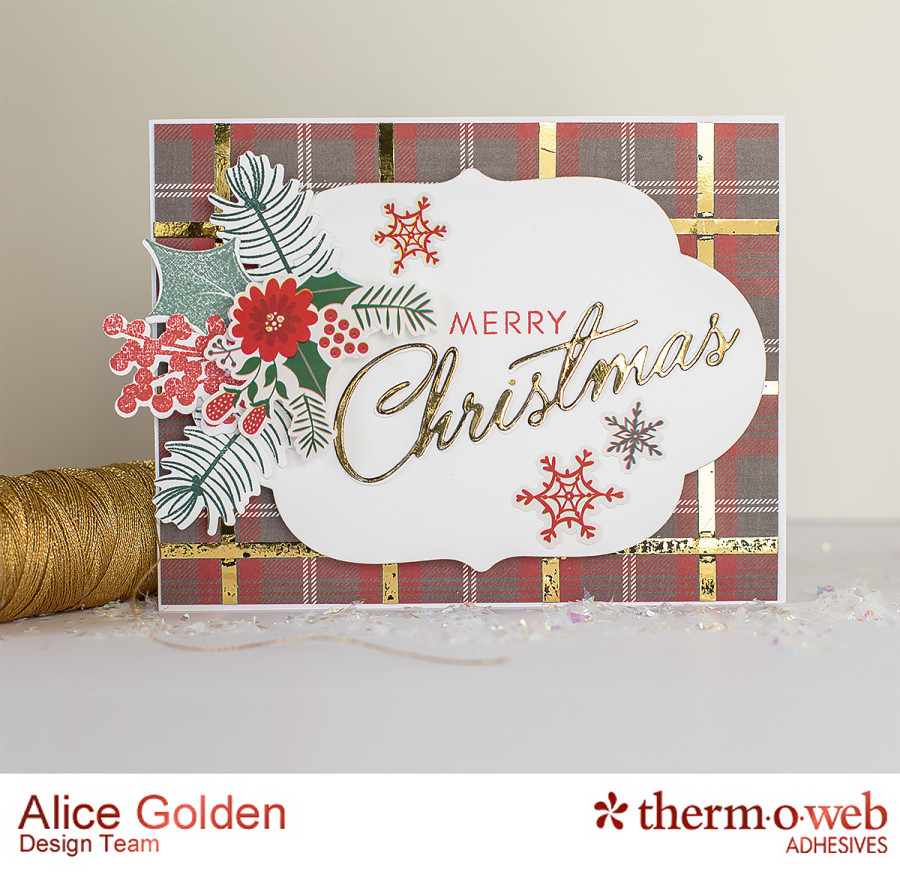
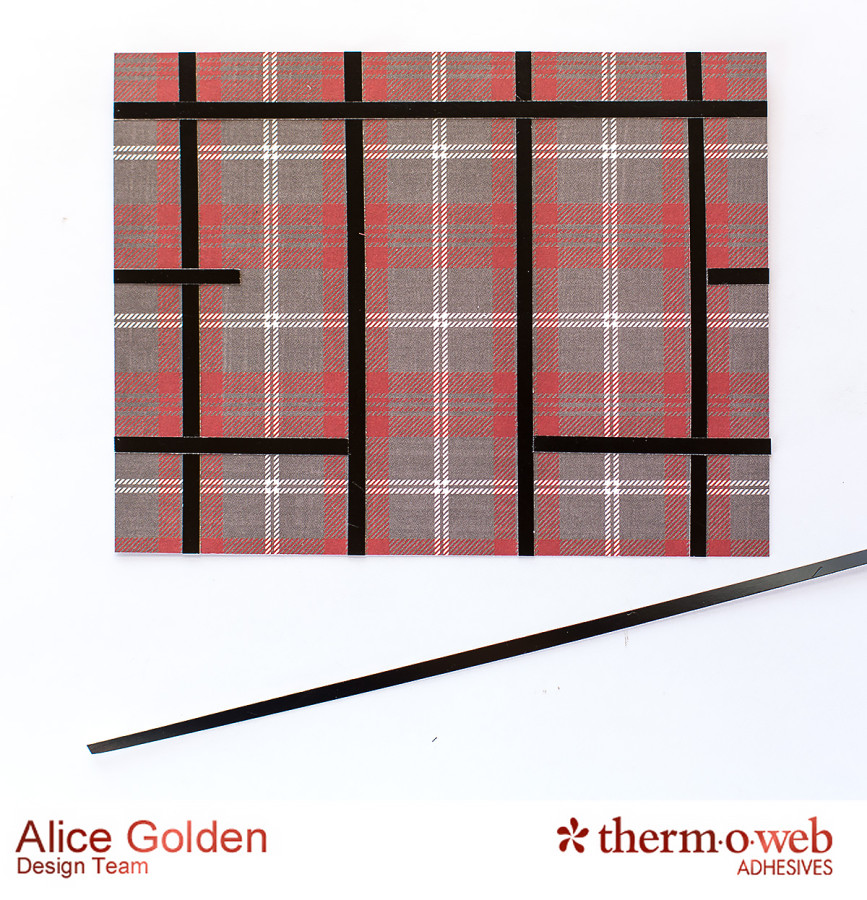
To create the card, cut thin strips of adhesive backed toner and apply over the plaid pattern. Because I knew the center of the card would be covered, I only applied strips around the edges. Add gold foil with a laminator and attach to card base.
Die cut label from white cardstock and stamp the word “Merry” in the center, as shown. Die cut the word “Christmas” twice, once from white cardstock and once from an adhesive backed toner sheet. Adhere the toner sheet to the cardstock and then add gold Deco Foil using a laminator.

Die cut and stamp holiday greenery and adhere to edge of die cut label. Adhere the gold foiled sentiment to the cardfront and embellish with snowflake stickers. Use 3D Foam squares to add the greenery sticker over the die cut greens. Adhere the decorated label to the card front using 3D Foam Squares. Use Liquid Deco Foil Adhesive to add a few small dots to the center of the greenery sticker as well as over the letter “i”. Once dry, add gold foil.

Thanks so much for visiting Therm O Web today!
Supplies:
Therm O Web
Gold, Silver Star Deco Foil
iCraft Deco Foil PeelnStick Toner Sheets
1/8″ iCraft Easy-Tear Tape
Liquid Deco Foil Adhesive
3D Foam Squares
Mini Tape Runner
Other:
Paper and Stickers from Photo Play Dear Santa Collection
Die cuts and stamps from Papertrey Ink

Have you heard we’re celebrating November with #30DaysofThankful
We’ve been sharing all the things we’re thankful for from our family and friends to our HeatnBond® Fusible Fleece, iCraft® Easy-Tear Tapes to our Pets. We’d be remiss though not to mention a tool we’re quite fond of.. the Oliso Pro TG1600 Steam Iron! It’s truly a gem and something we cannot do without. And we’d like to give you a chance to win one thanks to our friends at Oliso. Simply follow the Rafflecopter to enter to win!