


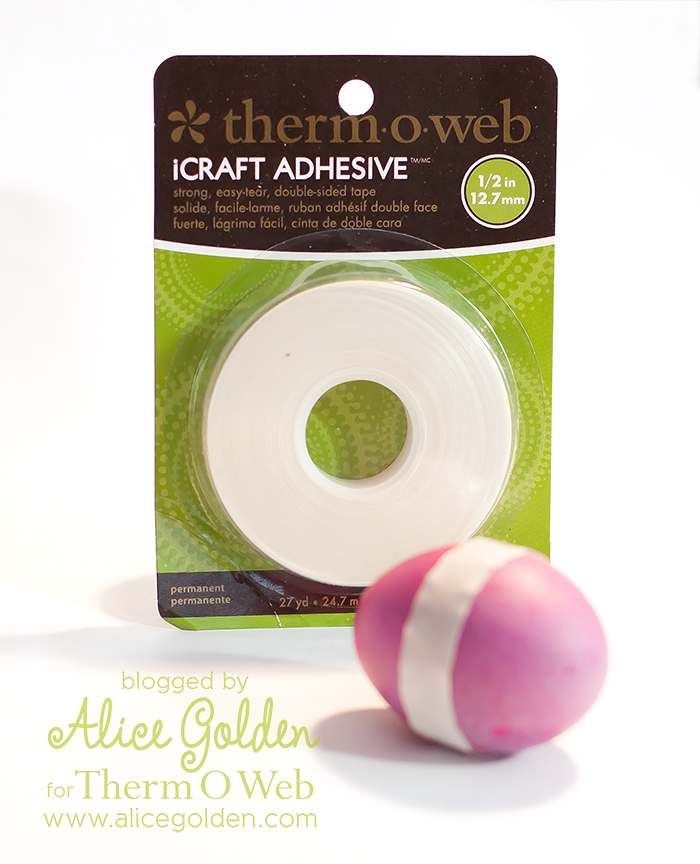
Therm O Web’s iCraft Sheets and Tapes make it so easy to create custom designed Easter eggs.
Today Designer Alice Golden is sharing several ways of using iCraft to take your egg decorating to the next level.

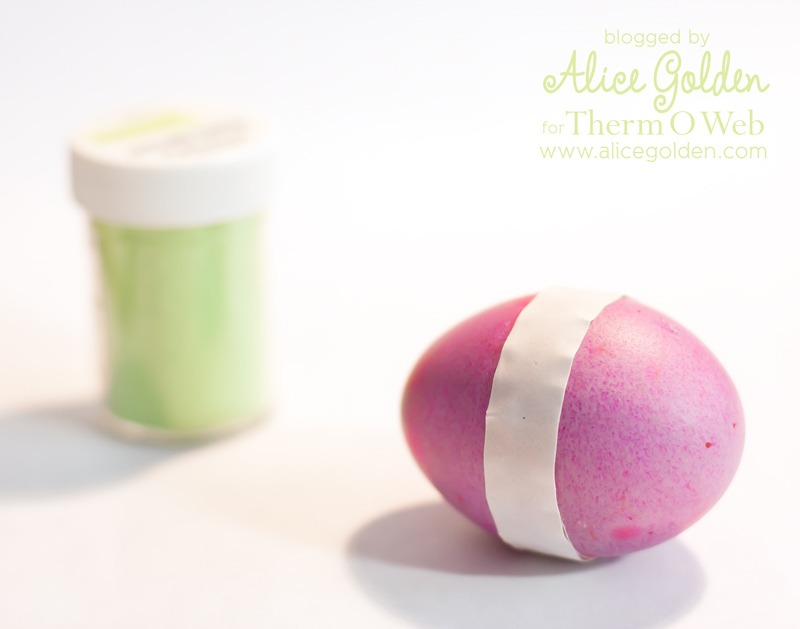
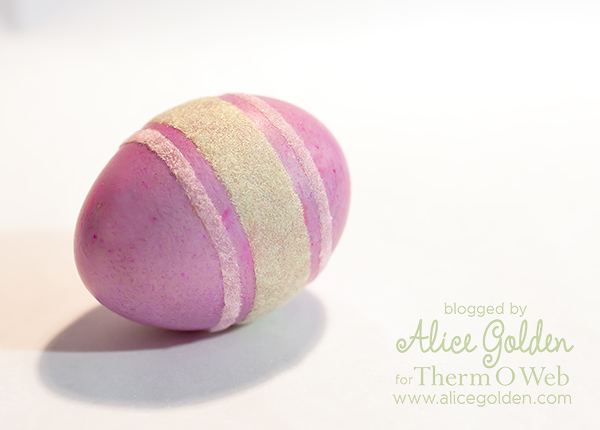
The first egg is super simple – just a few strips of iCraft tape and flocking powder. First, wrap a piece of 1/2″ iCraft tape around the middle of the egg.
Don’t worry if the liner on the outside isn’t perfectly smooth – the adhesive will mold itself to the egg shape just fine.
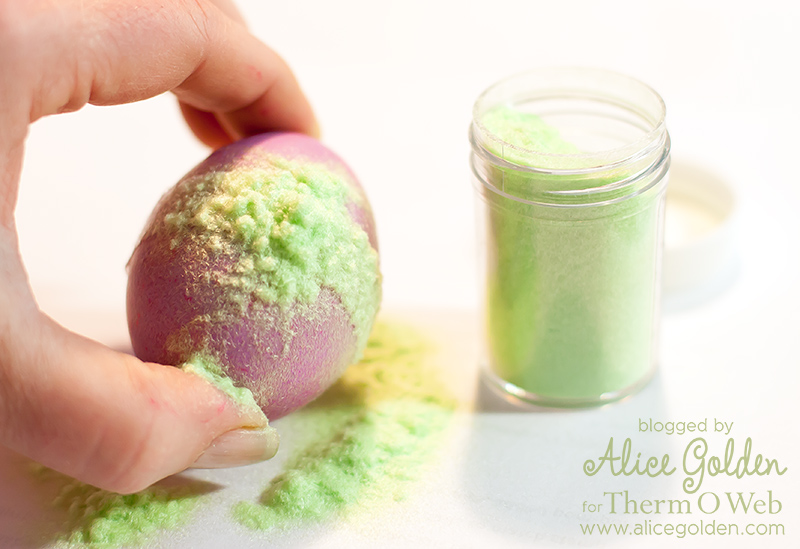
Remove the liner and cover with flocking powder. Use a paint brush to remove the excess.
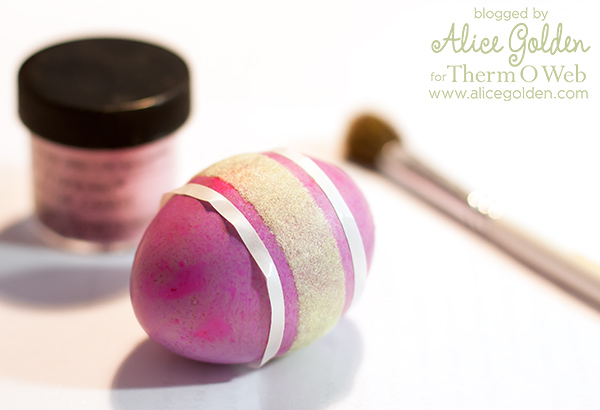
Add two pieces of 1/8″ iCraft tape to either side and cover with pink flocking.
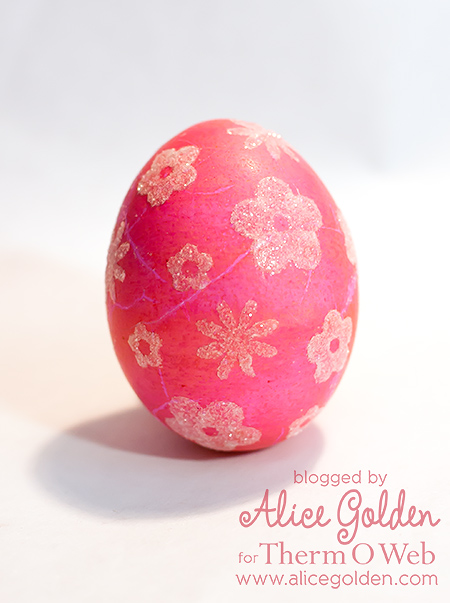
It is easy to die cut or punch shapes from iCraft sheets – they even work in electronic die cutting systems!
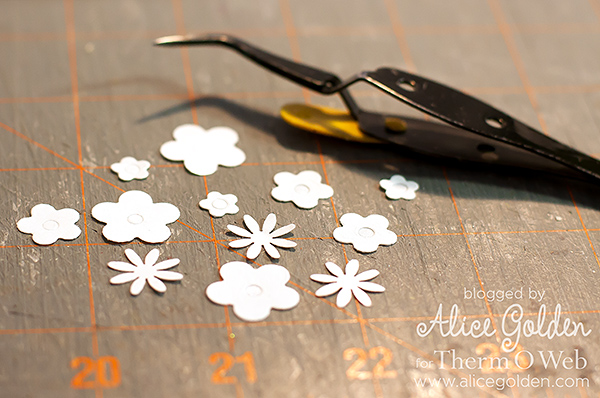
This egg was covered in assorted flower shapes
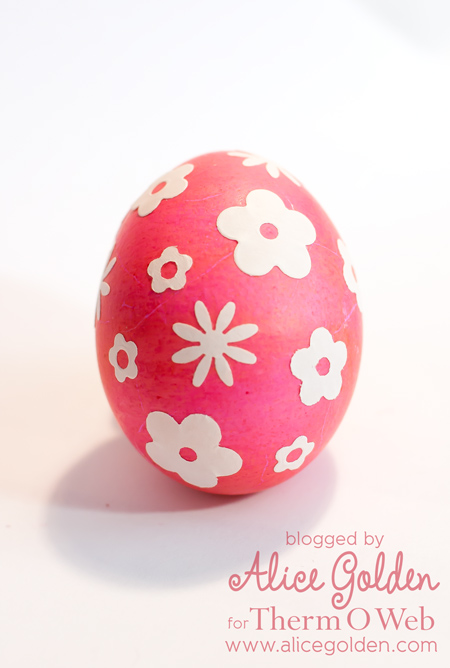
and the liner was removed and the adhesive covered in clear glitter. Craft tweezers come in handy when removing the protective liner.
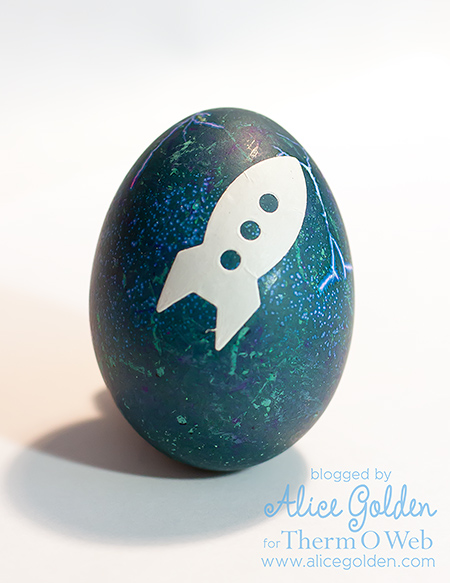
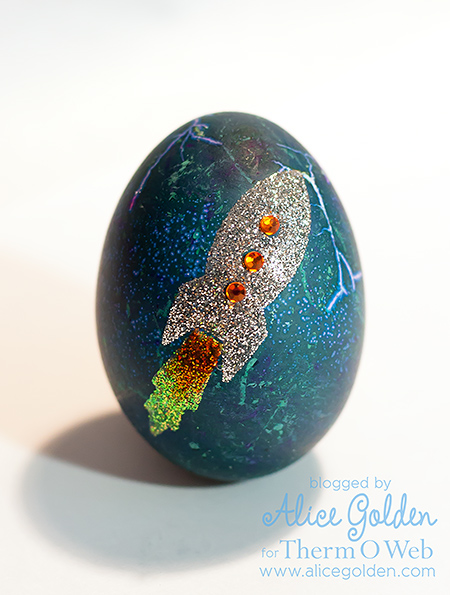
This dark blue egg reminded me of the night sky. The rocket and flame were die cut from an iCraft sheet.
First, remove the liner from the rocket and apply silver glitter. Then add yellow glitter to the flames. An orange Copic marker was used to add a bit of extra color to the flames. Zots for Bling were used to adhere the rhinestones.
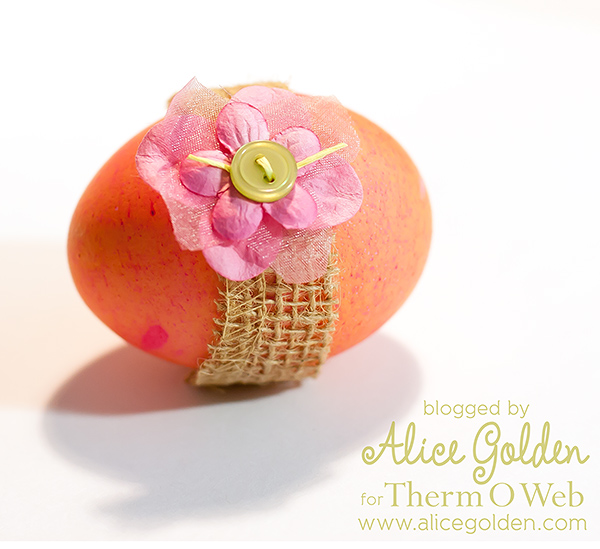
Last, but not least, iCraft can be used as is to adhere all sorts of ribbons or trims.
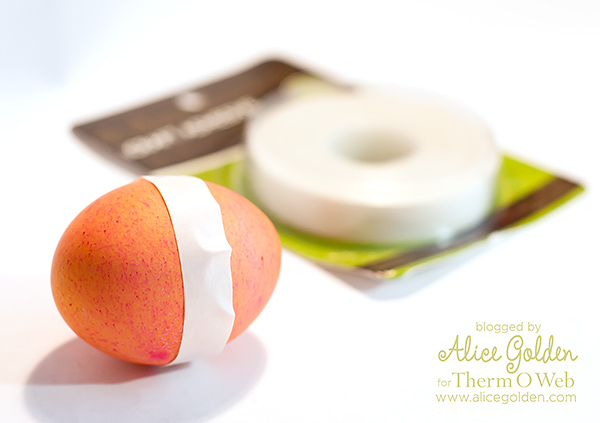
Here a strip of burlap was wrapped around an egg.
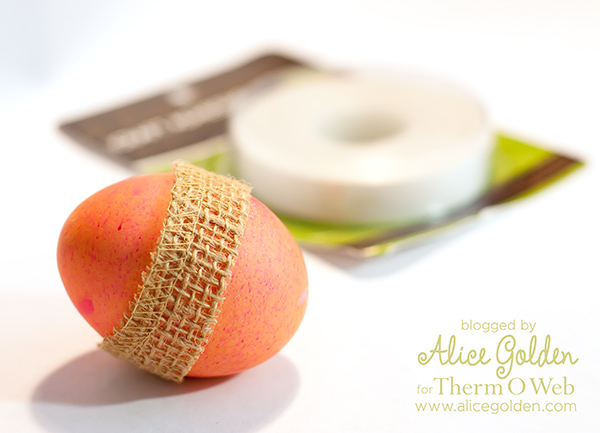
A few flowers and button were attached using Zots Singles.
 I have one last tip to share today… if you have a cat, keep them away from the eggs… at least until you are done photographing them. Otherwise they might be tempted to bat one off of your craft table when you aren’t looking (notice the cracks in the “after” photo of the pink egg?).
Happy Easter!
Supplies:
iCraft Tape in assorted widths
iCraft sheets
Zots for Bling
Zots Singles
Other
Hard boiled or blown out eggs
Assorted glitter, ribbon, and trims
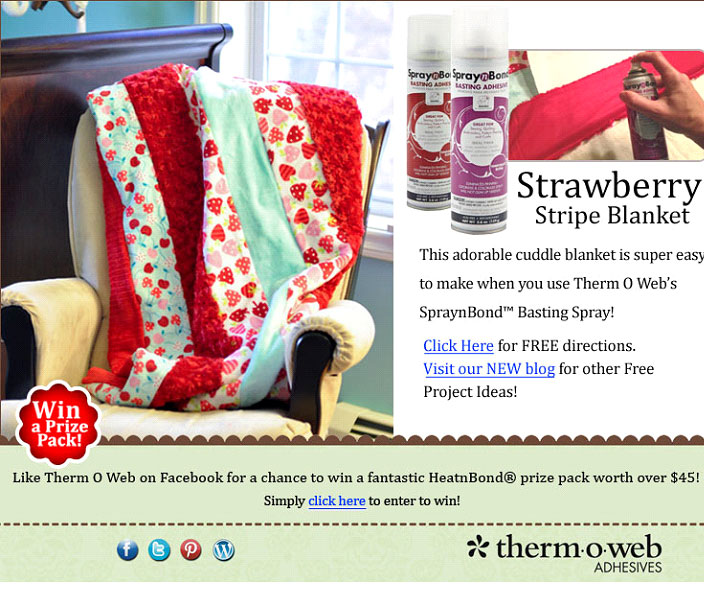
Be sure to visit our Facebook page and give us a like! Then enter to win a HeatnBond prize package! It’s filled with many of your favorite HeatnBond products!
Click here to go to the giveaway!
donna brothers
March 28, 2013 at 12:48 pm (11 years ago)Like this product works delly well.
donna brothers
March 28, 2013 at 12:50 pm (11 years ago)Really like this product. Very easy to use.