


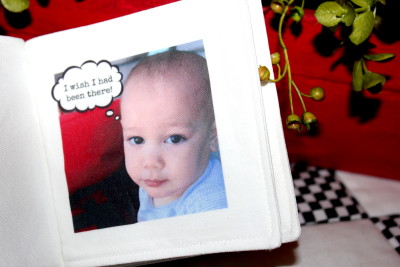
Photo memories of family visits and trips sometimes only make it as far as social media posts and emails, but printing them out can make a lasting memory for young children (and big kids, too!) I was lucky to have four out of five grandsons (I call them the “Monkey Boys”) visit for a week this summer, but the littlest monkey missed out on all the fun. A fabric photo book with some Deco Foil bling seemed like the perfect way to include him in the adventures the bigger monkeys enjoyed.
A Little Fabric Photo Book by Carol Swift of Just Let Me Quilt
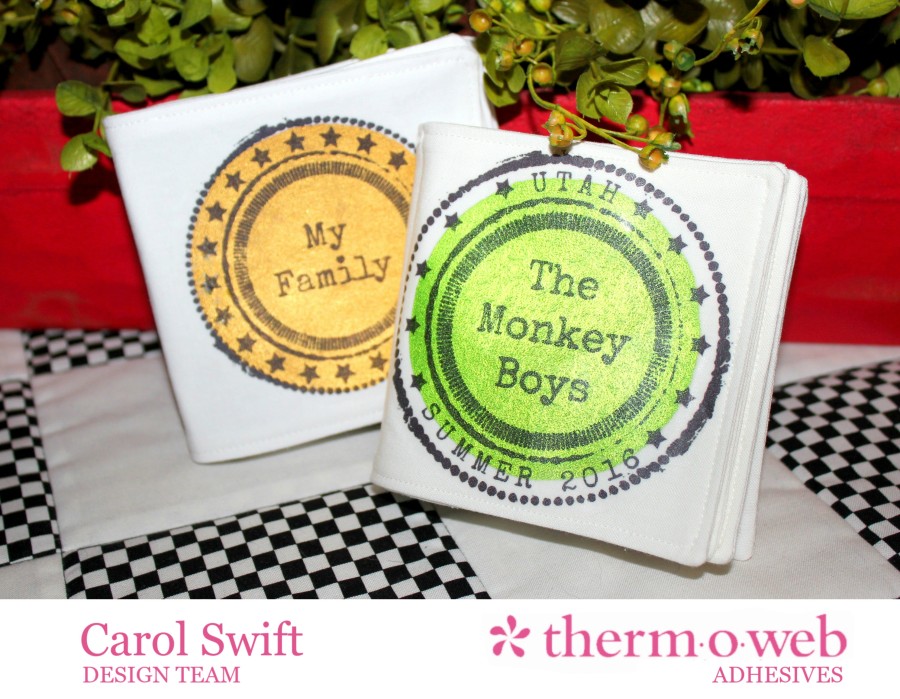
You can add graphics to the pages and create your own title page or keep it as simple as you want. It’s easy to make and there’s no worry about the pages getting torn by little hands.
What you’ll need:
iCraft® Deco Foil™
iCraft® Deco Foil™ Hot Melt Adhesive
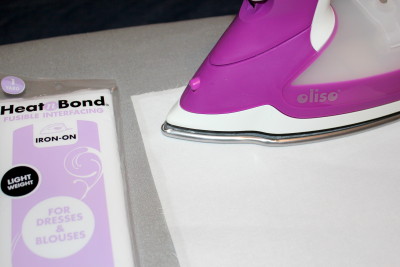
Thermoweb Heat n Bond® Light Weight Fusible Interfacing
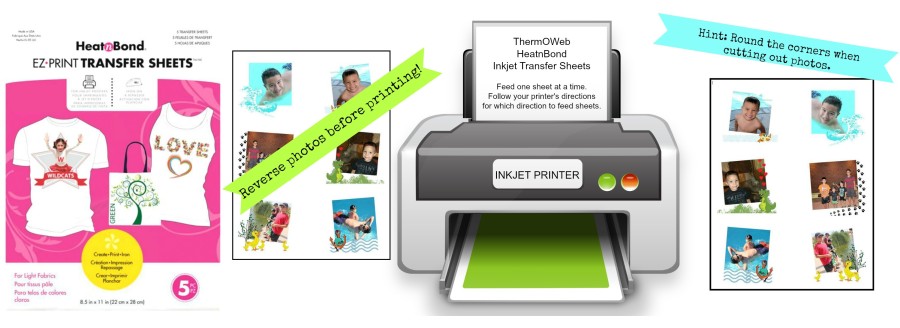
ThermOWeb’s HeatnBond® Inkjet Transfer Sheets
Iron
Fabric
16 Photos printed at 3½” x 3½”
Cover photo/graphic printed at 4” x 4”
Optional: graphics and die punch
Cutting Instructions:
Cut 10 – 4½” x 8½” white fabric pages
Cut 5 – 4½” x 8½” interfacing (shown in blue in tutorial)
Sewing Instructions:
Step 1: Iron the Thermoweb Heat n Bond Light Weight Fusible Interfacing to the backs of five white fabric pages following package directions. Set aside.
Step 2: Print photos at 3½” x 3½” on ThermOWeb’s HeatnBond® Inkjet Transfer Sheets following package directions. Be sure to reverse your photos before printing. Cut around each picture; round the corners to help prevent lifting after they are ironed on.
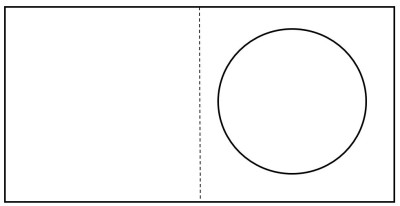
Step 3: Fold each 4½” x 8½” fabric page in half to find center. Finger press or use iron to create line in center.

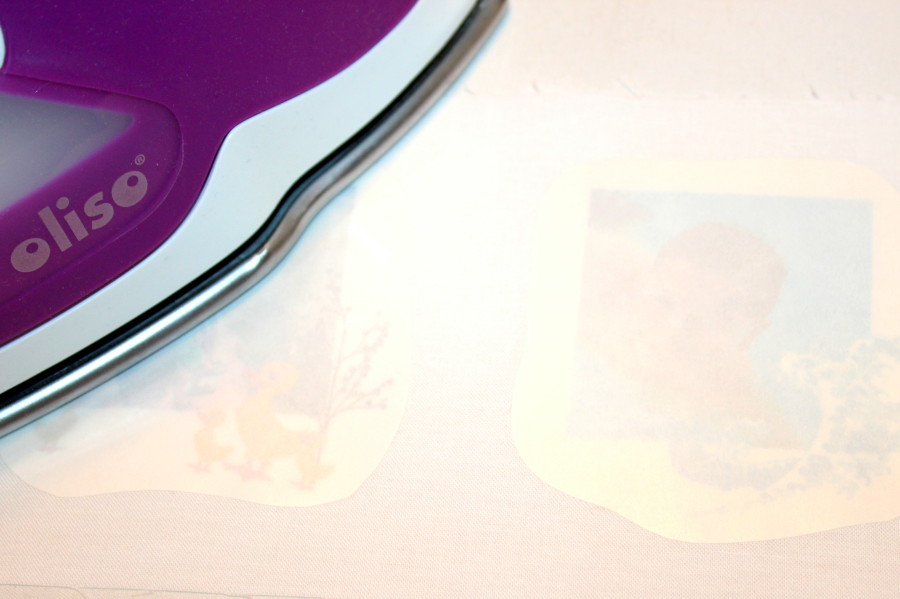
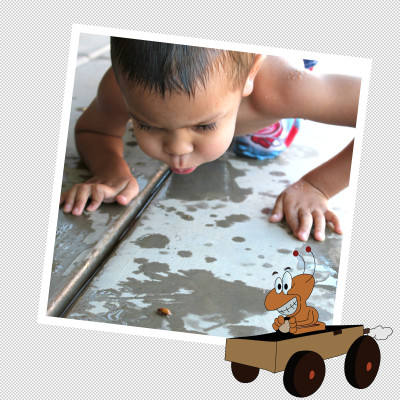
Step 4: Position cut out photo transfers on the right side of eight fabric pages, one on each side, slightly more towards center to allow for seam allowances. Iron transfers to fabric following package directions. Repeat on the left side of pages. *Those smiley faces depict the photos you’ll be adding.
 Hint: Leave transfer backing on right side when ironing left side photo to protect it from the iron. Allow to cool before removing transfer backing.
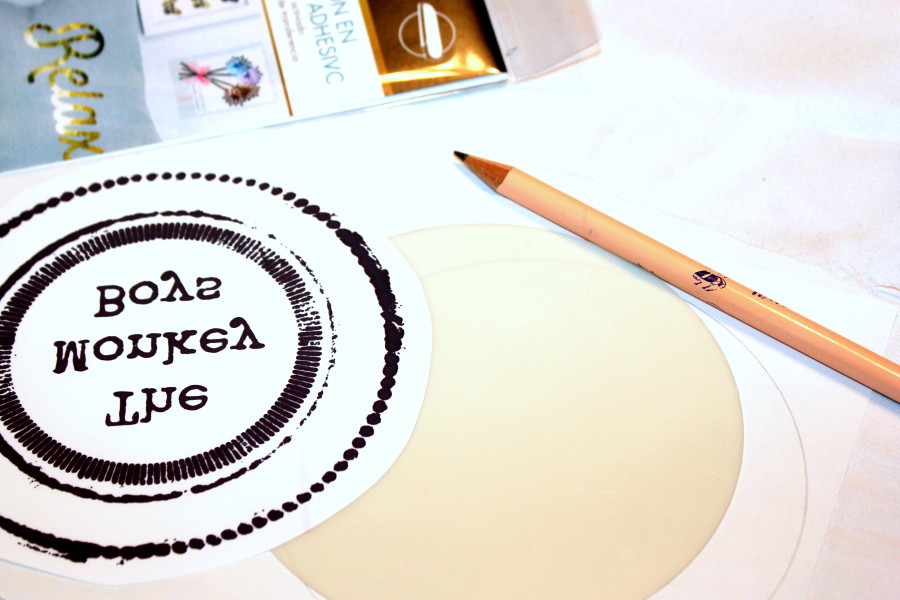
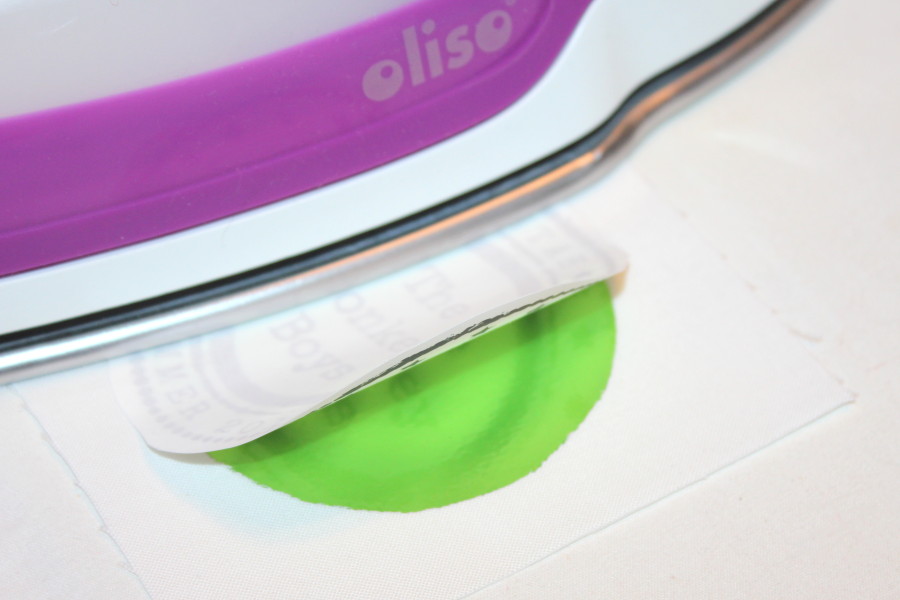
Step 5: To make a cover page with your graphic over iCraft® Deco Foil™, print your graphic at 3½” x 3½” on ThermOWeb’s HeatnBond® Inkjet Transfer Sheets. Set aside. Trace desired shape (a 3” circle was used for this book) on the smooth side of iCraft® Deco Foil™ Hot Melt Adhesive. Cut out on drawn line.
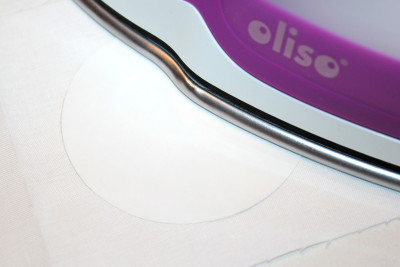
Iron circle on the right side of fabric and on the right side of page following package directions. Let cool completely.
Step 6: Peel off Hot Melt Adhesive backing and lay your chosen color of iCraft® Deco Foil™ over the adhesive shape. Place a sheet of parchment paper over foil and iron following package directions. Remove parchment paper, but do not remove foil until completely cool. Just walk away for at least 30 minutes or longer. *Hint: It’s all about the pressure and length of time you apply to the foil that makes for good coverage. Put some muscle into pressing down on it or consider using a laminator. Plus, don’t remove the paper backings of the other pieces you are ironing if they are close together to avoid accidently touching them with the iron. It’s not pretty when that happens!
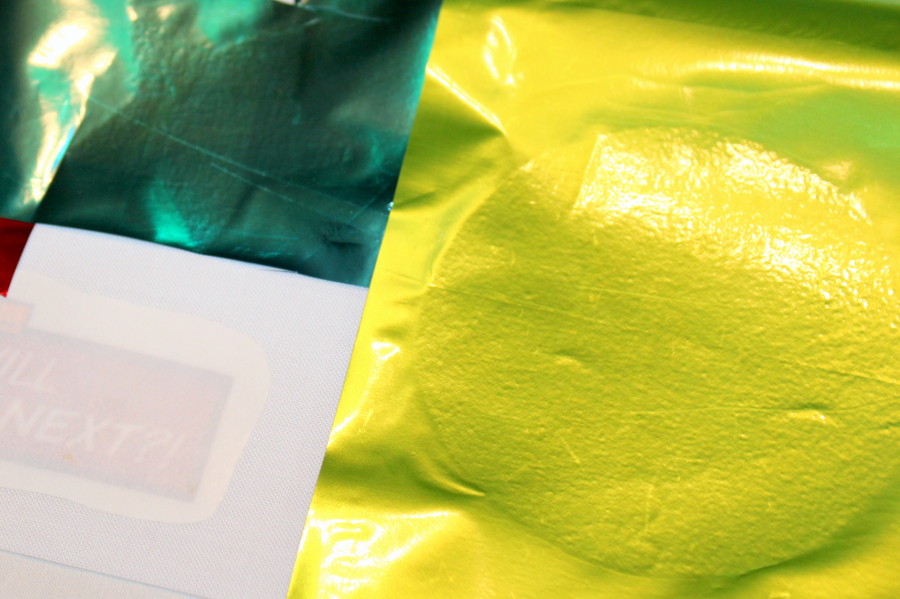
Step 7: Once foil is completely cool, use a soft cloth or piece of fabric to gently rub tops of ironed foil. Slowly remove foil sheet.
Step 8: Place transfer sheet graphic of your choice centered on top of foil circle. Press following package directions. Allow to cool completely.
Step 9: Remove transfer paper backing.
Step 10: Arrange fabric pages together using one page with interfacing and one without (blue indicates page with interfacing back.) The cover page will not have photos on the page back (but you can add some if you want to.)

Step 11: With right sides together, sew ¼” seams around all edges of an interfaced and non-interfaced fabric page leaving a 2” opening at botom. Clip corners. Turn inside out.

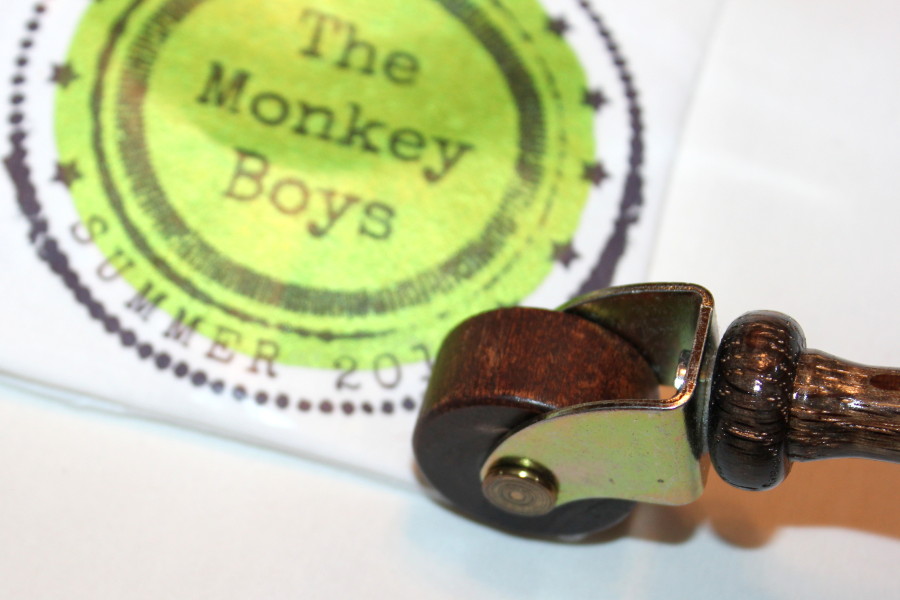
Step 12: Pressing the just-turned seams with an iron can be tricky (the iron might touch something it isn’t supposed to touch) so using a roller or finger pressing is recommended. This roller worked great to flatten the seams. Fold in the openings to be even with other sewn seams.
Step 13: Stitch around all edges close to seams making sure to catch the small opening fabric.

Step 14: Stack pages in the order you want them to be in the book. The cover page should be on the outside to enclose all the other pages. Sew down the middle to create the book.
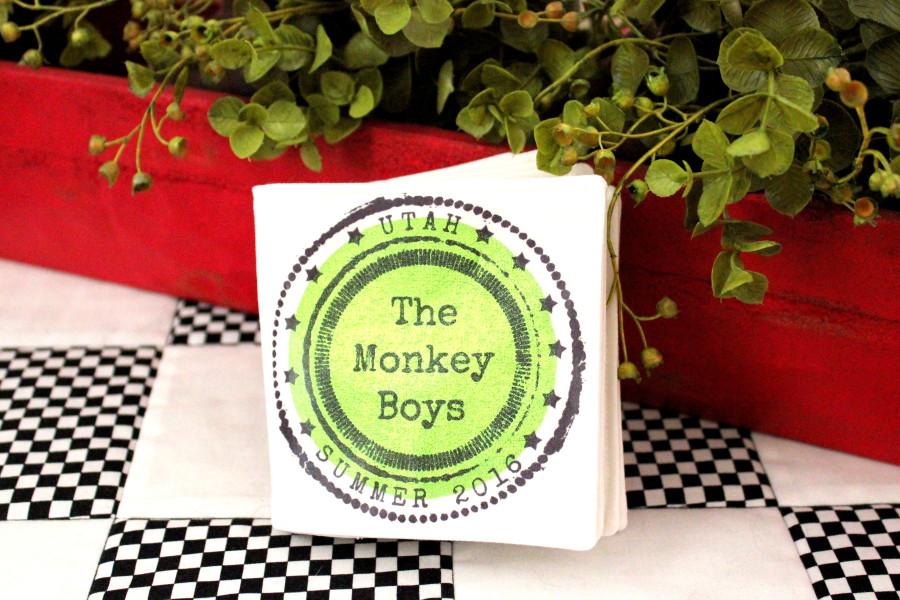
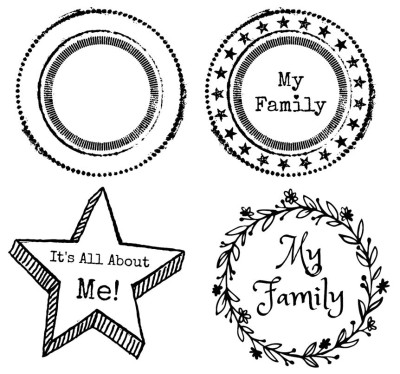
Get creative using your own graphics to enhance your little photo book.
Here’s a few cover graphics I created to make more photo books, plus a blank one for text:
Happy photo memories to you!
You can find this tutorial in PDF format at Just Carol’s Craftsy store HERE.
Super Mom - No Cape!
July 29, 2016 at 9:11 am (8 years ago)This is such a fun idea for a little one! And I’ll bet the big kids will love it too and be more than happy to sit and show all the photos to the little guy!
Sherry
July 29, 2016 at 2:00 pm (8 years ago)This is a great way to save those Funtime memories and share them with others. Great idea for the always happening birthdays and family reunions and of course Christmas gifts. Embracing Creative Bliss…