


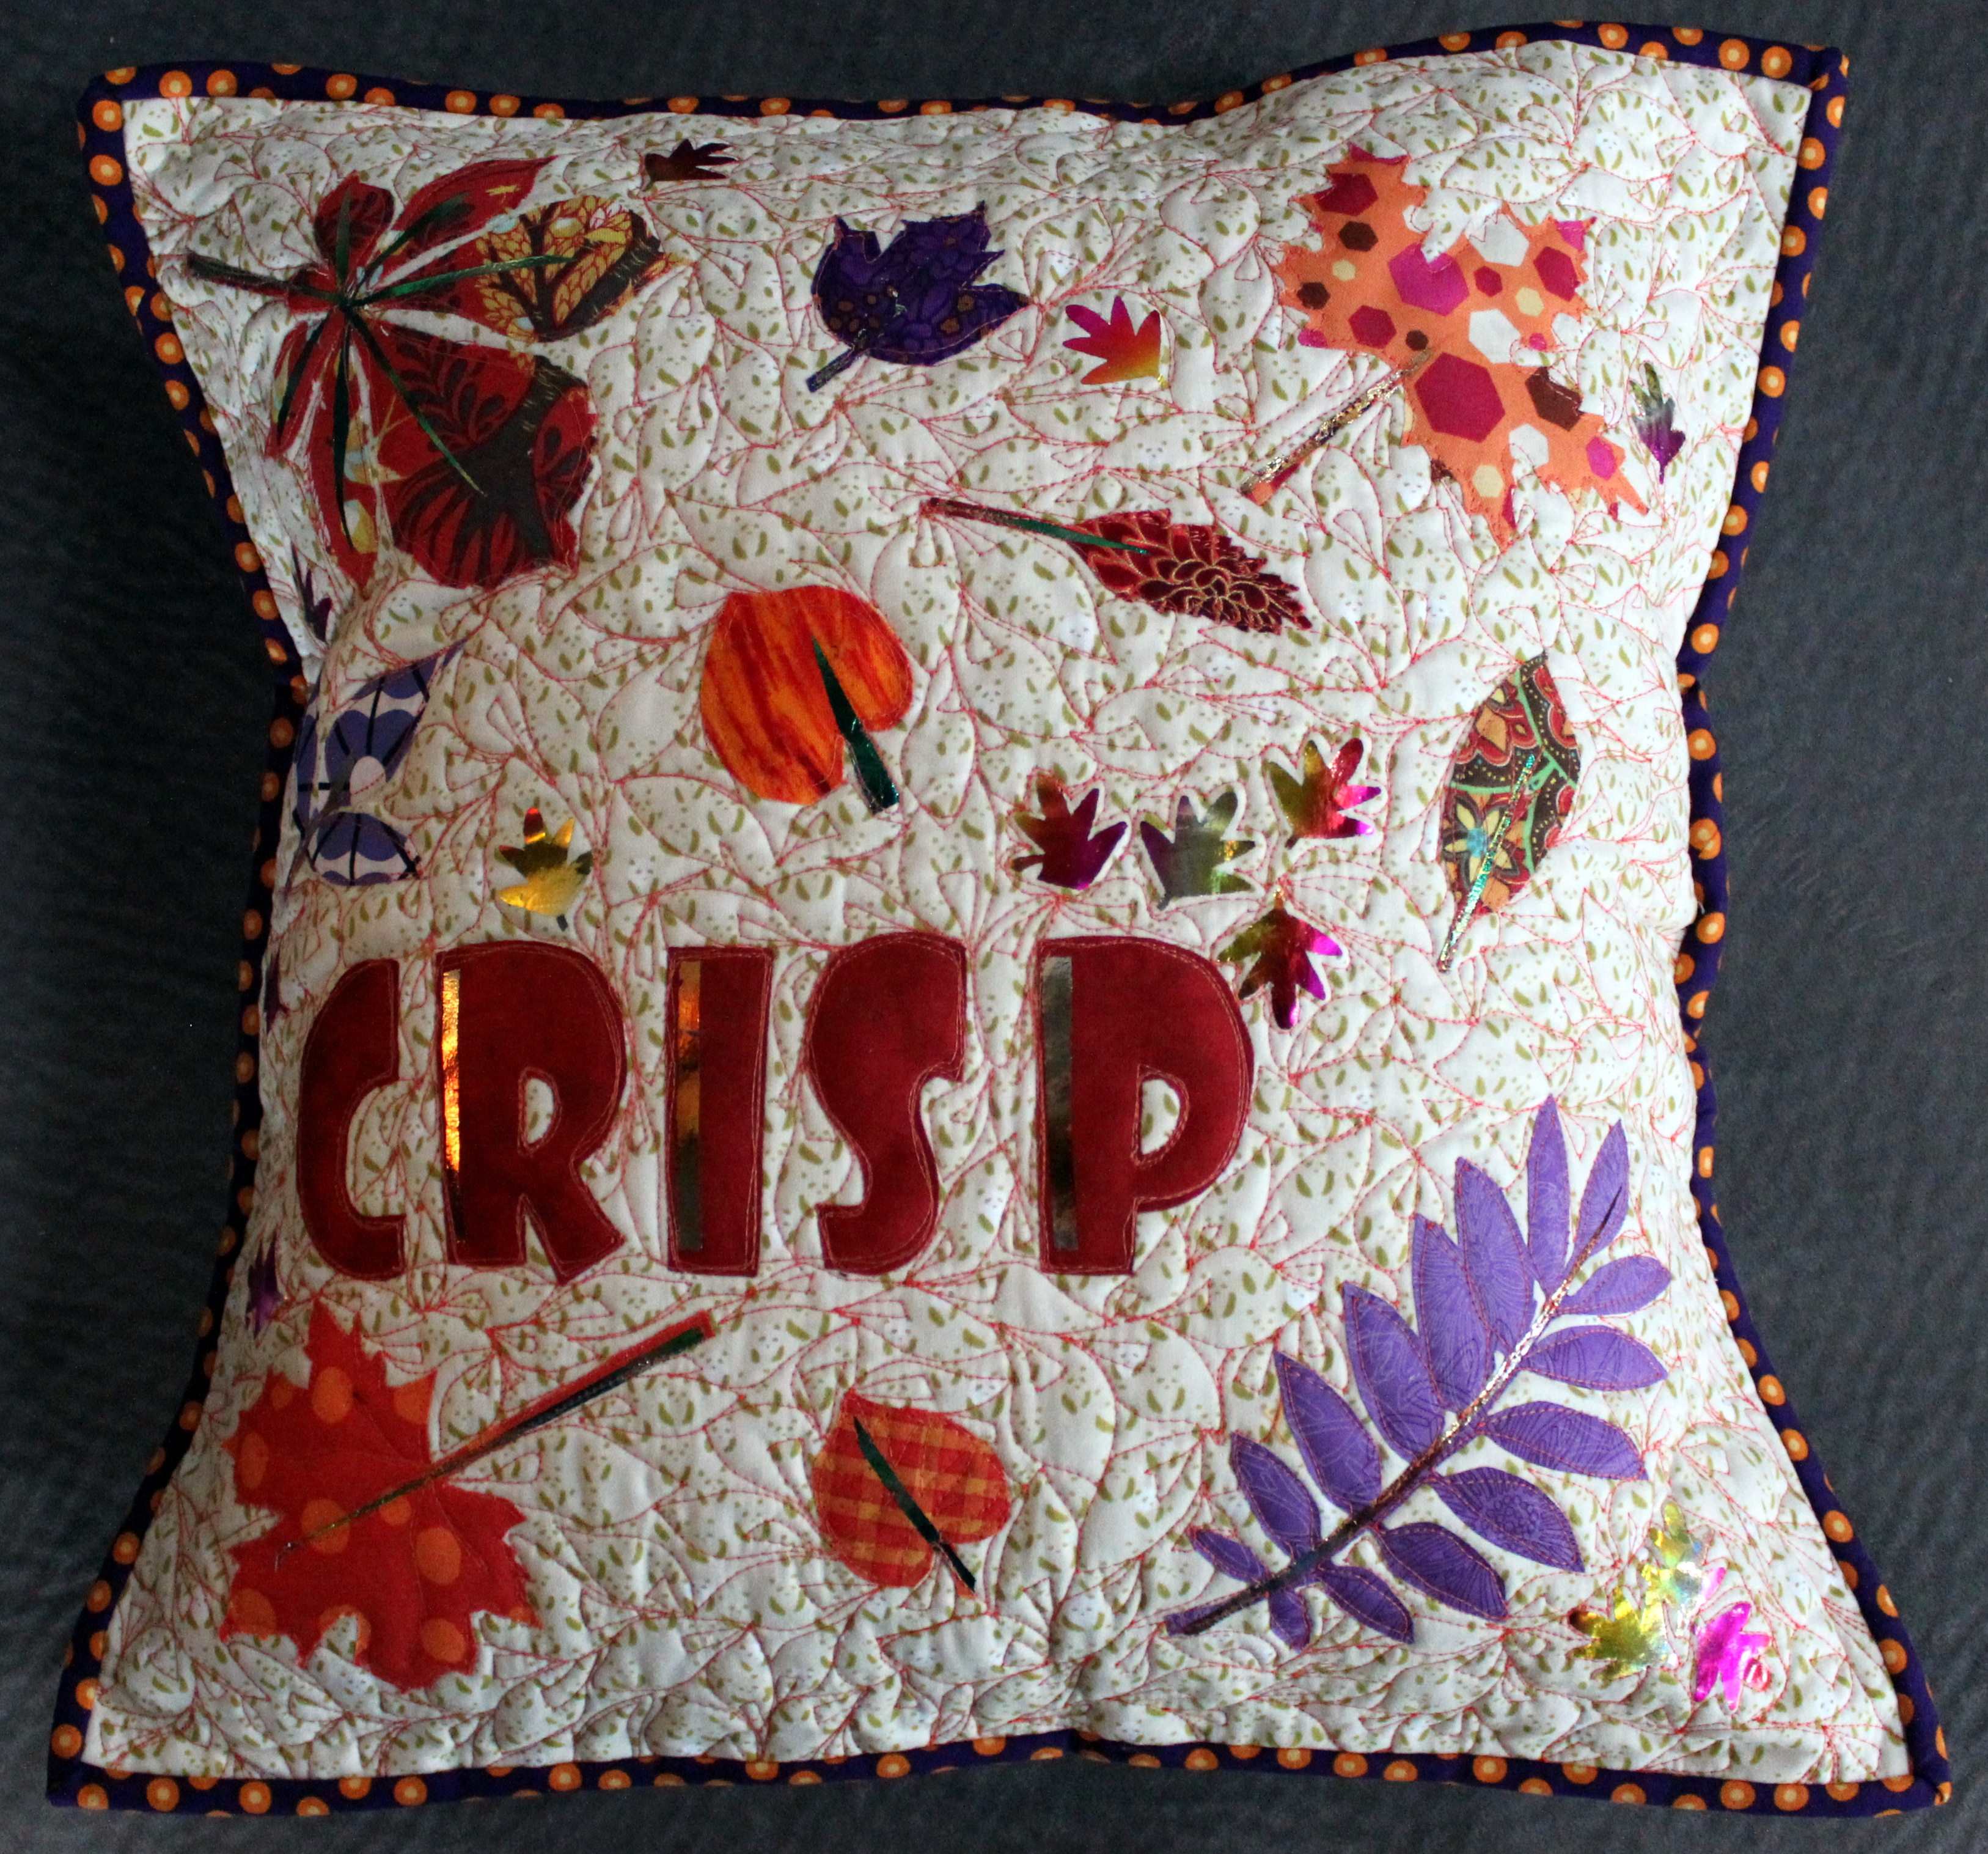
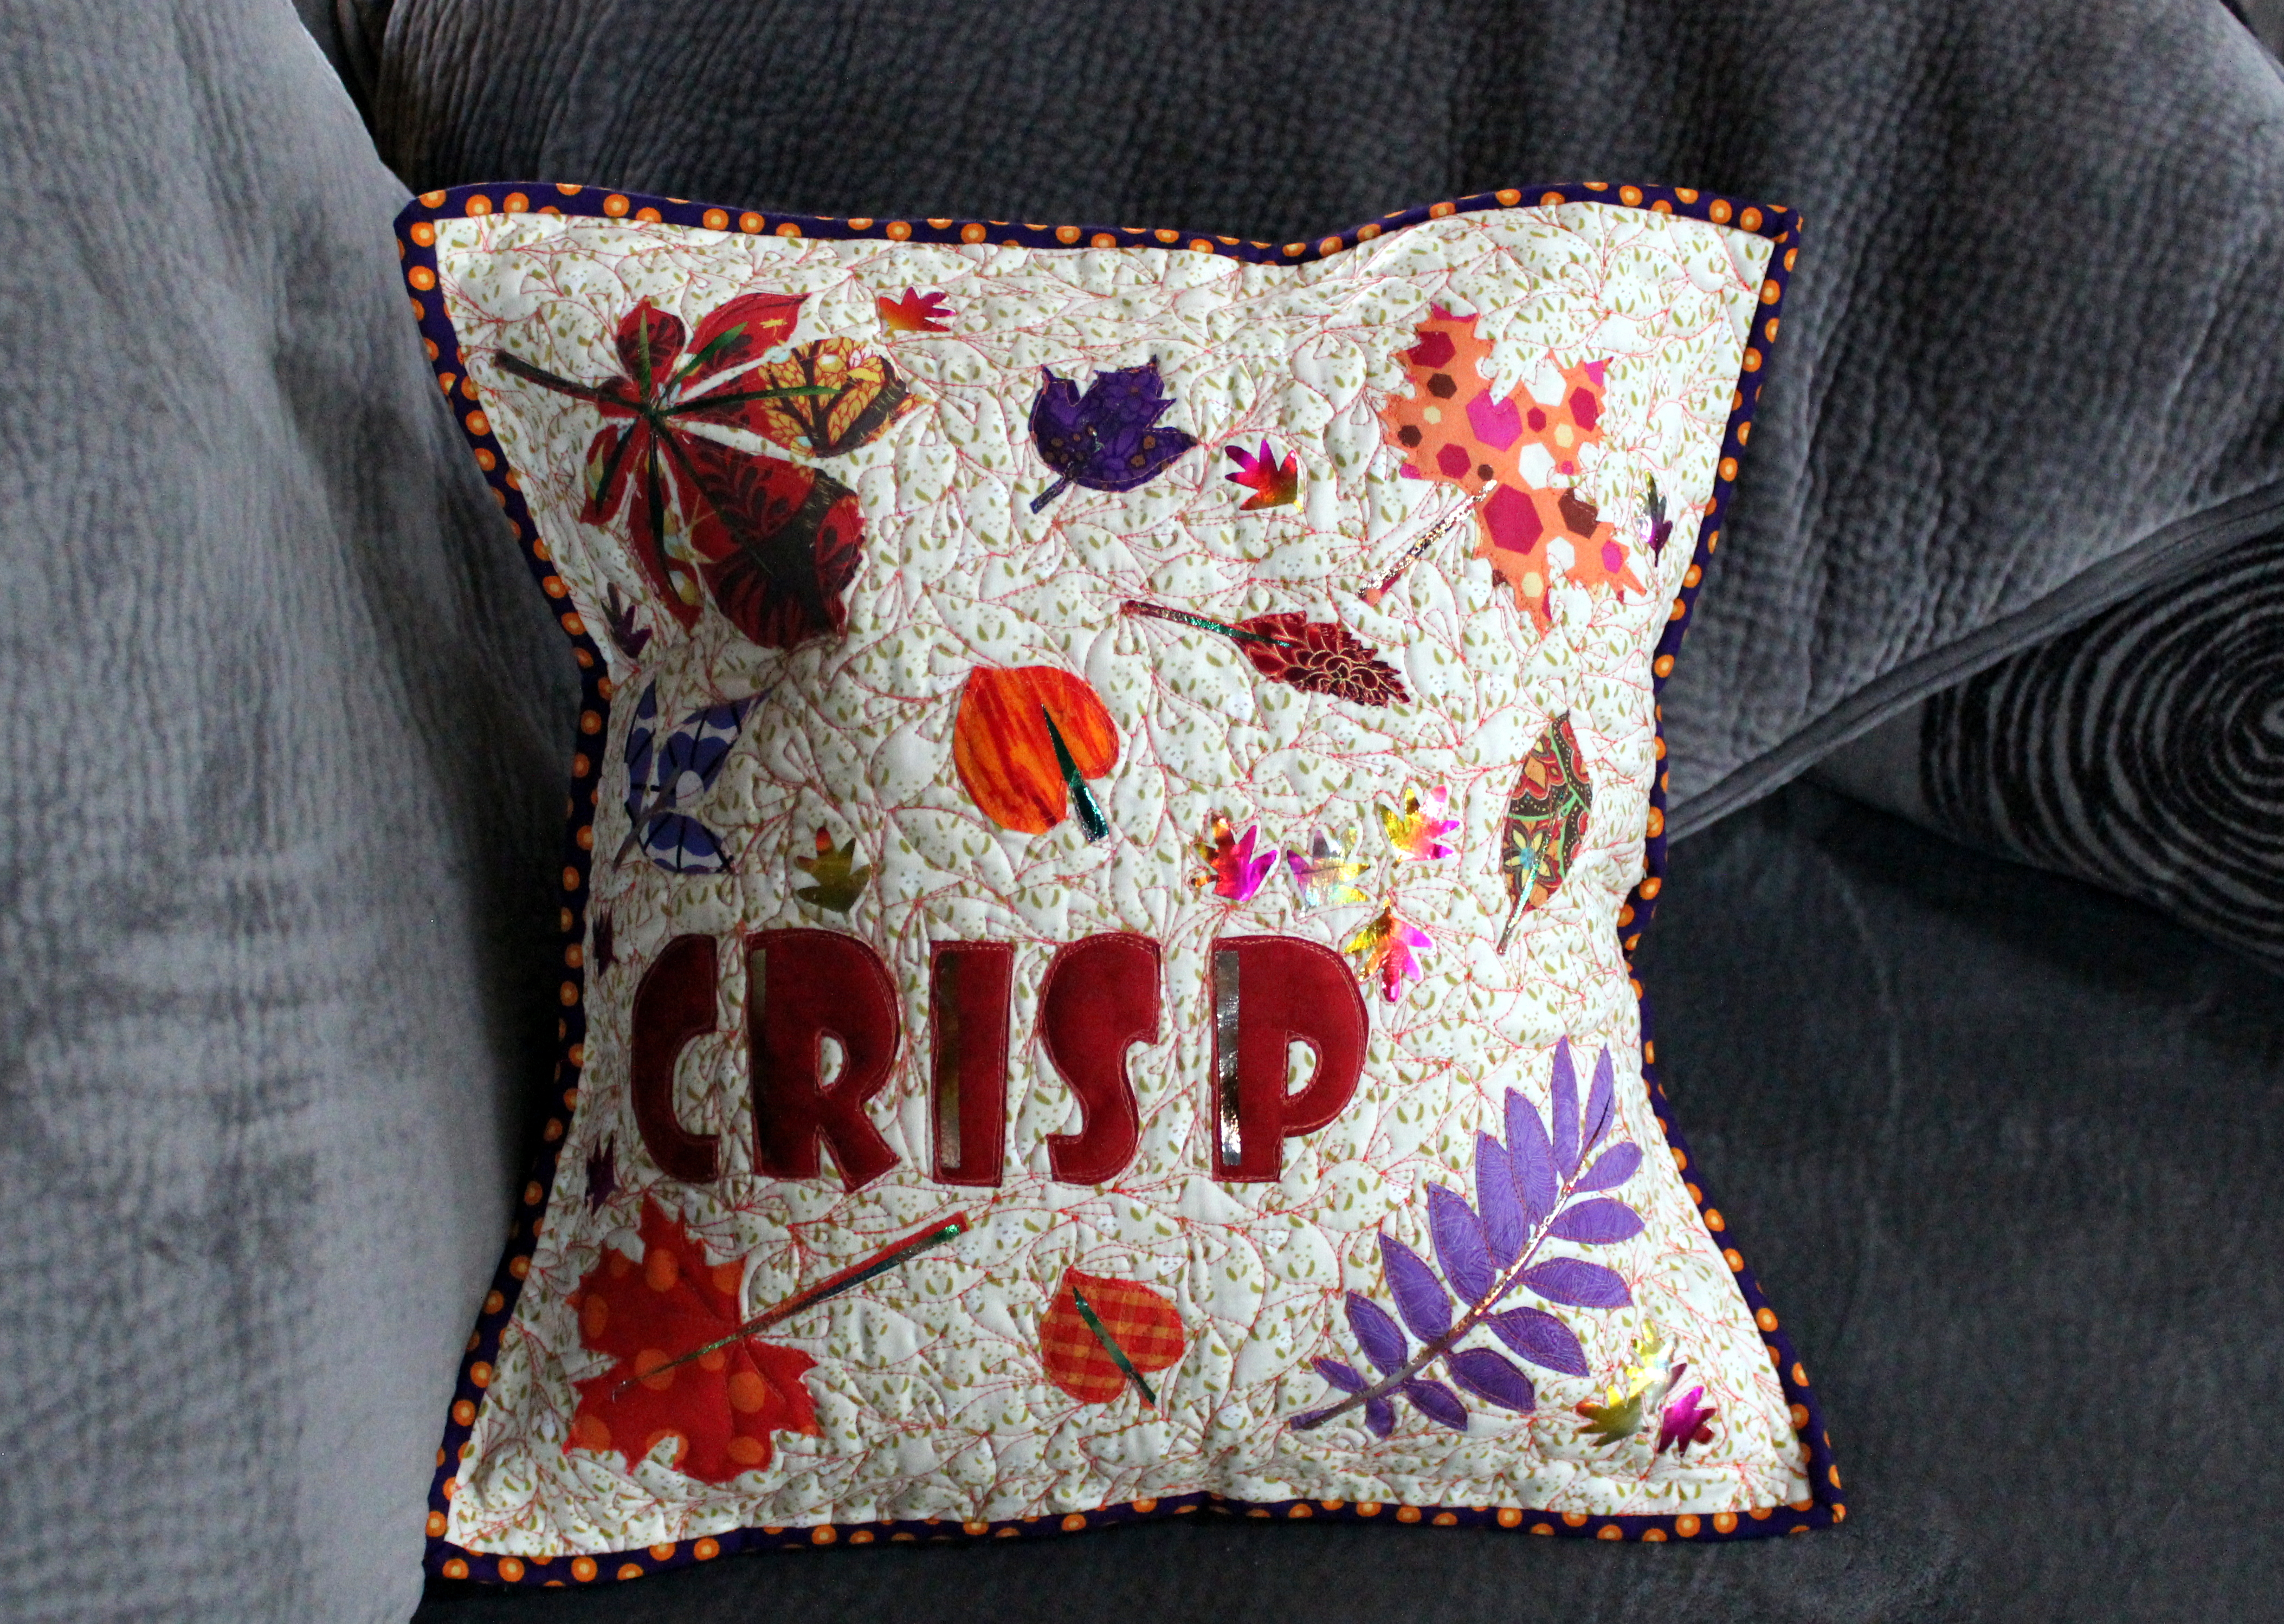
Hi everyone! This is Kim Lapacek from Persimon Dreams! I’m excited to be here today and to be sharing with you a fun pillow tutorial that is perfect for fall! I don’t know about you but the hot, humid days in Wisconsin are getting a bit old. I’m ready for cool, CRISP fall weather!
Like the majority of my projects, this project is fun and free flowing. I’m going to give you the basics to enable you to create it but I hope you take the tools and ideas I give you and create a fall themed pillow that is perfect for you! At the end of December I shared with you a similar tutorial for a snowflake pillow, in February the Hug Me Pillow, in April the Bloom PIllow … if you make them all you can swap them out for each season!
Project Supplies:
- (1) 18.5” square of a neutral fabric (I kept mine neutral so I could go crazy with the leaf fabrics)
- 20″ square of high loft HeatnBond® Fusible Fleece batting
- 20″ square of fabric for back of pillow top
- (2) 18” x 32” (ish) coordination fabric for the back of the pillow
- 2.25″ x 85″ fabric binding strip
- Scraps of orange, red, and purple fabrics for leaf and lettering appliqué
- (1) sheet Emerald Watercolor DecoFoil
- (1) sheet Amber Watercolor DecoFoil
- (1) sheet Summer Rainbow DecoFoil
- (2) ez Print Lite Heat N Bond® sheets
- Crisp Pillow Templates
- (1) Sheet of DecoFoil™ Hot Melt Adhesive
- Pressing Sheet
Project Instructions:
Download the ‘Crisp Pillow Template’ from Craftsy HERE.
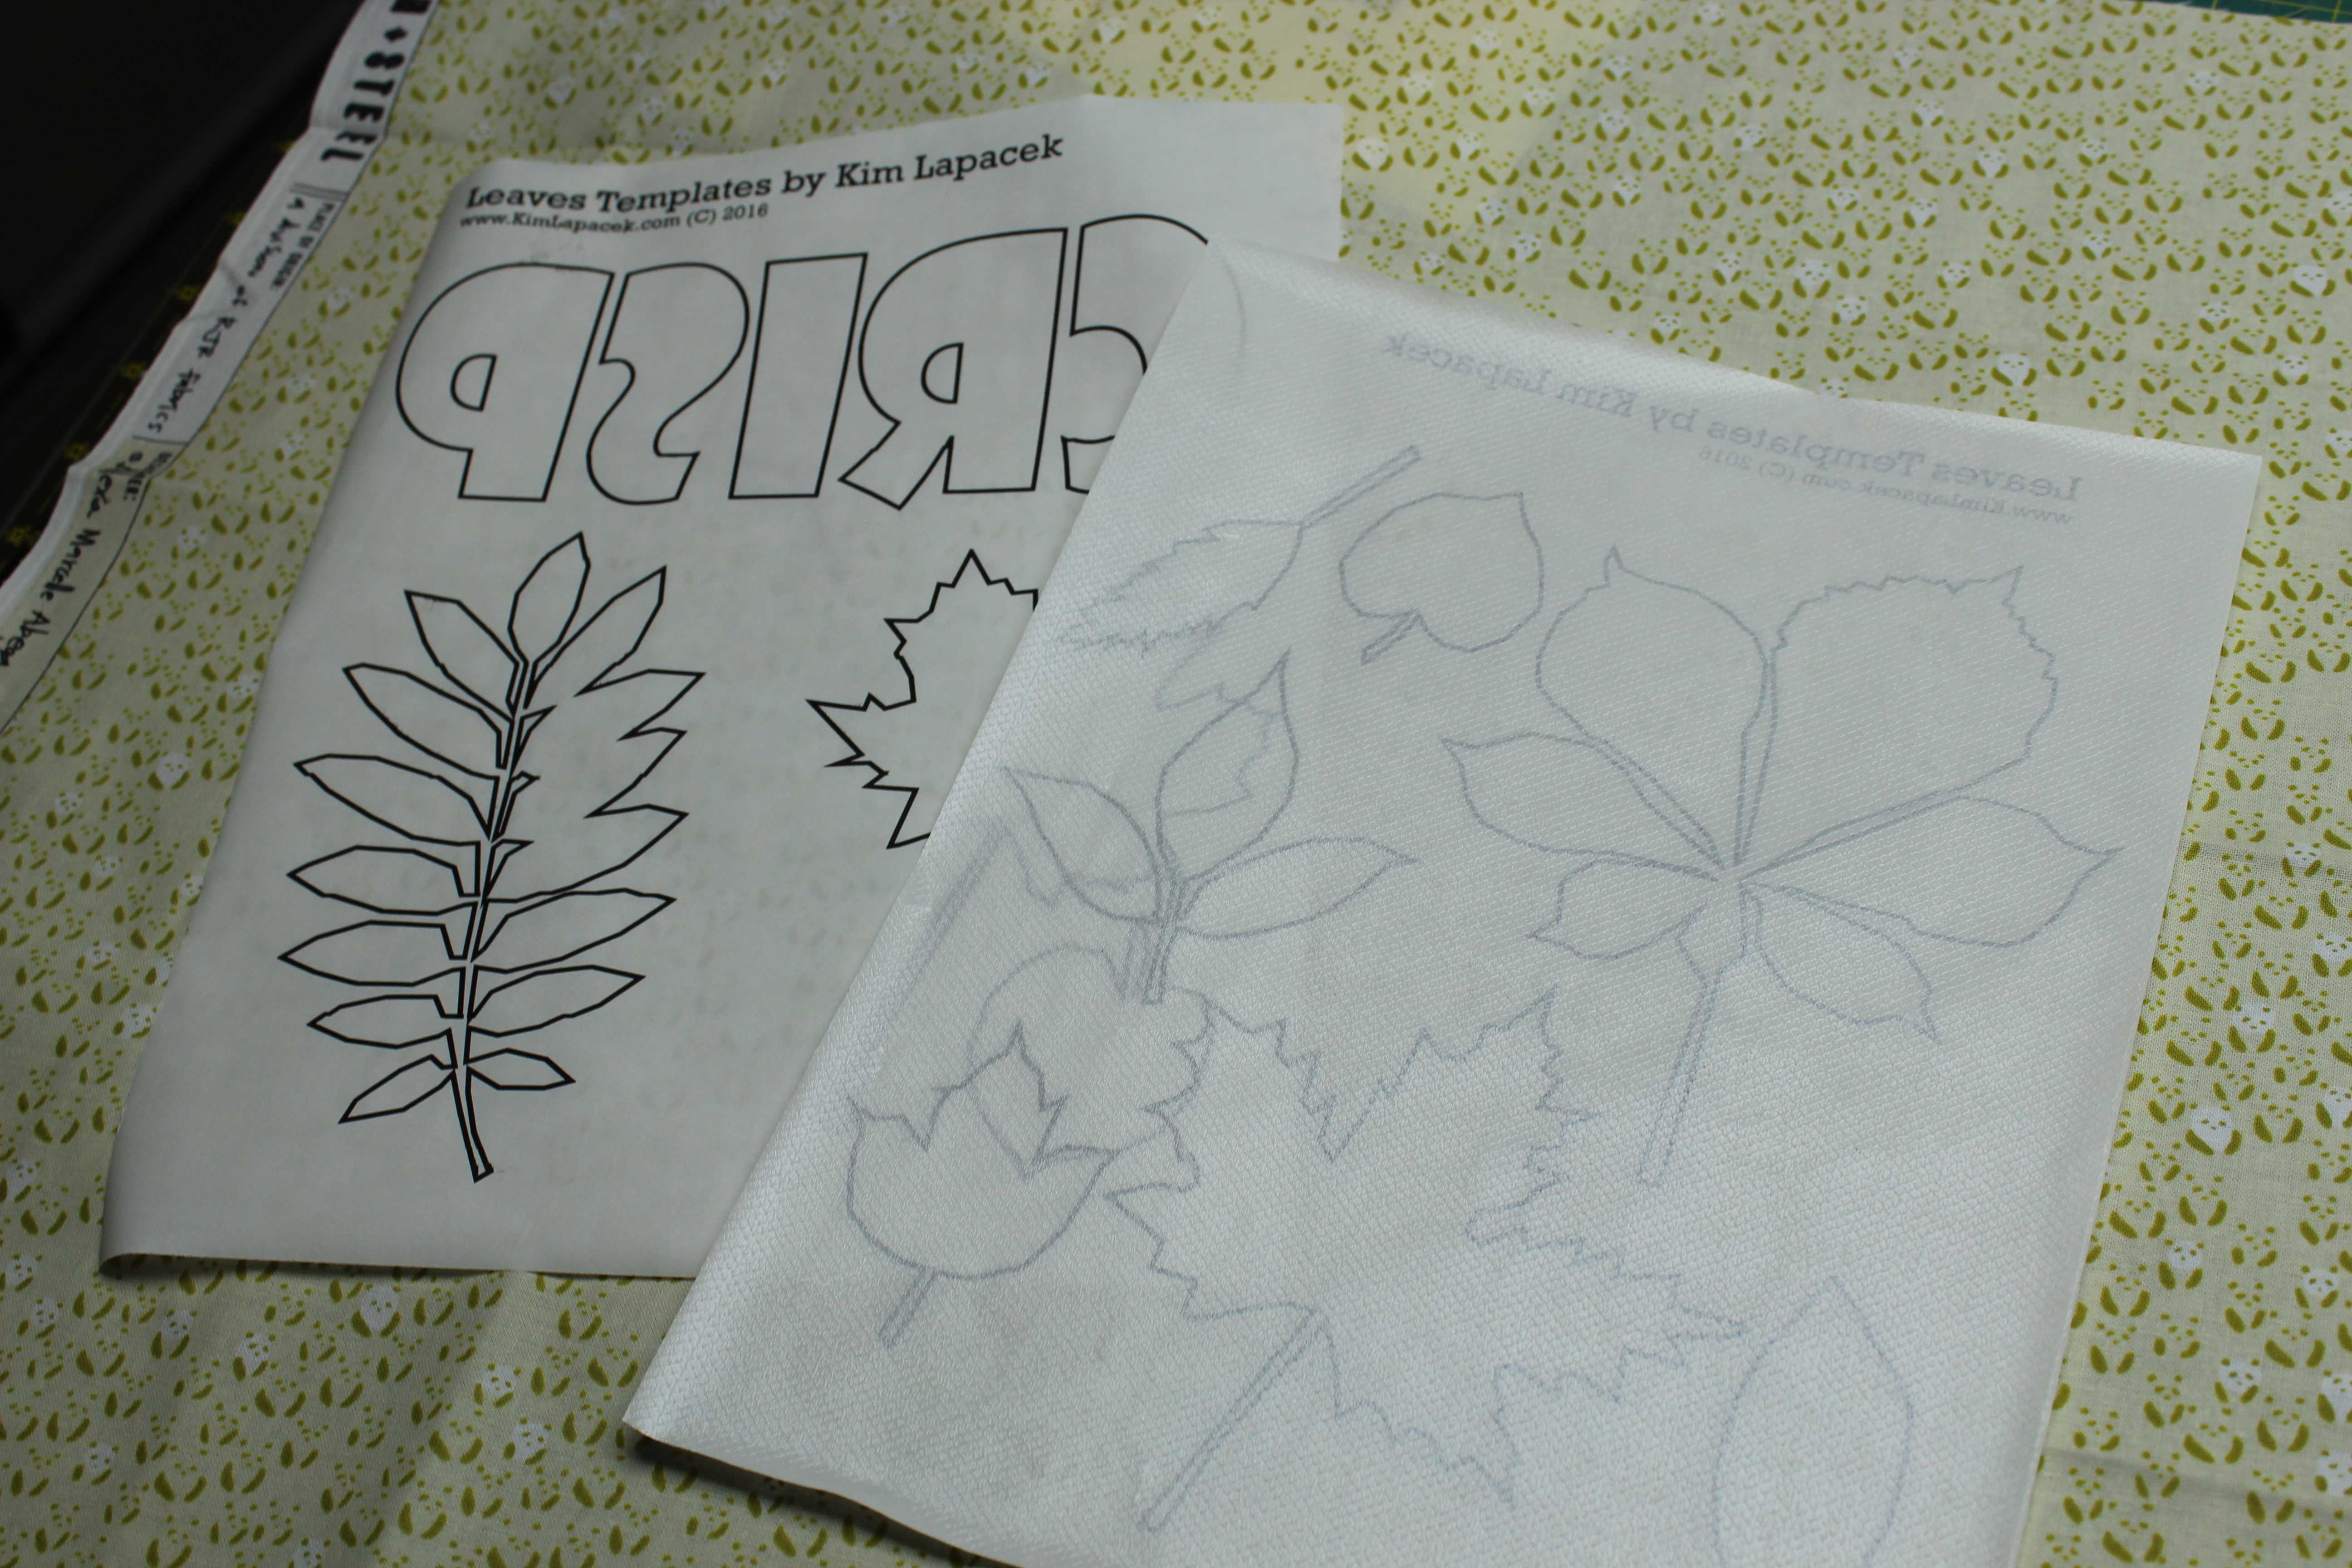
Print the templates right onto ez Print Lite Heat N Bond® sheets. This will enable you to get the details leaves and letters directly onto the fusible without having to trace them all over again. Trust me, this makes your world a whole lot easier.
Once you have your templates printed out let’s get started on the pillow.
Fuse the leaves to the wrong sides of the scraps of fabric you chose for your pillow.
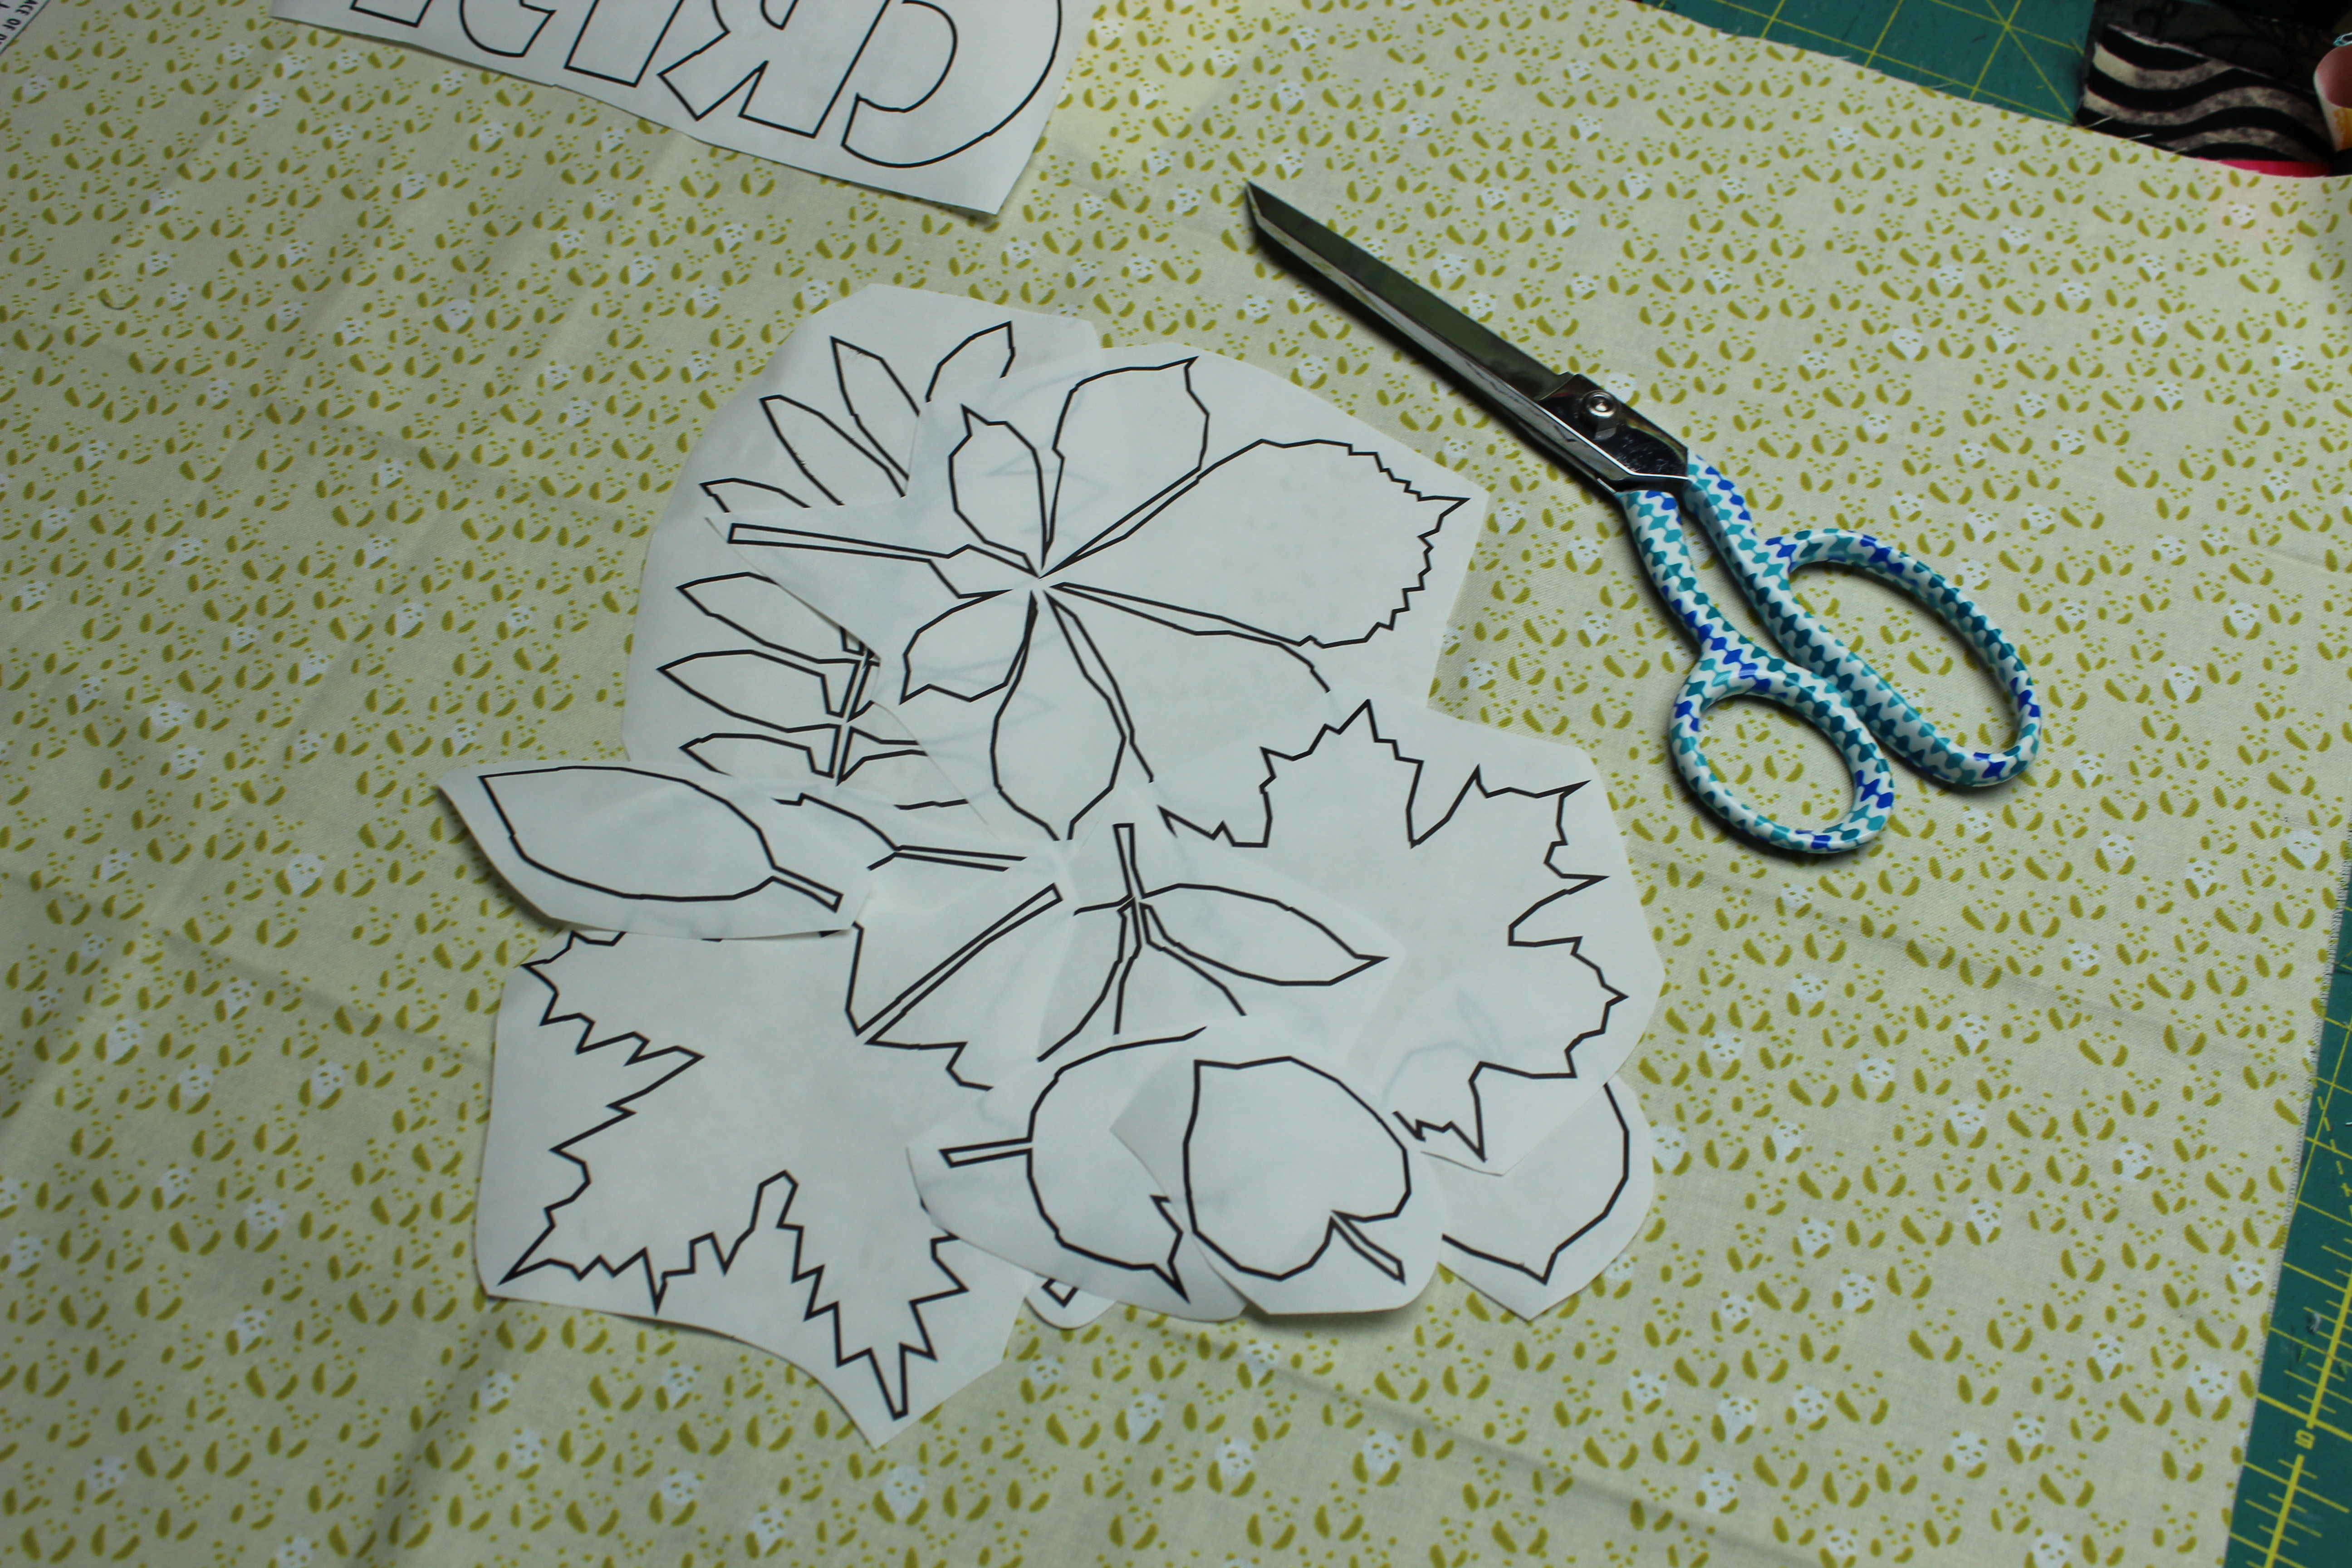
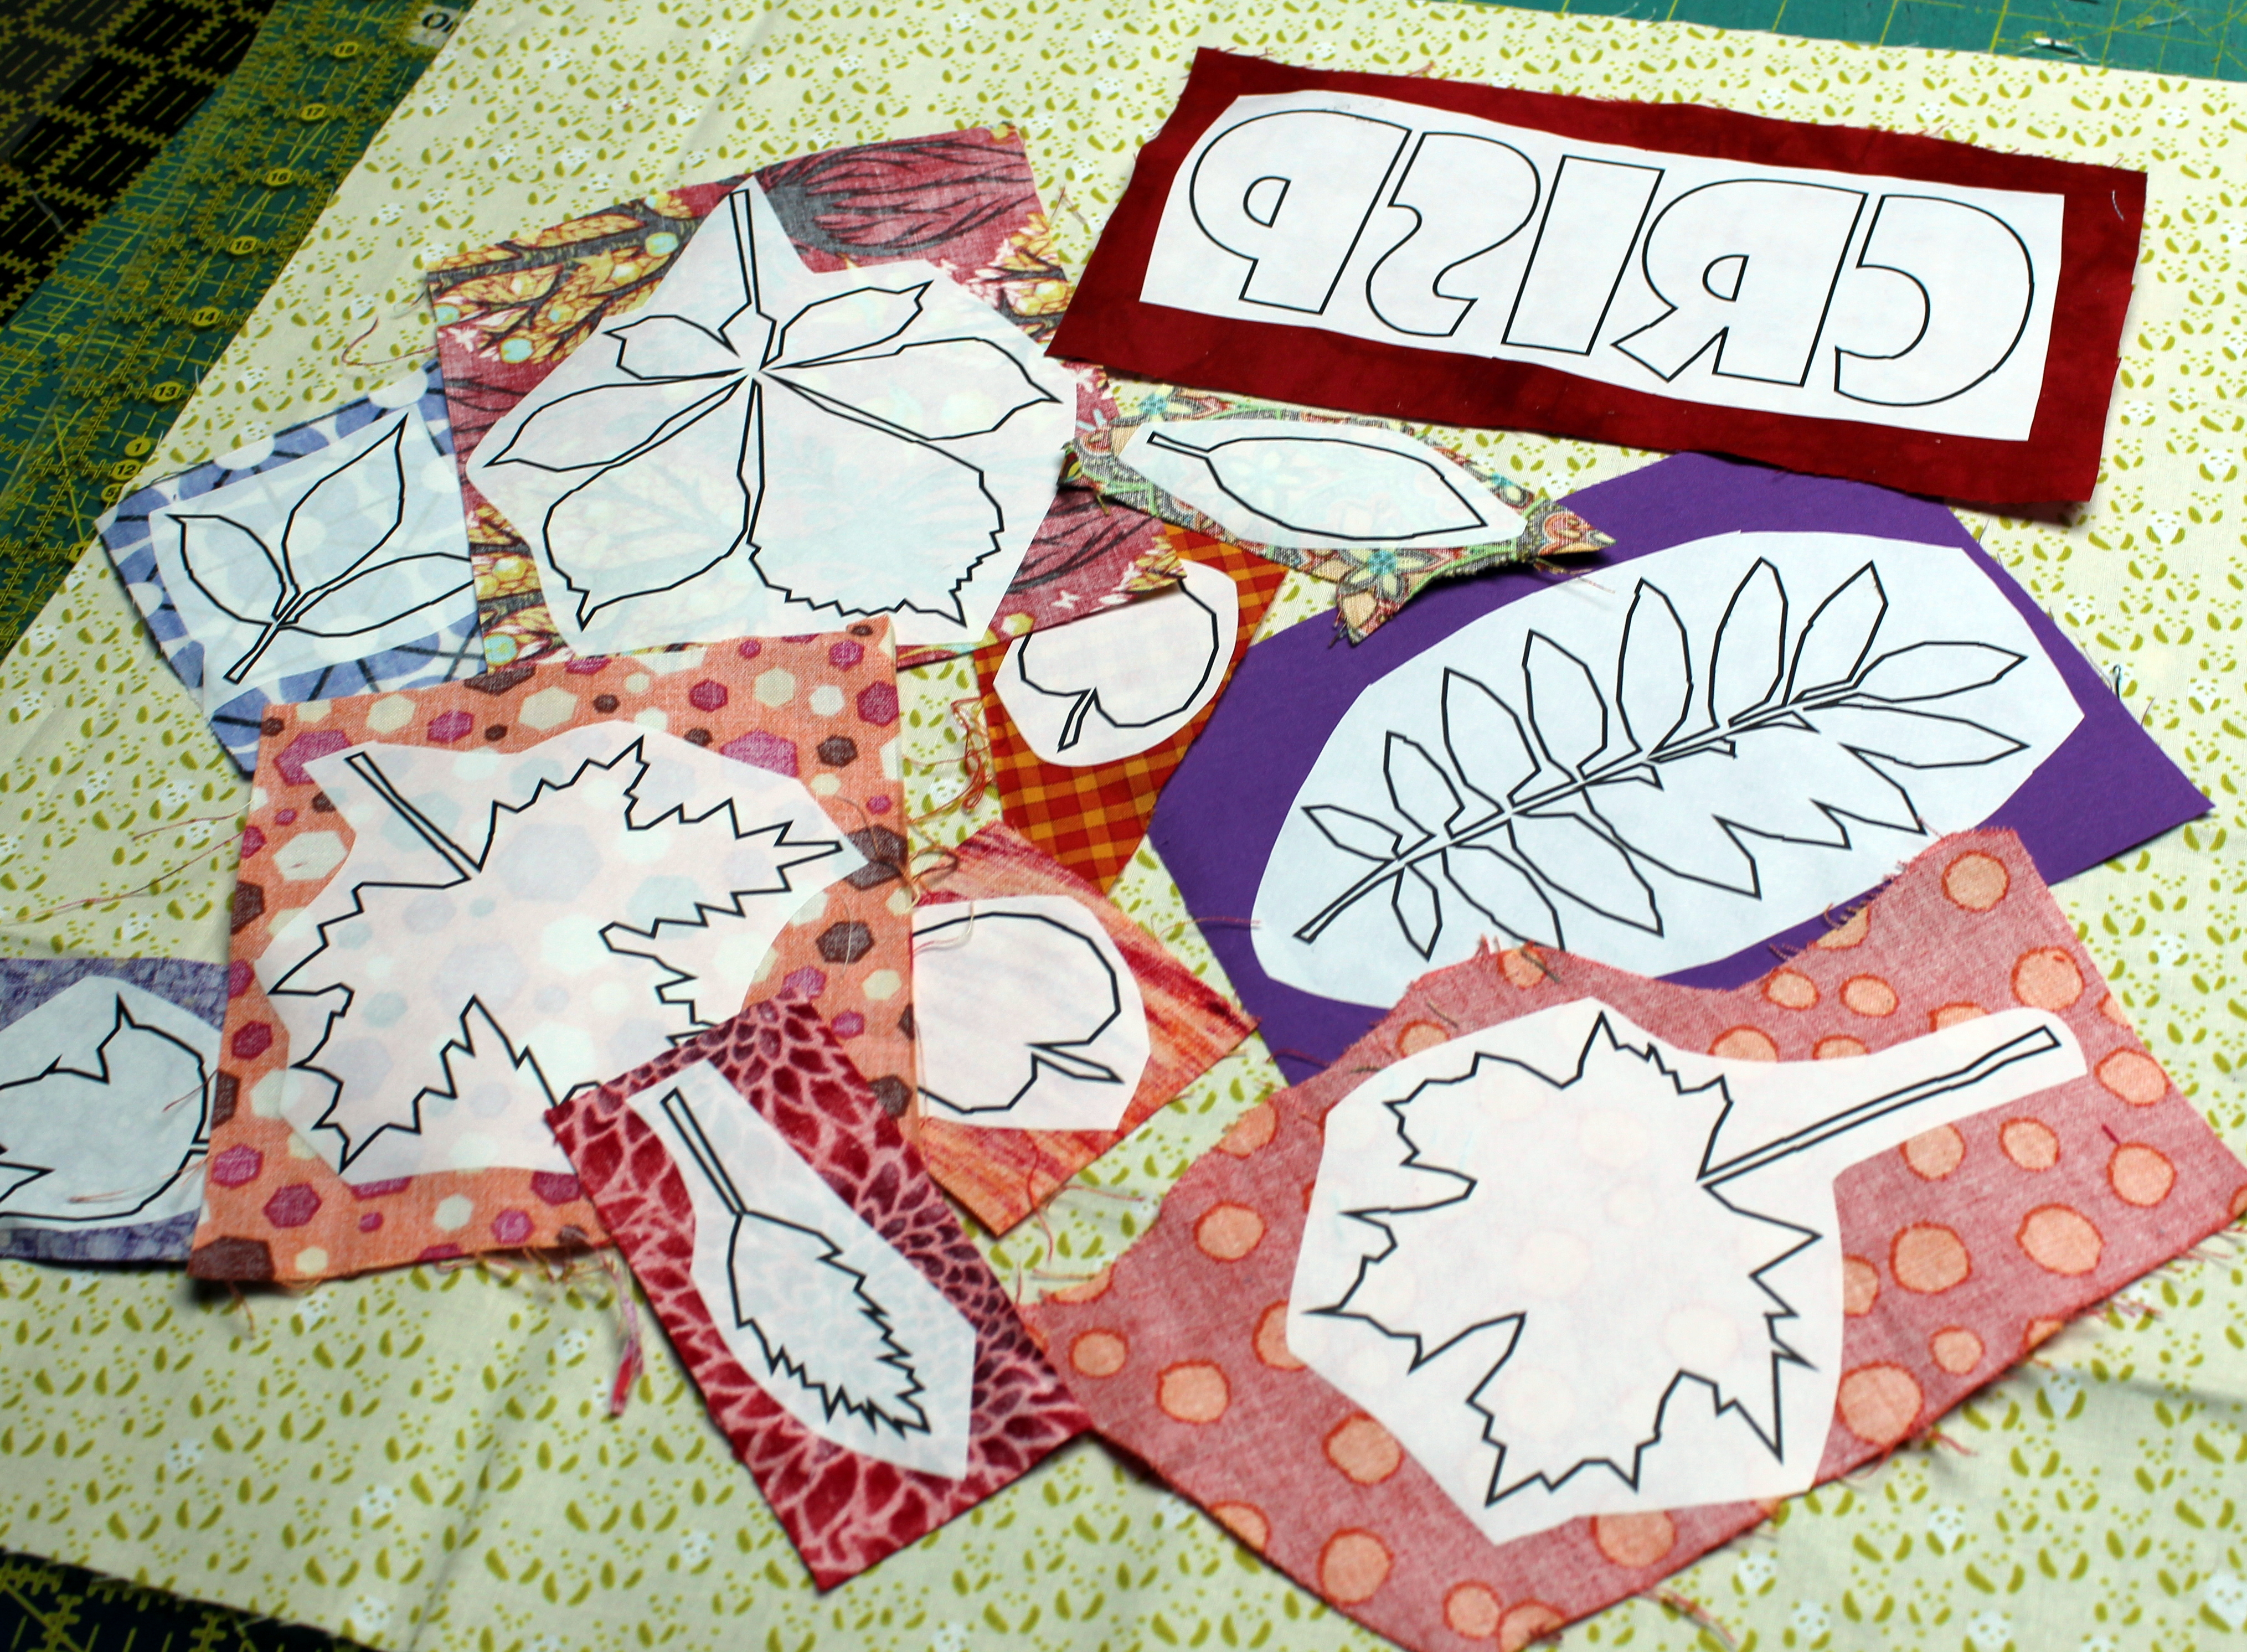 Cut out the fused leaves along the lines. I’ll admit – this is a bit tedious but I promise it will be worth it in the end. This is something I will do in front of the tv or while watching my girls at a sporting event.
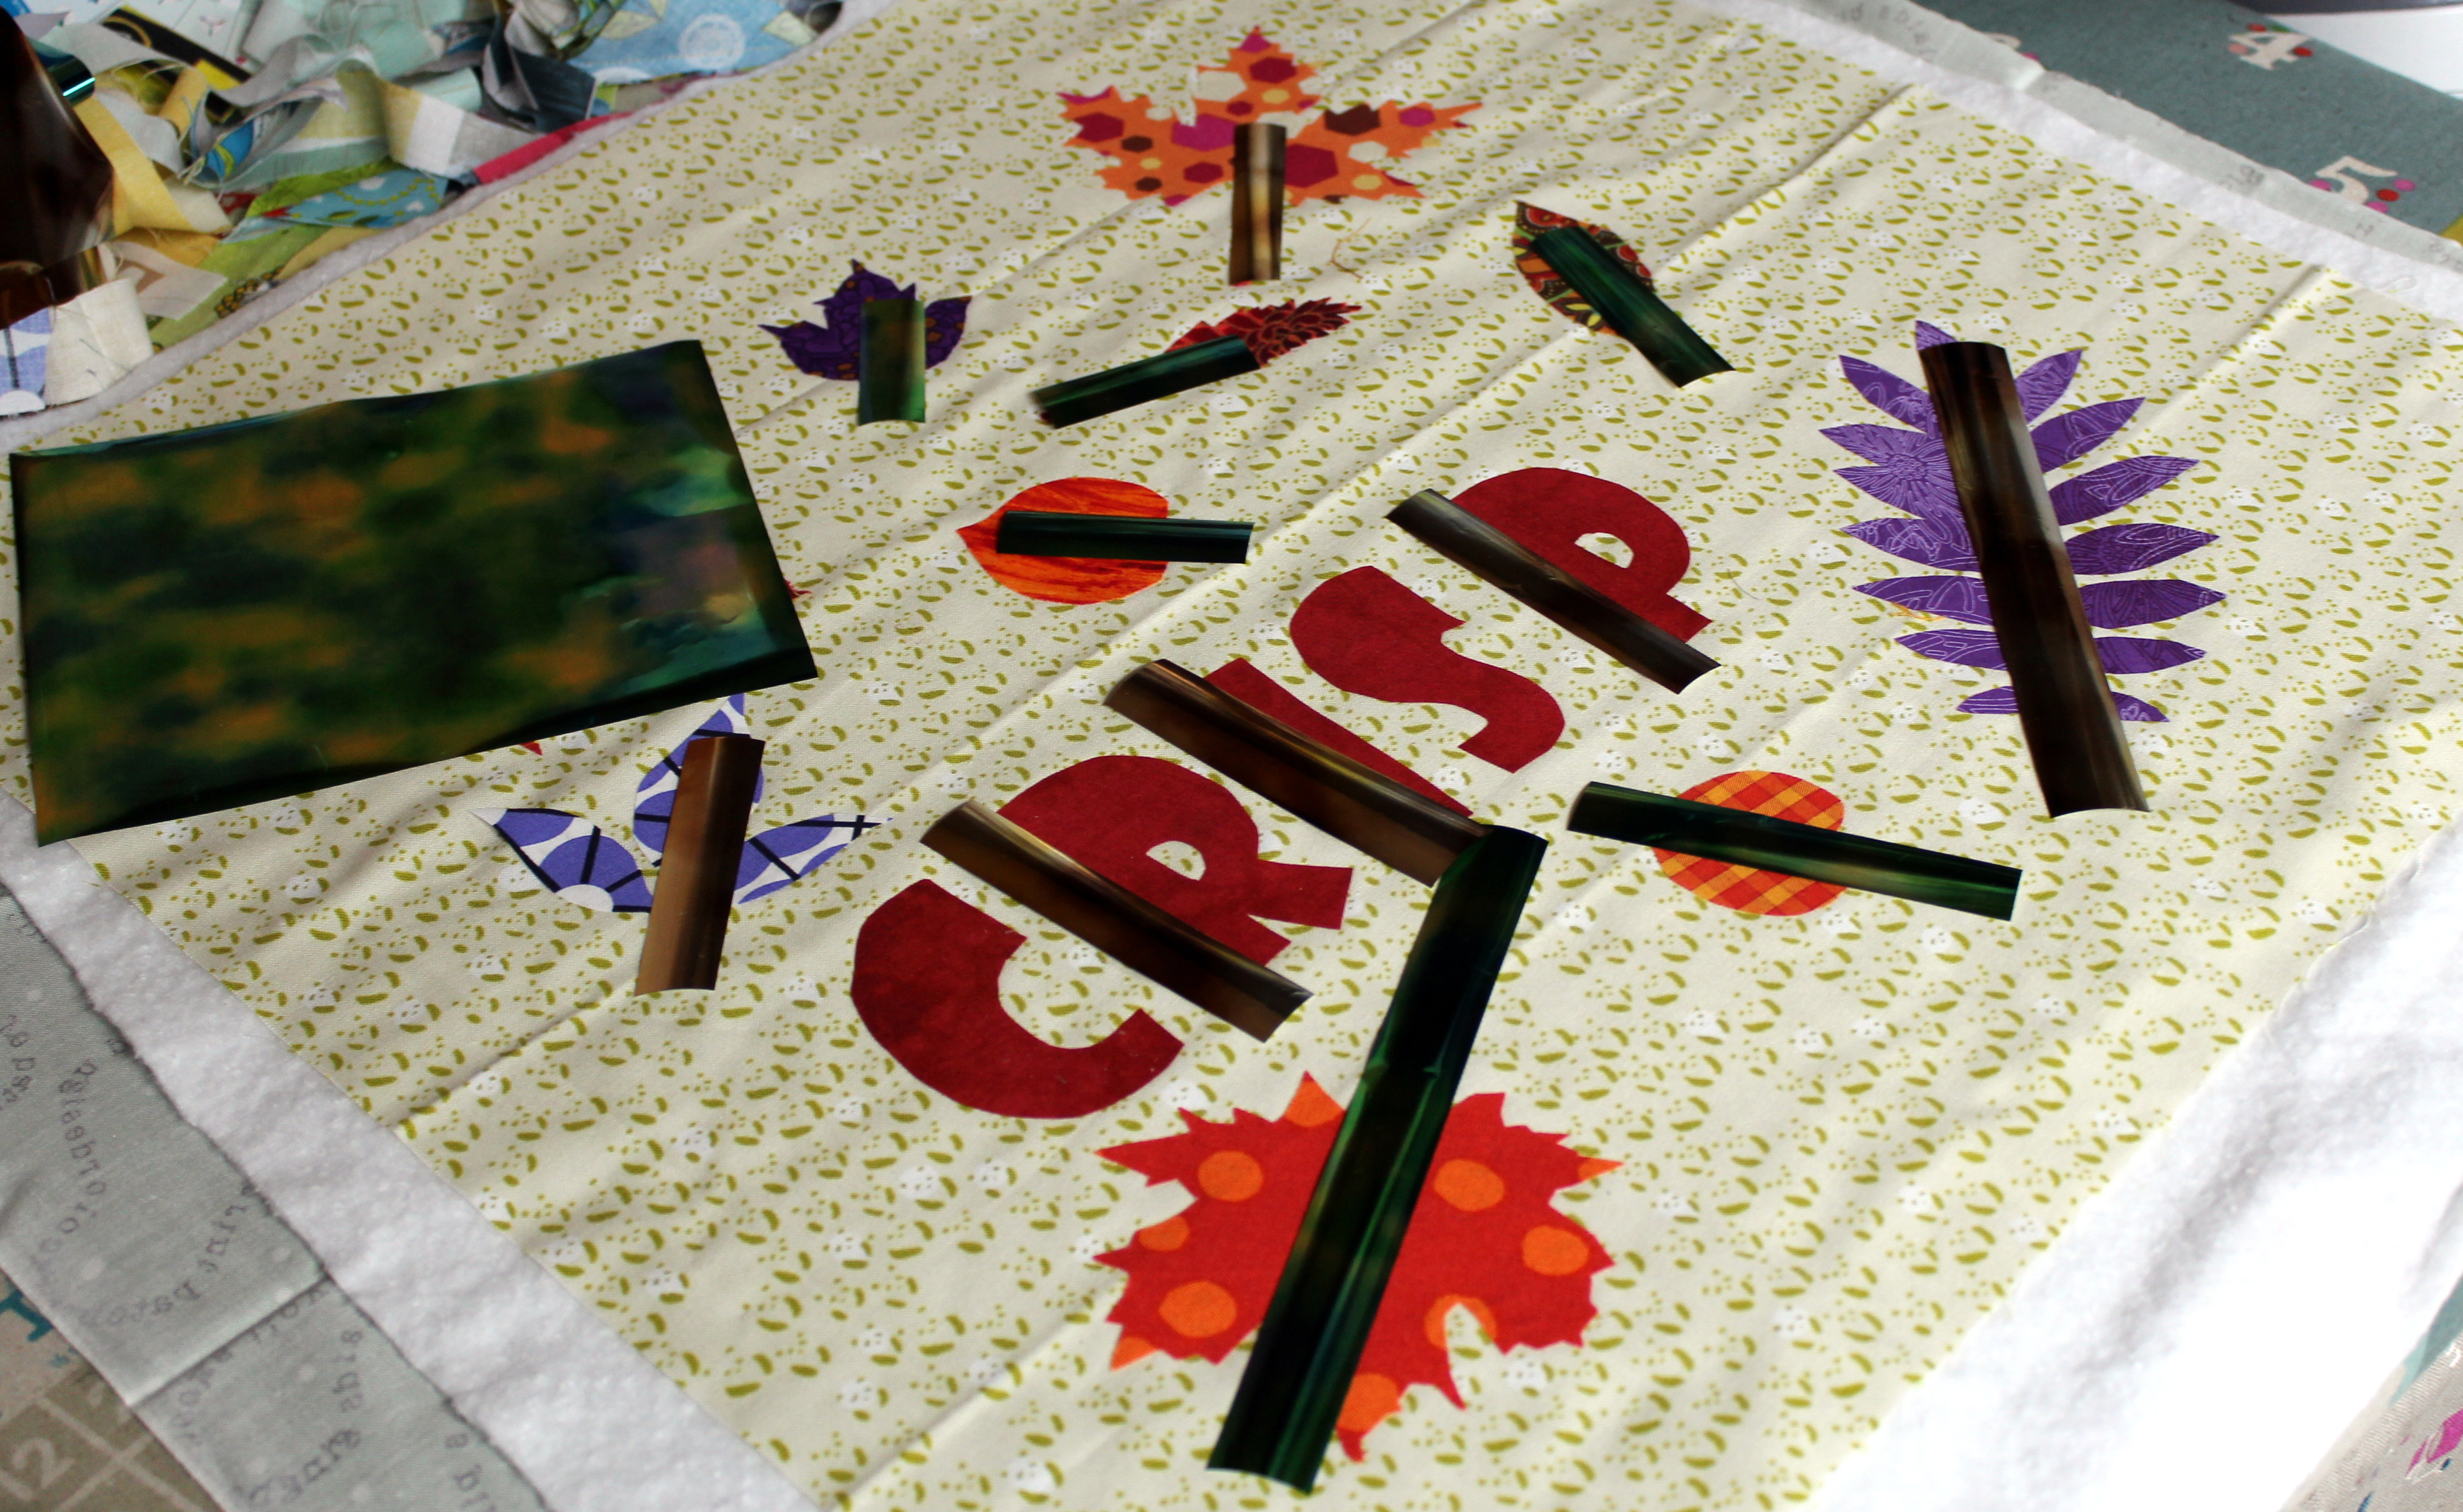
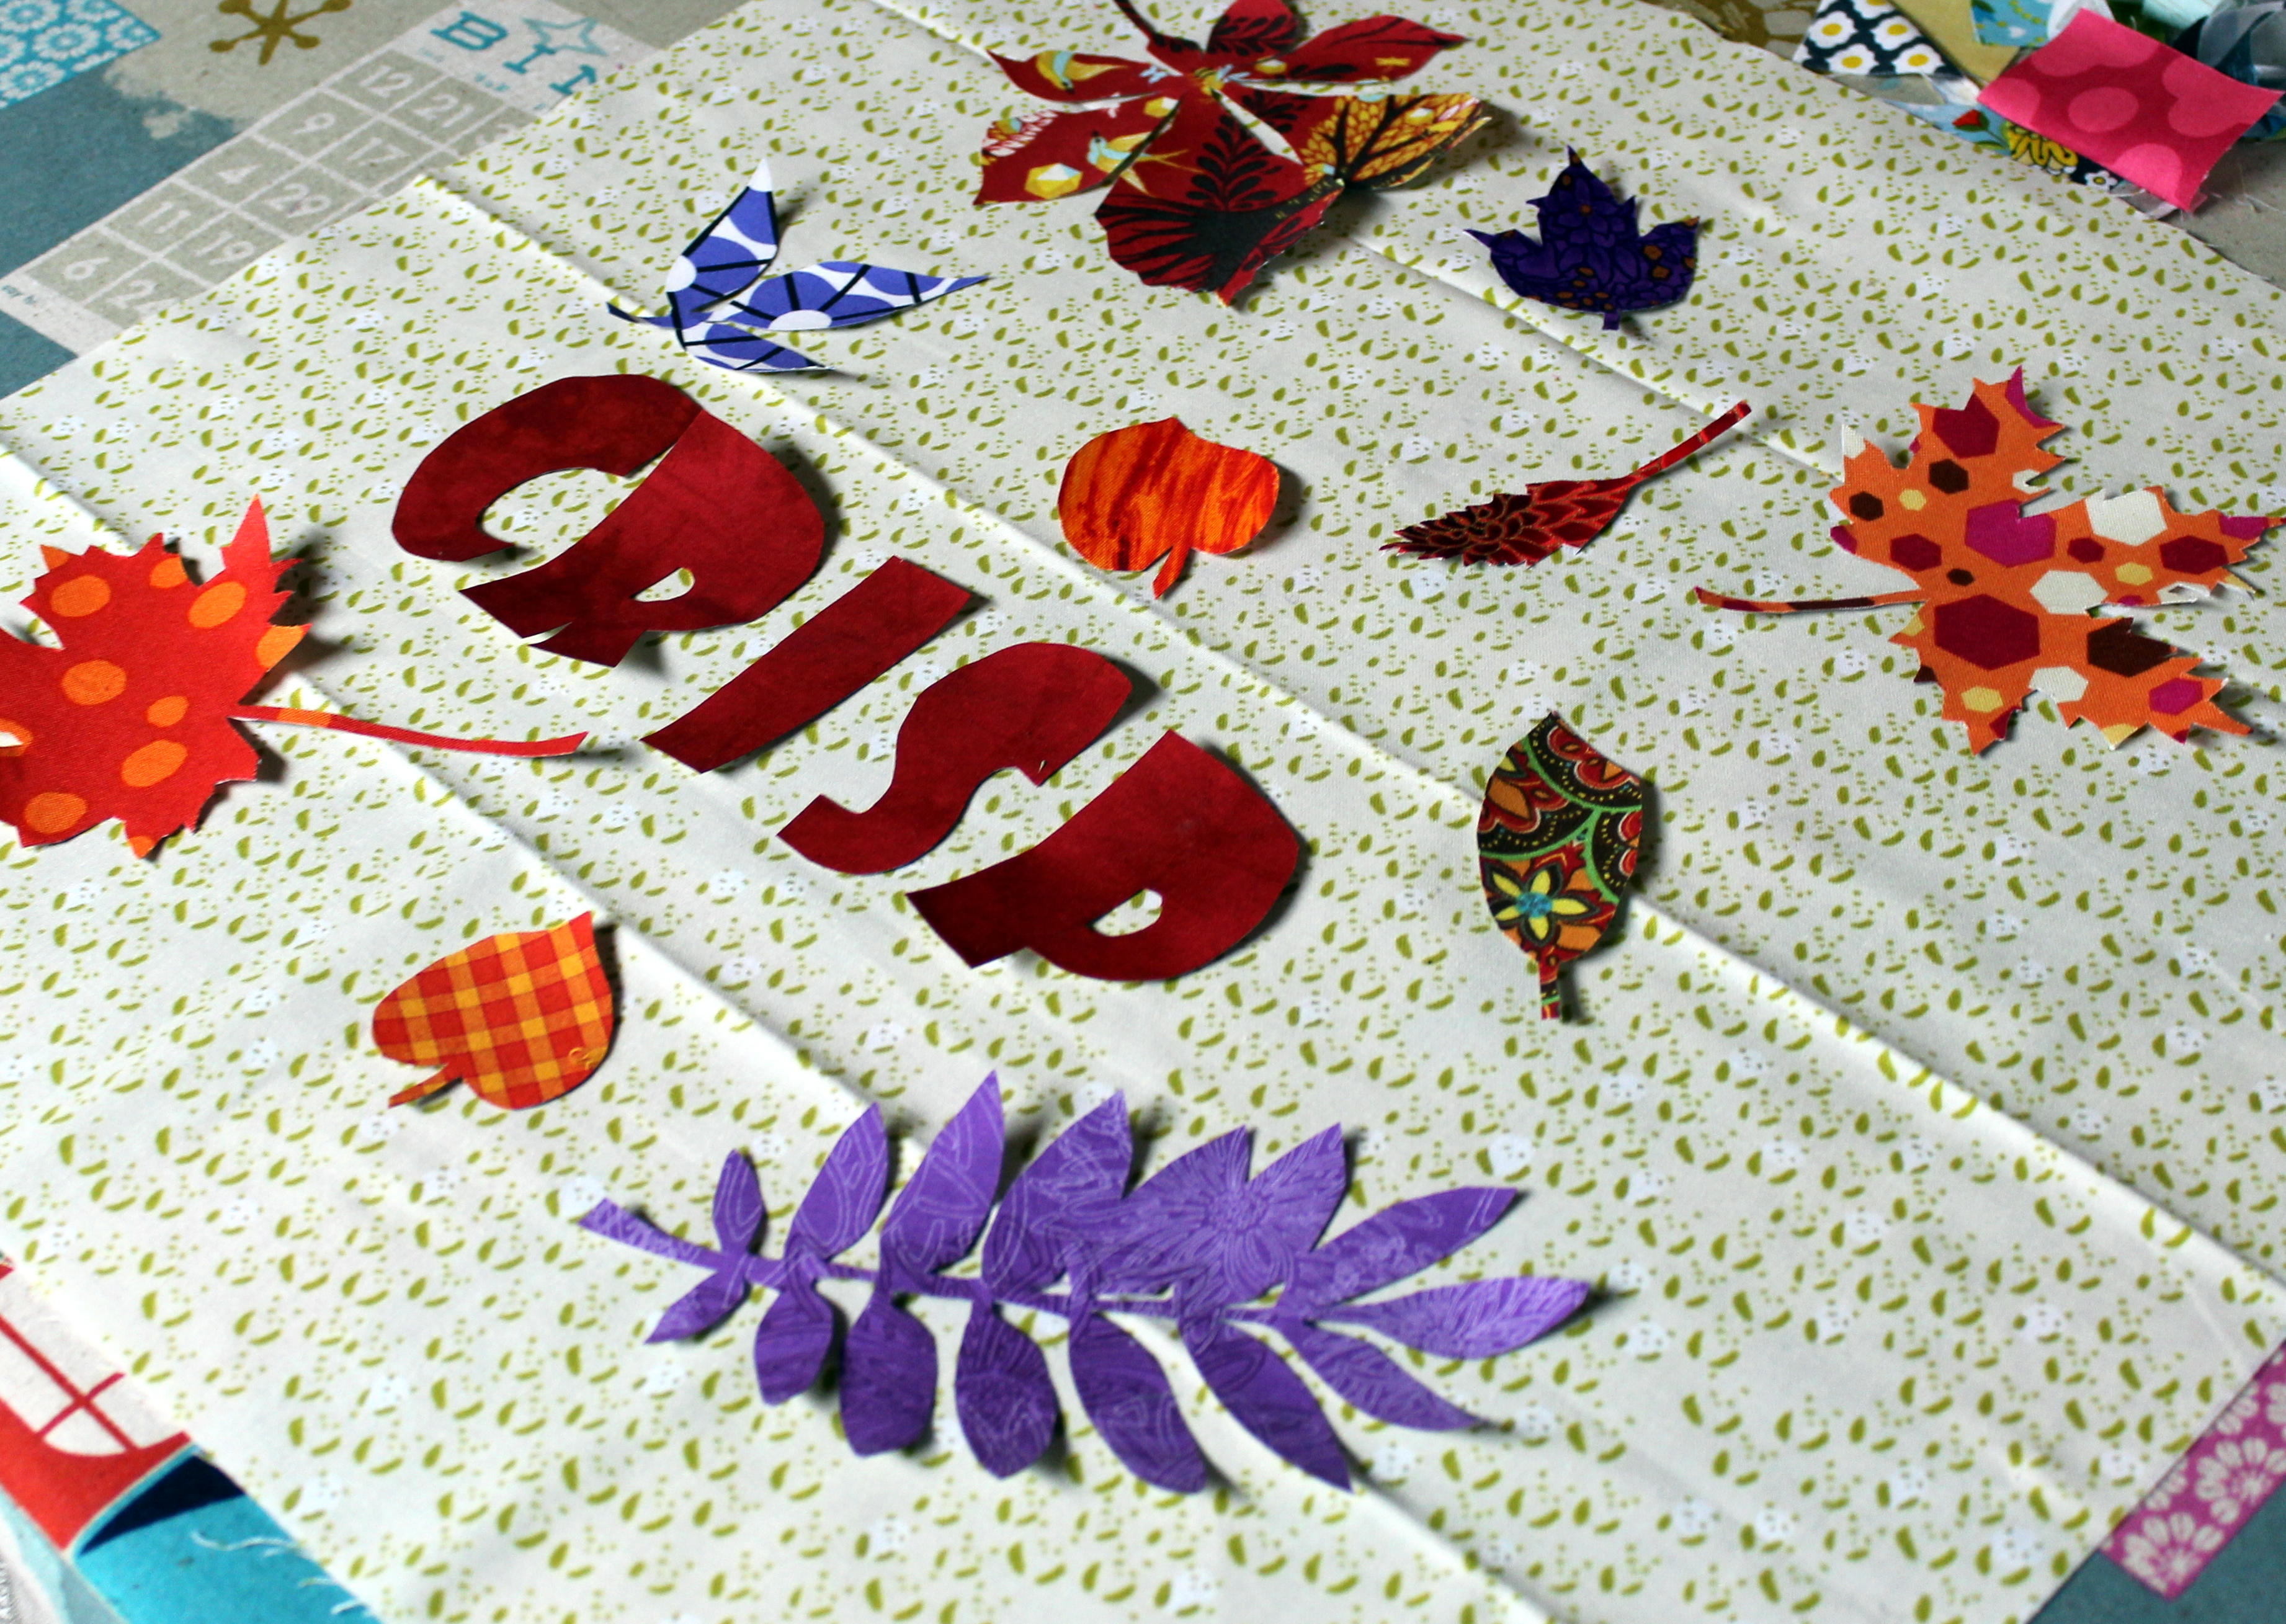 Once the leaves and letters are all cut out lay them out on the pillow top in a manner that looks pleasing to you. Peel of the paper and press down securely with a hot iron.
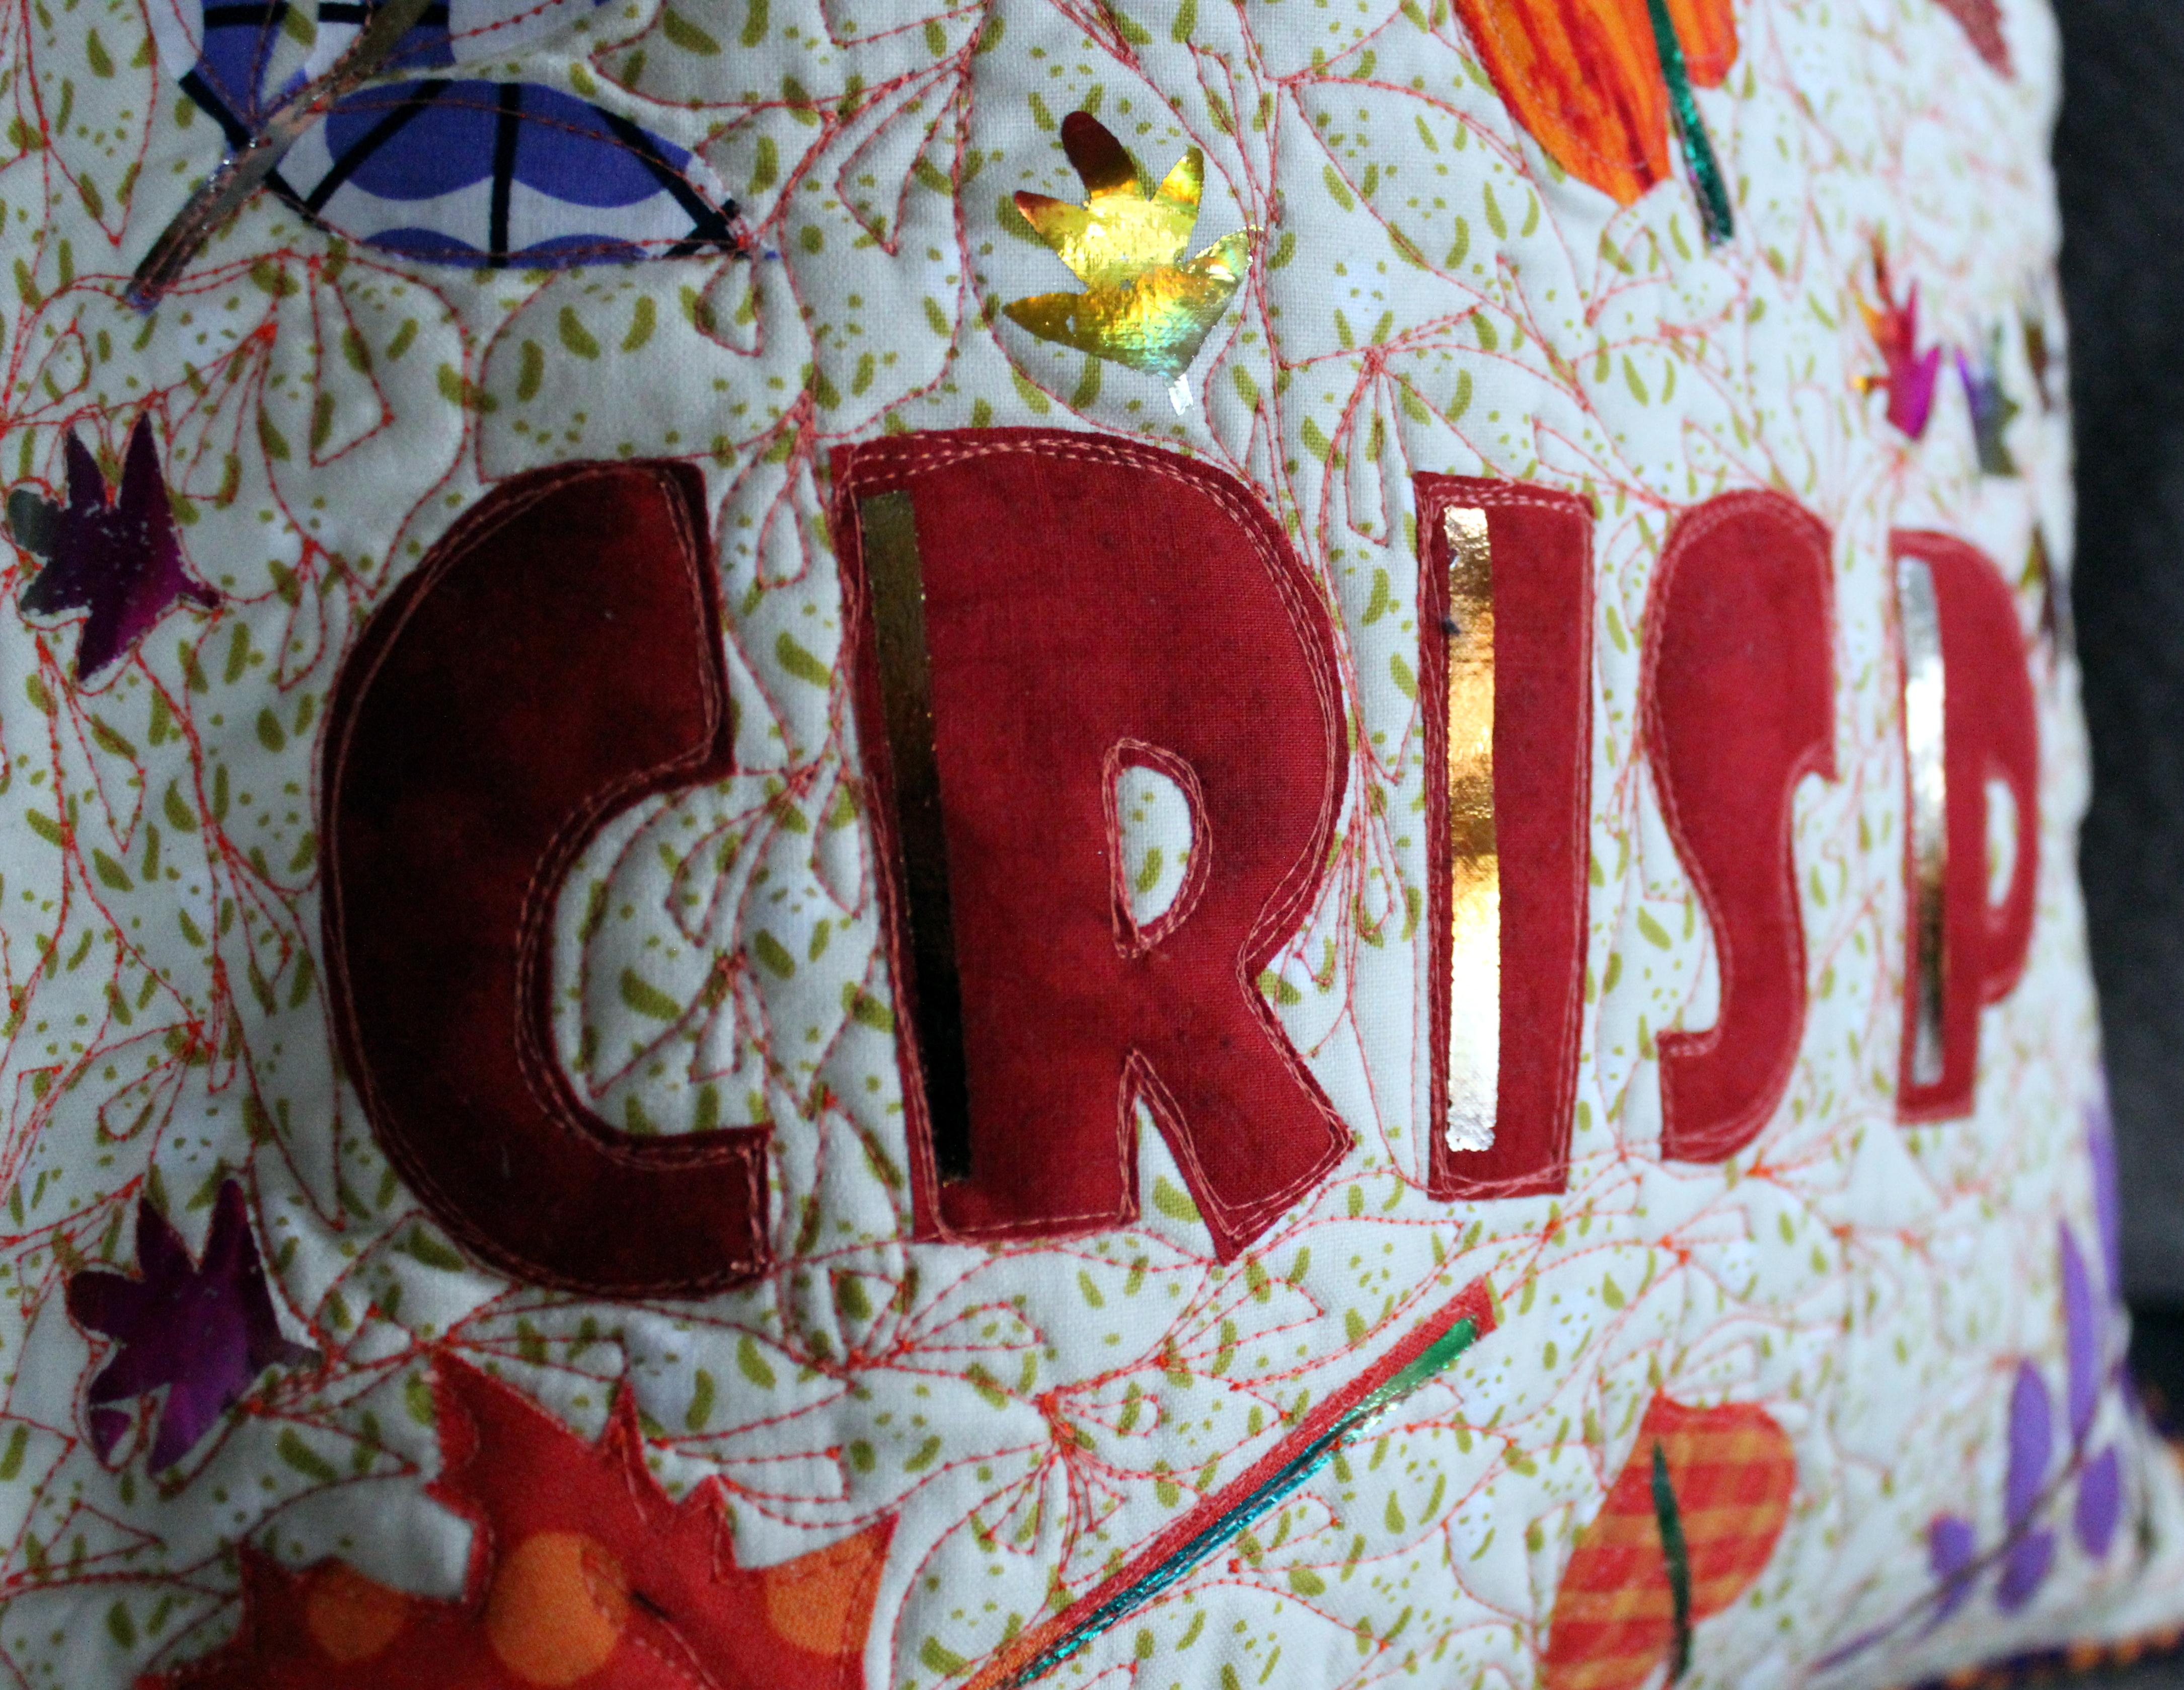
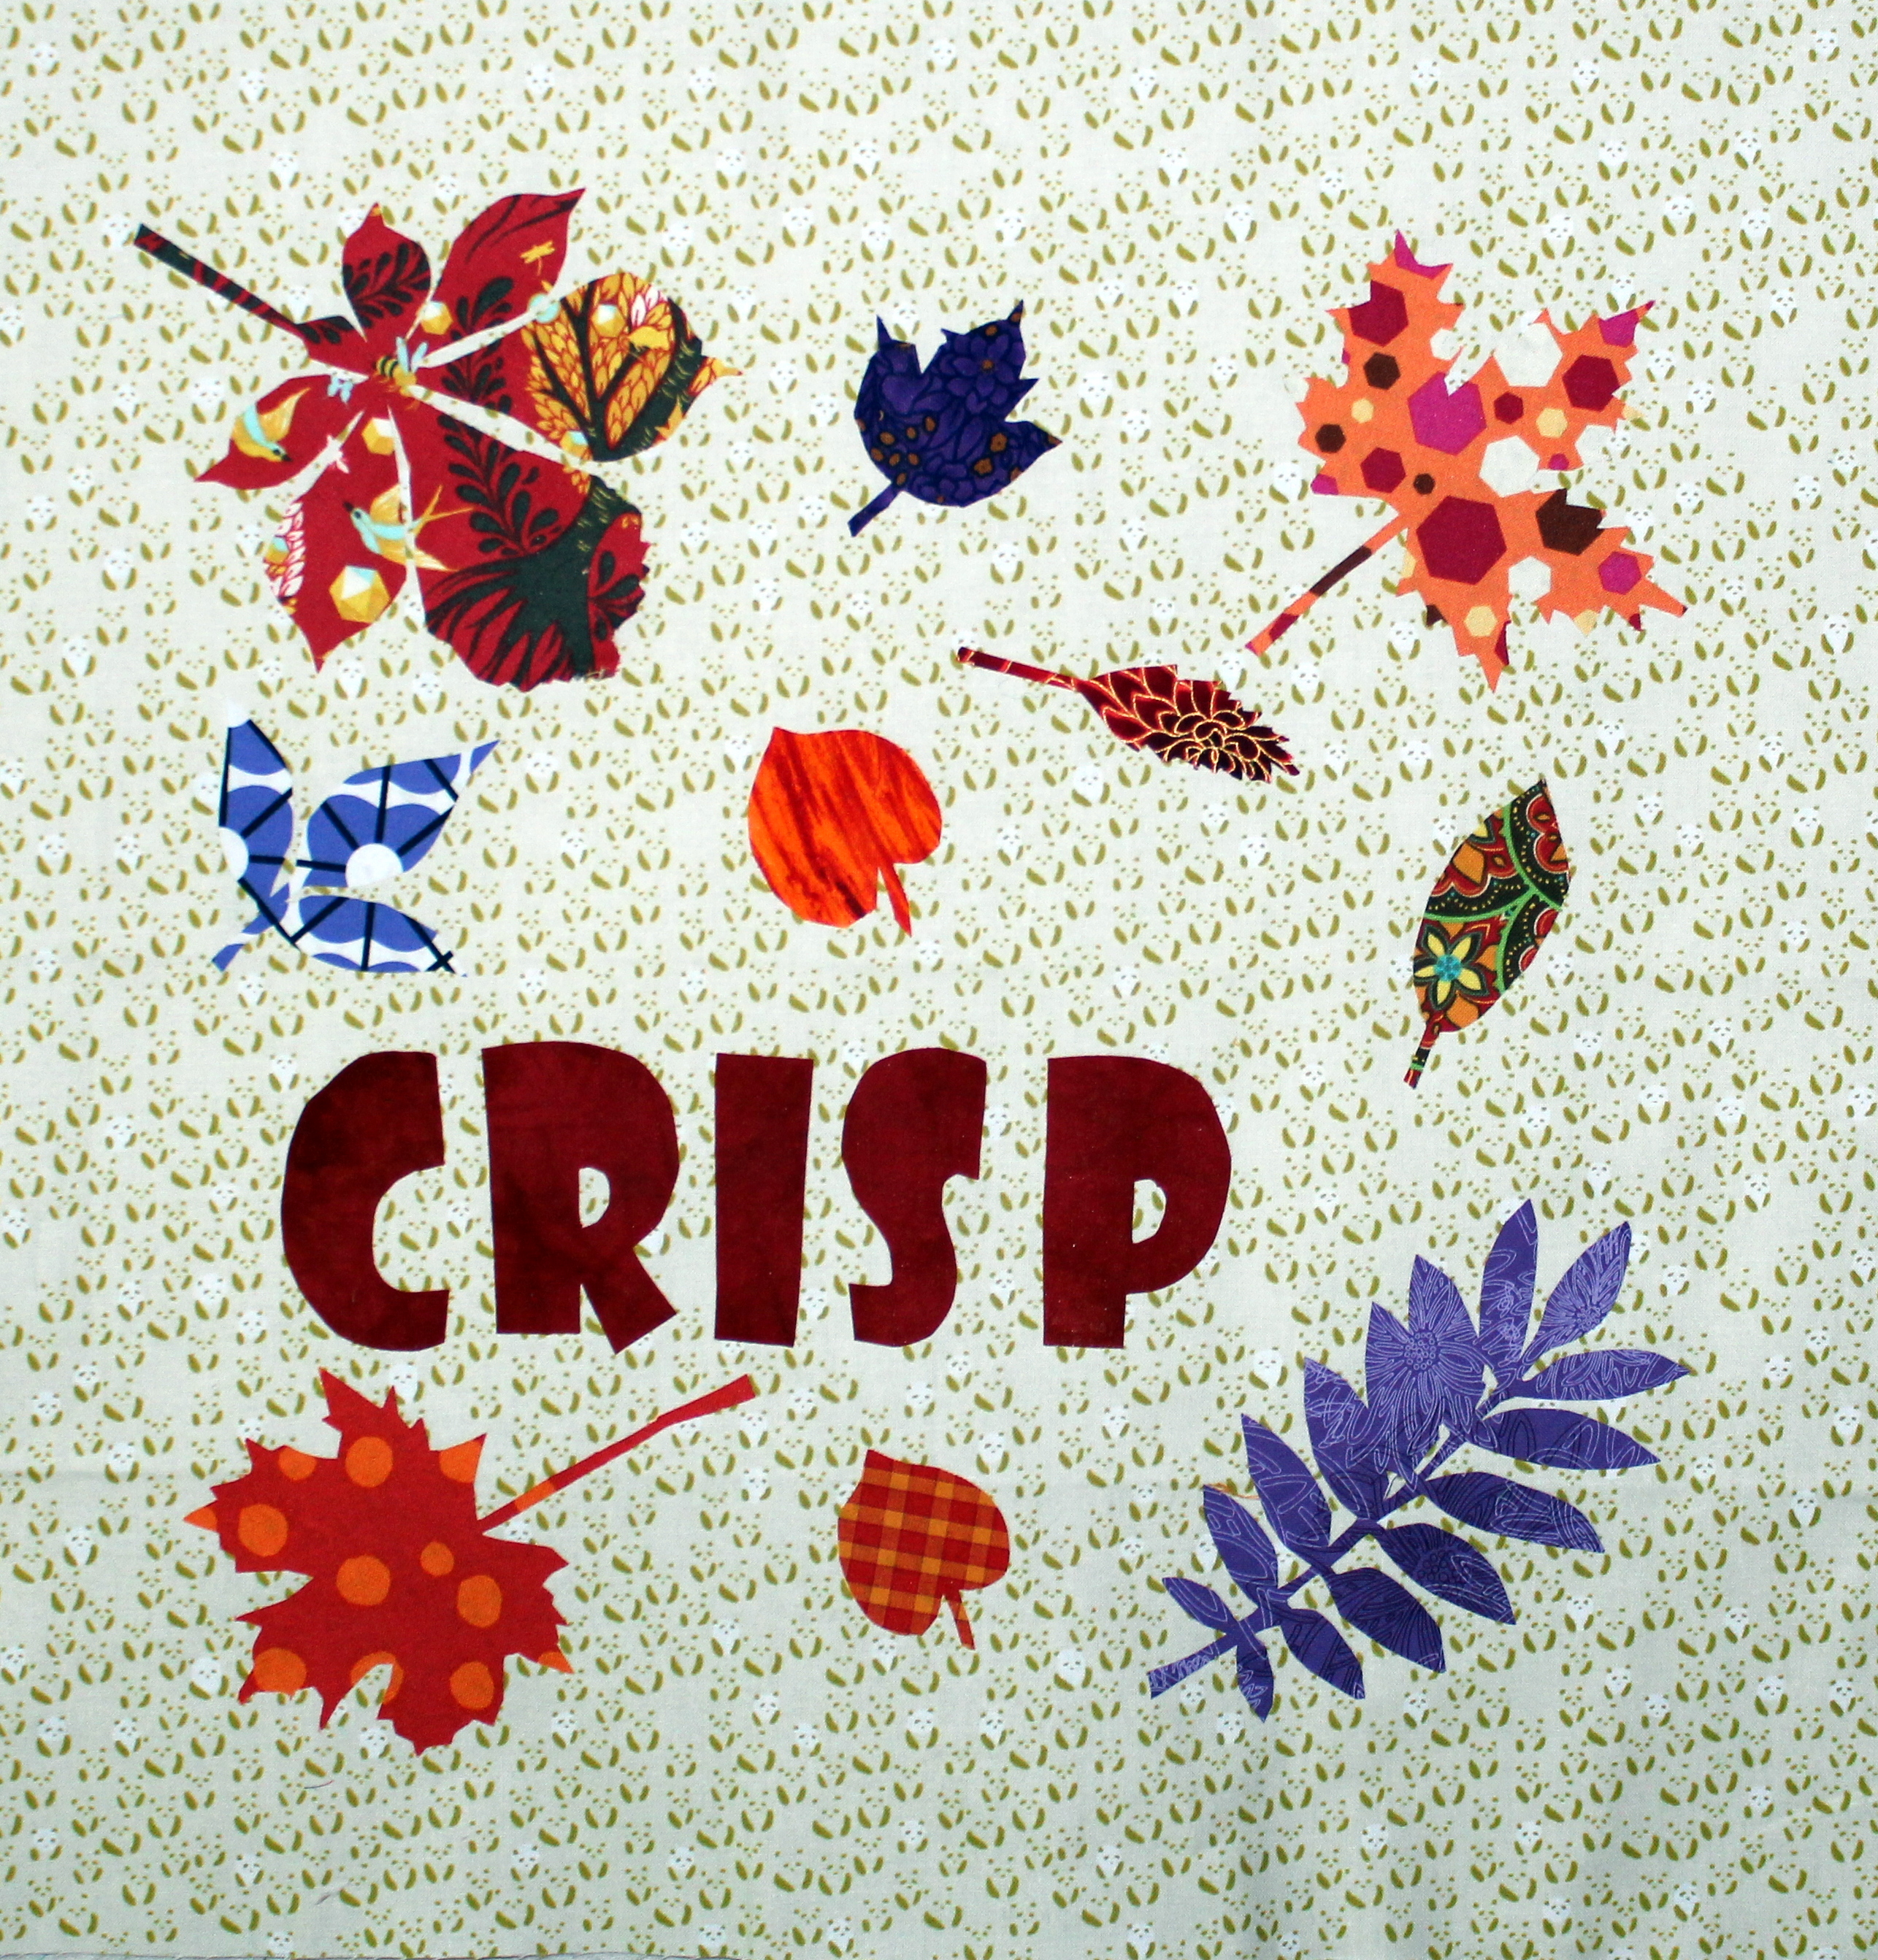 Now let’s add a little DecoFoil to our pillow just because it adds a little shine!

With your rotary cutter and ruler cut some random thin strips of DecoFoil™ Hot Melt Adhesive.
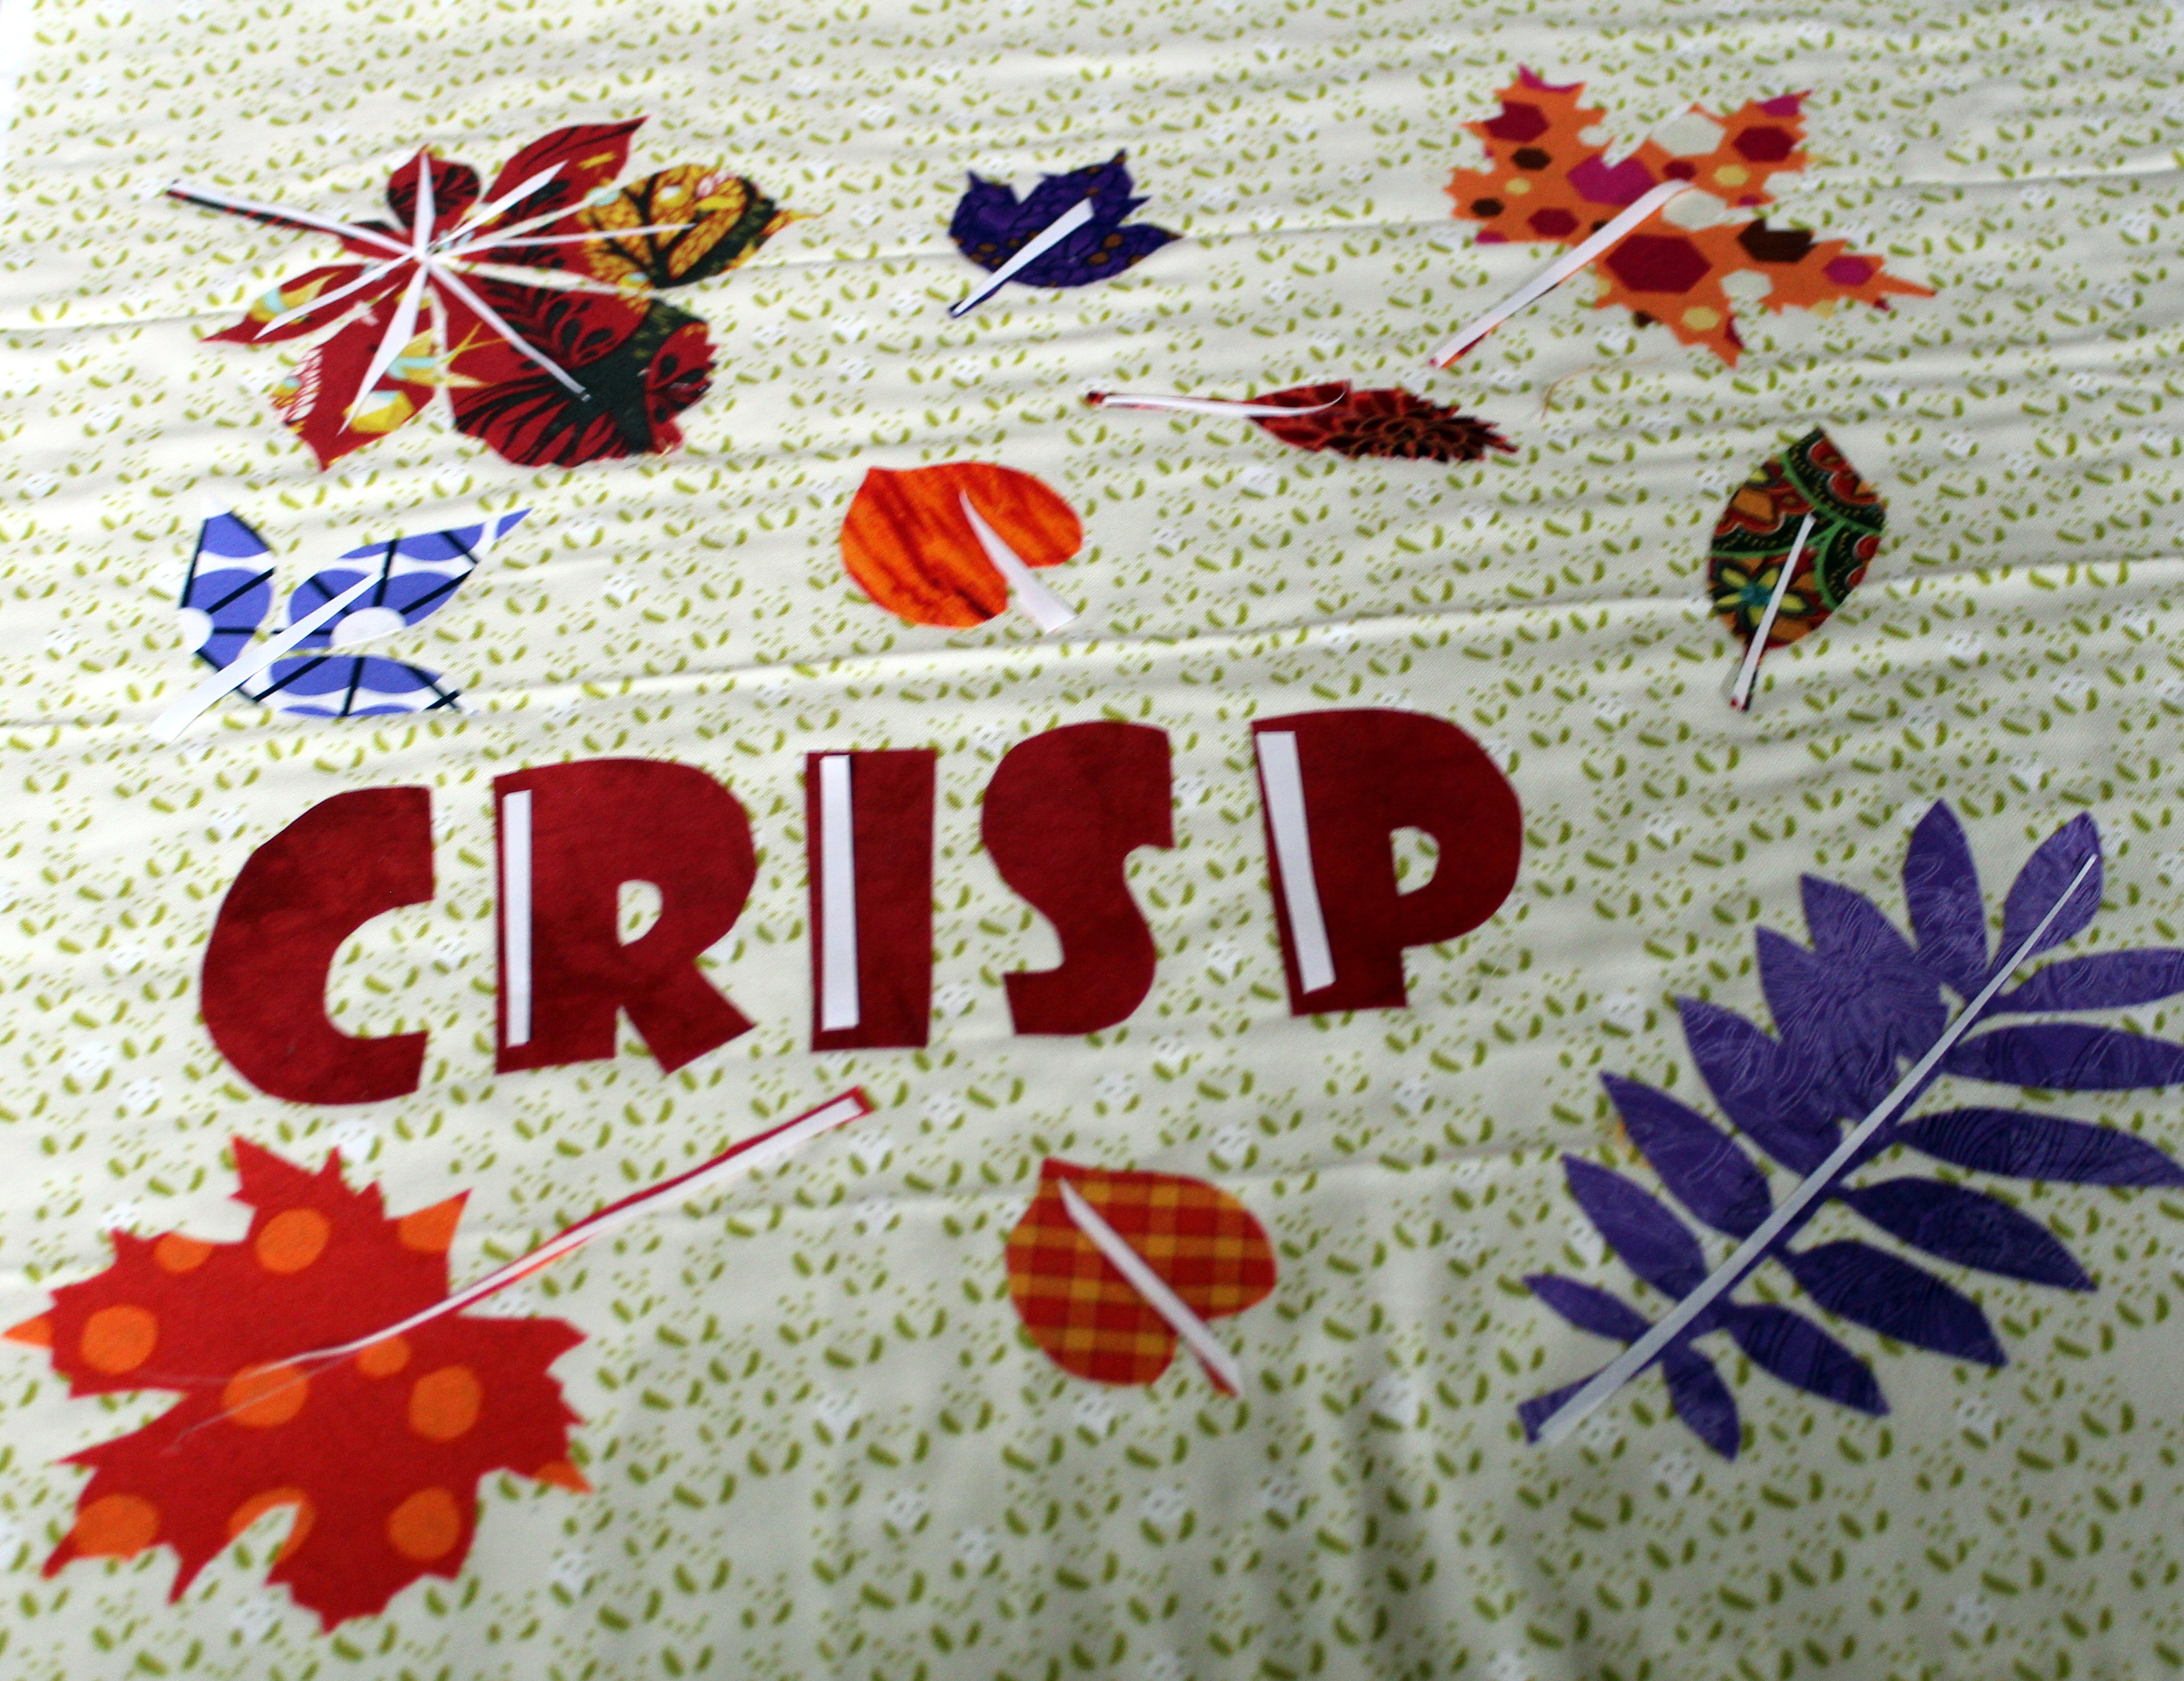 Lay them out on the leaves so they create “stems and veins.” Place a Pressing Sheet over the strips of hot melt adhesive and with a hot iron press evenly for 30 seconds. Let the strips cool completely before peeling of the paper.
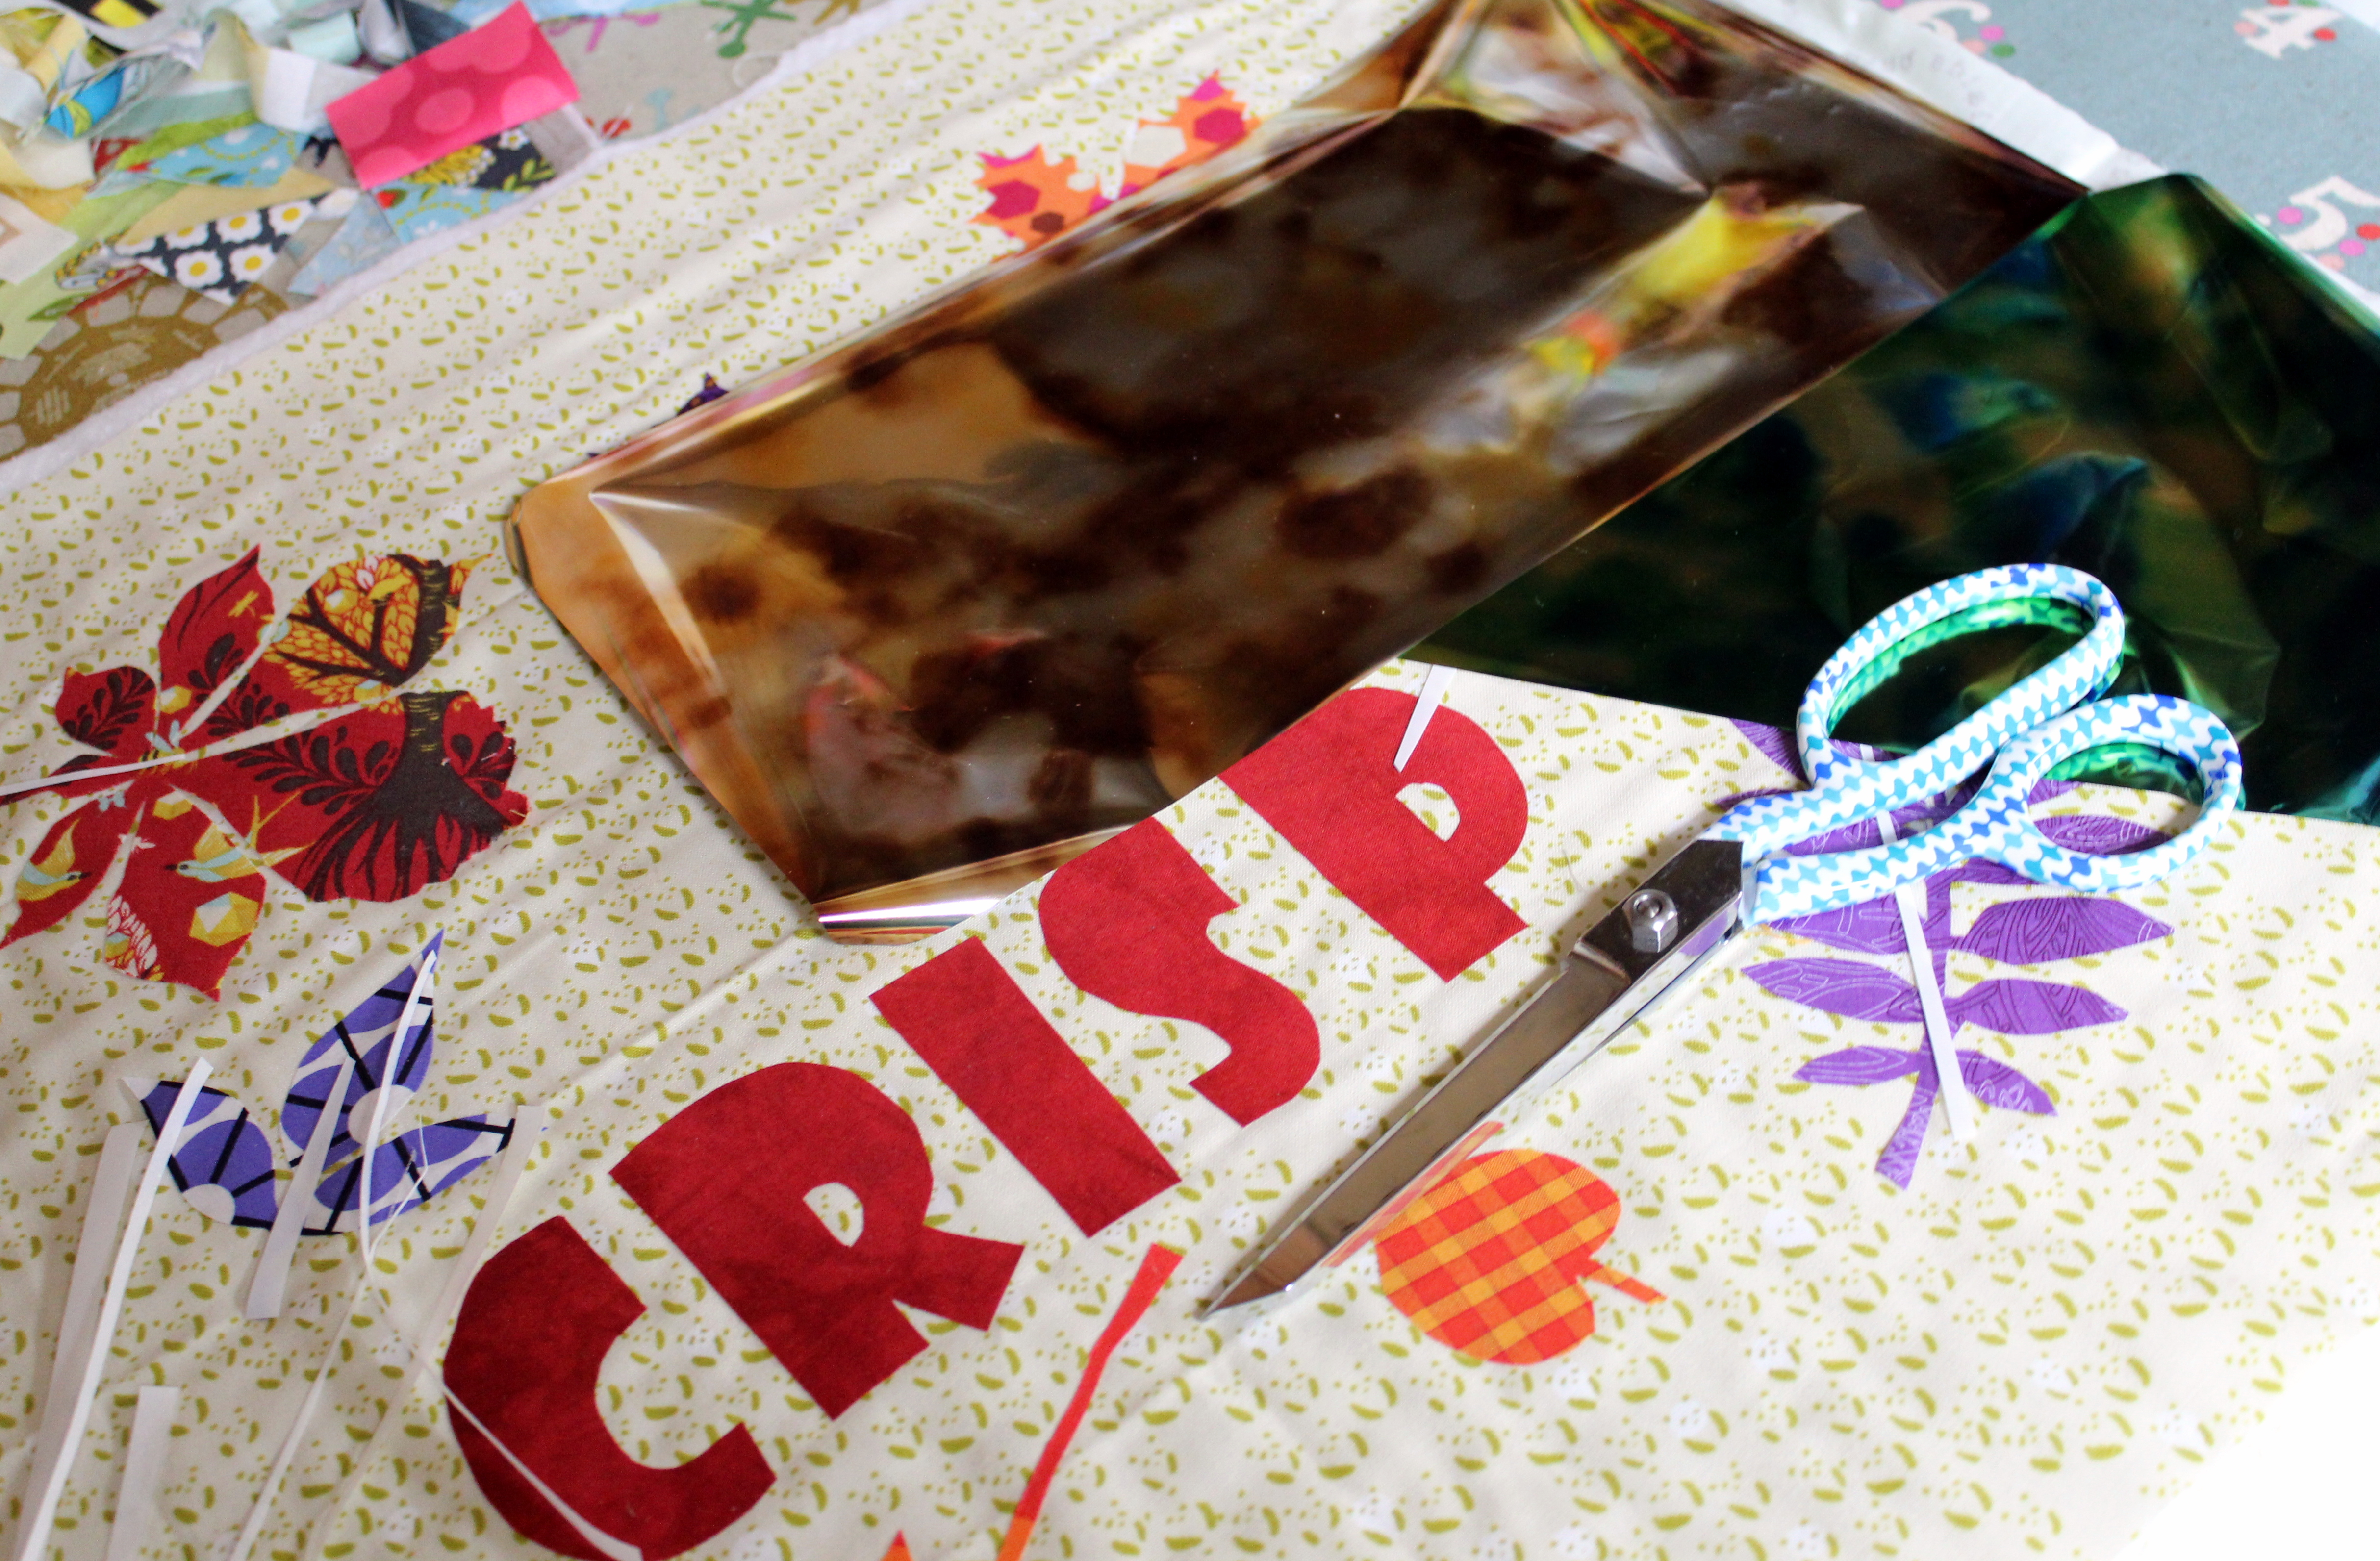
Now, place strips of Emerald Watercolor DecoFoil and Amber Watercolor DecoFoil shiny side up over the stems covered in hot melt adhesive.
Cover with a pressing sheet. Press evenly with a hot iron for 30 seconds. Let everything cool down before peeling the decofoil off. Once things are properly cool … peel of the decofoil.
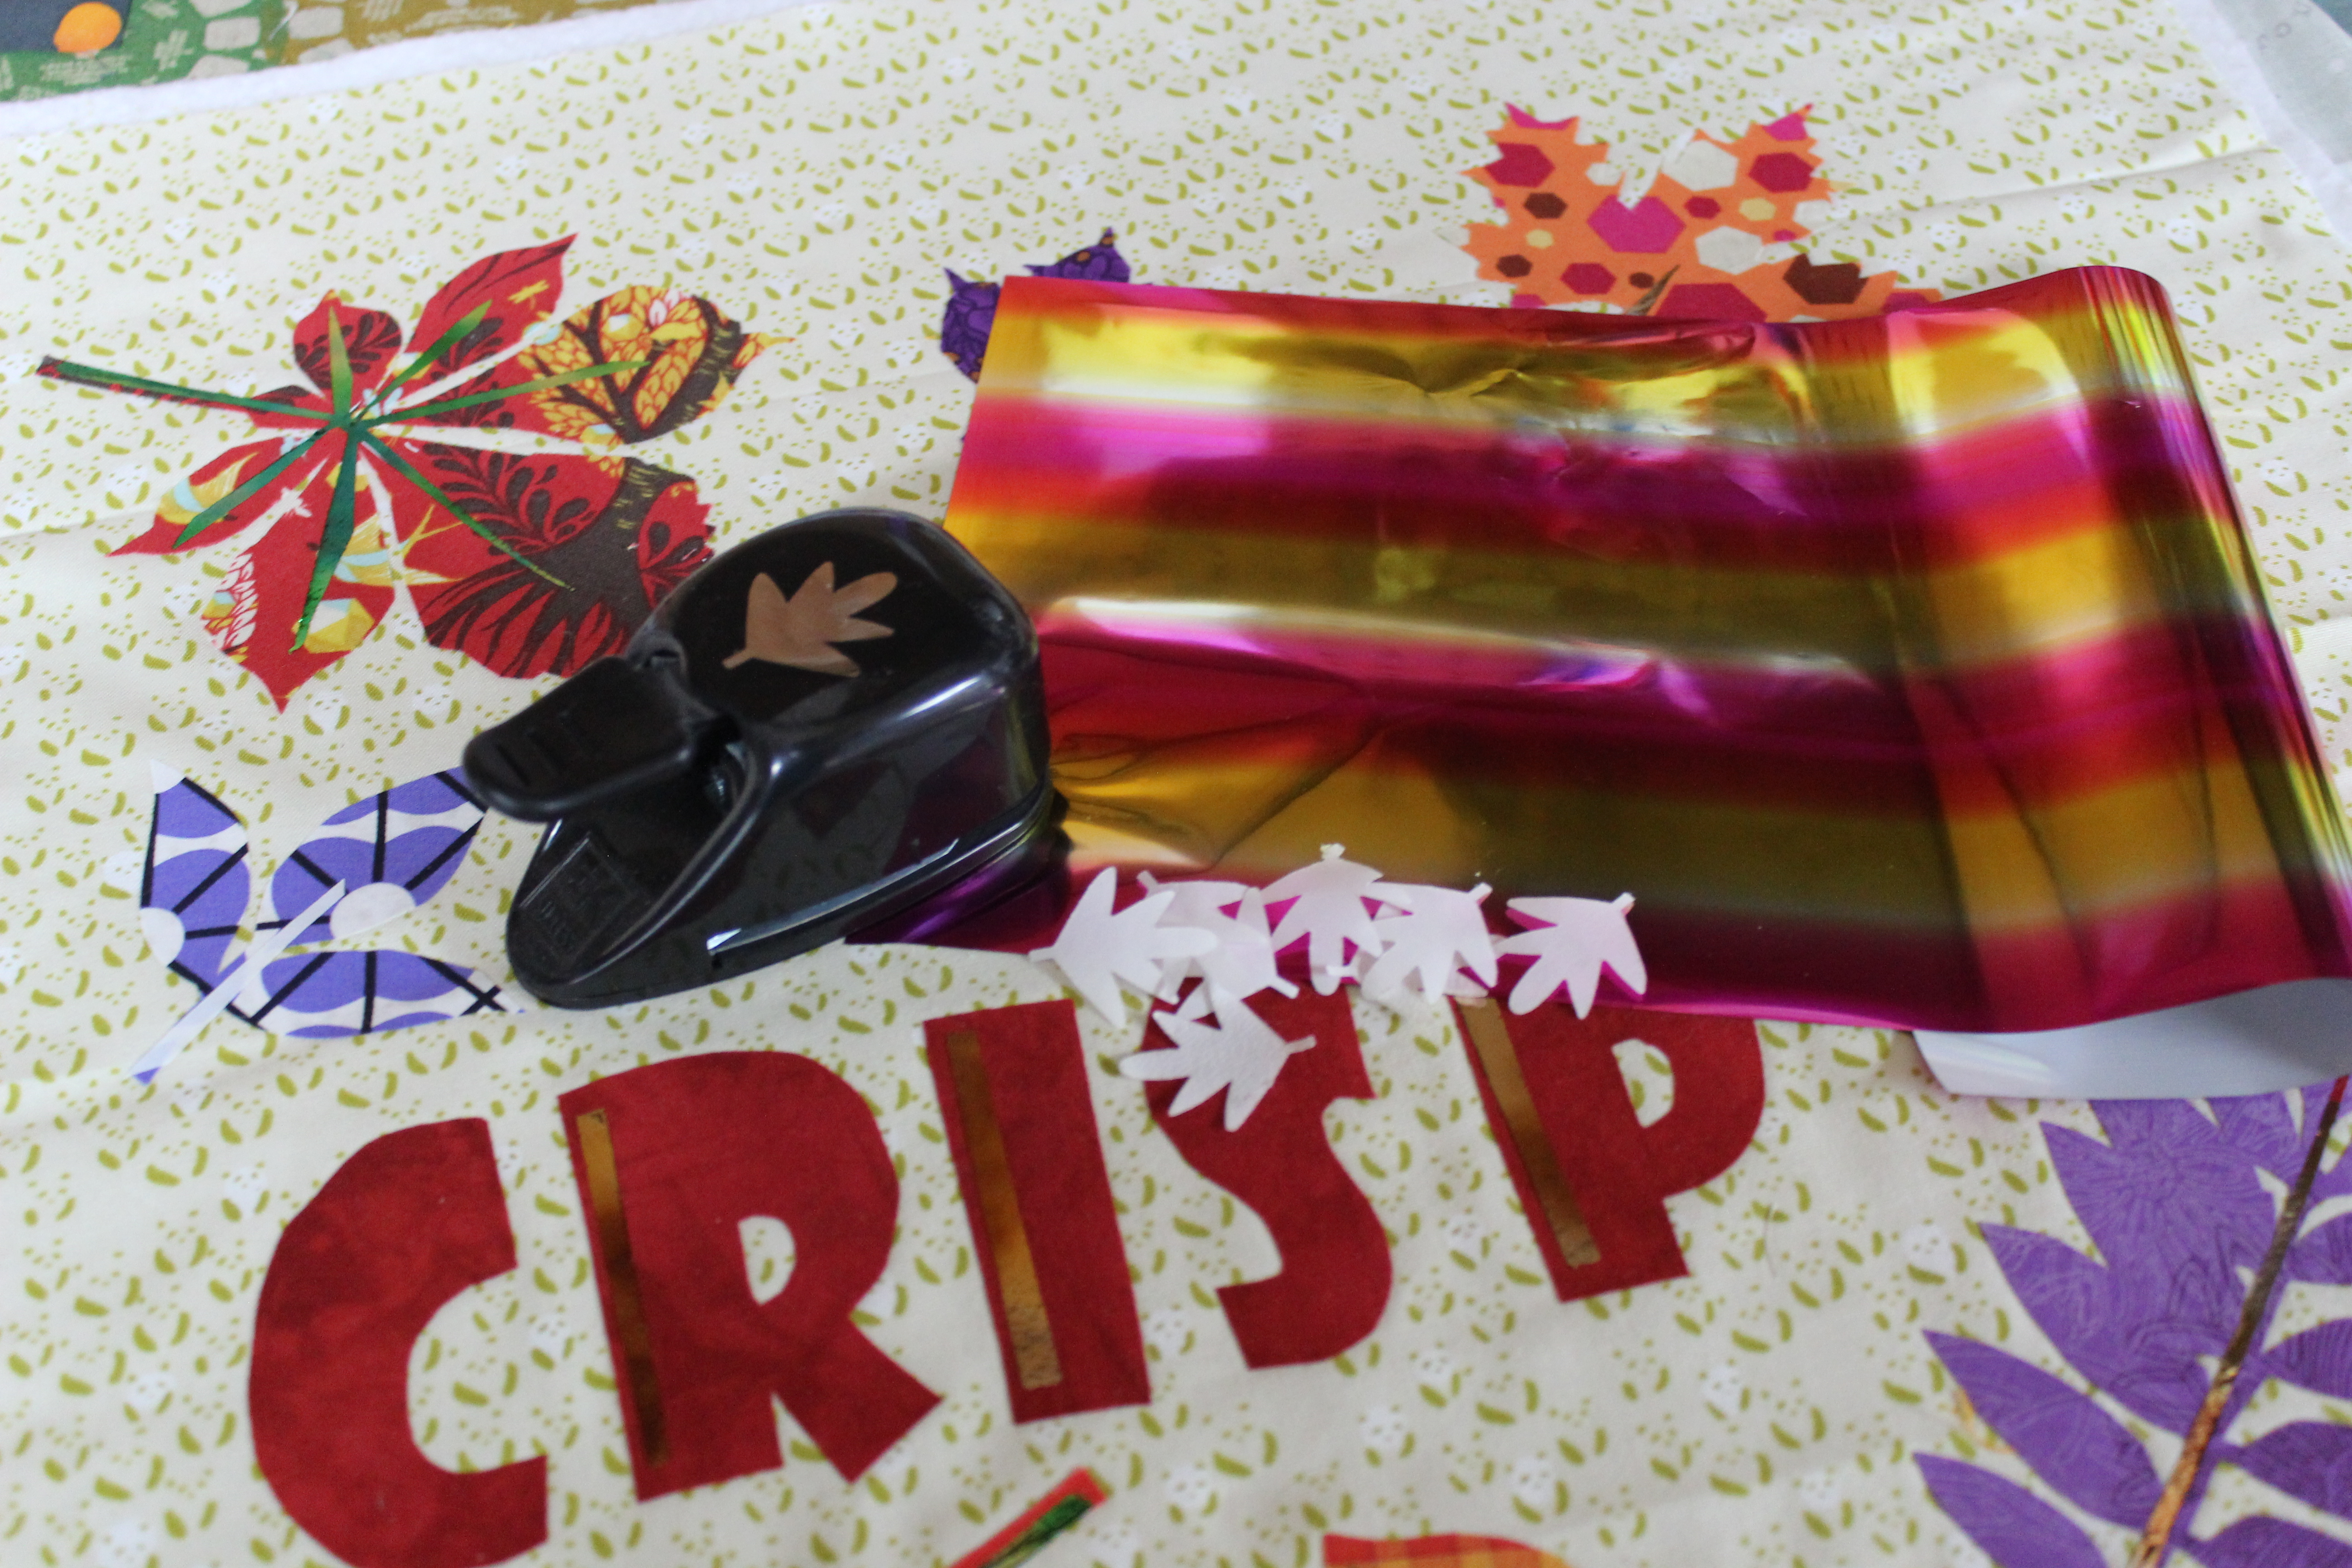
I decided I wanted just a few more shiny leaves and I happen to have this great leaf punch in my craft supplies. I punched out a few leaf shapes from the DecoFoil™ Hot Melt Adhesive and strategically placed them on the pillow. I once again followed the instructions above to adhere the hot melt adhesive and foil. Be SURE to place the Pressing Sheet down before this step because you don’t want to melt off the foil from the stems you already applied. I also try to avoid ironing over them even though they’re covered with a pressing sheet … just in case they get too hot.
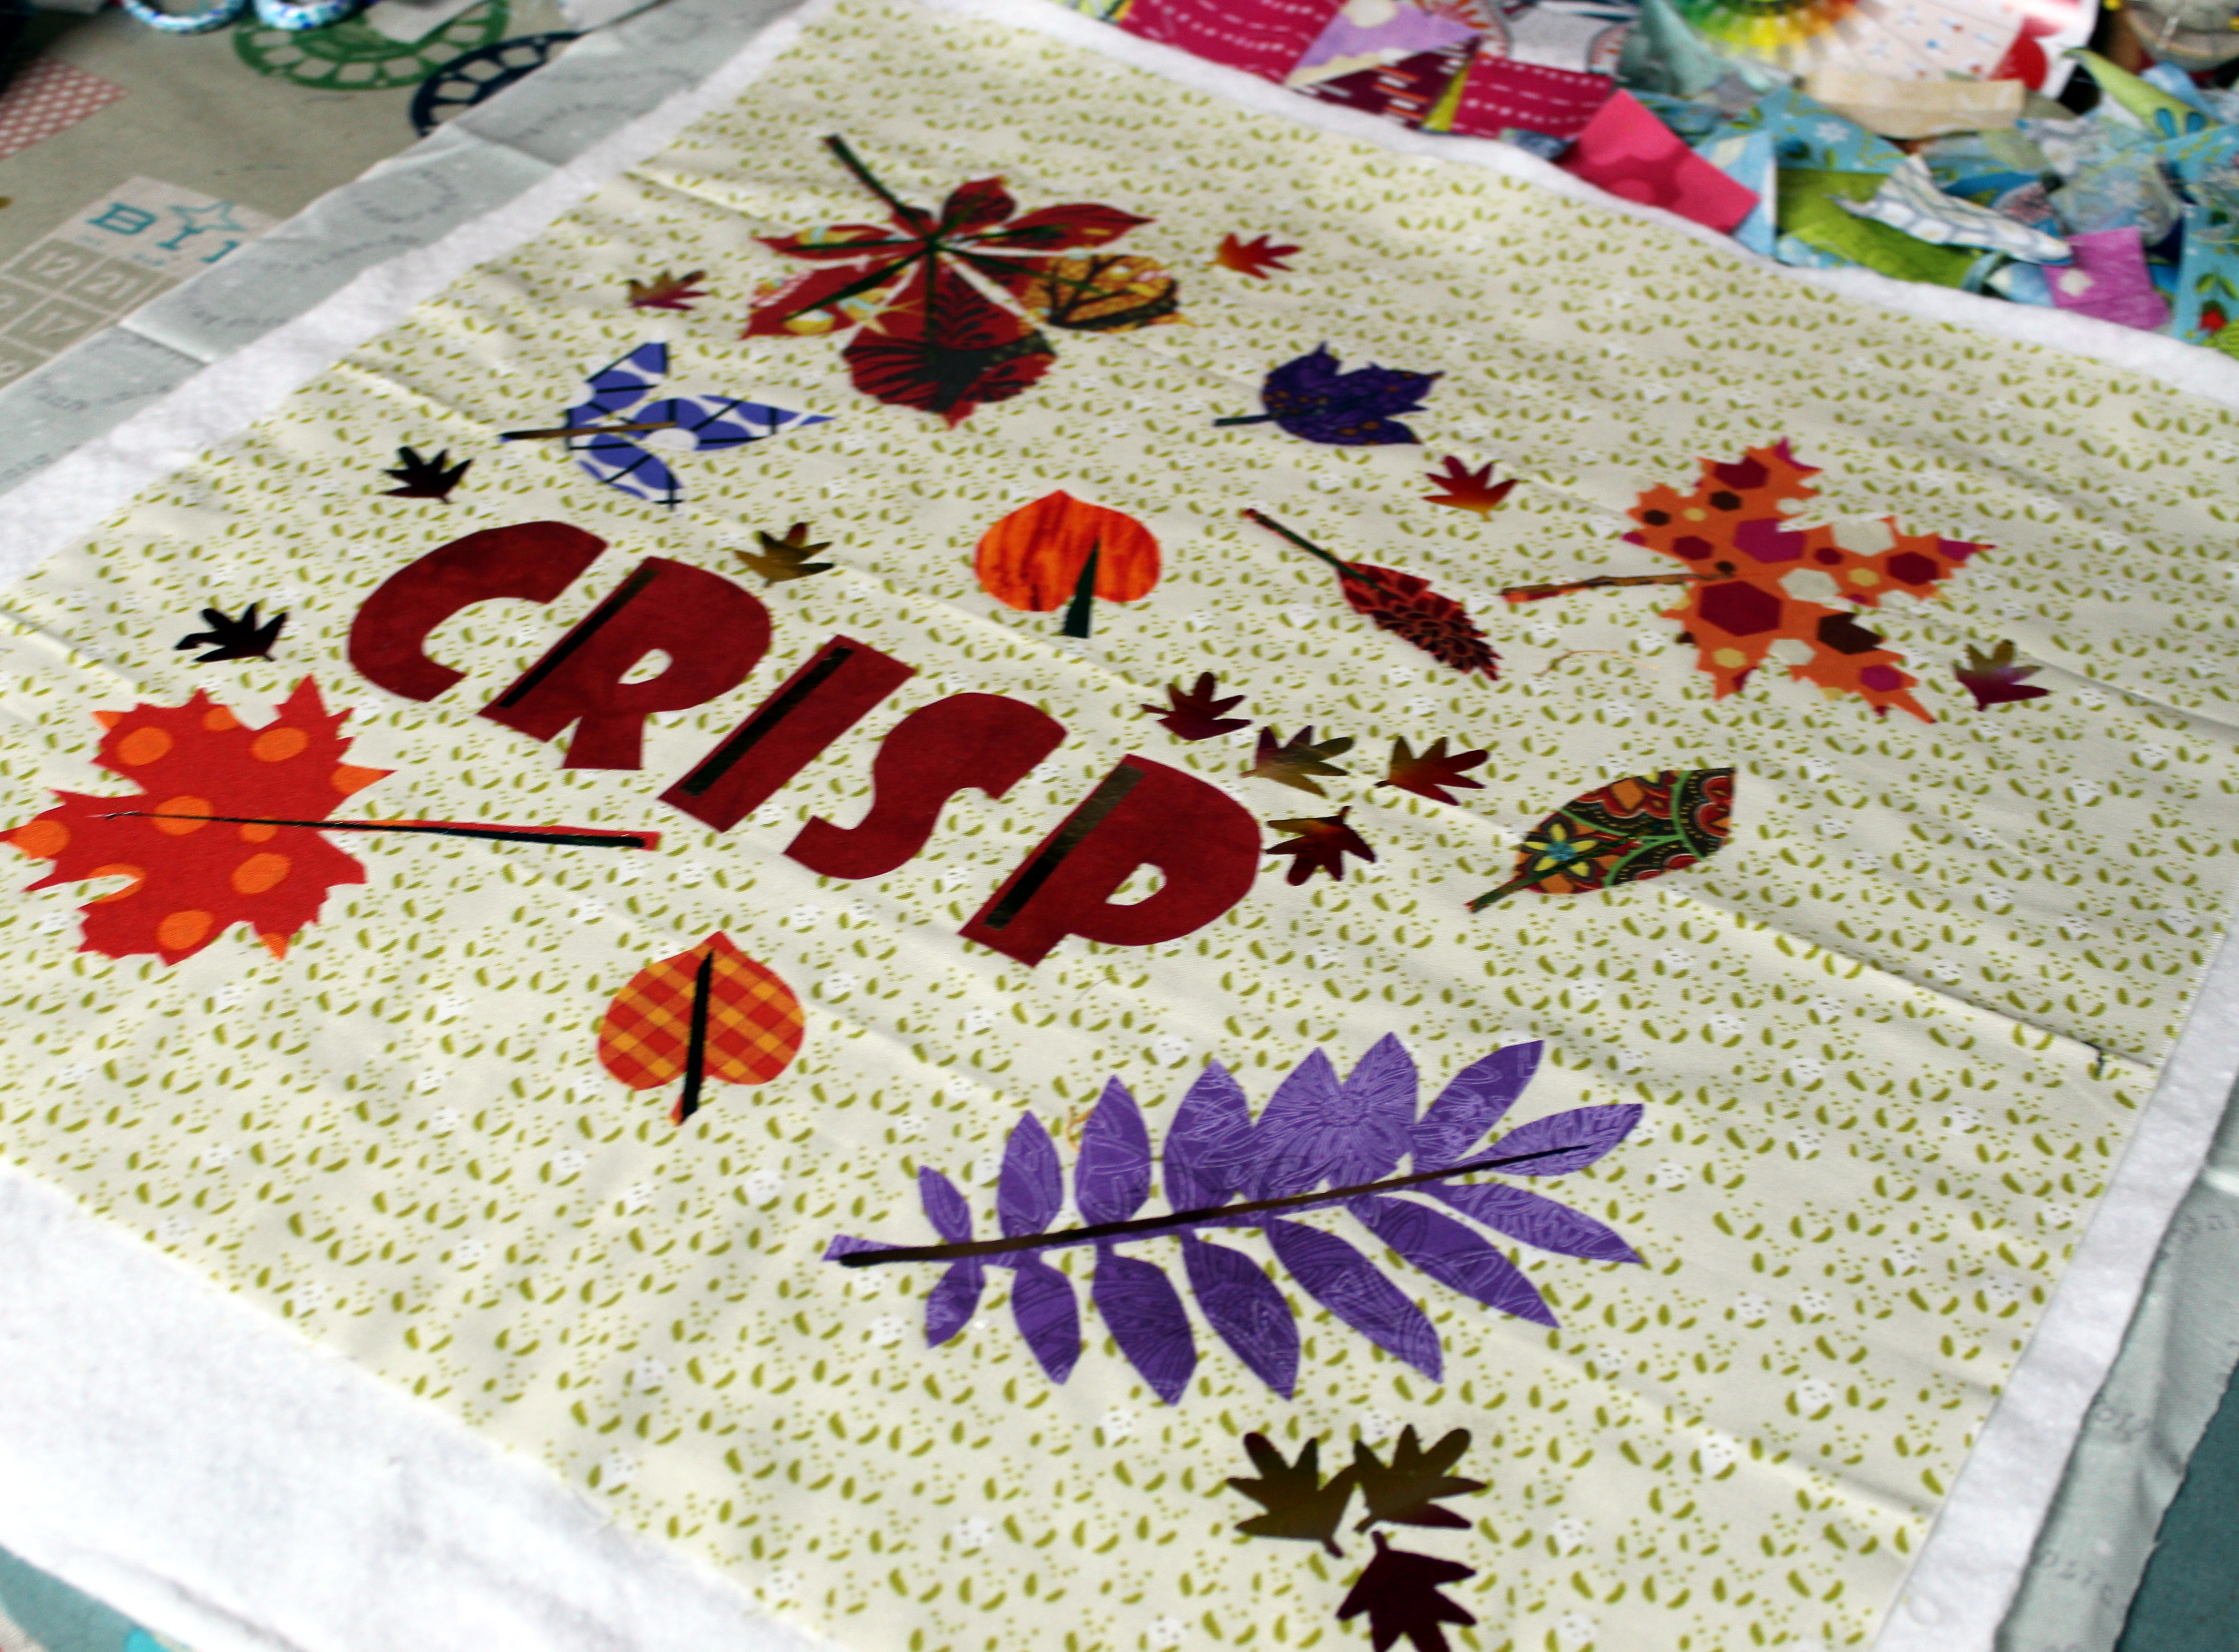
And now … my pillow top is done!
Create a quilt sandwich … backing fabric (right side down), batting, bloom top (right side up) and fuse with your preferred method. I prefer spray basting and I really like the Spray N Bond® Basting Adhesive. Now it’s time to quilt your pillow top as you like. I free form quilted mine using Aurifil thread.
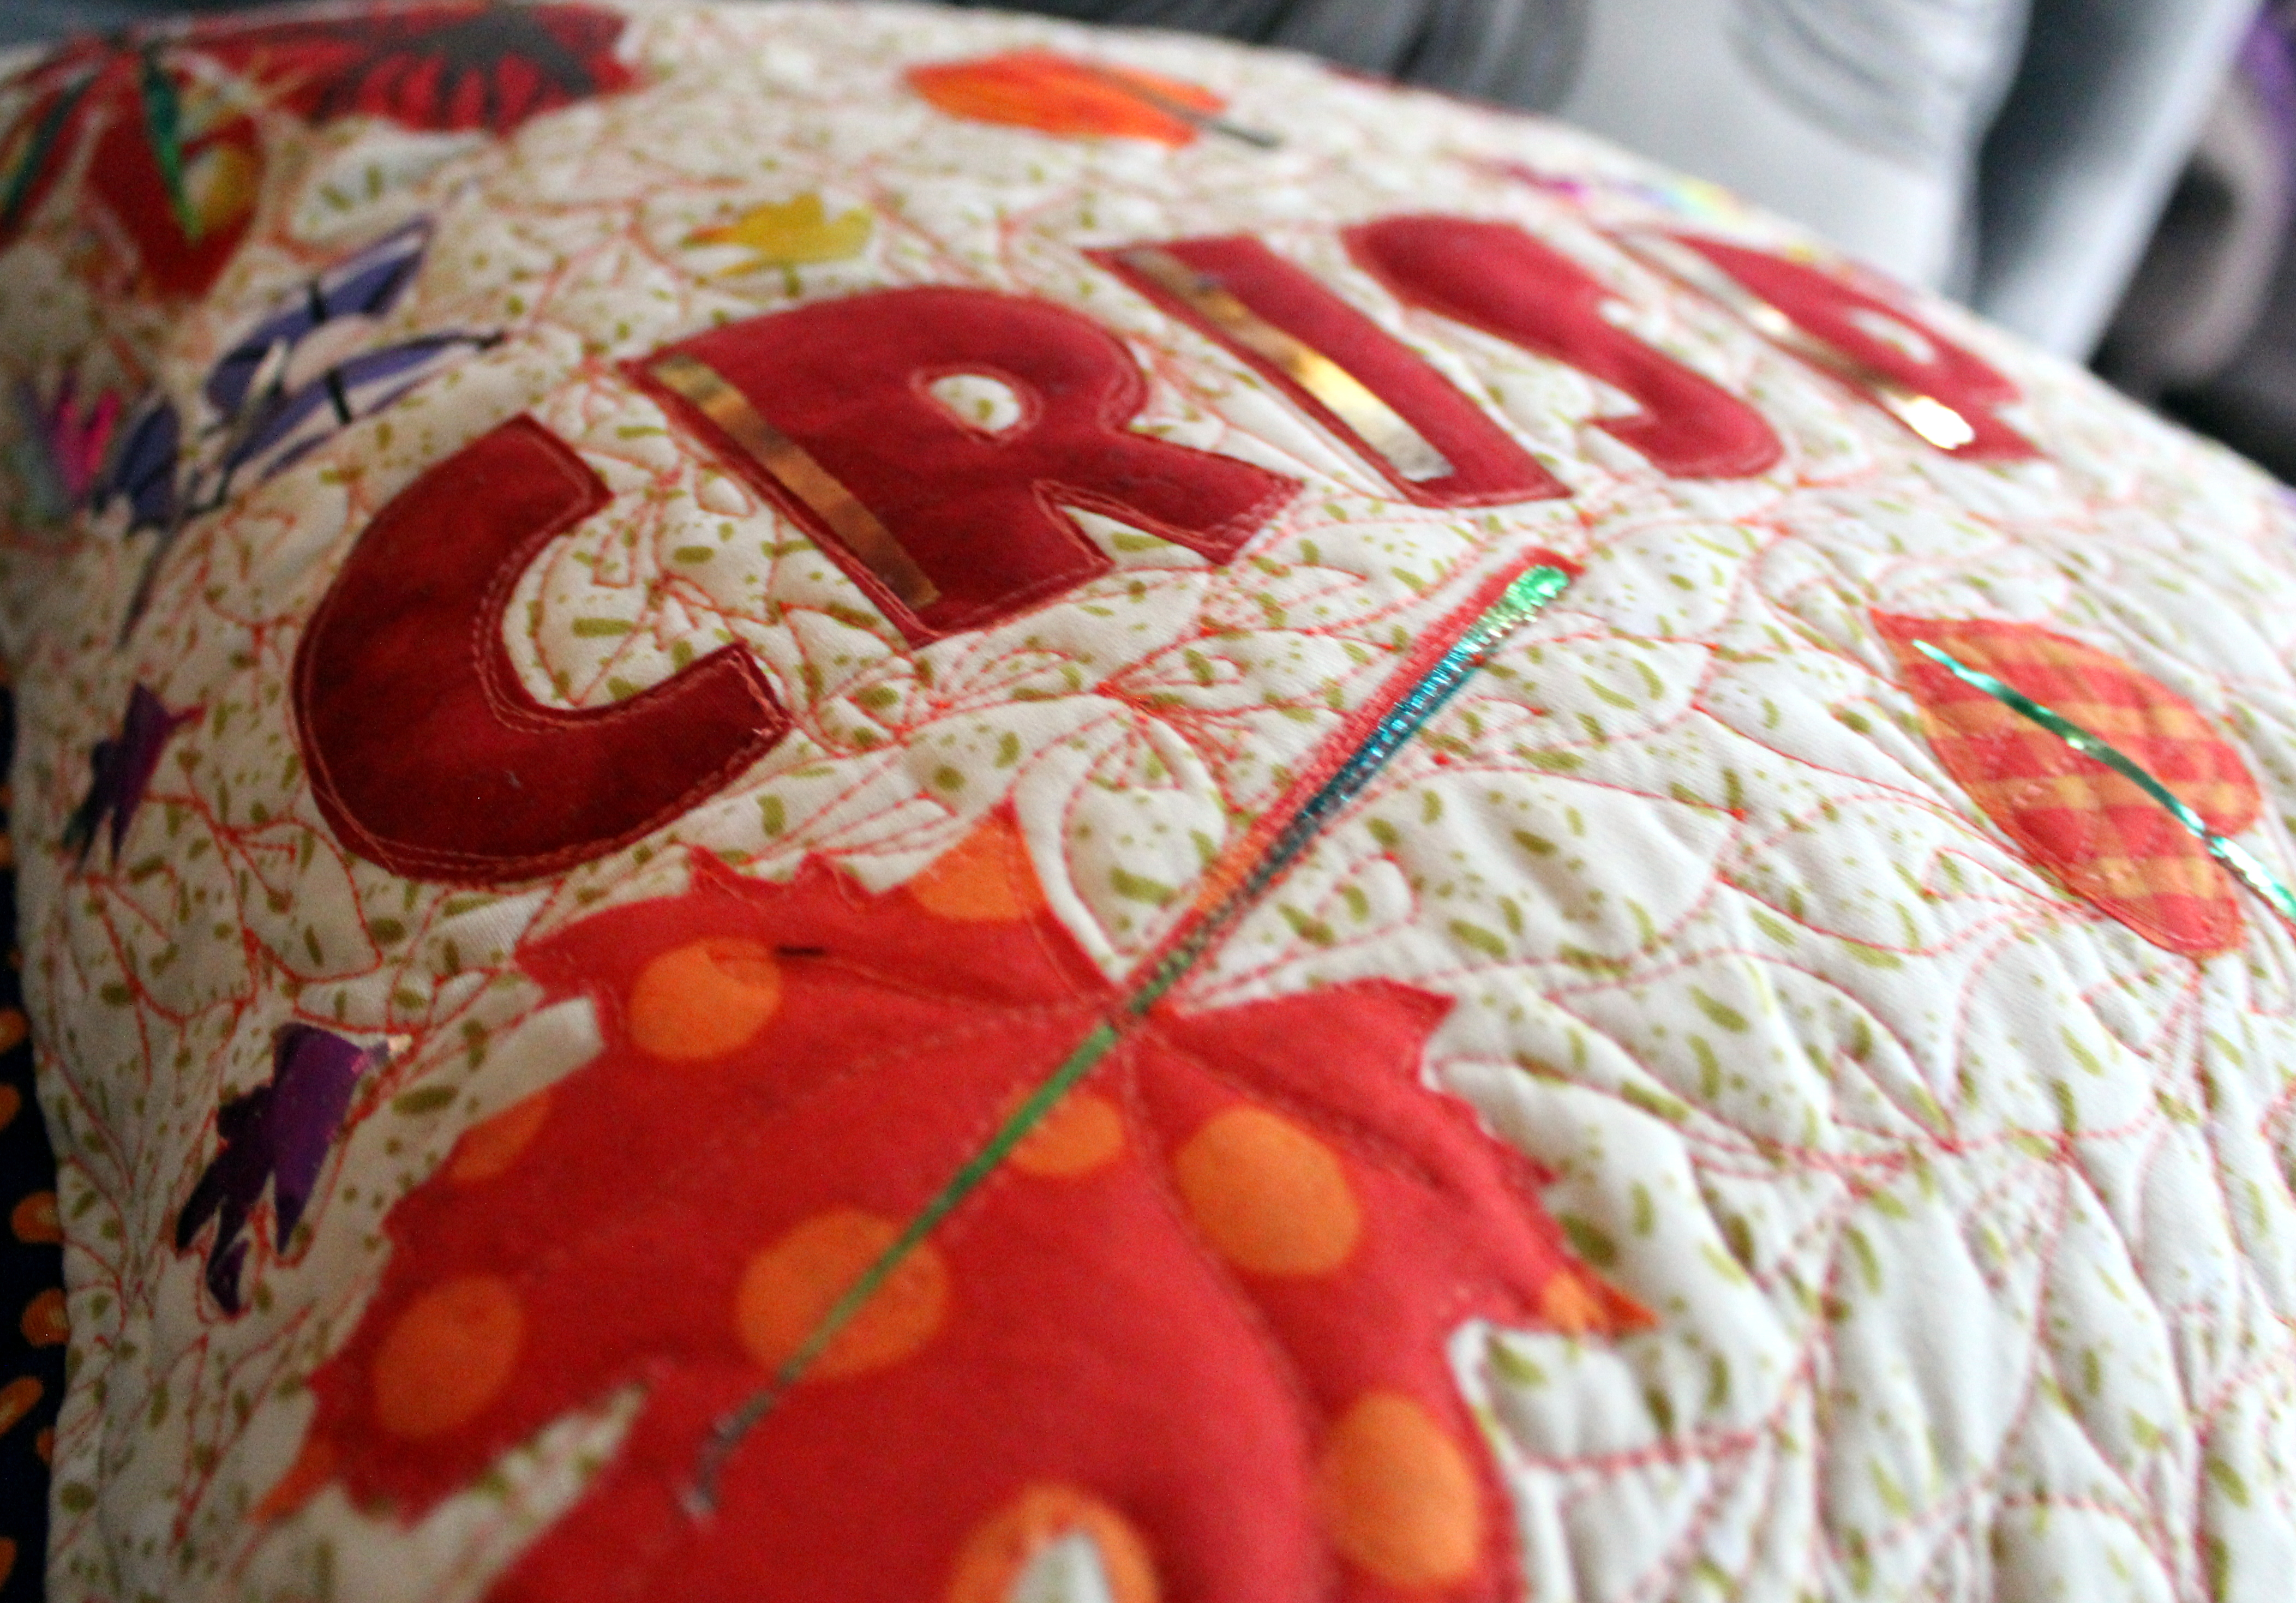
Because I used ez Print Lite Heat N Bond® sheets to fuse my leaves and snowflakes down … they all needed stitching to secure them. This was simple to do with my free form quilting foot and really just added to the end overall effect.
Once you have your top quilted, trim the excess batting and backing fabric so your pillow top is 18″ square. At this point – if you don’t want a pillow you could just bind as desired and have a fun little mini quilt.
Follow the Finishing a Pillow with Binding tutorial on Sew Mama Sew (it’s the last one on the post) to finish off your piece and make it into a great pillow – perfect for winter! I purchased a 18″ – 20″ pillow form to stuff into my pillow. A pillow form slightly larger than your pillowcase will fill it out and make it even more poofy and cozy!
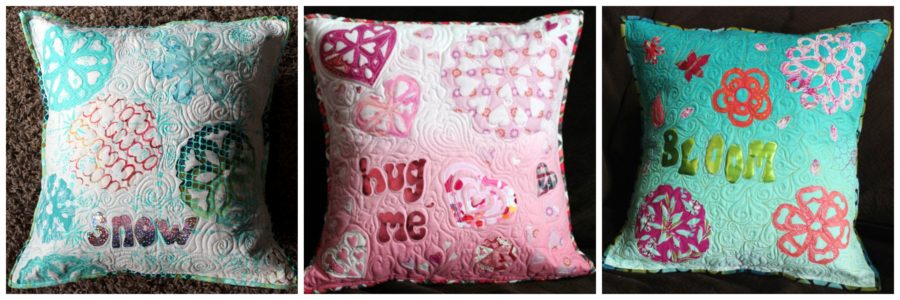 Kim has created a few of these absolutely beautiful pillows! Click here for her Spring Bloom Version, Stitched with Love and her stunning Snowflake Pillow too!