


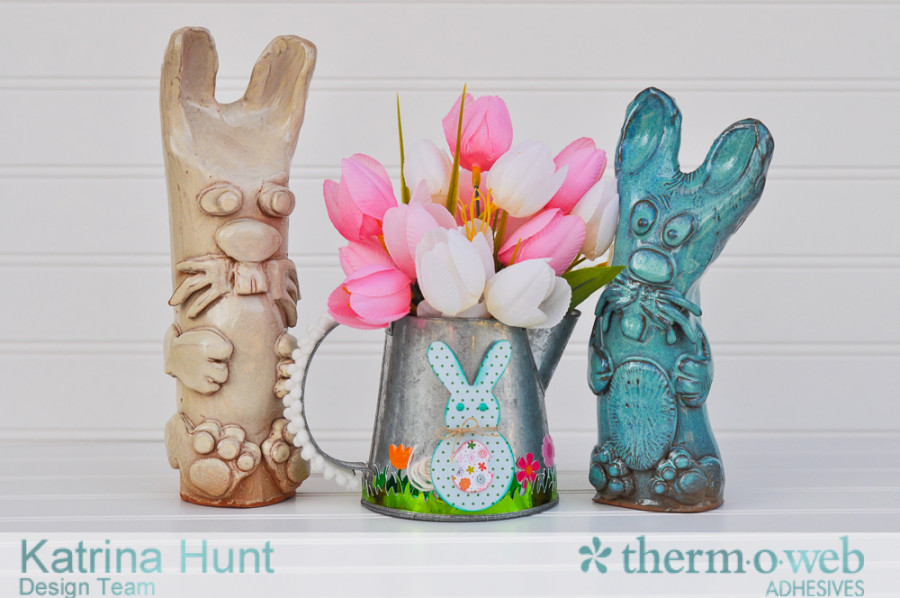
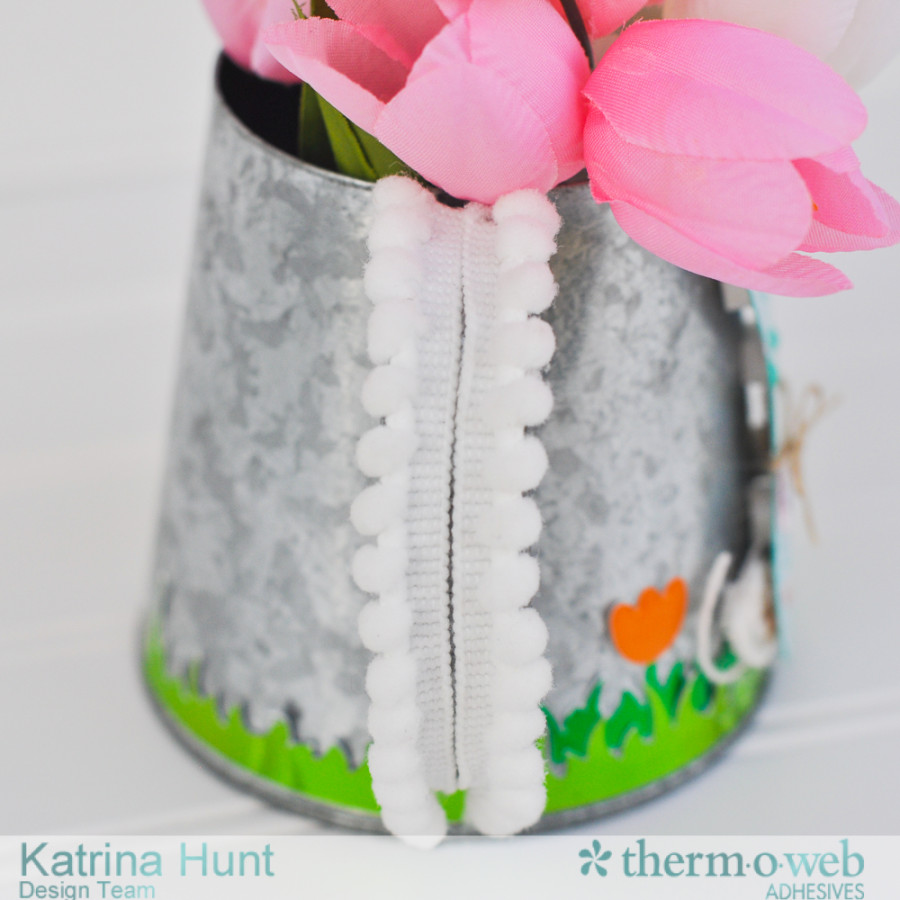
Hey Therm O Web fans! It’s Katrina from Paper, Scissors and Glue today to share a funny bunny spring project using some DecoFoil™ adhesive just as an accent to your project. You don’t have to have an entire project made from foil, but you can if you want!
The foil on this just adds a little something special to the project without overwhelming it! I have had this little watering can for a while and it was begging to be altered for springtime!
Therm O Web Supplies:
Therm O Web 3D White Foam Squares-Combo Pack
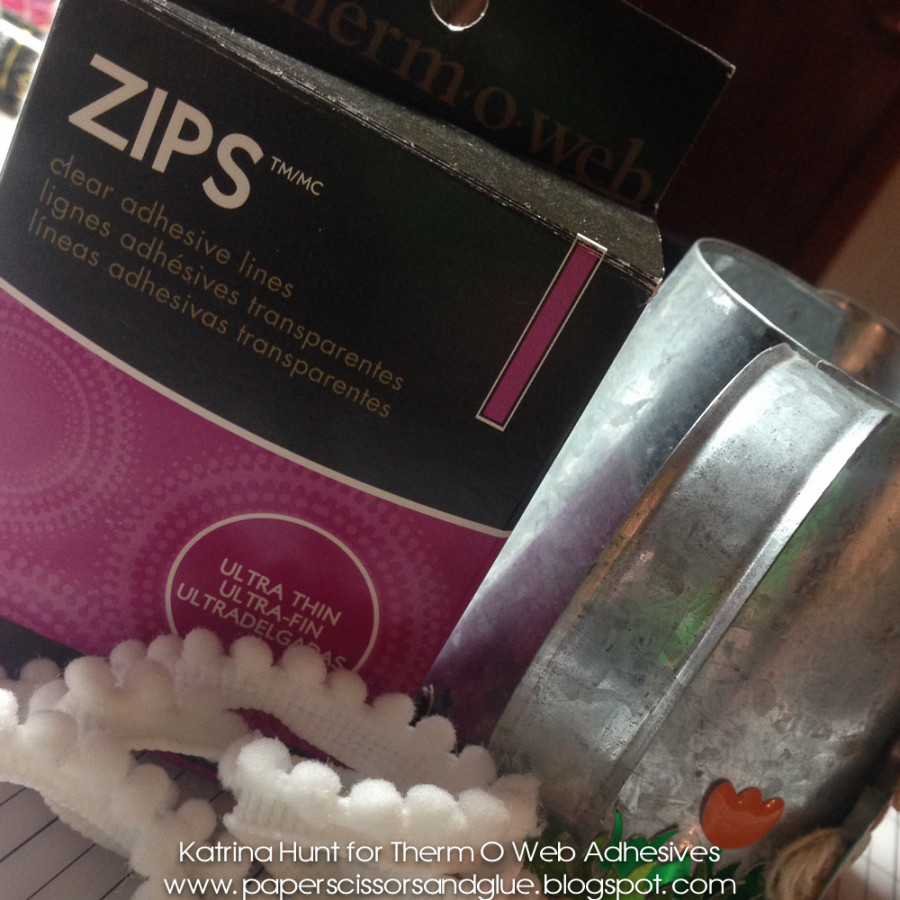
Therm O Web Zips-32 Feet
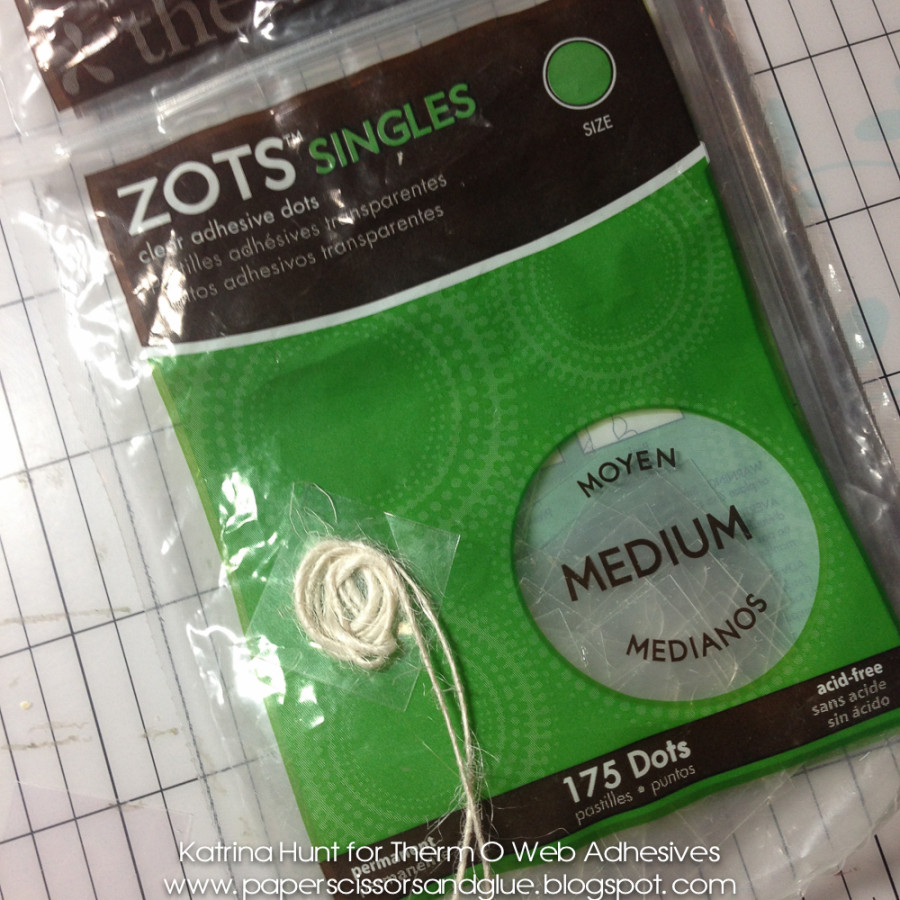
Therm O Web Zots-Medium
Therm O Web iCraft® DecoFoil™ – Lime
Therm O Web iCraft® DecoFoil™ – Spring Green
Therm O Web iCraft® DecoFoil™ – Green
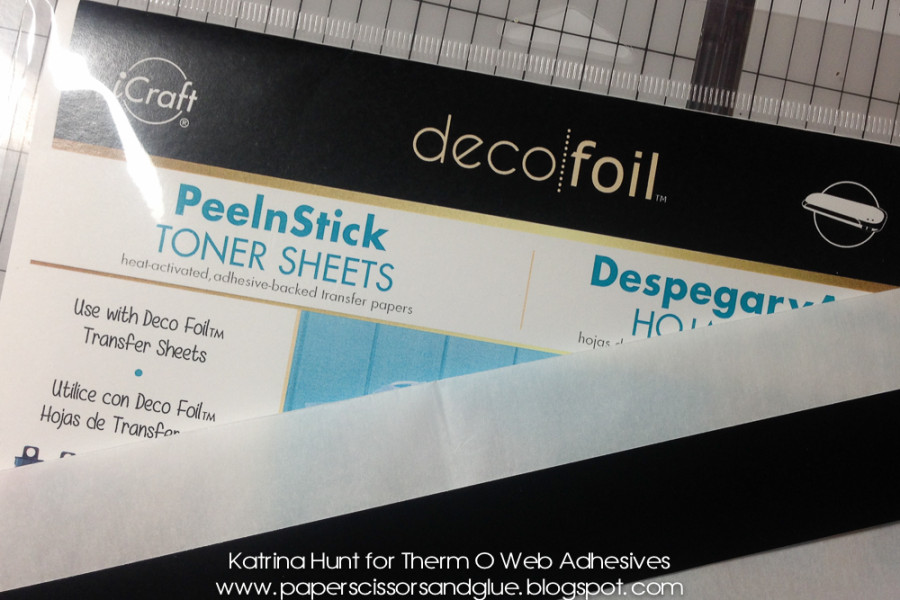
Therm O Web iCraft® DecoFoil™ PeelNStick Toner Sheets
12″ inch Laminator
Other Supplies: Pattern Paper-Simple Stories, Gossamer Blue; Twine-May Arts; Enamel Flowers-Doodlebug Design; Enamel Dots-Simple Stories; Ribbon-Maya Road; Ink-Prima; Silhouette Cameo with cut file.
Instructions:
Turn laminator on and let heat up for about 20 minutes.
Using the Deco Foil™ PeelNStick toner sheets, cut a two lengths about an inch in width and long enough to go around the base of can. If toner sheet isn’t long enough, you can add another length and cover the seam with embellishments.
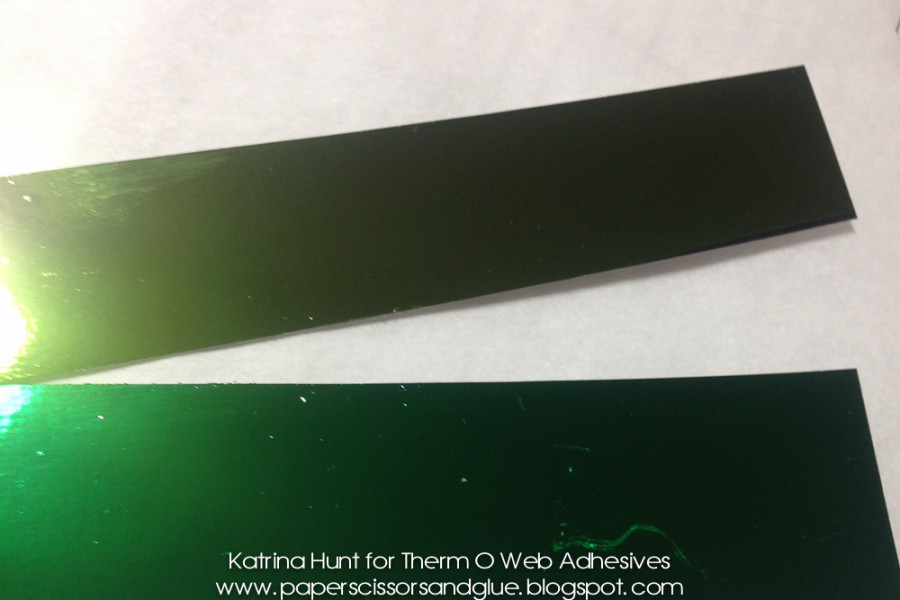
Choose the colors that you would like your grass to be. There are three different greens in the DecoFoil Transfer Sheets: NEW Spring Green, Lime Green and Green. Foil your toner sheet by running it thru your laminator. Foiling before cutting will give you more of an even look on the edges of your die cuts.
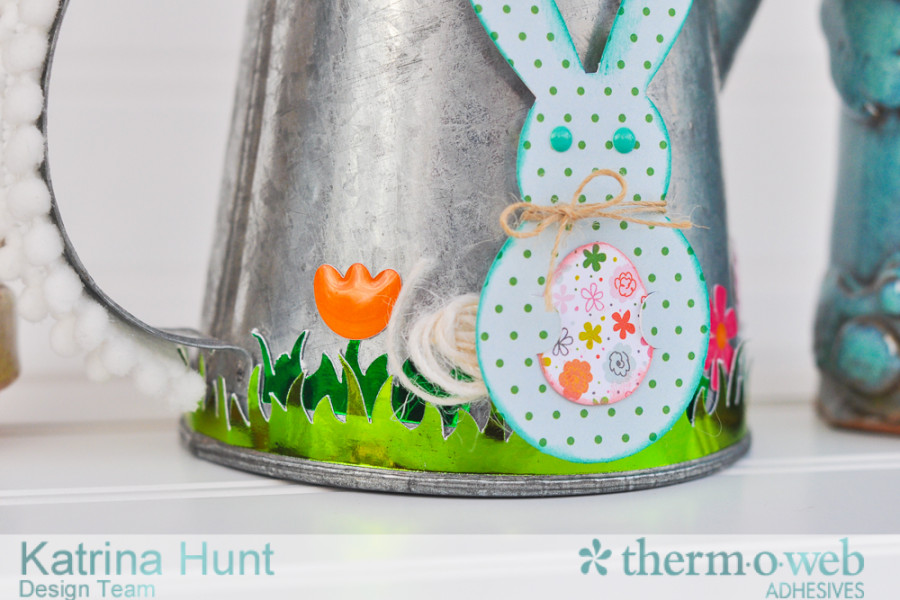
Run lengths of toner sheet thru Silhouette Cameo with a grass cutting file, if you do not have an electronic die cutter, you could also use manual dies or scissors to create a grass effect. Once you have your grass cut, then peel backing off of the PeelnStick toner sheet and adhere to watering can. Create depth by adding the darker color of green behind lighter color. Cut a bunny out that will fit height of can, ink edges and adhere with 3D Foam Squares to front.

Make bunny tail by taking a Zot-Medium and wrapping a length of twine in circles on top of Zot. Adhere Zot behind bunny.
Adhere ribbon to handle of watering can, by covering handle with two lengths of Zips adhesive lines.
Now, find a spot to sit your bunny watering can and enjoy! I need to figure out if I am going to keep mine at home or take it to work! Have a great day and thanks for stopping by the Therm O Web blog!
Katrina Hunt
It’s National Craft Month!!!
That means special sales, promotion and some fun prizes and giveaways all month long!!
We’re kicking off this week with a sale on our Glitter Dust Deco Frames and Photo Corners! Save 25% off your favorite products and get FREE SHIPPING on all orders over $25! Simply use code PHOTO25 (in all caps) for the discount to apply to your items! Sale kicks off today and goes through March 6th so head over to our website to shop and save!! http://www.thermowebonline.com
And tune in tomorrow for the first of our giveaways for you to enter too! You won’t want to miss a thing!!
![]()