


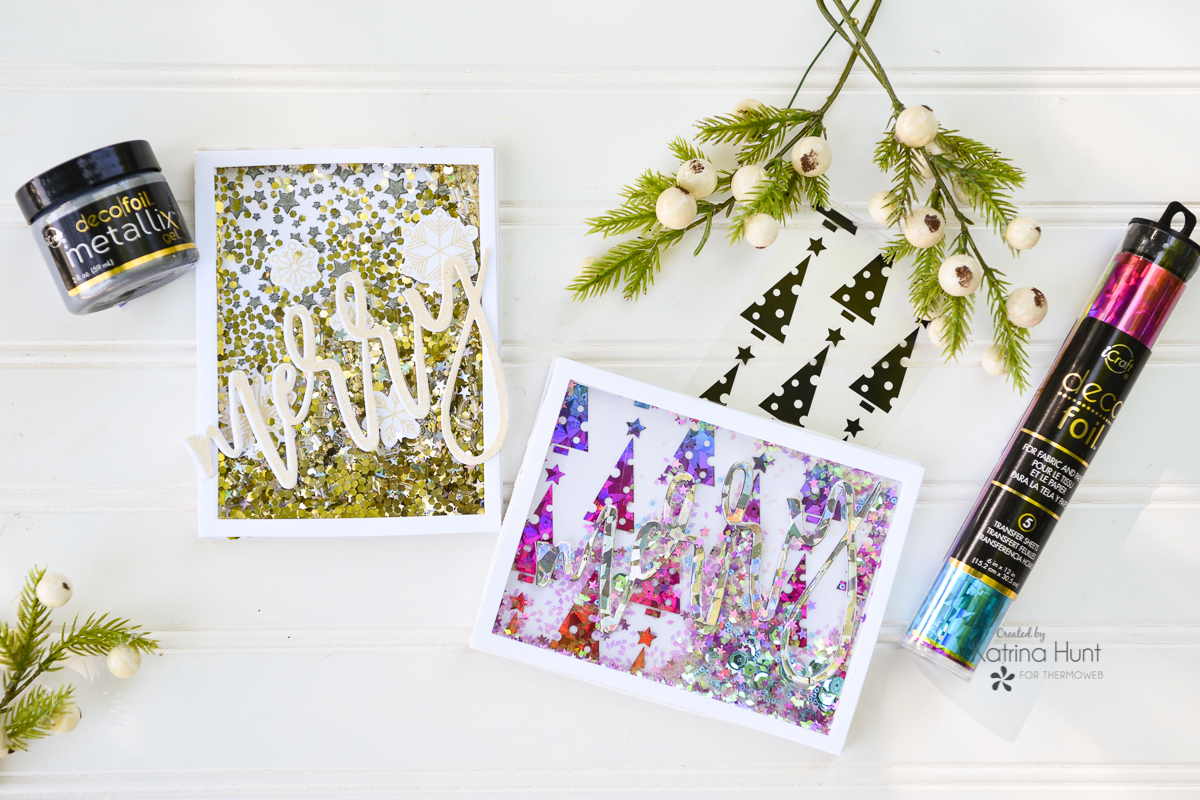
Hey there! It’s Katrina from Paper, Scissors, Glue and Hybrid Too sharing a couple of suspended Christmas shaker cards with you today. There are lots of pictures, so grab a cup or glass of your favorite beverage and let’s get started!
Christmas Suspended Shaker Cards
Therm O Web Supplies Used:
Therm O Web Memory Runner XL
Therm O Web Zots-Small
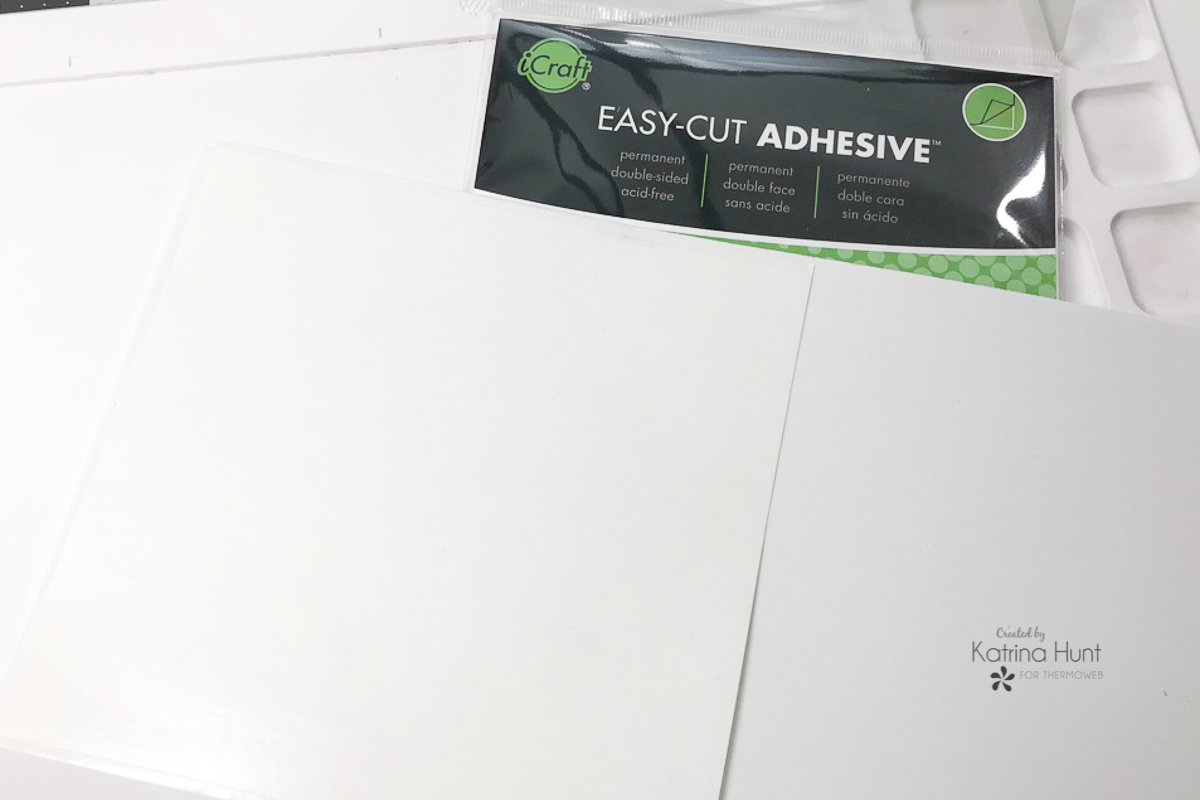
iCraft Easy Cut Adhesive Sheets
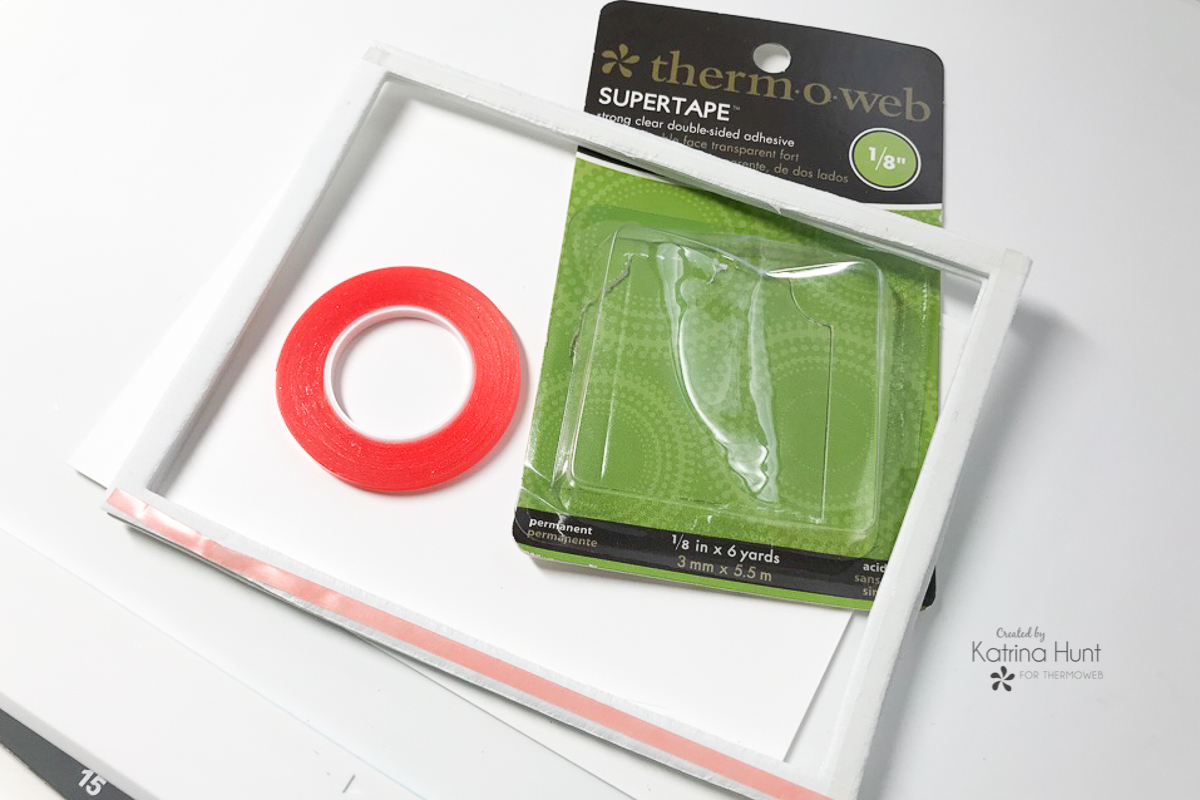
iCraft Super Tape 1/8th inch
iCraft Pixie Spray
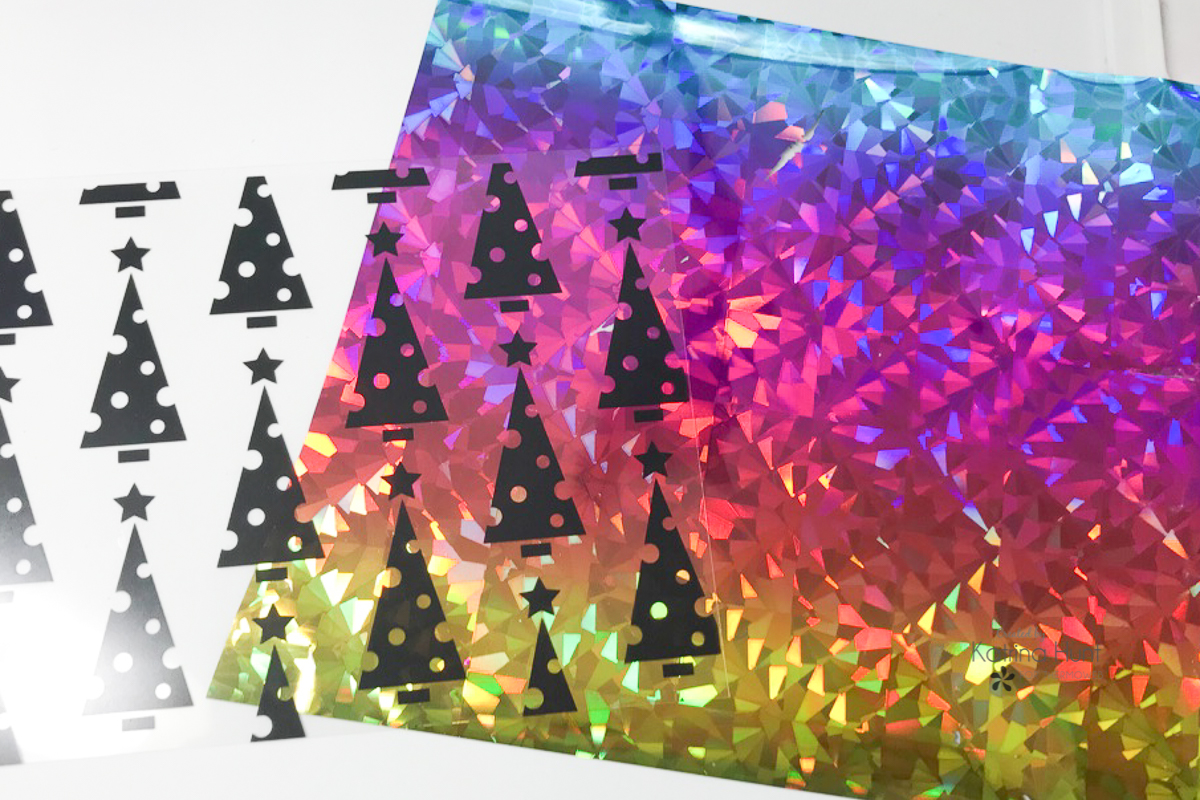
iCraft Deco Foil Foil Transfer Sheets-Rainbow Shattered Glass
iCraft Deco Foil Foil Transfer Sheets-Silver Shattered Glass
Deco Foil Designer Toner Sheets-O’ Christmas Tree
Deco Foil Designer Toner Sheets-Clear
Deco Foil Peel and Stick Toner Sheets
Deco Foil Metallix Gel-Glazed Pewter
Deco Foil Stencil Pal
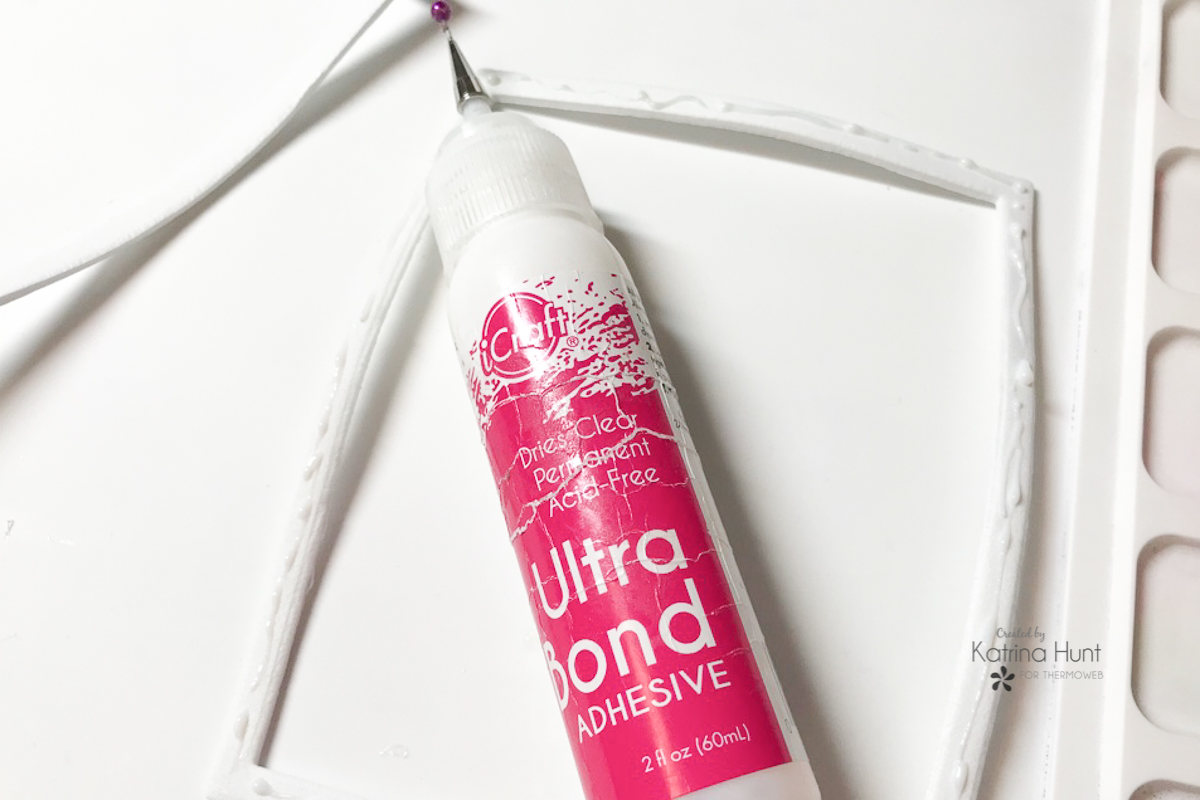
iCraft Metal Tips for Liquid Adhesives
iCraft Purple Tape -1.5 inch
iCraft Purple Tape- 1/2inch
iCraft Ultra Bond Liquid Adhesive
Gina K Designs Premium Cardstock-Luxury White
Laminator
Other Supplies Used:
Waffle Flower Crafts Oversized Merry Combo Stamp and Die Set
Waffle Flower Crafts Oversized Merry Stamp Set
Waffle Flower A2 Layers Dies
Waffle Flower Water Media Mat
VersaMark Watermark Ink
Hero Arts Wagner Heat Tool
Invisible Thread, Stencil-Studio Calico
Card Instructions
Both cards are basically made the same way, the only real difference is Designer Toner Sheets versus Metallix Gel for backgrounds. One card has only Deco Foil elements and the other card has embossing.
Start by cutting two card bases for an A2 card. One base will be a top folding card and one will be a side folding card. After cutting card bases, cut two 4.25 x 5.50 pieces from the Clear Designer Toner sheets for each card to hold your shaker bits in. Cut one 4.25 x 5.50 piece from the O’ Christmas Tree Toner Sheets. Set all these to the side for building your card later.
Also, turn on laminator to heat while working on the following steps.
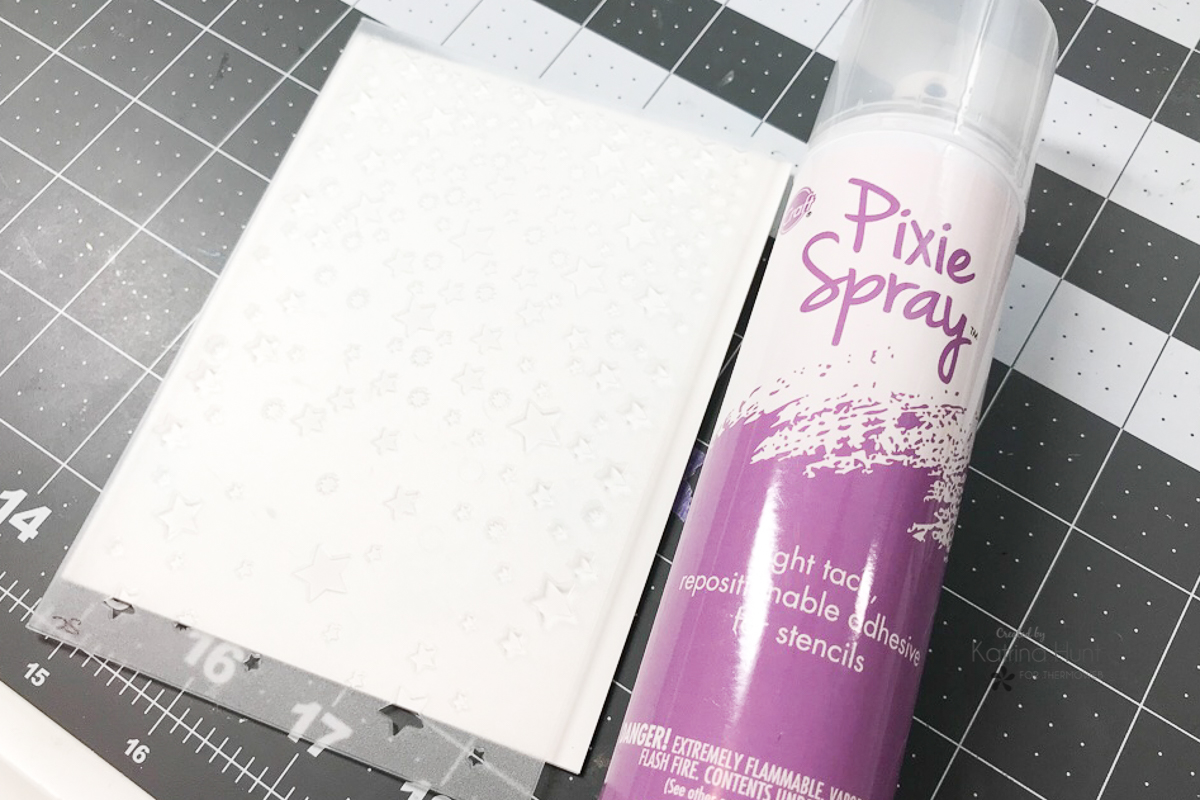
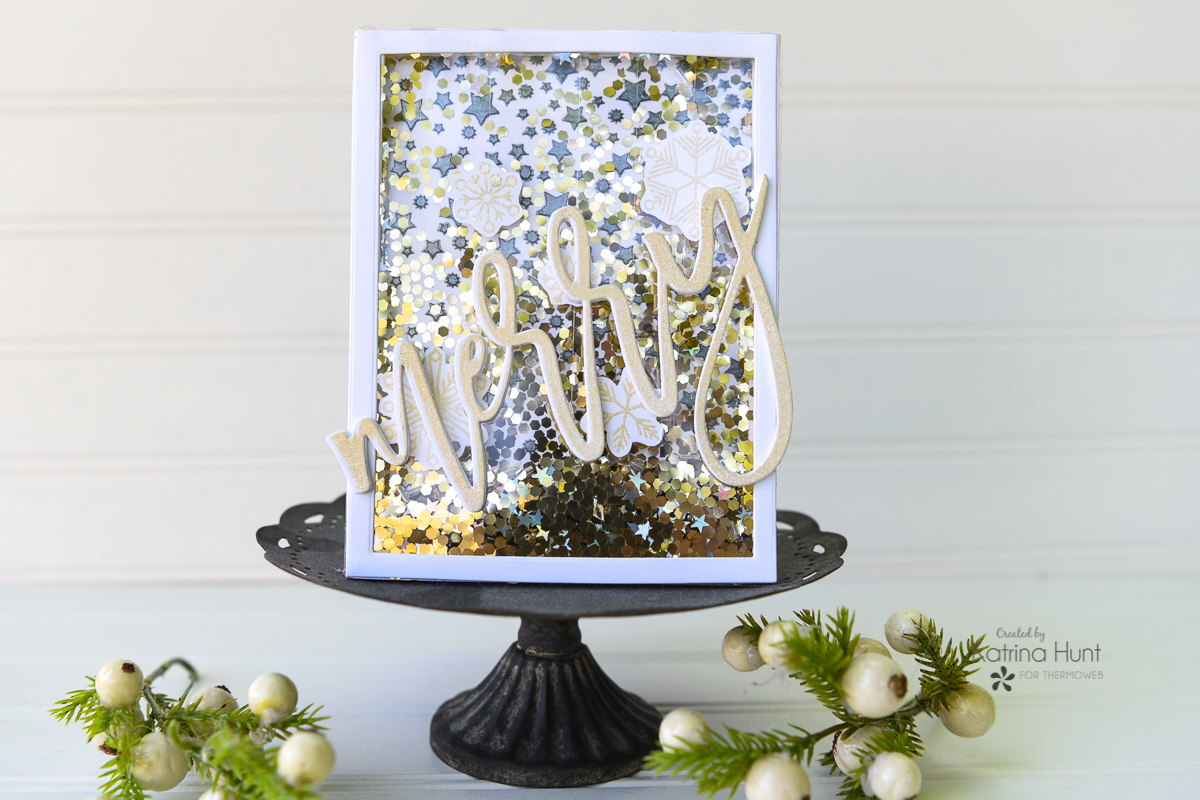
Next, cut a piece of cardstock 4.25 x 5.50. Apply a fine layer of Pixie spray to the back of the stencil and let dry for until tacky, about a minute. Place stencil tacky side down to cardstock piece and rub until the stencil has adhered. Apply Deco Foil Glazed Pewter Metallix Gel to stencil with the Deco Foil Stencil Pal.
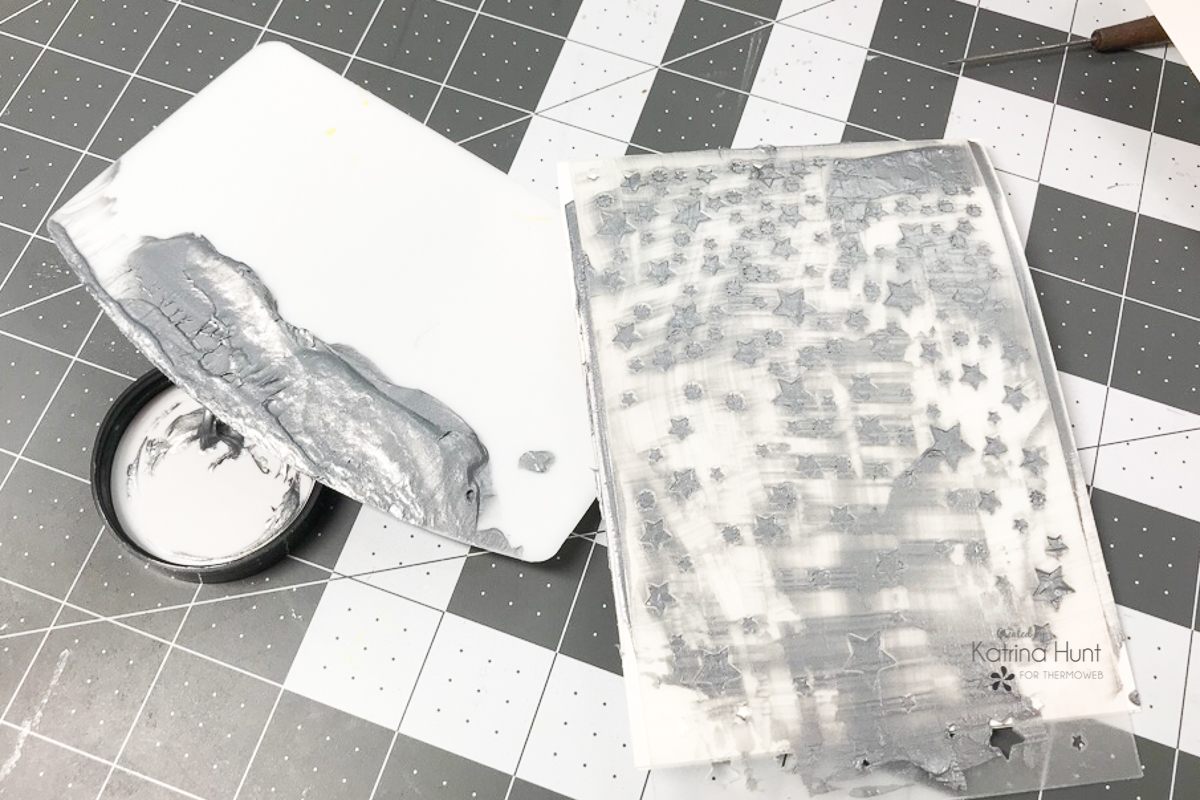
This will create a starry sky for the background of your card.
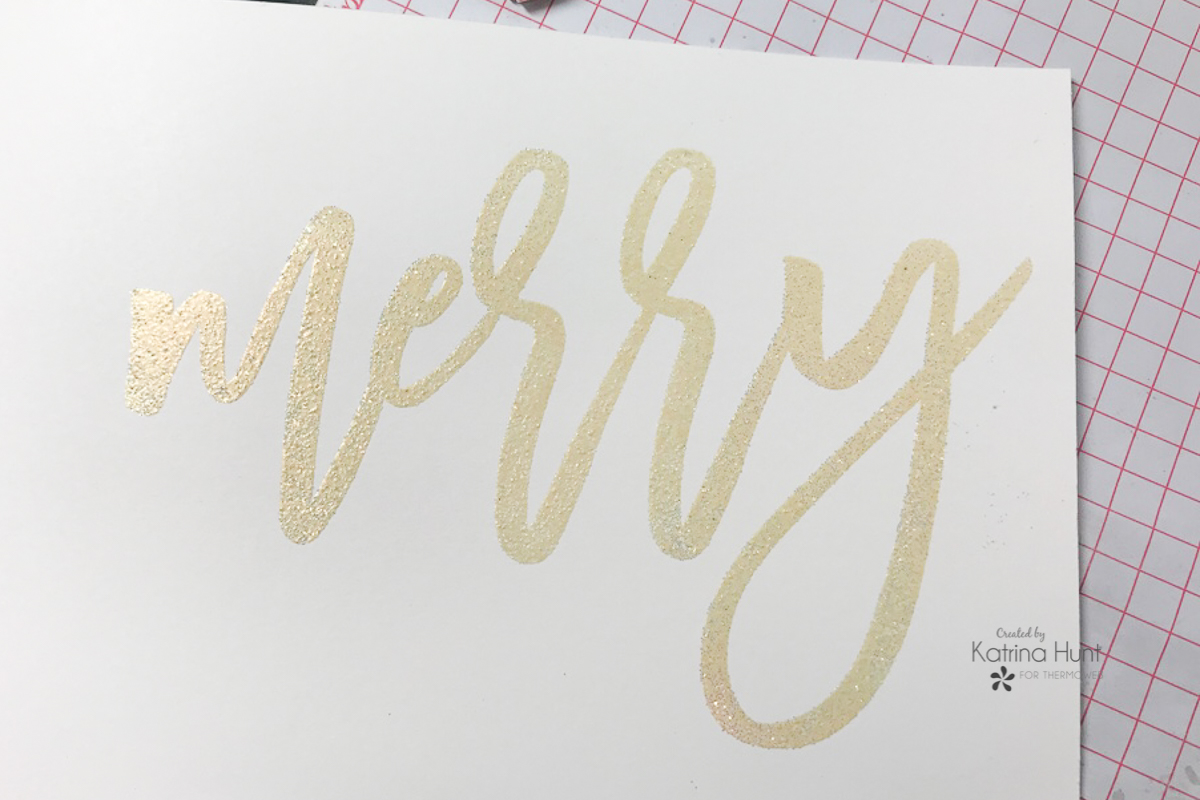
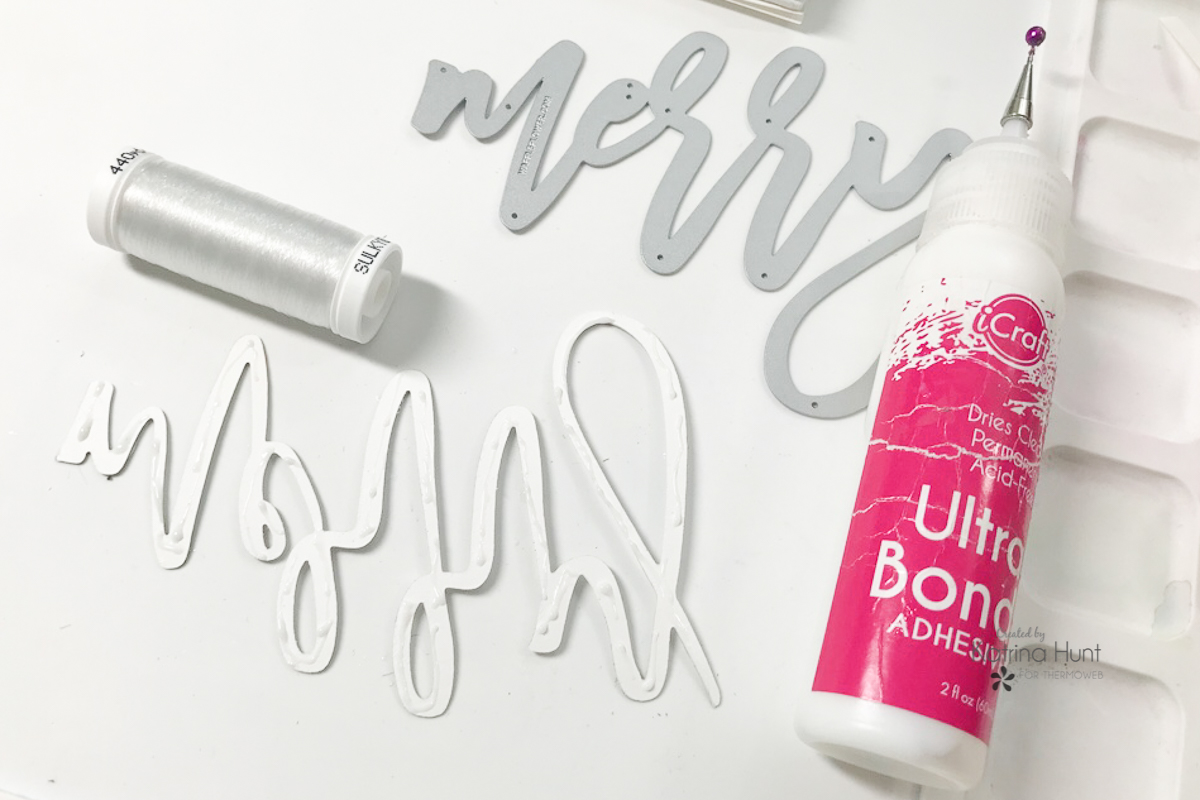
At this time you can stamp and emboss the snowflakes and the word Merry. You will use the die-cut and cut out the word. You will also cut out “Merry” out of plain cardstock three times for the gold card. Adhere the embossed die cut Merry and then the layers of the plain ones together to create a chipboard effect for the Merry. Set to the side.
Building the Shaker Frames
While the Metallix gel is drying, work on building the shaker frames for your cards. I did these two ways and found the way that worked best for me. What works for me, may not work for you, so I am giving you options!
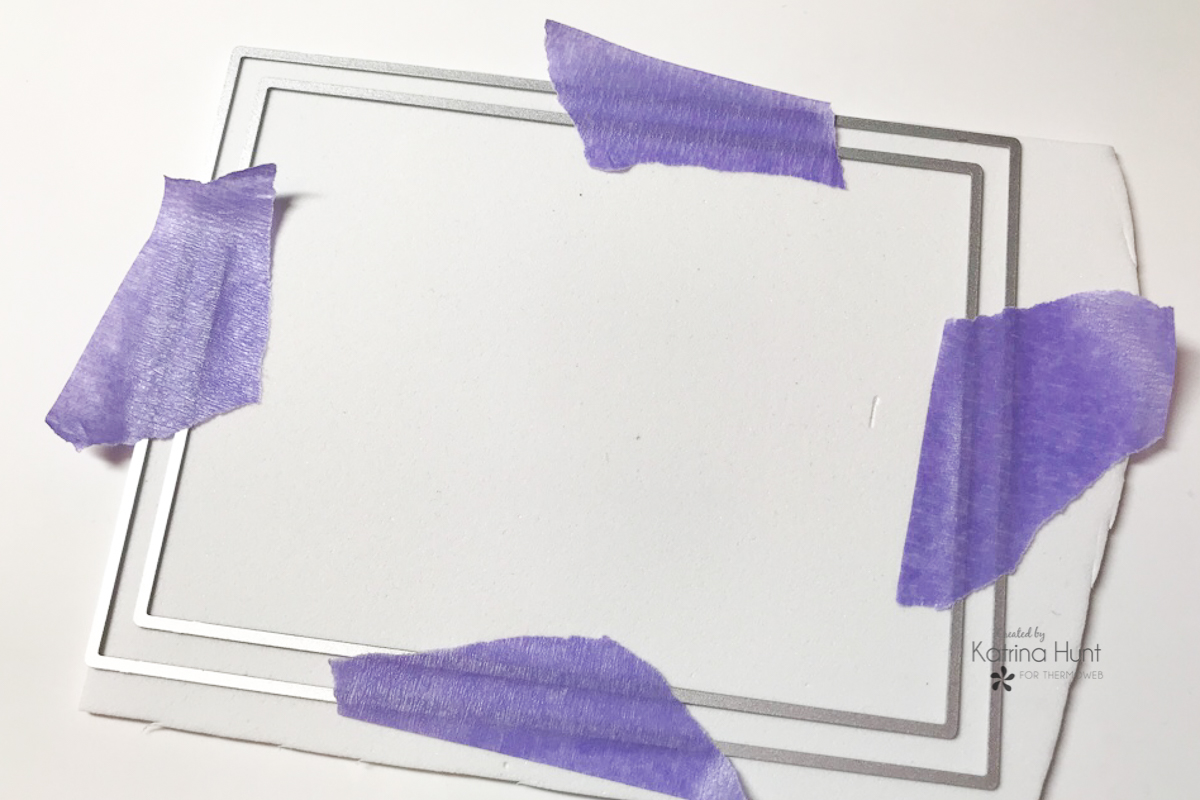
Begin by creating a frame using layered dies. For these cards, I used the biggest A2 die and then skipped one and used the next one. Use Purple Tape to hold dies in place, if you are careful when pulling off the dies from the die-cut, the Purple Tape will keep the dies in place, so you can cut this frame exactly the same size on the next cut. You will cut two frames out of foam for each card, so a total of four foam frames.
When making the frames, I first used craft foam only, cut two frames and adhered them together using the Ultra Bond Liquid Adhesive. The problem I found was that my foam did not stay in shape and got a little wonky.
Next, I used the craft foam with a piece of cardstock attached using the Easy Cut Adhesive Sheets. This process allowed the frames to keep their shape because of the layer of cardstock.
After cutting the foam frames, I went ahead and cut two more frames out of plain cardstock while the dies were still taped together. These will be the outer top layer of your shaker.
Next, you will adhere your frames together. I did this two different ways, using Ultra Bond for the first one and then Super Tape for the next one. I preferred the speed and ease of the Super Tape, but the Ultra Bond works well also. Set these to the side and work on the rest of the elements of your cards.
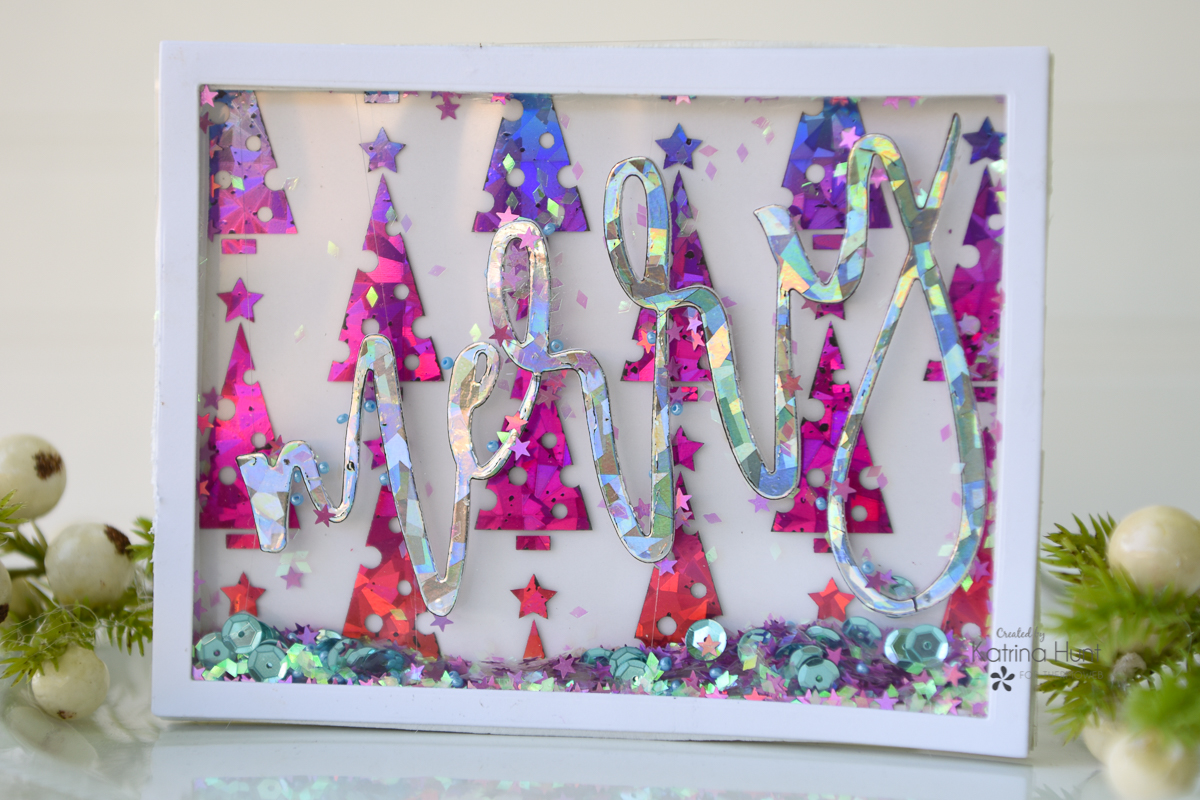
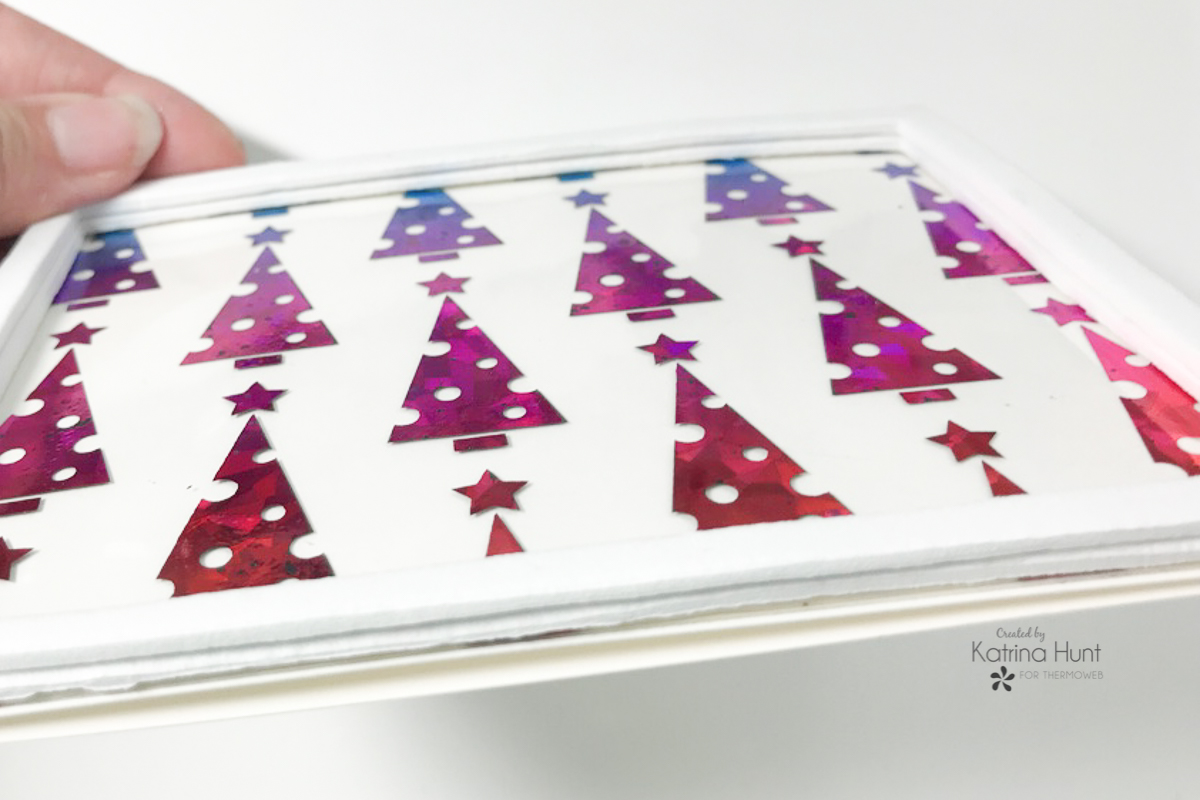
Once laminator has warmed, foil your cut Designer Toner sheet using the Rainbow Shattered Foil. Adhere to one of the card bases by using the Memory Runner XL or the Super Tape.
After you have foils the toner sheet, die cut the word Merry out of the PeelNStick toner sheet using the matching die for the stamp set. 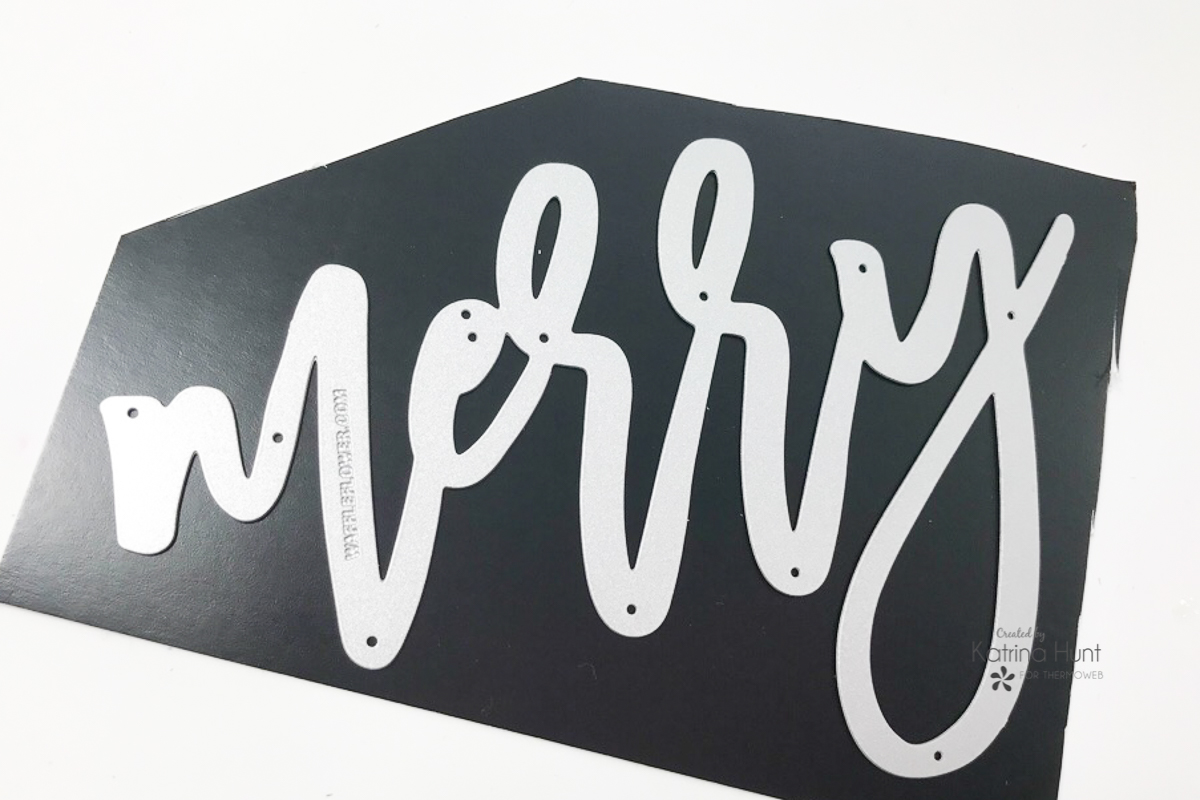
The die-cut needs to be little sturdier for it to be suspended, so die cut another Merry out of plain cardstock. Using the negative die-cut, place the plain cardstock cut Merry back into the area (this will hold the die-cut shape) and then adhere the PeelNStick Merry to it. If you need help to hold it in place, you can use Purple Tape. Run thru laminator using Deco Foil Silver Shattered Glass as the foil color.

Putting The Shaker Card Together (finally!)
Once your Metallix front for the other card is dry, then adhere to the front of the card base with the Memory Runner XL. Now that you have both card fronts attached to the card bases, you can start building your shaker area onto the card base. Use either the Ultra Hold Liquid or the Super Tape to adhere your foam frames to your card fronts. Both of them will look similar to the picture below.
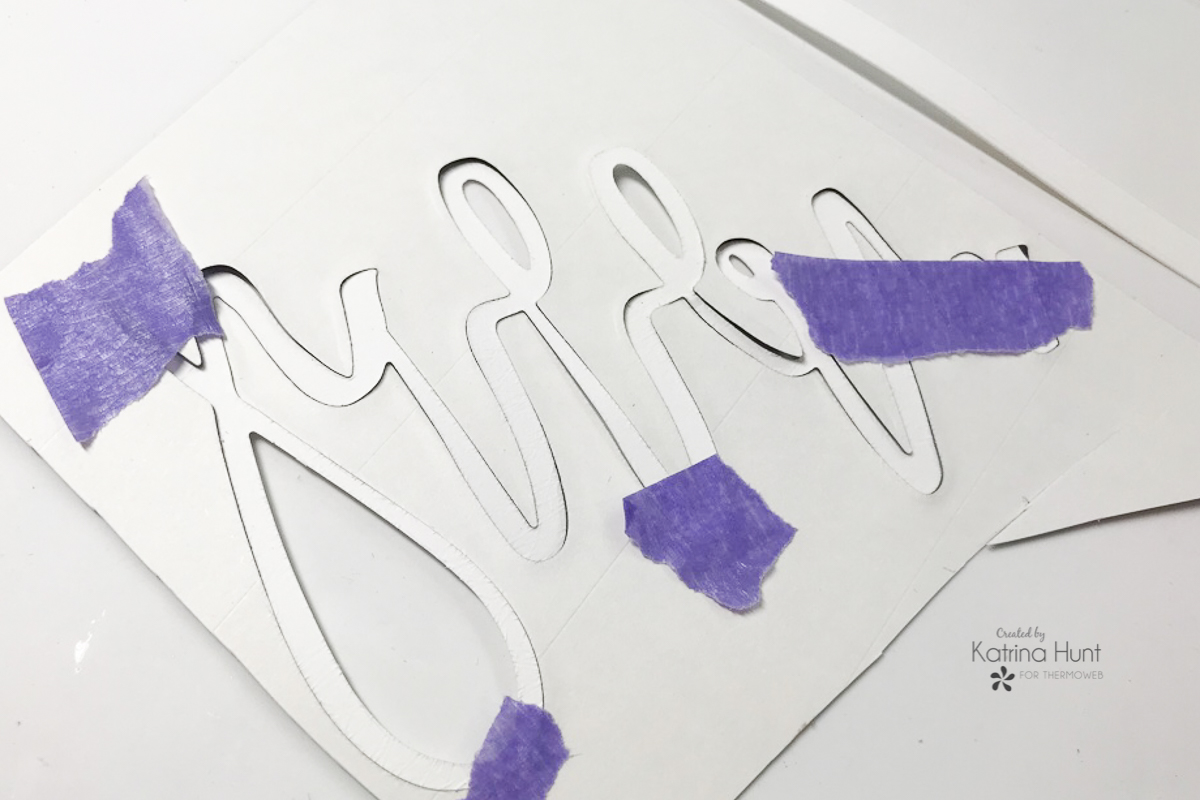
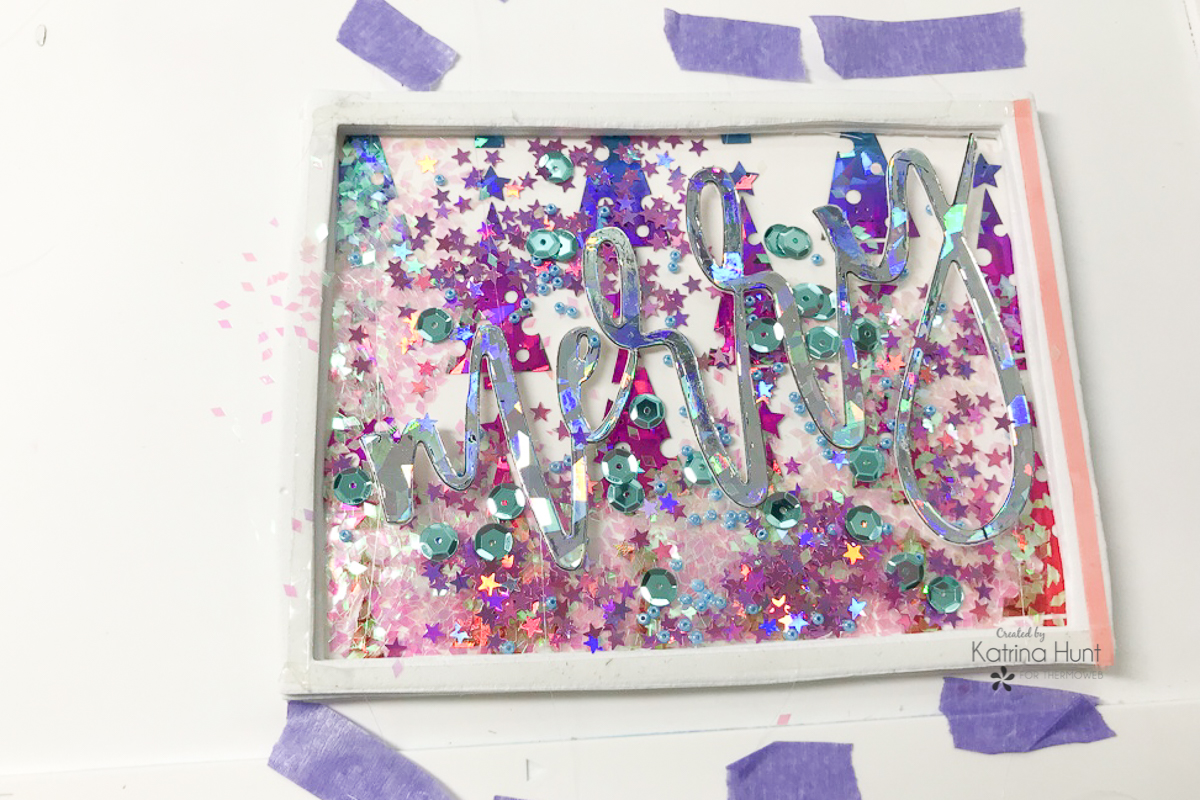
Now you will begin creating the suspended elements in the shaker area. Working on each card one at a time and using a piece of invisible thread that is longer than the width of your card, attach the thread to your Merry die-cut and also your embossed snowflakes.
For the Merry, I used the Ultra Bond Liquid Adhesive and for the snowflakes a little piece of Purple Tape. I prefer the taping method, but the Merry die cut is so thin, you almost have to use the liquid for it. Also for a die-cut that is scripty like the word Merry, you will need to have more thread than you think. I used four strands, but I should have probably used six.
For the tree card, I applied the Super Tape all the way around my frame and had removed most of the backing. IF I did this method again, I would only remove the backing from the top and bottom frame areas. Adhere the bottom length of your thread to the frame and Super Tape and repeat with the top, adjusting as needed. I held each thread in place with Purple Tape, as shown below.
Once you have it adjusted the way you like, then you can fill with shaker bits.
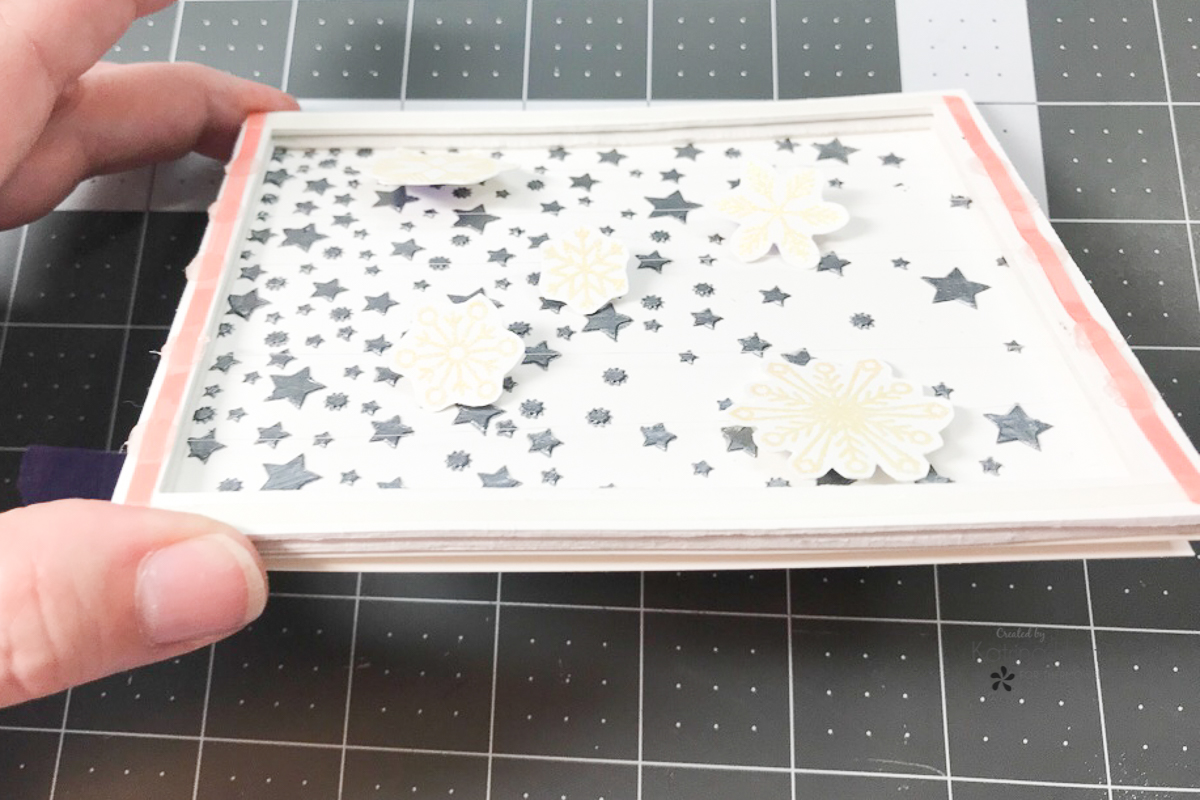
For the snowflake card, I did small Zots where I needed my thread to adhere. I placed a Zot to lie the thread on the frame and then I placed another Zot on top to securely hold the thread. Once that was done, then I ran the Super Tape around the frame. You can see the snowflakes suspended below. Fill with shaker bits.
Finishing Up
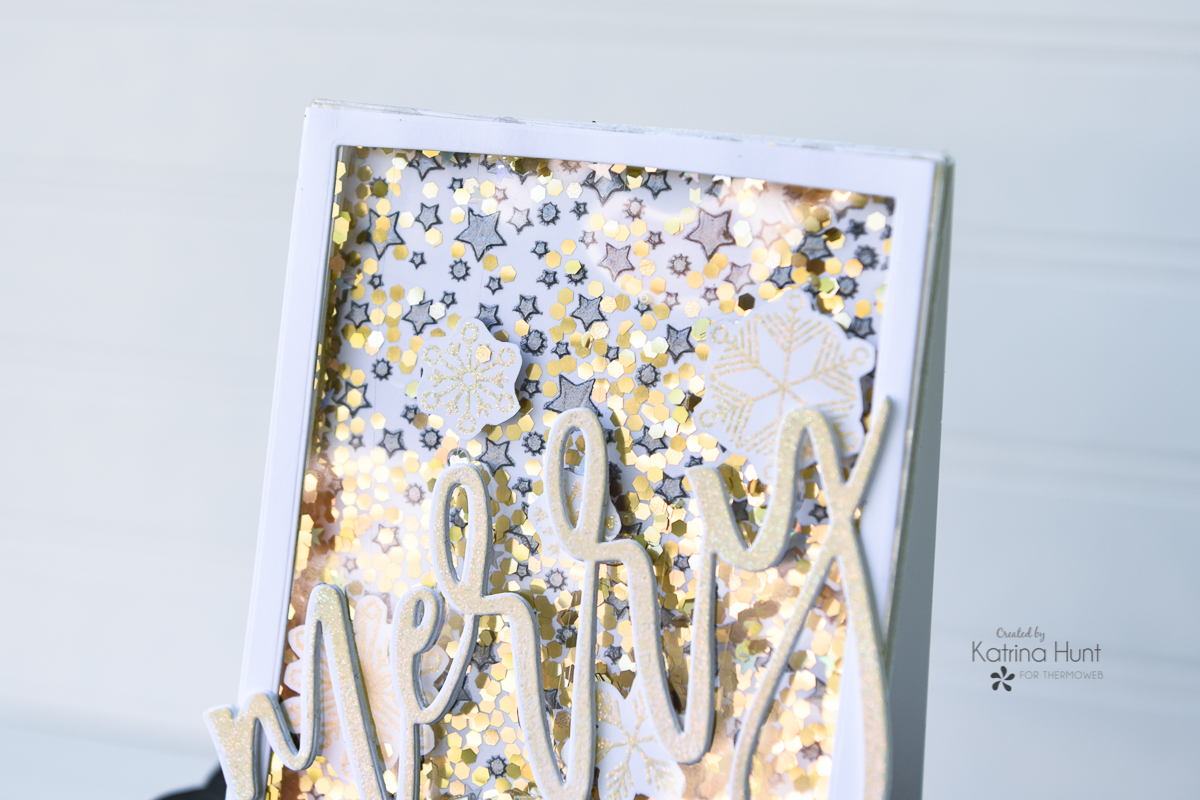
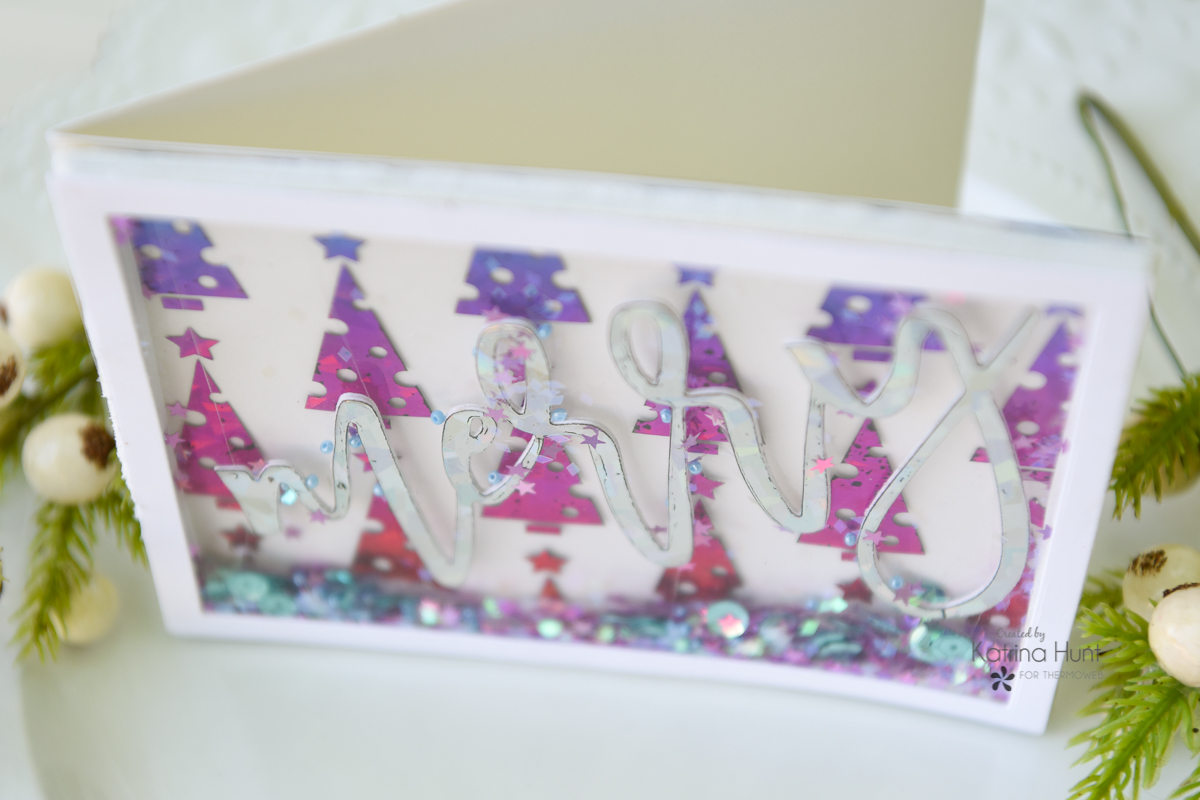
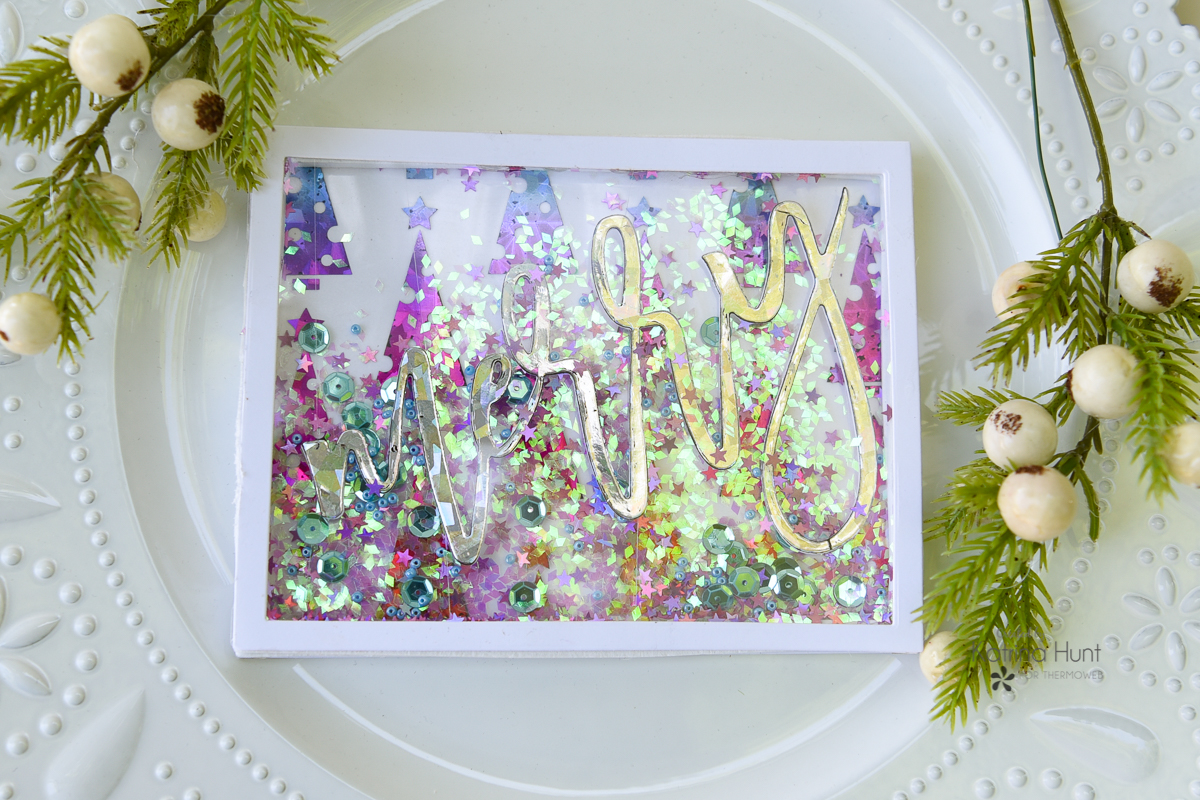
Adhere your clear toner sheet cuts to the top of both shakers to hold everything in. Next, adhere the white cardstock pieces onto the clear toner sheets to “cover” everything. Your Merry rainbow tree card is now done. Shake away!
To finish off your Merry starry card, all you need to do is adhere the Merry (with the chipboard effect completed) to the front of your card with Ultra Bond Liquid Adhesive. And then you can shake away on this one!
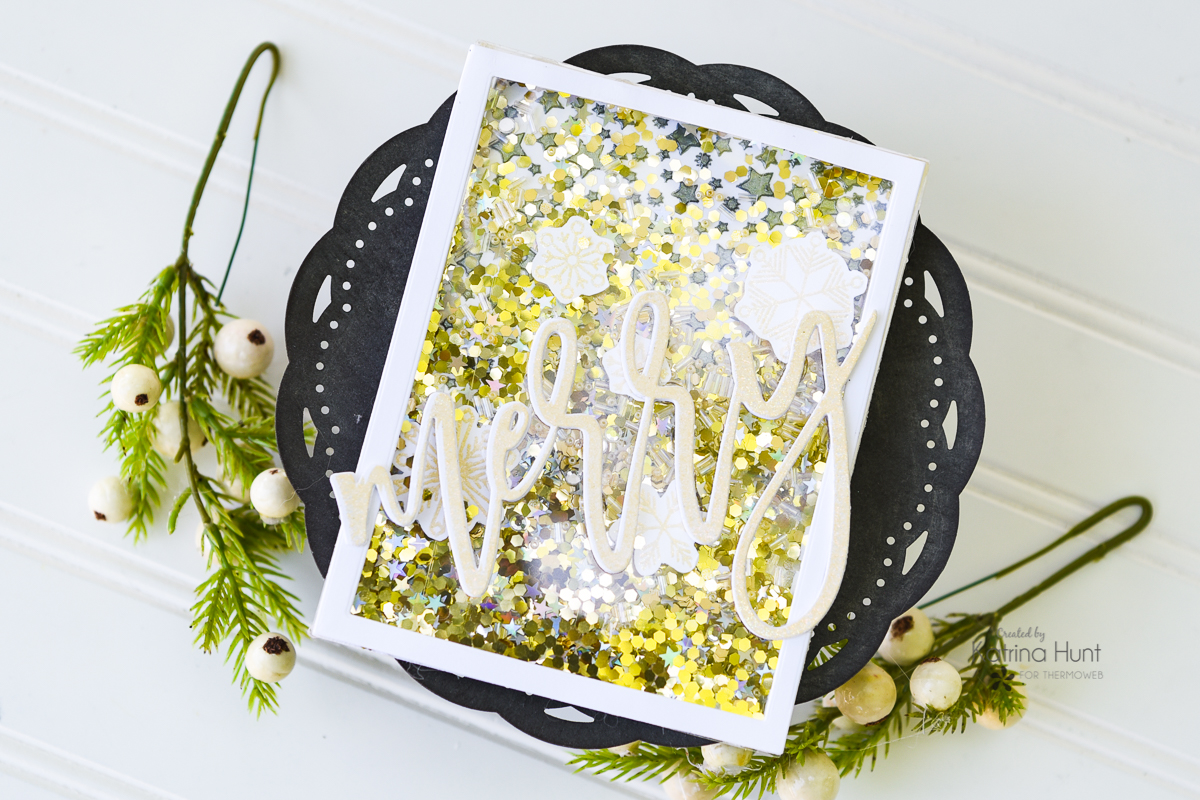
For me, shaker cards take a lot of time, but the final cards are so worth it! These will be going to special people at Christmas for sure!
Thanks for doing a little Christmas in August with me here on the Therm O Web blog! Have a great rest of your week!
mjmarmo
August 14, 2019 at 10:19 am (5 years ago)So pretty!