


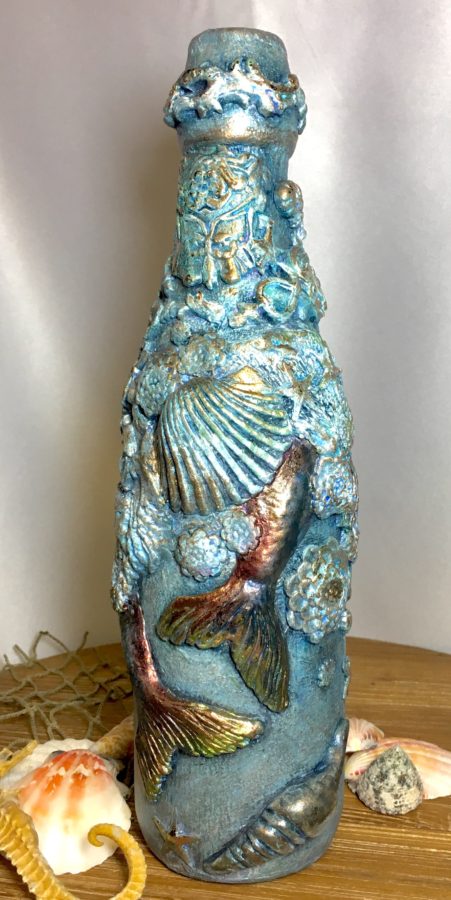
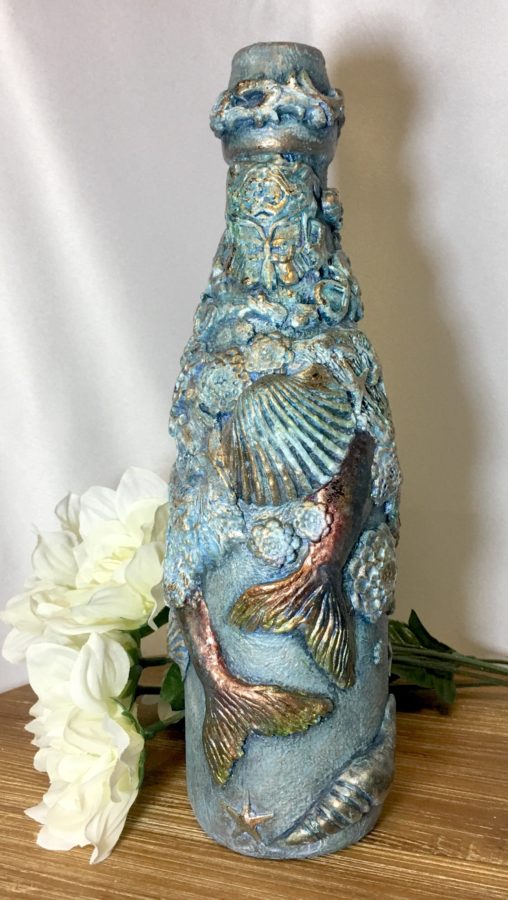
Hello all; I’m so excited to share my altered glass bottle with you. I had so much fun experimenting with Metallix, adding different pigments to create a Metallix glaze with body and texture. Give this a try; we would love to see what you do with Metallix and pigment!
Mermaid Bottle Supplies
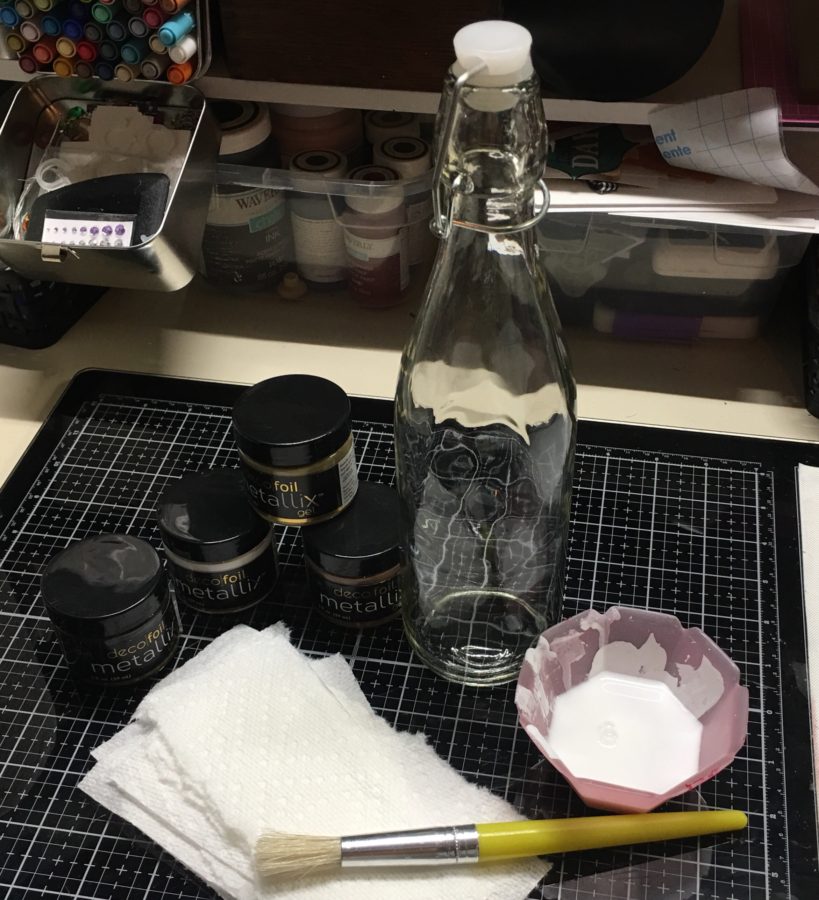
Deco Foil Metallix -White Pearl, Aged Copper and Black Ice
iCraft Ultra Bond Liquid Adhesive
Deco Foil Transfer Sheets – Gold
Other Supplies: Glass bottle, paintbrush, silicone molds, paper clay, pigments (paints, inks, and powders), and paper towels.
Deco Foil Metallix Mermaid Bottle
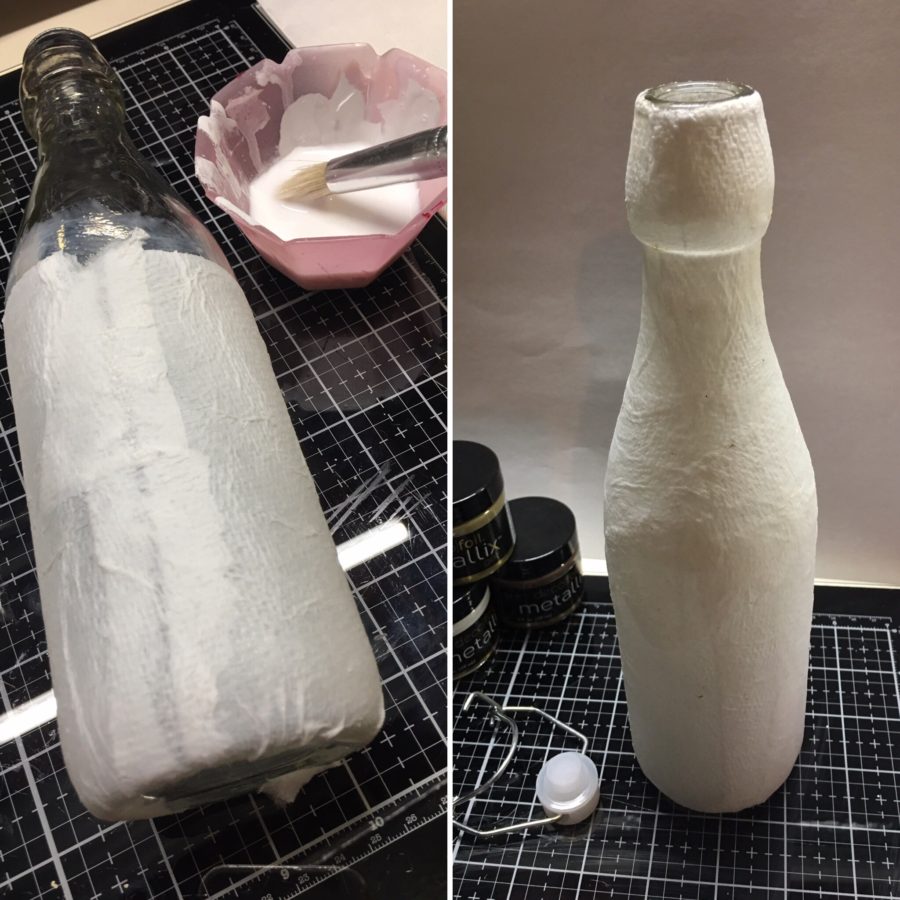
STEP ONE:
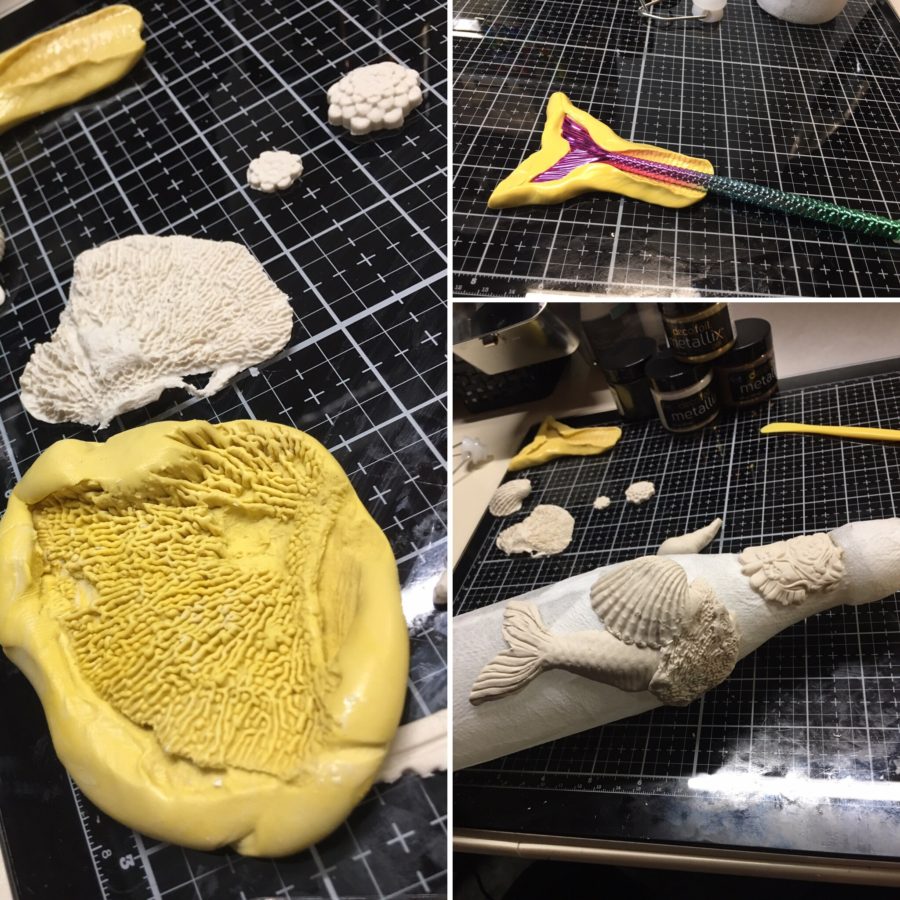
Begin by tearing a couple of paper towels into strips and layering onto the glass bottle with a mixture of Ultra Bond liquid adhesive and water until the bottle is completely covered.
STEP TWO:
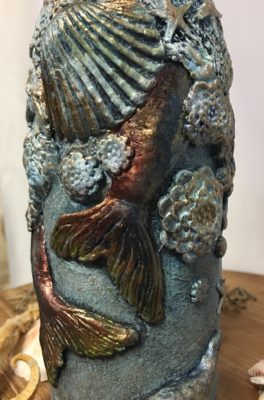
Decide on the theme of your altered bottle and use either purchased or created silicone molds to create molded objects and adhere them to the bottle using Ultra Bond liquid adhesive. I chose a mermaid/sea theme and created my molds using a mermaid tail pen and seashells.
Hint: There are a ton of DIY air dry clay recipes online.
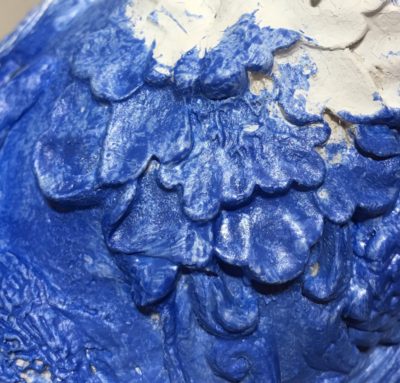
STEP THREE:
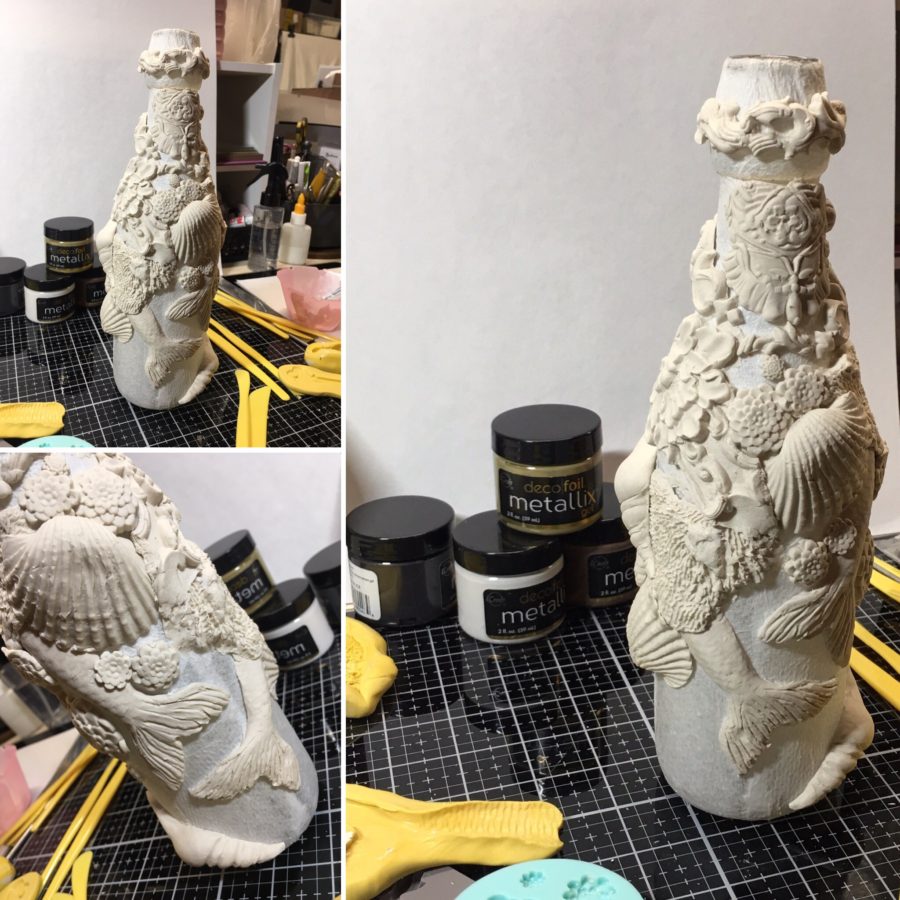
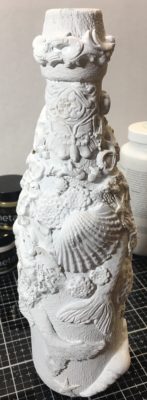
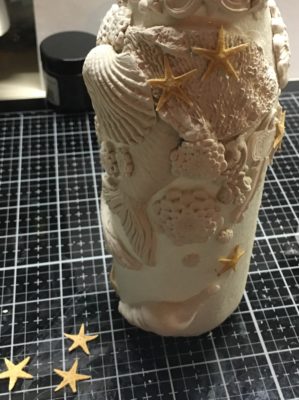
Arrange the molded objects onto the jar and adhere any other objects (I used tiny starfish) onto the jar as desired until you are happy with the arrangement. Allow the clay to dry for one to three days depending on the thickness of the molded objects. If any of your objects are too heavy, you can anchor them with purple tape until they dry and then remove it.
Hint: It will be more pleasing to the eye if you leave a little open space in your design.
STEP FOUR:
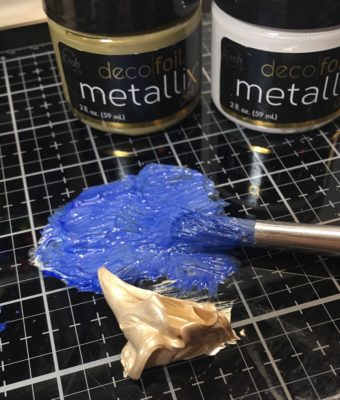
Decide on the colors you want to use and mix with the appropriate Metallix. I used the White Pearl for most of my mixes because it takes pigment so well, but for the last layer of color I mixed pigment powders into the Black Ice Metallix to create a deeper color. Add a little water to each mixture to create a glaze. Even after you add a bit of water, the glaze has more body and texture than any other glaze I’ve used because it starts with a gel.
Hint: Using a highly pigmented powder is better than adding too much paint which will lessen the shimmery nature of the Metallix gel. The picture below shows a little of the shimmer but does not do it justice.
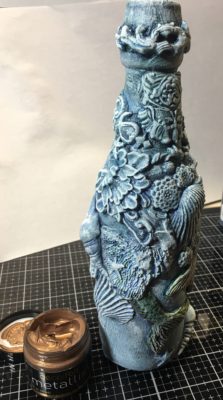
STEP FIVE:
Paint layers of color until you achieve the desired look. Once you the paint has dried and you are happy with your color, dry brush some Aged Copper Metallix onto the high areas. Before the Aged Copper Metallix is completely dry, press some gold Deco Foil Transfer Sheet onto the same high areas. It will not stick to every area where there is Copper Metallix but enough will stick to give it a pretty foiled shine.
Hint: The Metallix needs to be at just the right state of tacky in order for the foil to stick to the bottle and not pull the paint off. It needs to be in that stage right before it is completely dry.
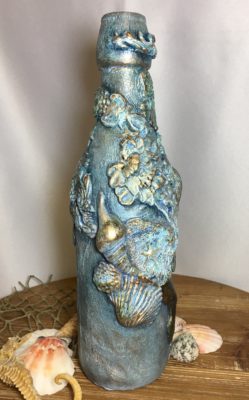
STEP SIX:
The last step is to add some contrast. I did this by adding some different color glaze to the mermaid tails. This step is optional but will add some extra interest.
Hint: For this step, I added pigments with shimmer to Metallix to create an extra shimmery glaze for my focal point.

I had a blast experimenting with Metallix and pigment and adding them to my paperclay altered bottle. I really do hope you will do some experimenting of your own!!
Erin OBrrien
March 10, 2021 at 3:47 pm (3 years ago)Could you please tell me a bit more about the molds and the resin? Or clay things you made? Did you shape them to fit onto the bottle? Like roundish? What is the material that the things are made of? Thank you….this is beautiful!!!!