


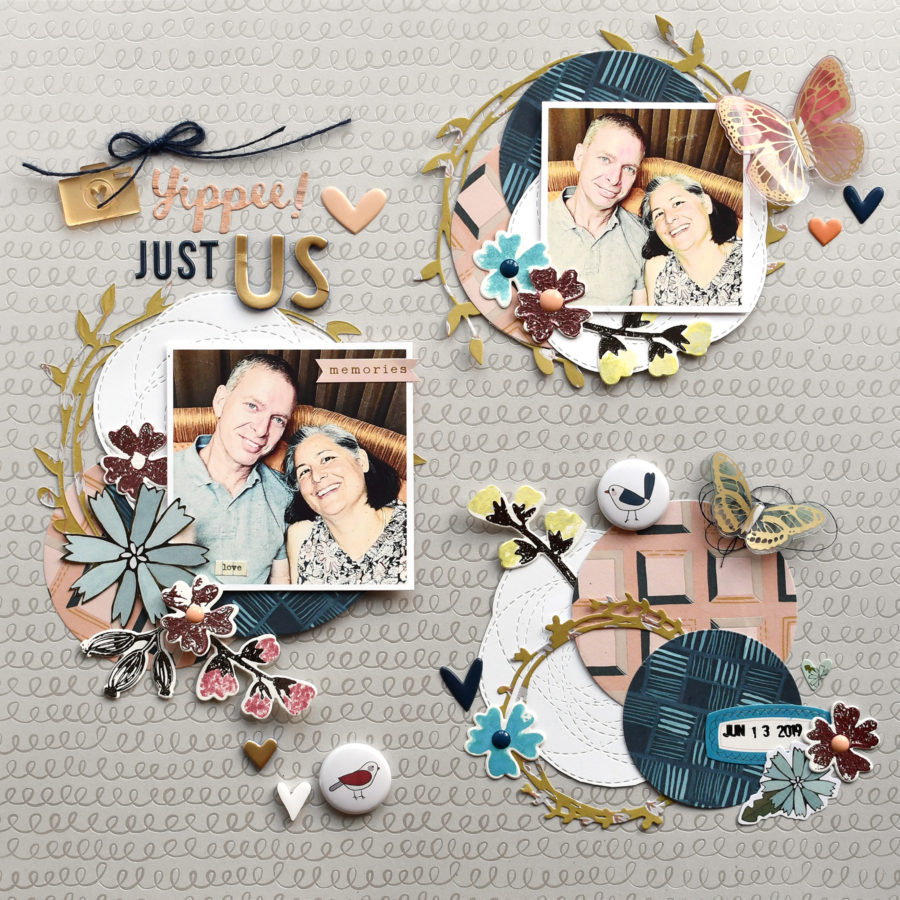
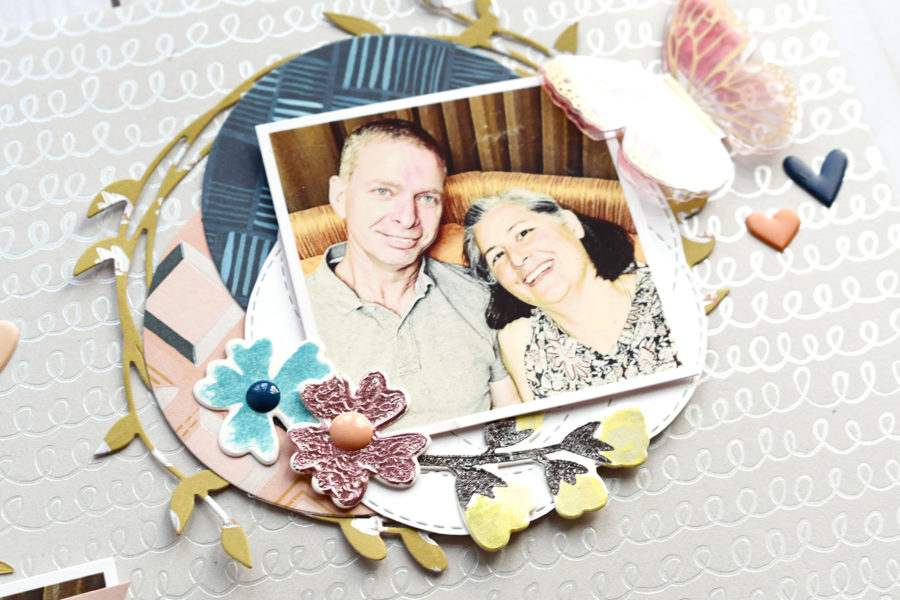
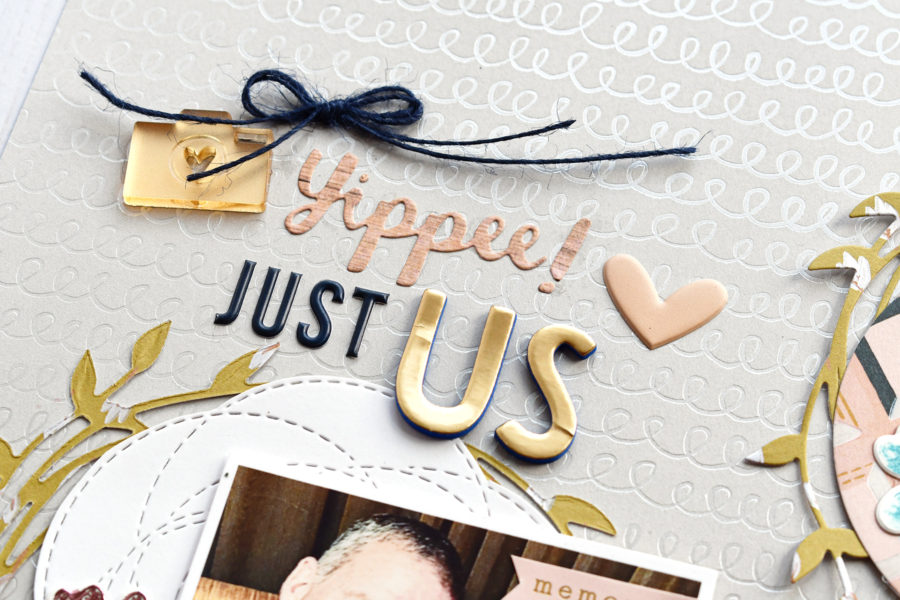
Hiya Scrappy Peeps! Suzanna here today to share with a tutorial on how to foil stamped images. WaffleFlower stamps and coordinating dies, to be precise! Two amazing companies paired up with endless possibilities!
Deco Foil Stamped Flower Scrapbook Page
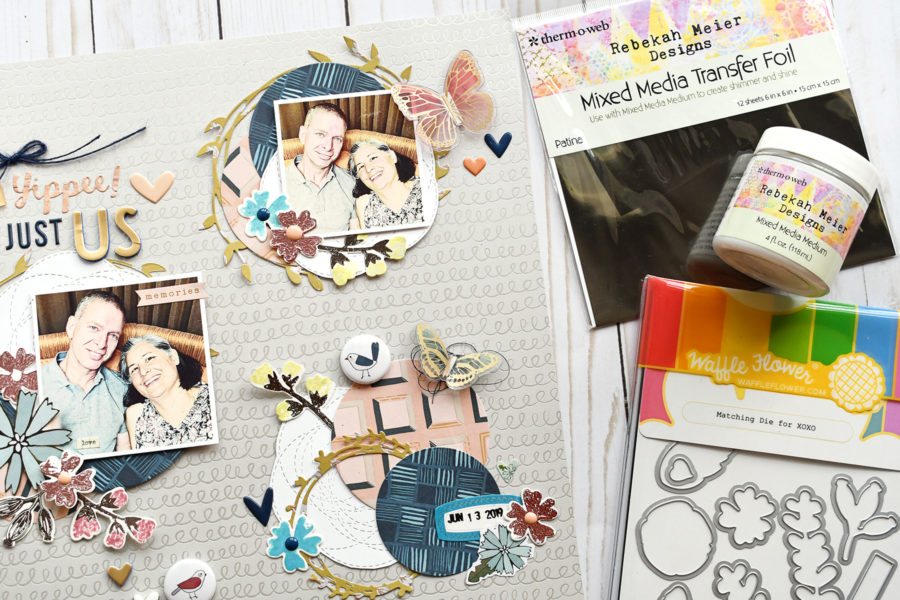
Have you ever wanted to create your own foiled embellishments but not sure how to go about it? It’s dead easy to do and enables you to add that personal touch to your projects! I have created my own floral embellishments by combining ThermoWeb products with the XOXO coordinating stamp and die set from WaffleFlower.
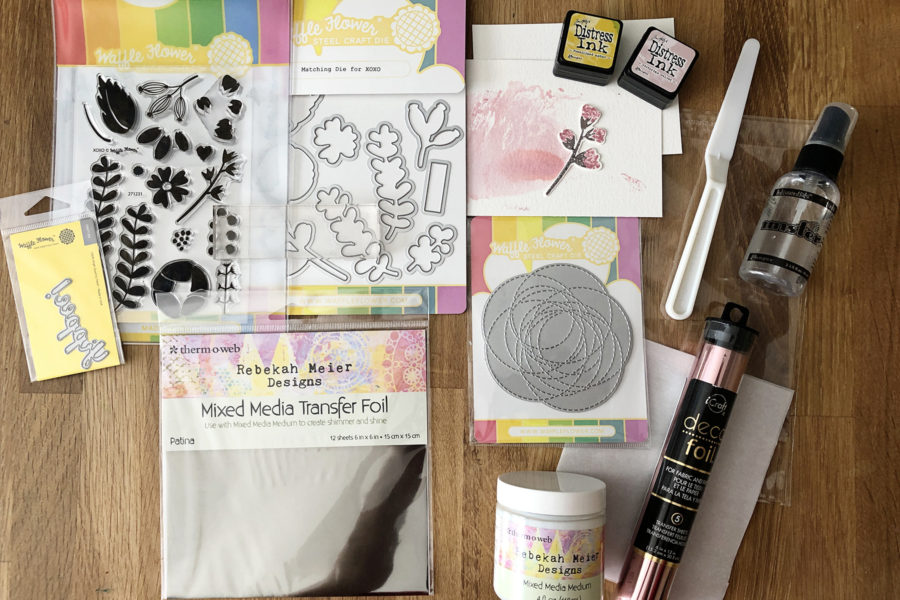
Project Supplies:
Rebekah Meier Mixed Media Medium
Rebekah Meier Mixed Media Transfer Foil – Patina
Deco Foil™ Transfer Sheets • Pink Quartz
Gina K. Designs Permanent Adhesive Dot Runner
iCraft Ultra Bond Adhesive 2 fl oz
WaffleFlower XOXO Matching Die
WaffleFlower Stitched Rose Die
Deco Foil Stamped Flowers Instructions and Tips:
Mixed Media Medium
In the conceptualization of this project, I knew I wanted to find a way to add some sparkly foil. I played around quite a bit with the various mediums that enable you to add foil and ultimately settled upon the Rebekah Meier Mixed Media Medium. I tried Deco Foil Transfer Gel but it was too thick and the stamped images didn’t come out as clear. The thinner consistency of the Mixed Media Medium made for much cleaner images. If you don’t have this amazing ThermoWeb product, you can use Transfer Gel but you will need to thin it out some and make sure you spread it thinly on your mat so it doesn’t “glob” too much on the stamp, thus distorting the image.
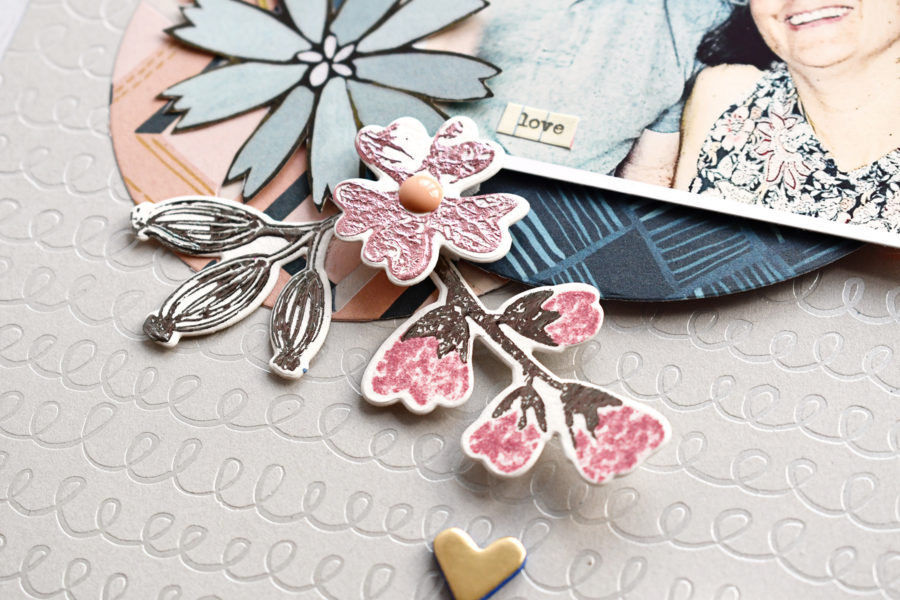
Be sure to wipe the medium off of your stamp as soon as you are finished stamping the image as it is a medium that can dry to your stamp and be difficult to remove later on.
Deco Foil
I used two different foils; Deco Foil Pink Quartz and Rebekah Meier Patina. Place a piece of Pink Quartz on top of the flowers, place it inside a piece of folded parchment paper and run it through a preheated laminator. Repeat the same steps with a Patina foil on top of the other floral stamped images. Remembering that the colored, shiny side of the foil should be facing out and visible.
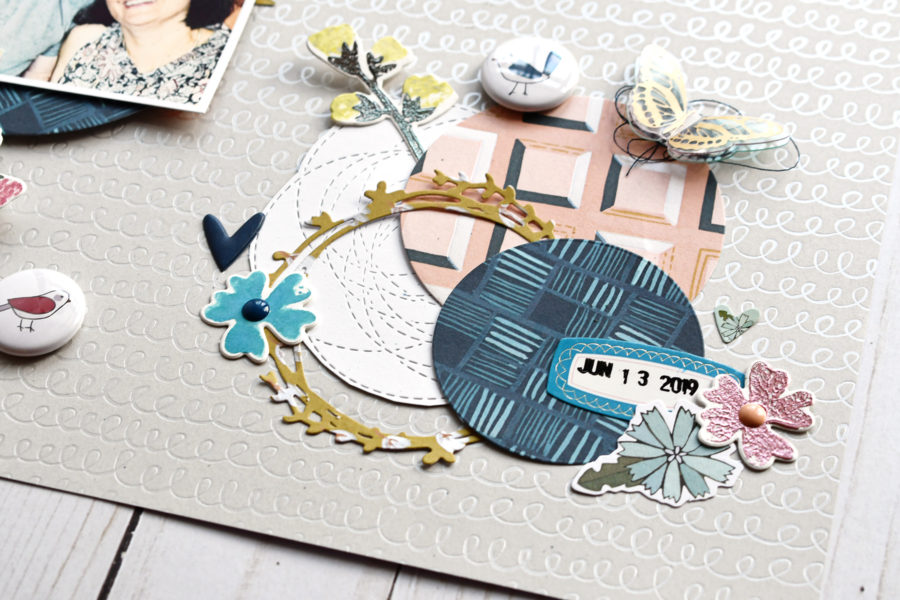
Using the newer 1/2 inch Purple Tape, secure the appropriate matching die from WaffleFlower over the foiled, stamped image and run this through a manual cutting machine. and voila!! You have some great handmade embellishments for your cardmaking and/or memory keeping projects!
Process Video
You can watch how I created the Deco Foil flowers and the process video for this layout here;
Thanks for joining me today! If you have any questions, be sure to leave them in the comments and I’ll get back to you ASAP!
We hope you’ve enjoyed this week and all the incredible projects from our talented team of designers!
Don’t miss a chance to get yourself entered to win a $30 Gift Card! PLUS head over to Waffle Flower’s Blog for their giveaway as well!
Denise Bryant
July 12, 2019 at 10:45 am (5 years ago)Love the foiled pieces on the page! I’ll be checking out the Mixed Media Medium!
Darlene De Sario
July 12, 2019 at 10:46 am (5 years ago)This is pretty! Great job! Never wouldve thought it possible stamping and foiling, thank you!
Sue D
July 12, 2019 at 11:04 am (5 years ago)I like this pretty and special layout.
mjmarmo
July 12, 2019 at 12:11 pm (5 years ago)Simply gorgeous!!
Becca Yahrling
July 12, 2019 at 1:25 pm (5 years ago)Lots of yummy details on your beautiful layout. Love all the details.
Mary Holshouser
July 12, 2019 at 1:54 pm (5 years ago)Fantastic layout. Love using the foils.
thanks for sharing
txmlhl(at)yahoo(dot)com
trainwithmeghan
July 12, 2019 at 2:46 pm (5 years ago)I love how you have the flowers framing the pictures!!!
Andre M.
July 12, 2019 at 5:11 pm (5 years ago)Such a pretty muted palette on this layout.