


These quick and easy spring tags are a fun way to dress up your spring and Easter gifts and treats this season. And with a huge variety of Deco Foil™ Transfer Sheet colors to choose from, you can create festive tags to match any decor.
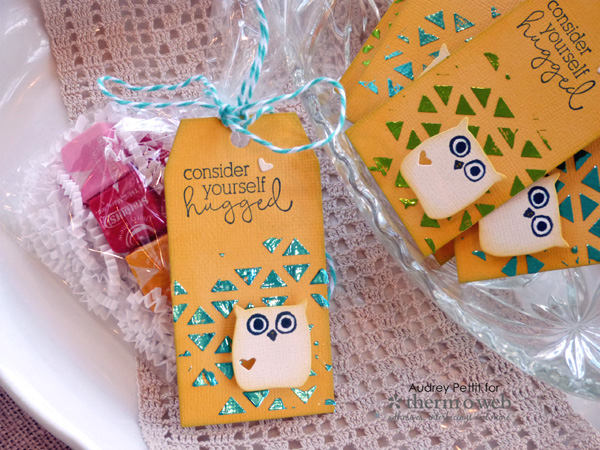
Consider Yourself Hugged Tag Set by Designer Audrey Pettit
Supplies:
Therm O Web Deco Foil™ Transfer Sheets– Spring Green, Aqua
Deco Foil™ Transfer Gel
Therm O Web 3D Adhesive Squares
Mixed Media Adhesive
Cardstock: Bazzill
Stamps/Dies: Taylored Expressions Quick Critters set
Tag Die: Sizzix
Stencil: Hero Arts
Ink: Memento (Tuxedo Black), Ranger Distress (Fossilized Amber, Twisted Citron, Tumbled Glass)
Pens: Sakura white gel pen, Stampin’Up Stampabilities
Twine: The Twinery
Consider Yourself Hugged Tag Instructions:
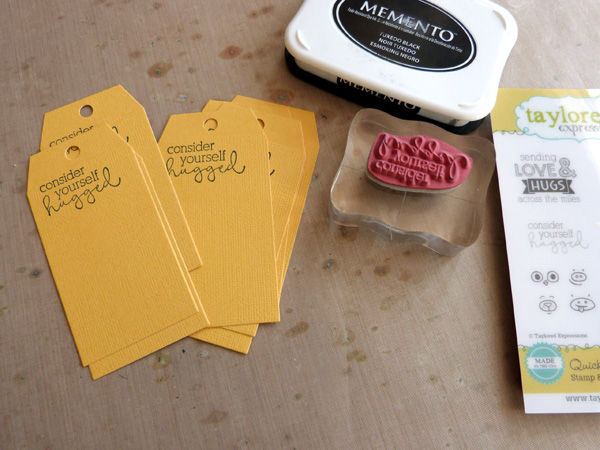
To begin, gather a set of pre-made tags, or die cut some yourself from solid cardstock. Stamp a sentiment onto the top left corner of the tags using black ink.
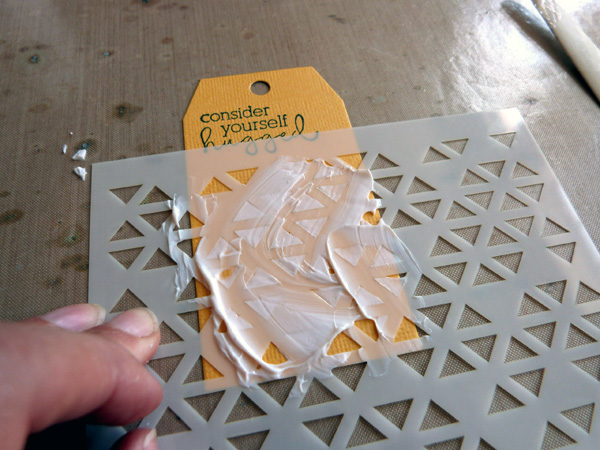
Place a stencil over the bottom portion of the tag, and spread Deco Foil™ Transfer Gel over the stencil using a palette knife or old credit card. I was going for a bit of a distressed look on my tags, so applied my gel in a random fashion.
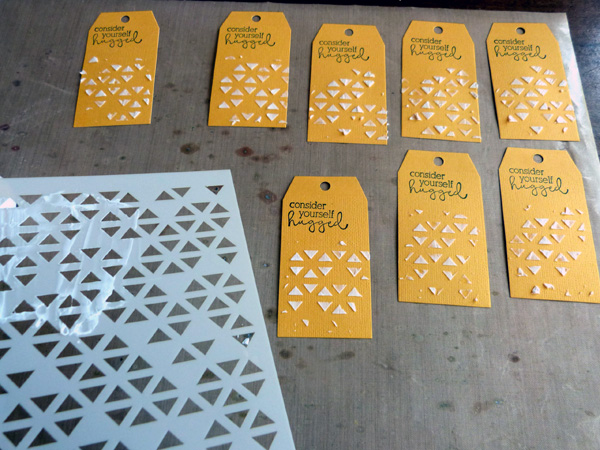
Continue adding transfer gel to all of your tags. Set the tags aside to dry for about an hour. Clean off the stencil and palette knife immediately with warm water and soap.
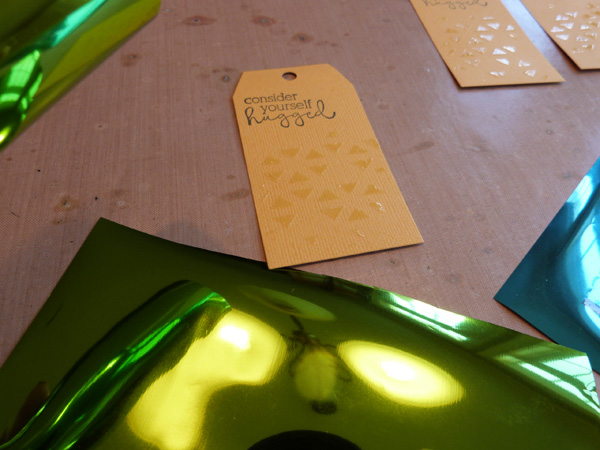
Once the gel adhesive is completely dry, you can see that it turns from a cloudy white color to completely clear. Cut a piece of Deco Foil™ Transfer Sheet that is slightly larger than the area to be foiled.
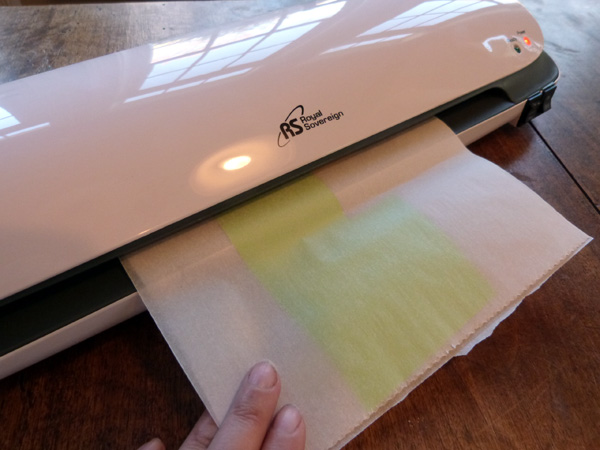
Now it’s time to heat up your laminator. Next place the foil transfer sheet down onto the tag, so that the colored side is up and the silver side is down against the gel. Place the tag and foil between the sheets of a folded piece of parchment paper, and run the paper through the laminator.
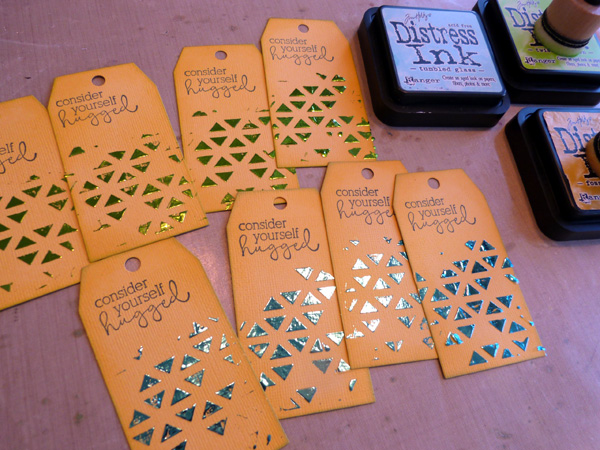
Peel up the transfer sheet, and continue the process for each tag. Ink the edges of the tags with Distress Ink, if desired.
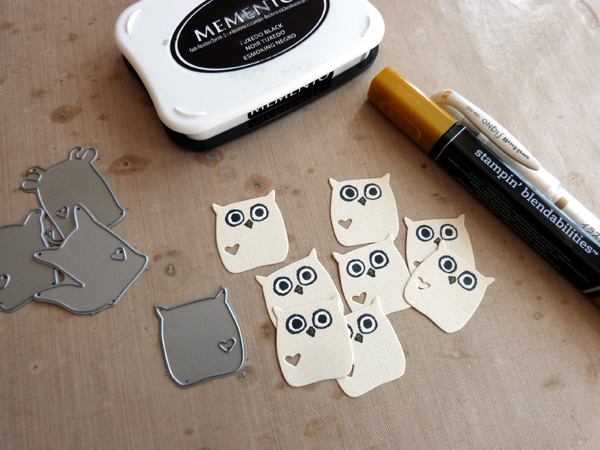
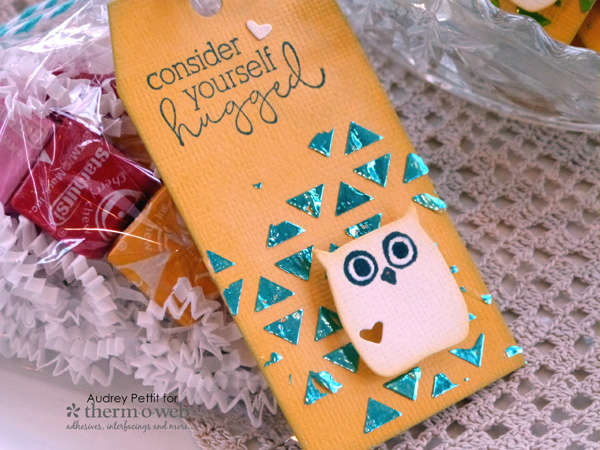
Die cut the cute little chick critter from the stamp and die set, and stamp the matching face image onto the die cuts using alcohol ink-safe stamping ink. Color the beaks dark yellow, and color the outer edge of the eyes with white gel ink.
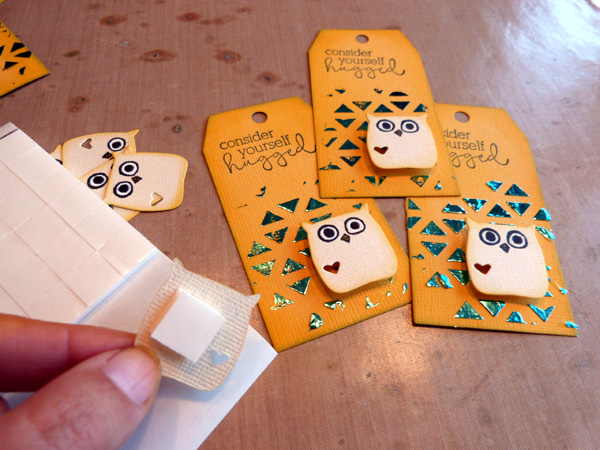
Add a Therm O Web 3D adhesive square to the backside of the die cut pieces, and adhere the chicks to the bottom right corner of the tags.
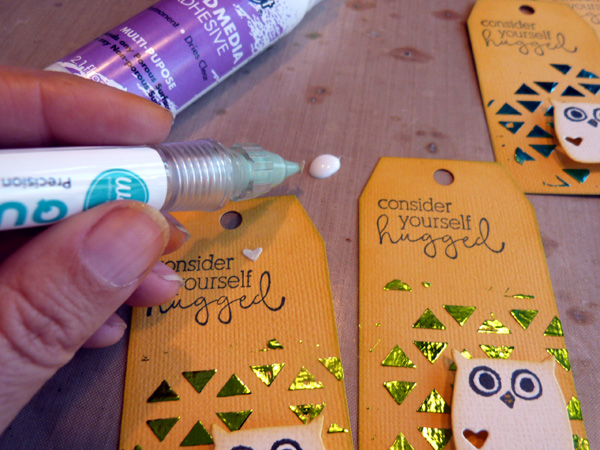
Add a dab of Mixed Media adhesive onto a non-stick surface, and using a quick stick tool, apply a small amount of adhesive onto the back of the small hearts leftover from die cutting the critter. Adhere the hearts to the right of the sentiment.
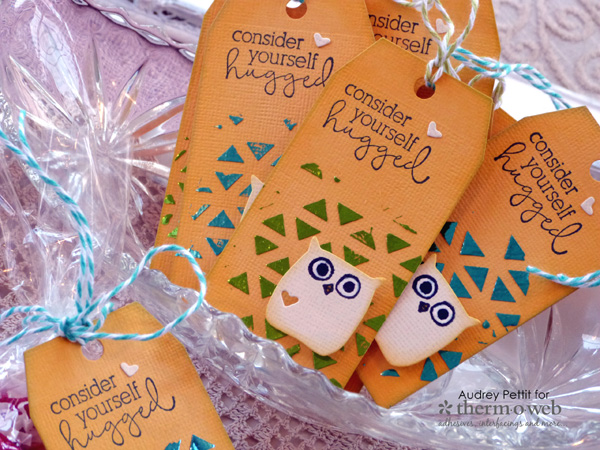
Add twine to the top of the tags. Enjoy!
Katherine
April 1, 2017 at 10:03 am (7 years ago)This is so great! Wonderful tutorial. I am going to have to try this!