


It’s Monday and that means we’re sharing projects with you that mix things up a bit with our products! To add a bit more fun we’re mixing it up with products from our friends at Brutus Monroe!

If you’ve not heard of Brutus Monroe…just wait! Christopher Allen started the company after not being able to find a stamp design he was looking for..so he decided why not make his own! And the company was on it’s way named after his adorable dog!
 Brutus Monroe has gone well beyond the lines of stamps..and now offers stencils, inks, sprays and so much more! Just wait to you see all the amazing products they sell!!
All this week we’ll be sharing projects using Brutus Monroe products and we think you’re going to love it! Be sure to visit the Brutus Monroe Blog for more ideas and inspiration. Designer Juliana Michaels gets things started for us with some cards that will have you ready for Halloween!
It’s Juliana and today I’m excited to share a couple of Deco Foiled Halloween Cards I created using Therm O Web Deco Foil and some fabulous products from Brutus Monroe. I love creating Halloween themed projects and these cards were no exception.
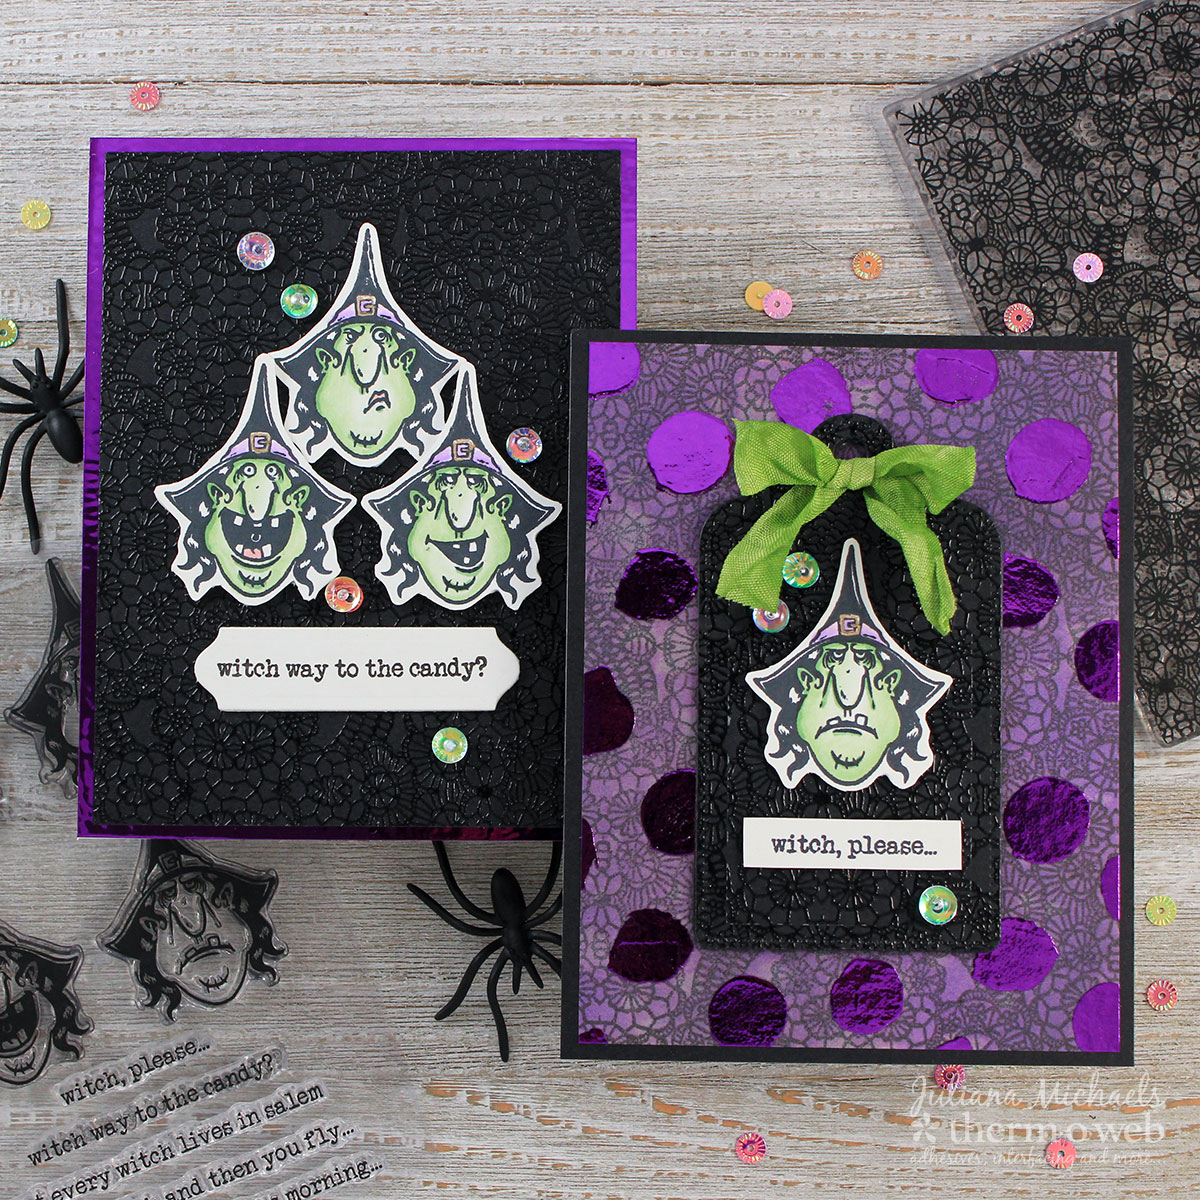
Deco Foiled Halloween Cards – Foiling With Stencils and Deco Foil Transfer Gel
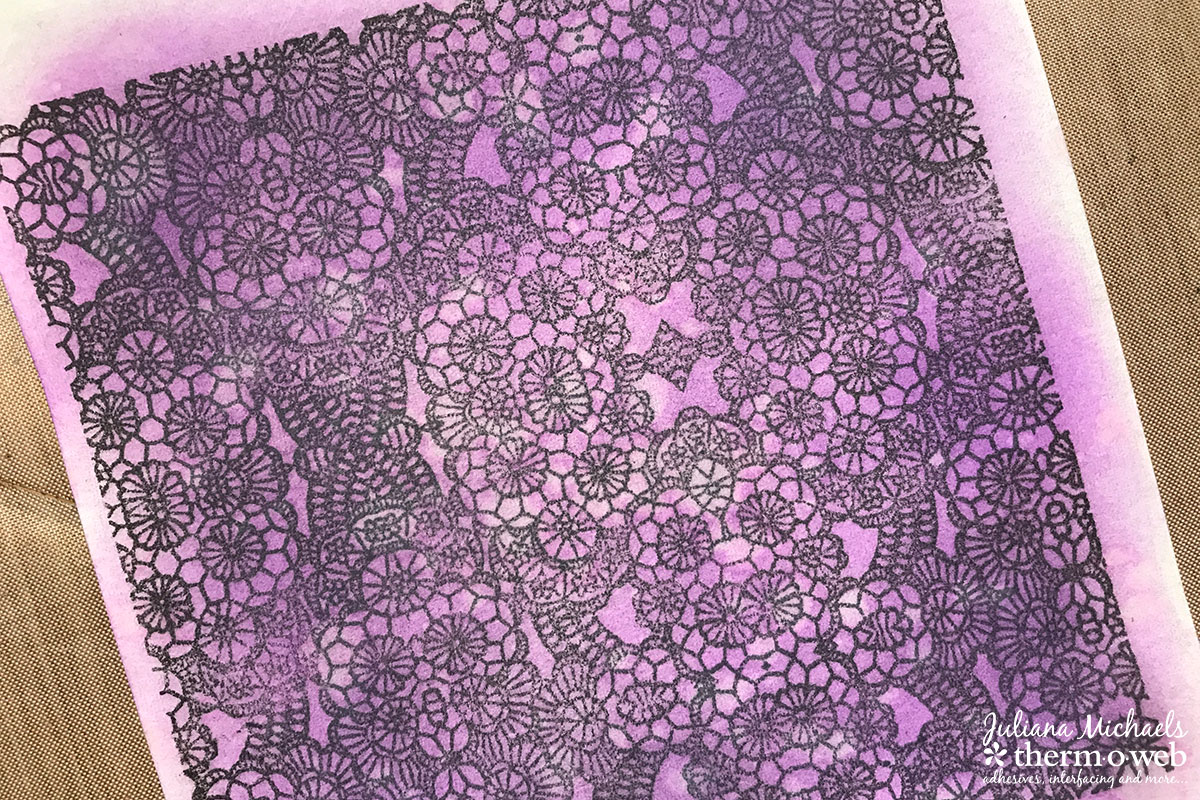
To create the first card, begin with a piece of Mixed Media Art Paper and stamp the Brutus Monroe Floral Lace Background Stamp onto the paper with black ink. Next, apply Distress Oxide Ink in Wilted Violet to the paper using a foam blending tool.
For the foiled effect, place the Brutus Monroe Paint Spots Stencil on top of the Mixed Media Art Paper and apply a thin, even layer of Deco Foil Transfer Gel using a palette knife. Remove the stencil and wash it immediately with soap and water. Allow the gel to dry completely and it turns clear.
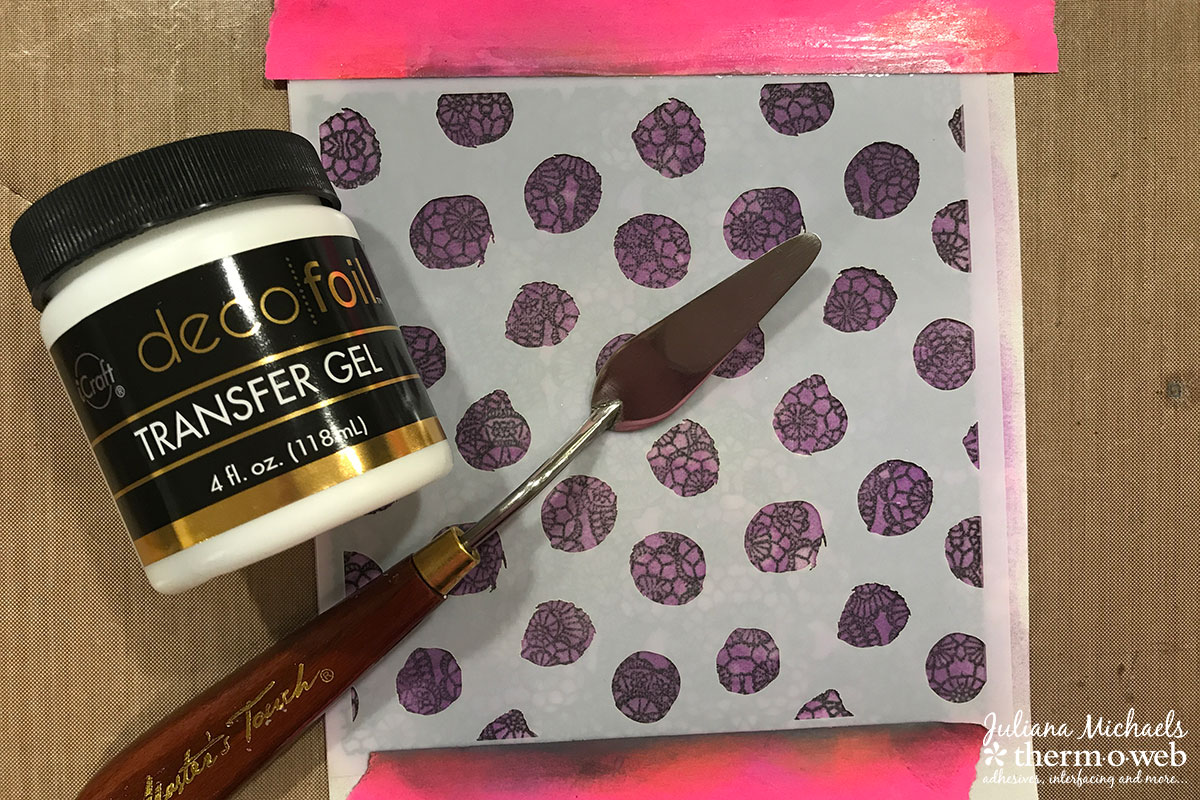
Once the gel is dry, cover it with a piece of Deco Foil in your choice of color. For this card, I used Purple Deco Foil. Place this inside a folded piece of parchment paper and run it through a preheated laminator to adhere the foil to the gel. Once it has run through the laminator, peel off the transfer sheet to reveal the foiled design.
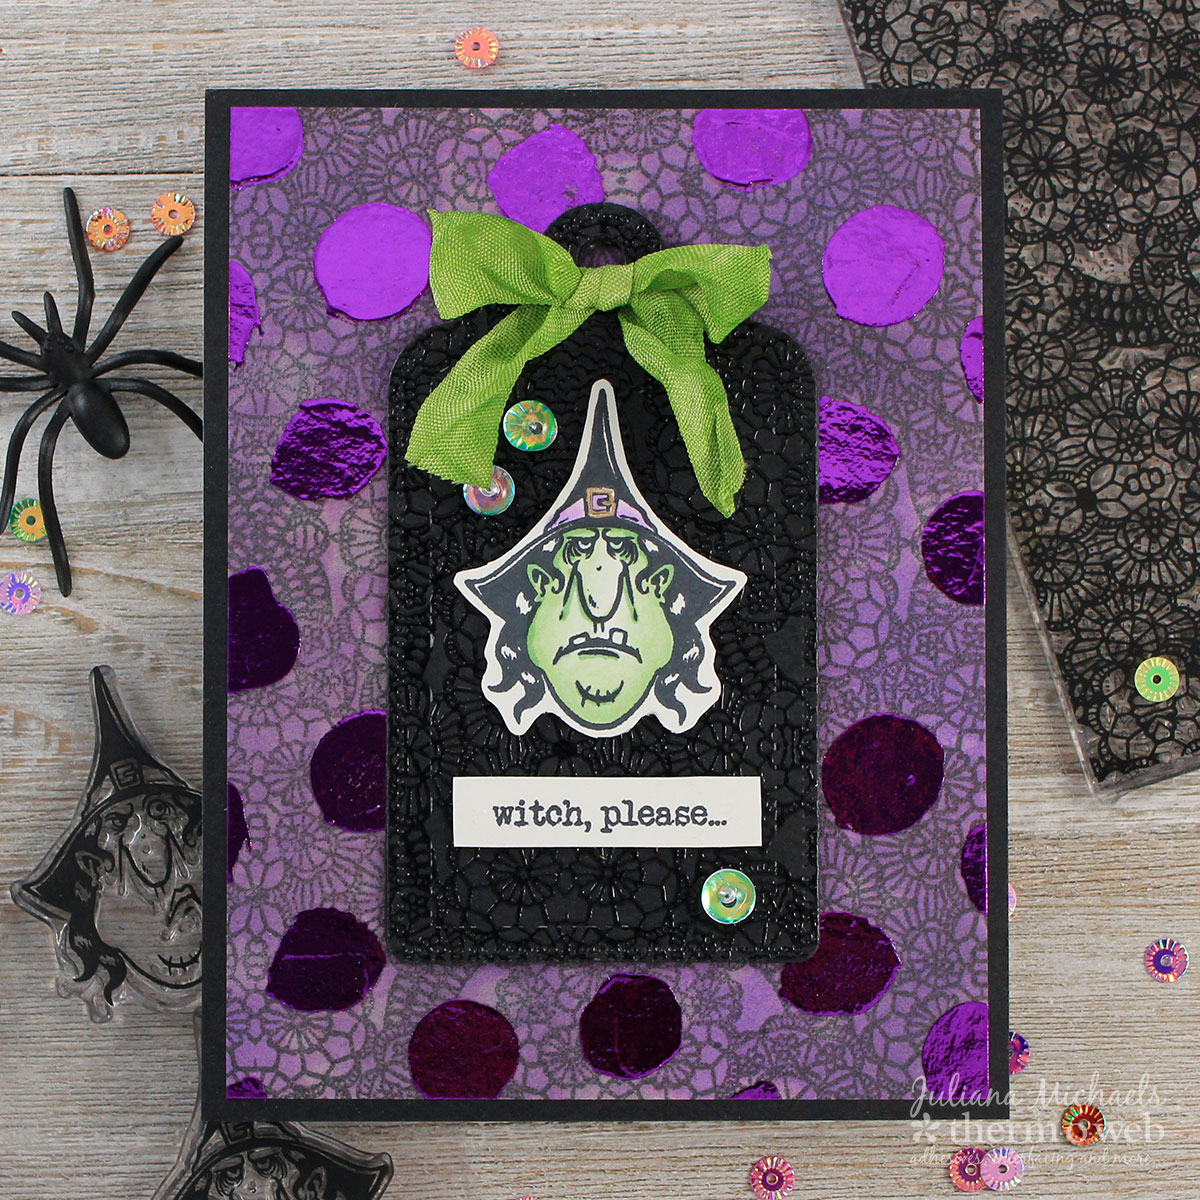
Witch Please Card Details
Stamp the Brutus Monroe Floral Lace Background Stamp onto a piece of black cardstock with Versamark Embossing Ink. Heat set it with clear embossing powder. Die cut the paper using the largest tag die from the Gina K Designs Nested Tag Die Set.
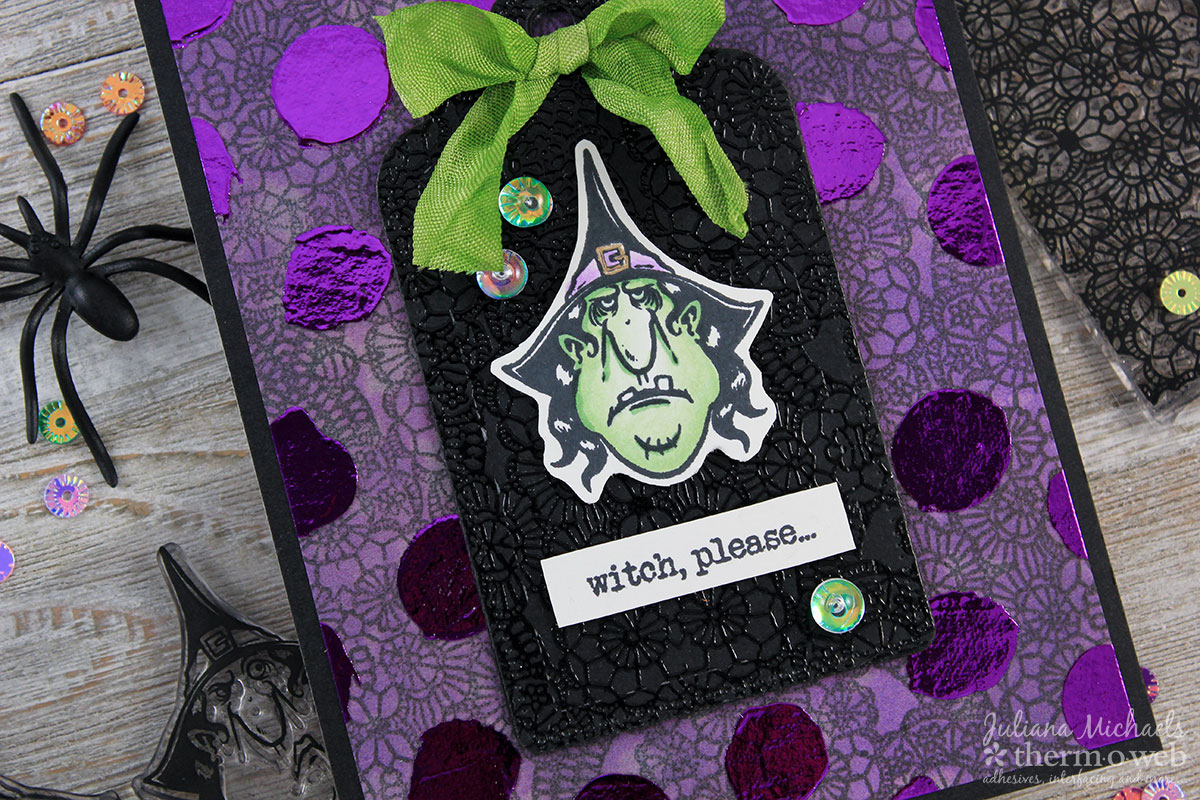
Stamp the witch from the Brutus Monroe Witch Please Stamp Set onto white cardstock with black ink and color as desired. Adhere this to the tag using Mixed Media Foam Sheets to give it a bit of dimension. Use a Medium Zot to adhere a green ribbon bow. For the final touch, use Bling Zots to adhere Brutus Monroe Masquerade Bottle Cap Sequins to the bottom of Brutus Monroe Flatback Bubbles. Use the Bling Zots to then adhere these to the tag. I love how they look like bubbles from the witches brew!

Foiled Cardstock with Deco Foil Hot Melt
To create the second card, begin with a piece of Deco Foil Hot Melt cut to 4.25 x 5.5 inches. Cut a piece of cardstock to the same size. Layer the cardstock on top of the bumpy side of the Hot Melt. Place this inside a folded piece of parchment paper and run it through a preheated laminator. This will give the Hot Melt more stability for the card panel. Next, cover this with a piece of Deco Foil, place it once again inside a piece of folded parchment paper and run it through the laminator. Once it has gone through the laminator, peel off the transfer sheet to reveal the foiled cardstock. This piece is now ready to adhere to your card base.
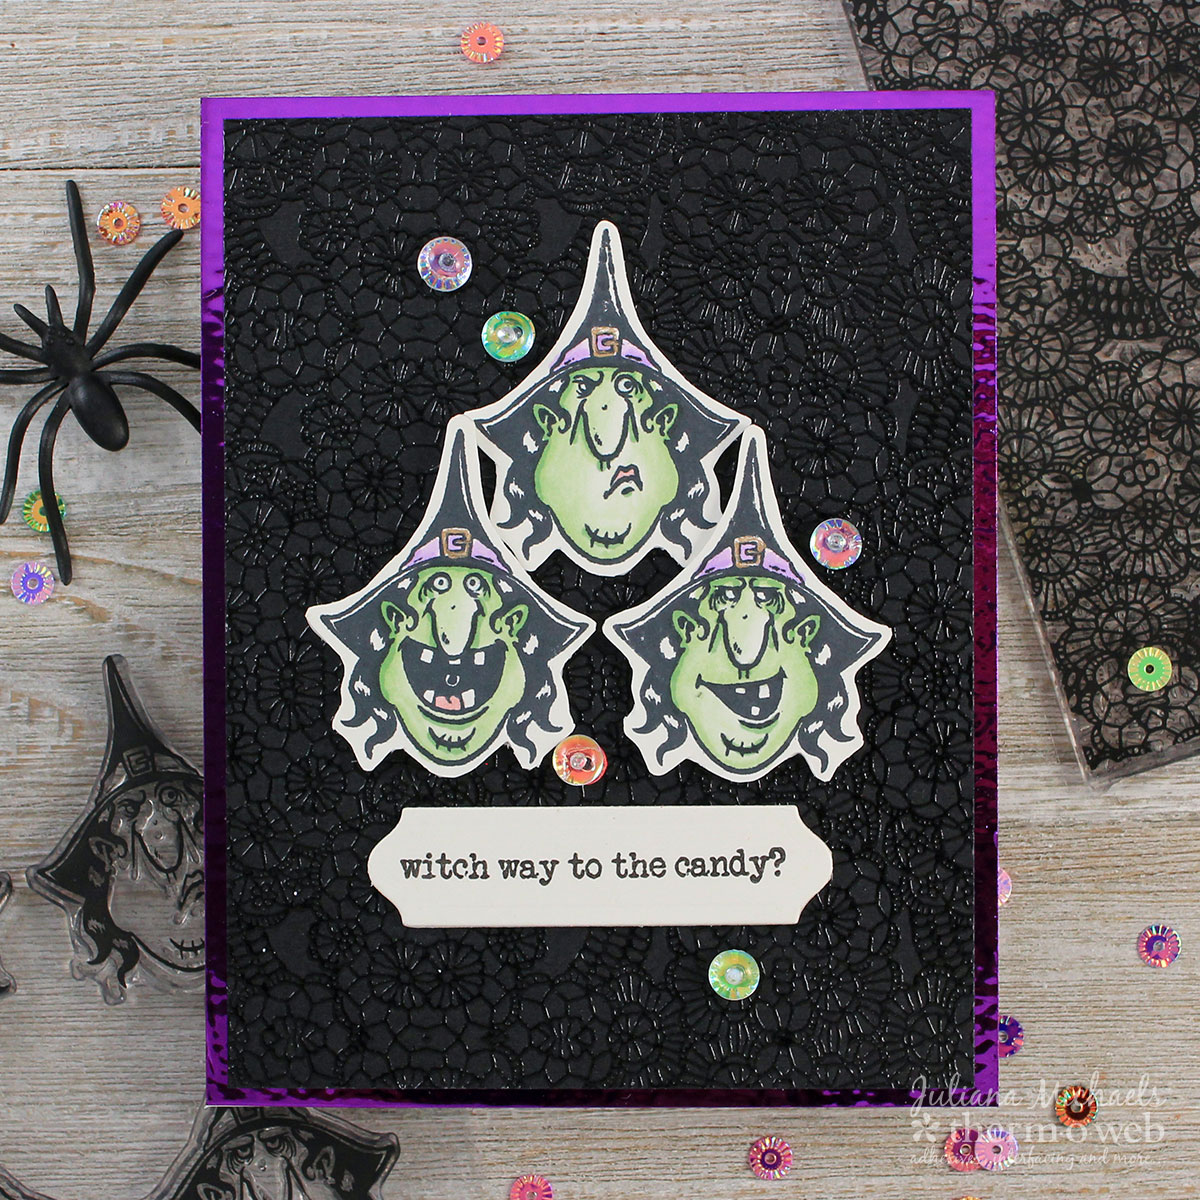
Witch Way To The Candy Card Details
For the next layer, stamp the Brutus Monroe Floral Lace Background Stamp onto a piece of black cardstock using Versamark Embossing Ink. Heat set this with clear embossing powder. Trim this to 4 x 5.25 inches and adhere to the card front.
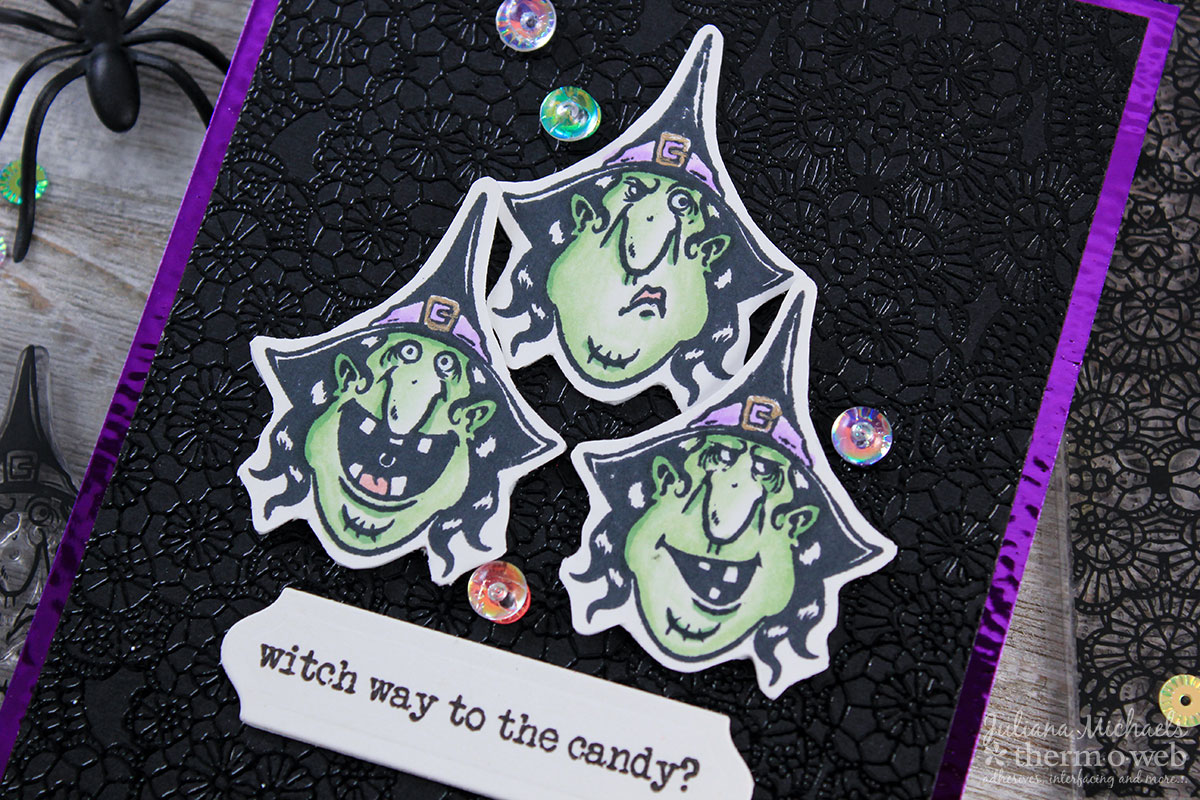
Stamp the witches from the Brutus Monroe Witch Please Stamp Set, color as desired and fussy cut each image. Adhere to the card front using Mixed Media Foam Sheets to give them a bit of dimension. Stamp the sentiment on to a piece of white cardstock die cut using the small label die from the Gina K Designs Nested Label Dies. For the final touch adhere more of the Brutus Monroe Sequins and Bubbles as I explained above using Bling Zots.
I hope you enjoyed learning about Deco Foiled Halloween Cards using Therm O Web and Brutus Monroe Products!
We can’t let you go without giving you a chance to win some goodies! Our friends at Brutus Monroe have provided a product kit filled with all the same goodies are designers are using. It’s valued at $50! Plus we’re including a $25 Gift Certificate to our website you can use to pick up our Deco Foil, adhesives and more! Simple use the Rafflecopter to enter to win. And that’s not all! Brutus Monroe is offering you a discount of 15% off on their products! Visit their website to shop and use code: thermoweb
margessw
October 9, 2017 at 4:34 pm (7 years ago)These Halloween cards are so awesome! And the foiling is just perfect!
Amy Martin
October 10, 2017 at 1:01 pm (7 years ago)Wow!! Im really loving your Halloween cards. The images are great. I really have been wanting to try using foil, but i didnt know how it was done. Thank you for sharing the steps with us. Love how the foil looks.
Lori Uren
October 12, 2017 at 9:43 am (7 years ago)Love the colors on this card!
Arianna Barbara
October 15, 2017 at 4:30 pm (7 years ago)Great Halloween cards!!!