


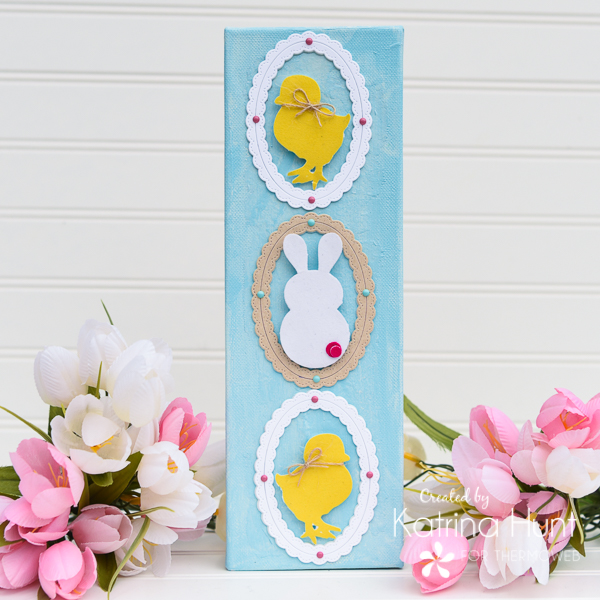
Are you ready for Spring? Or Easter?! Nothing gets me in a holiday mood like a fun little home decor project! It’s Katrina from Paper, Scissors, and Glue today to share this fun little Easter themed canvas.
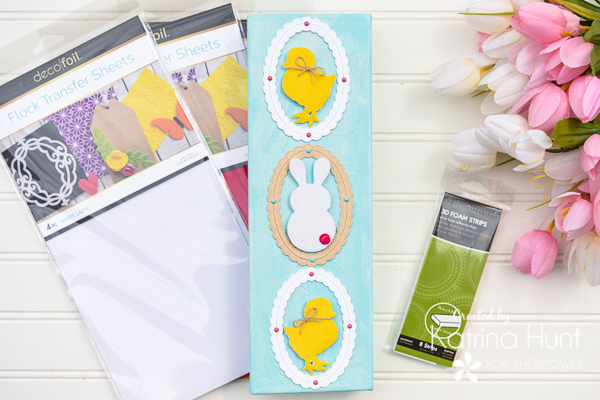
Therm O Web Supplies Used:
Deco Foil Foam Adhesive Sheets
Therm O Web iCraft Purple Tape 1.5 inch
Gina K Designs Premium Cardstock-Luxury White
Deco Foil Flock Transfer Sheets-Sunshine Yellow, Think Pink, White Latte
iCraft Ultra Bond Liquid Adhesive
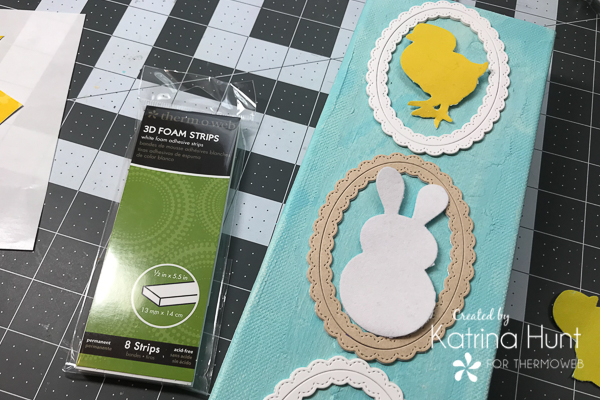
Therm O Web 3D Foam Sticky Strips 1/2 inch
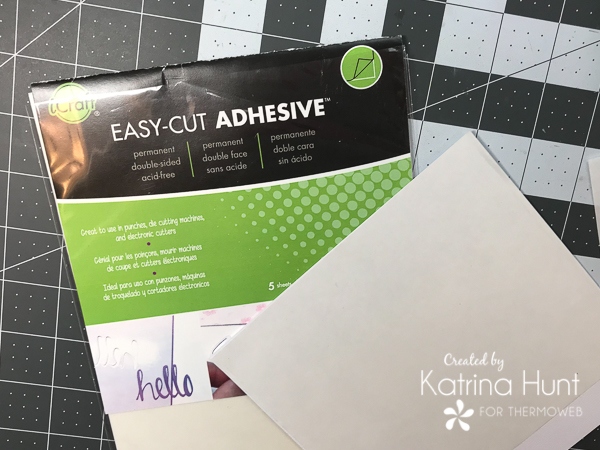
iCraft Easy-Cut Adhesive Sheets
Other Supplies: Canvas; Acrylic Paint-Martha Stewart; Enamel Dots-WaffleFlower; Dies-Sunny Studio; Silhouette Cameo with cutting files; Punch-WeR Memory Keepers
Canvas Instructions
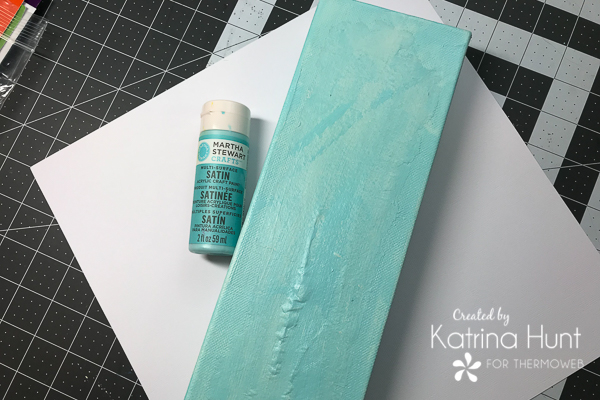
Begin project by painting canvas a background color of your choosing and let dry. Depending on the color you may have to paint more than one coat. Paint the sides also, so that they look pretty!
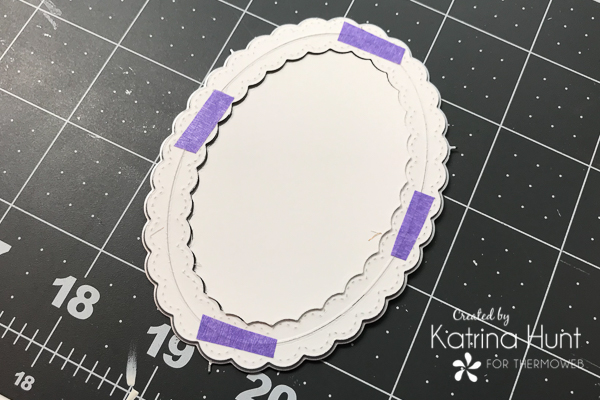
For your next step, start your manual die cutting of the ovals (eggs). The die I used is all one piece and cuts out two frames, with one fitting inside the other one. I wanted to keep the frames together to create a frilly, fancy egg, so to do that, Purple Tape to the rescue!
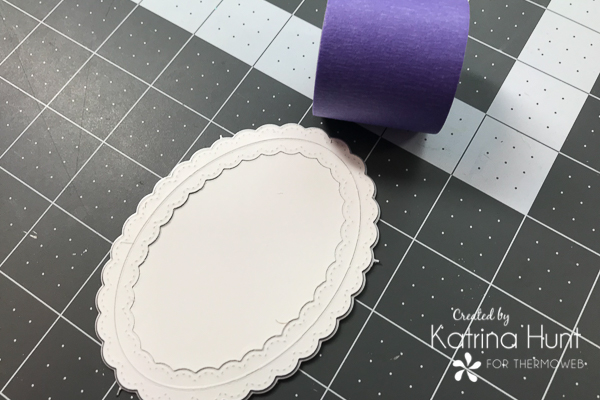
Before you remove the cardstock from the die, use small strips of Purple Tape to hold those frames together. Once you have the tape on the cardstock, then you can pop the entire die cut piece out with both pieces in place.
After you have die cut your ovals from cardstock, then die cut them again using the Deco Foil Foam Adhesive. Using a paper piercer, carefully peel the backing from the FRONT of your die cut foam adhesive for both frames. Then place the die cut cardstock oval onto the foam adhesive. This will give your oval a little lift and life! Once you have all of your ovals die cut with foam adhesive added, then center and adhere them on your canvas.
For the next step, determine how big your chicks and bunny are and cut a piece of the Easy -Cut Adhesive Sheets, along with a white piece of cardstock, that you will be able to run thru your electronic die cutting machine and cut all animals at one time. Mine was approximately 6×6 inches, but that depends on what size of ovals you use for the eggs. Apply the Easy-Cut Adhesive to the cardstock. Then you will run this thru your electronic die cutting machine (or manual machine) to get your die cuts with adhesive already applied.
After you have die cut your animals, carefully peel off the protective layer to expose the adhesive. Then place die cut adhesive side down onto a flock transfer sheet. To get a wonderful smooth transfer, run the die cuts thru your manual die cutting machine.
Tip: I used some of the Deco Foil Foam Adhesive as a shim when I ran my die cuts thru.You can also directly transfer the Deco Foil Flock Sheets to the Deco Foil Foam Sheets.TooltipText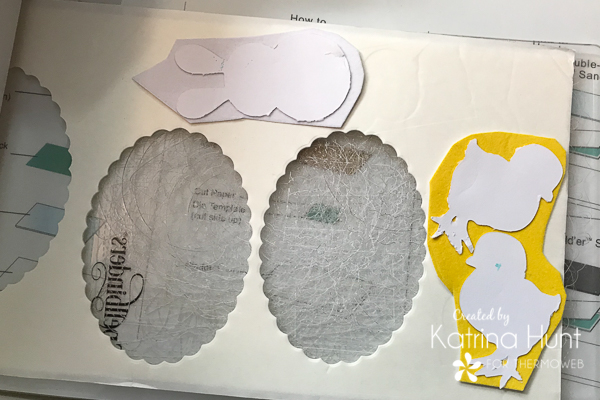
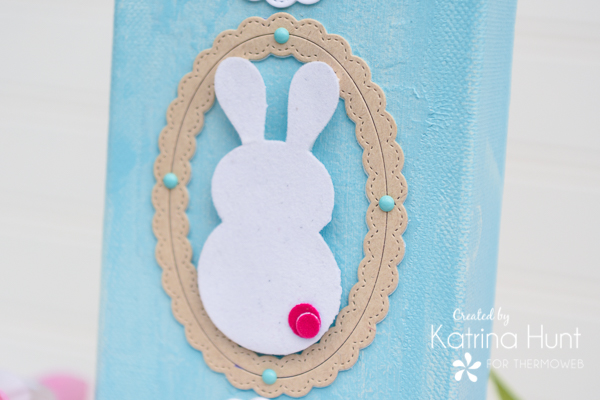
After you have run the die cuts thru the machine for pressure to transfer the flock, then gently peel the die cuts away from the flock transfer sheet. Embellish them and then adhere them to the canvas using the 3D Foam Sticky Strips.
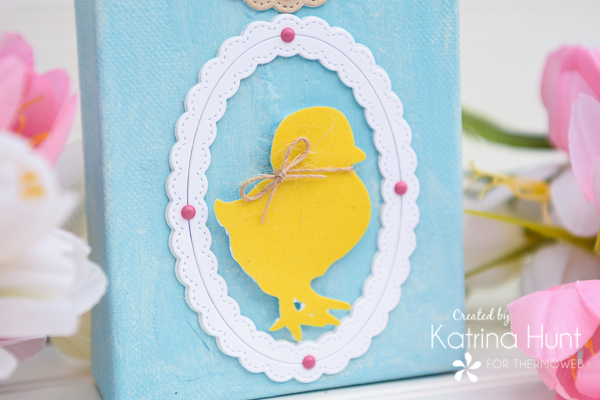
Finally, decorate the eggs and animals however you like. Here I added some enamel dots and twine as accents. For the bunny tail, I used a confetti punch that gave me two different sizes of small circles. Just punch the flock transfer sheet and then adhere with the iCraft Ultra Hold Liquid Adhesive.
This was such a FUN project to create and really didn’t take but a couple of hours, once I had my idea. The longest part was waiting for the paint to dry!
Have a great weekend! Thanks for stopping by the blog today!