


Our local schools started up again this last week and with it comes the need for new school supplies. After just a few days one of my kids noticed that all the little bits- pencils, erasers and calculator- kept ending up at the bottom of the bag and were tough to dig out for each class. So I created a pencil case with a fun snap closure. It was so fun to make that I whipped up two more in the same afternoon.
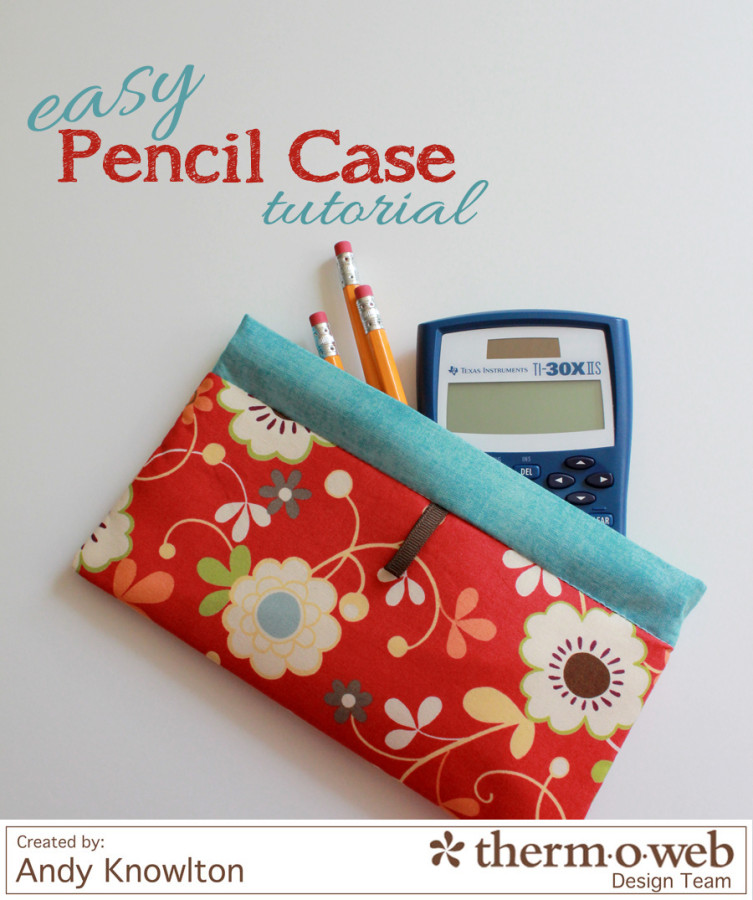
Easy Fusible Fleece Pencil Case Tutorial
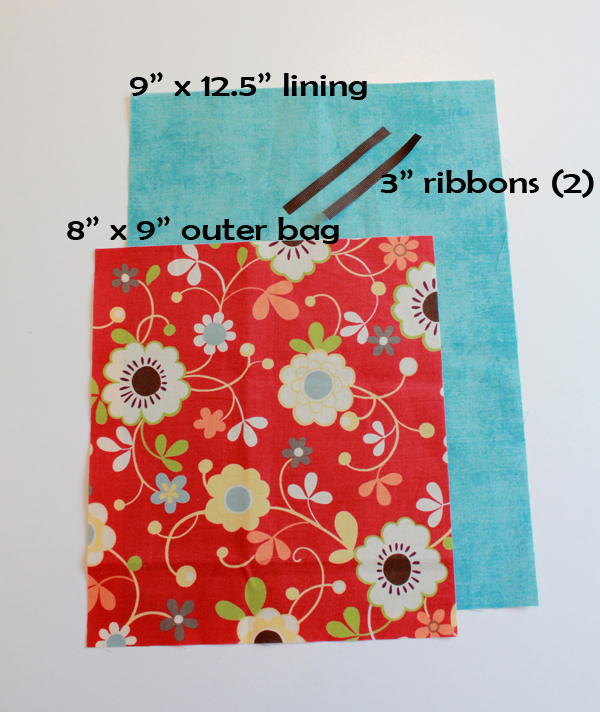
For each bag you will need:
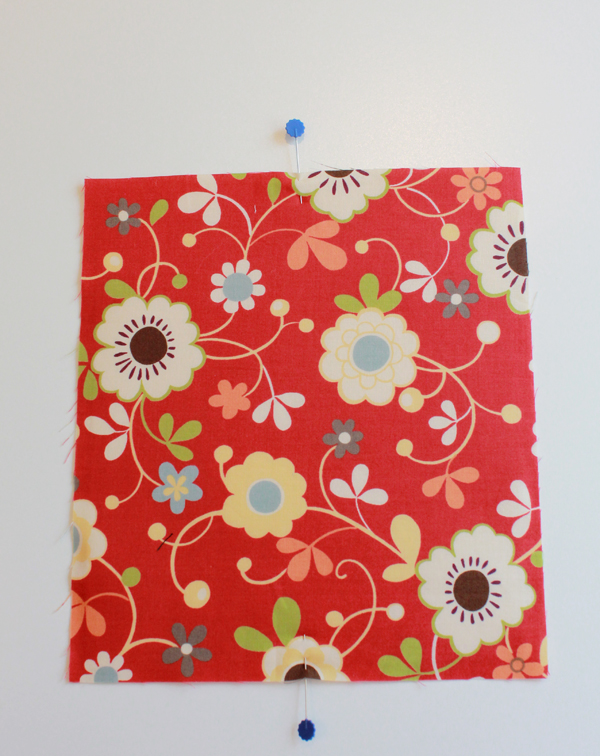
- 1 main print cut at 8″ x 9″
- 1 lining print cut at 9″ x 12.5″
- 1 piece of Heat n Bond® Heavy Weight Fusible Interfacing (8.5″ x 12″)
- 1 piece of Heat n Bond® Fusible Fleece (7.5″ x 8.5″)
- 2 lengths of ribbon (each at least 3″ long)
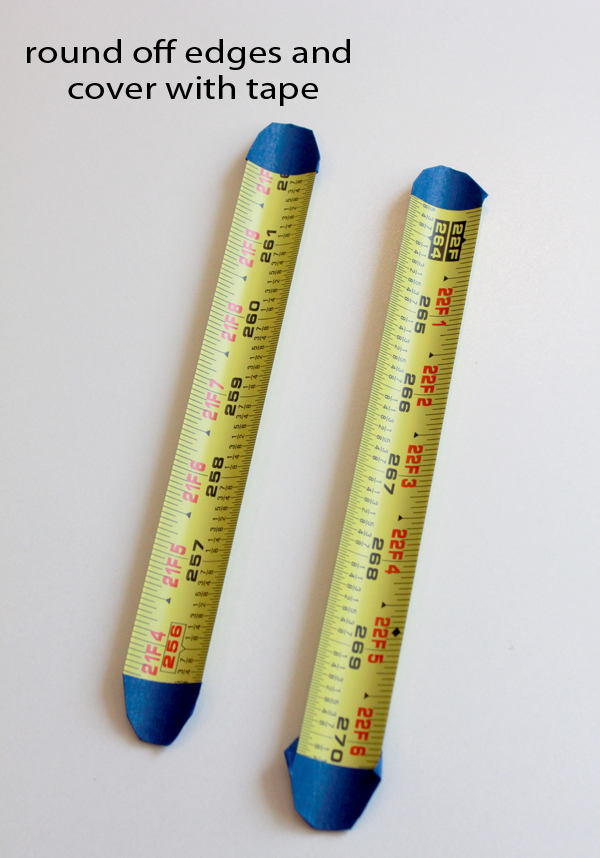
- 1 metal measuring tape
- coordinating thread
Easy Fusible Fleece Pencil Case Tutorial Instructions:
First, cut the tape measure into 8″ lengths. Round off the edges and cover with tape to prevent the sharp corners from making holes in the finished bag. **cutting the metal tape may damage your scissors so use a pair you don’t care about. I have a pair of utility scissors that I use for projects like this.**
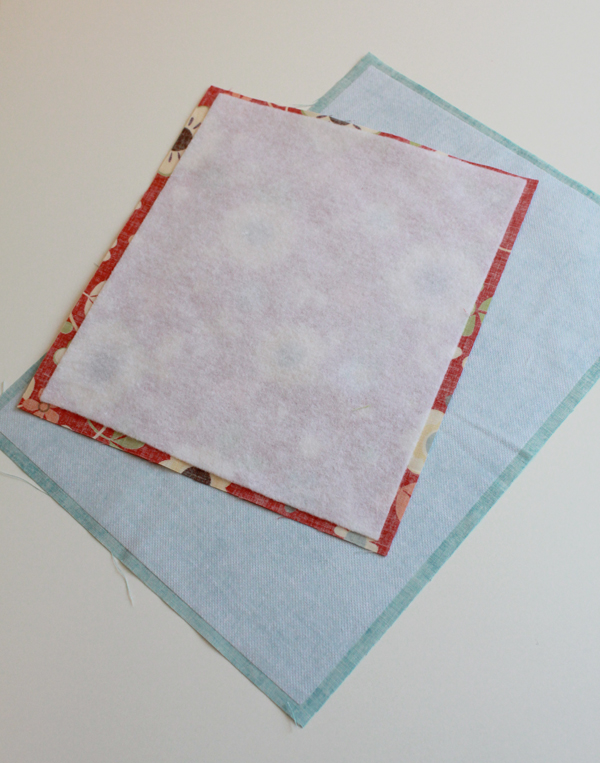
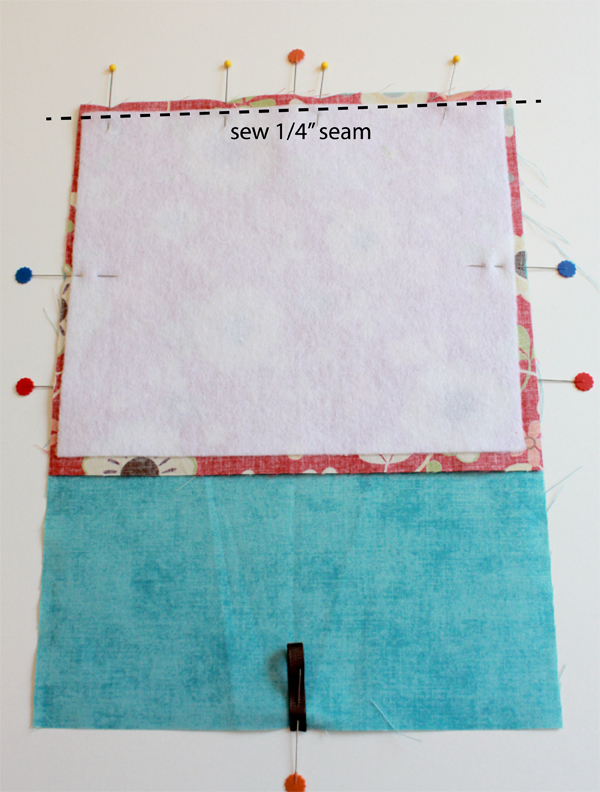
1. Following the instructions on the package, fuse the piece of Heat n Bond® Fusible Fleece to the wrong side of the main print. This will be the outer bag. Next fuse the piece of Heat n Bond® heavy weight fusible interfacing to the wrong side of the lining fabric.
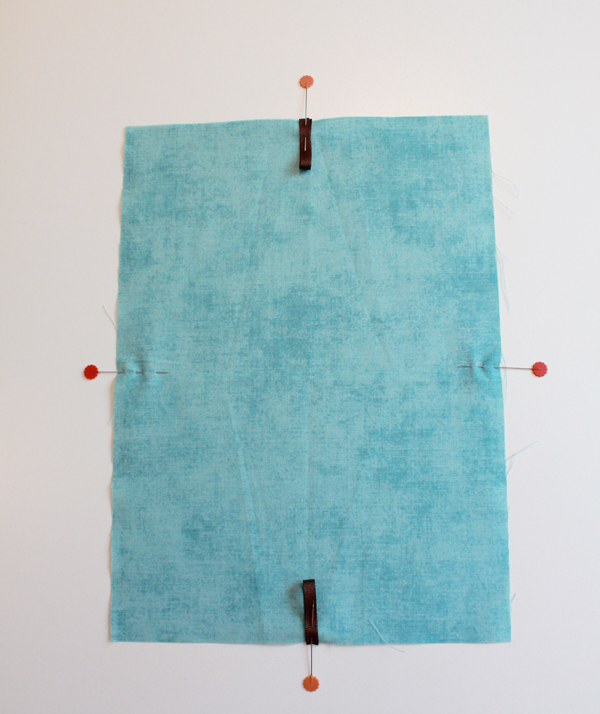
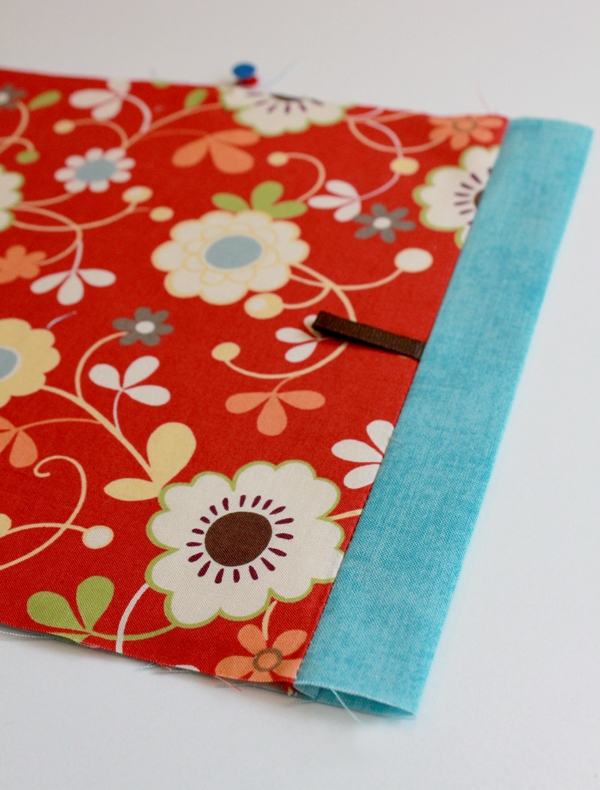
2. On all four sides of the lining fabric, mark the center point with a pin. Fold each of the 3″ long ribbons in half and place at the center point along the short sides of the lining fabric. Be sure the folded edge of the ribbon is pointing IN and the cut edges of the ribbons are lined up with the cut edge of the fabric. These will be the loops that help to open the pouch.
5. Repeat for opposite 9″ side, making sure the ribbon loop is laying flat.
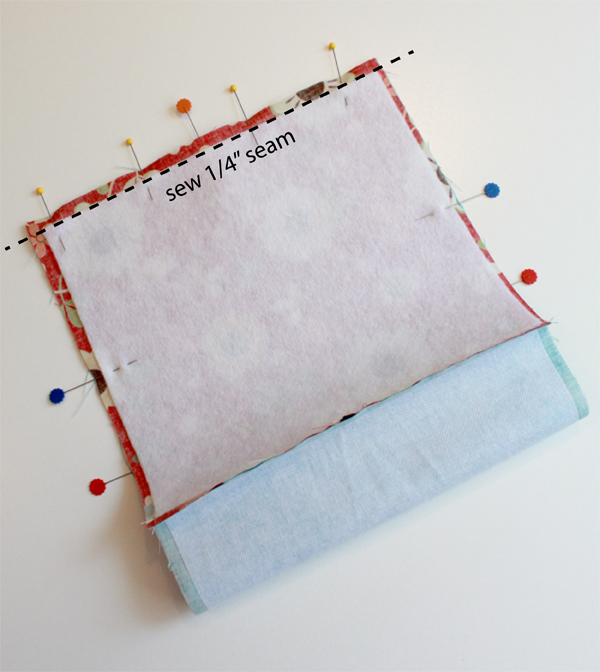
Your bag will now look something like this:
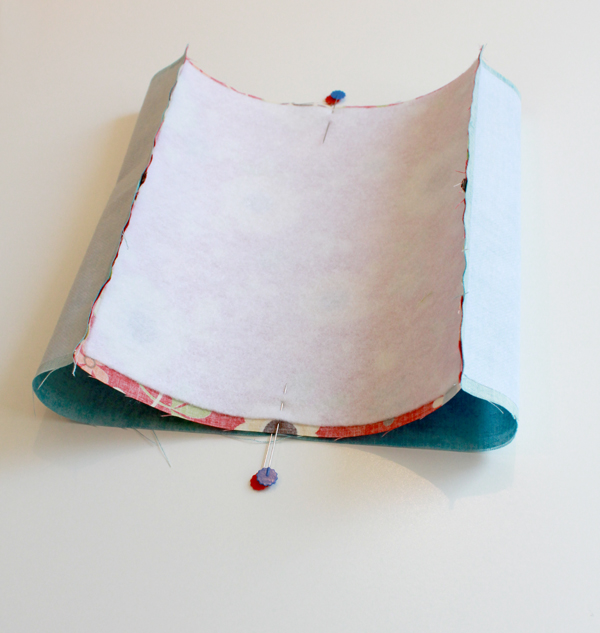
6. Turn bag right sides out, line up the pins (the center points of the outer fabric and lining fabric) and press flat. The ribbon loops should be pressed as shown in the photo.
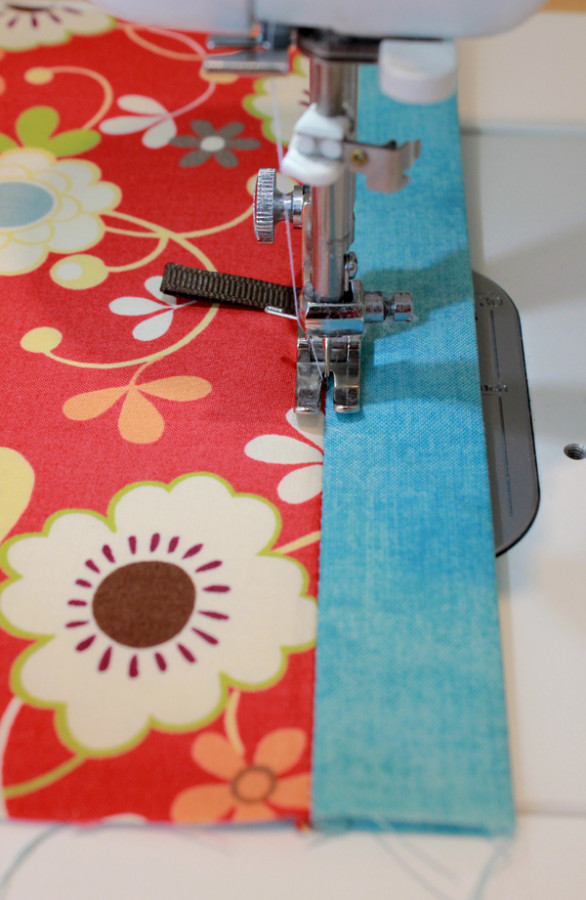
7. Using a coordinating thread, sew along the seams between the outer bag and lining (stitch in the ditch). This will create a pocket for the tape measure.
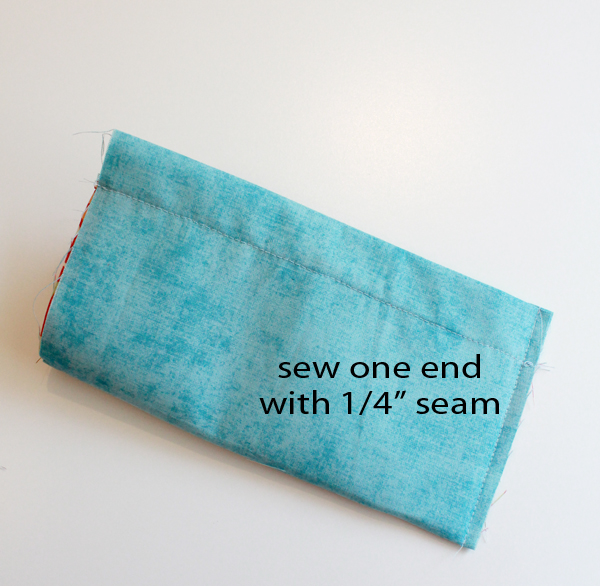
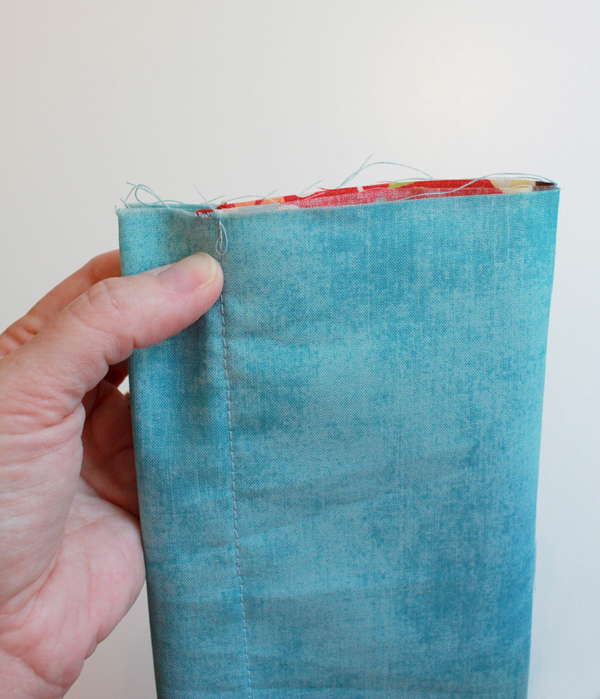
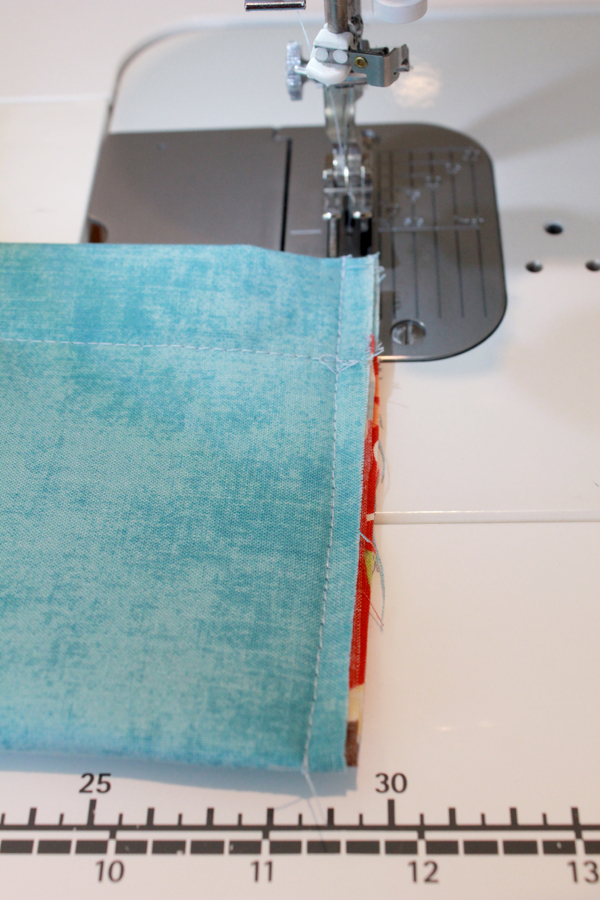
8. Fold bag in half, with the main print on the inside and the lining on the outside. Line up the top edges of the bag. Starting at the top edge of the bag, sew along side edge using a 1/4″ seam, backstitching at the bottom.
9. Insert tape measure segments into each pocket. Make sure the number side of the tape measure faces out (toward the lining!)

10. Sew second side of bag, lining up the top edge of the bag and pushing the tape measure segments to the far side of bag to keep them out of the way.
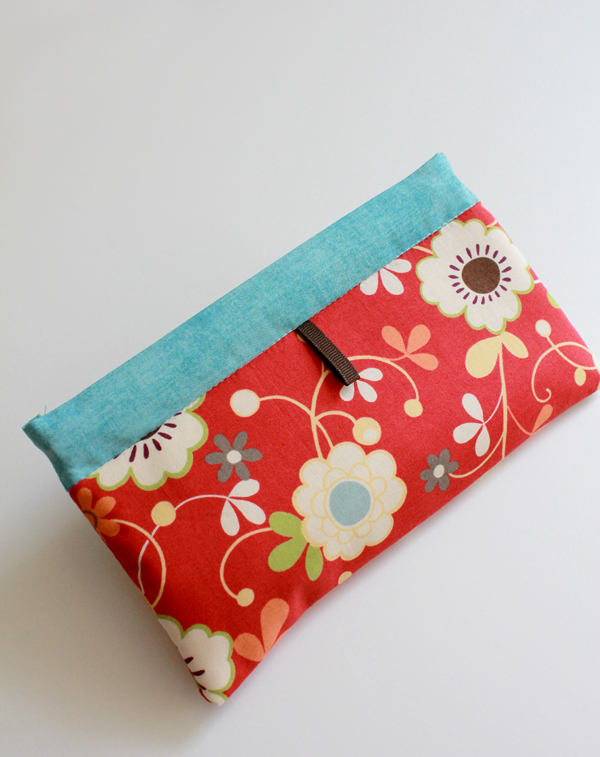
11. Turn bag right side out, carefully pushing bottom corners out. To open the bag, pull on the ribbon loops and watch the case pop open! These bags are fun to make, and even more fun to use!
13 Comments on Easy Fusible Fleece Pencil Case Tutorial
2Pingbacks & Trackbacks on Easy Fusible Fleece Pencil Case Tutorial
-
[…] Easy Fusible Fleece Pencil Case Tutorial, by A Bright Corner […]
-
[…] Pencil Pouch Tutorials… HERE and HERE […]
Linsey
August 27, 2014 at 1:31 pm (10 years ago)That is absolutely wonderful! I think my niece would love her very own pencil/school supply bag like this for her 1st grade year!!! 🙂 I have some fabric that will work beautifully too–I really appreicate the great tutorial too! You are so inspiring!:) Have a great day!!!
Holly
August 31, 2014 at 2:27 pm (10 years ago)Thanks for the tutorial! I’ve made little wallets with a similar closure, but I love the larger pencil case size, and the way you used the lining to make the casing. Looking forward to trying this!
Sima Jadeja
September 2, 2014 at 2:37 am (10 years ago)Very nice pencil case
Julie Pham
September 2, 2014 at 10:40 am (10 years ago)Beautiful tutorial! Thanks for sharing. Such a cute pencil bag.
rhonda
September 29, 2014 at 9:05 pm (10 years ago)Got to get me some fusible fleece, so sweet!
Lisa
December 1, 2014 at 9:50 am (9 years ago)This looks great! I am a new sewer and am not sure of the difference between fusible fleece and fusible interfacing. Could fusible fleece be used for both? Thanks!
admin
December 1, 2014 at 1:28 pm (9 years ago)Lisa there is a bit of difference between our HeatnBond Fusible Fleece and our HeatnBond Fusible Interfacing. Simply..the Fusible Fleece offers a cushioning layer to your project. Where the Fusible Interfacing provides stability or body to the fabric giving it a bit of weight if you will. We would recommend visiting our website and reading more on each product! http://www.thermowebonline.com
Lisa
December 1, 2014 at 10:32 pm (9 years ago)Thanks for getting back to me so quickly! I made one tonight in just a few hours and am really pleased with how it came out!
Renee
August 19, 2015 at 10:18 am (9 years ago)If it makes a difference, you way want to mention the width of the measuring tape, too. Had fun with the project and I have also made a smaller coin purse as mentioned above, but like the larger version better. Thanks!
Debra
February 14, 2017 at 2:31 am (7 years ago)How do you finish the inside seams? Are they left raw?
admin
February 14, 2017 at 9:51 am (7 years ago)They are left raw…thank you for asking!