


So often when I’m sewing I bounce around from my sewing machine to my iron and then back again. Inevitably, I leave the scissors or rotary cutter in whatever room I’m NOT in. Does that ever happen to you? This easy half-size crafty apron pattern using my favorite fusible interfacing, Heat N Bond® Fusible Interfacing – Light Weight, is totally the way to keep a quilter a little more organized. The interfacing stays soft, but it stabilizes the fabric and gives it just the right amount of firmness without being stiff.
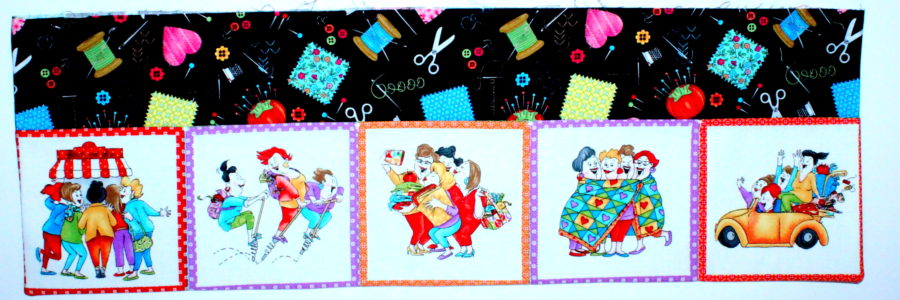
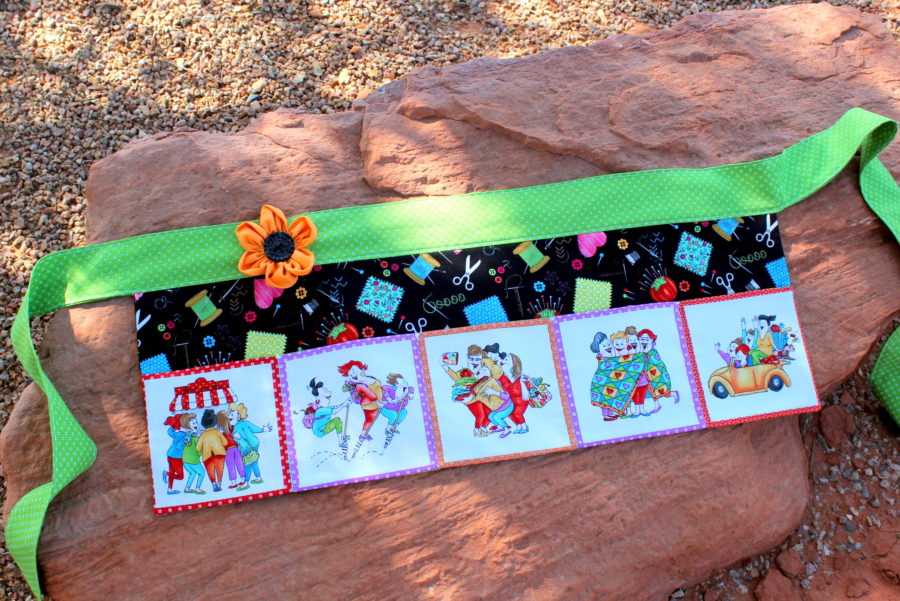
Half-Size Crafty Apron, by Carol Swift from Just Let Me Quilt (finished size is 8″ x 25″ not counting the ties)
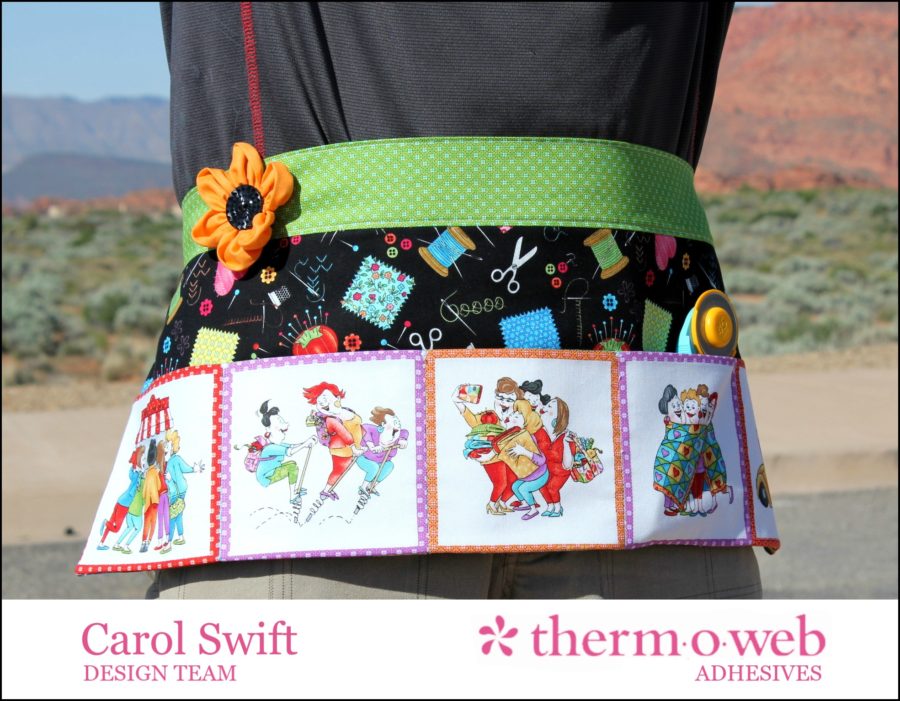
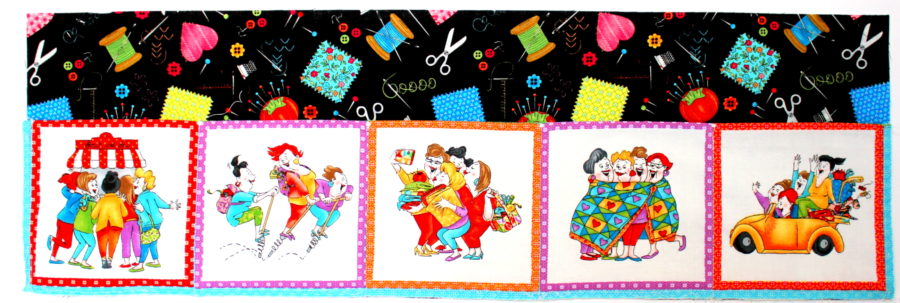
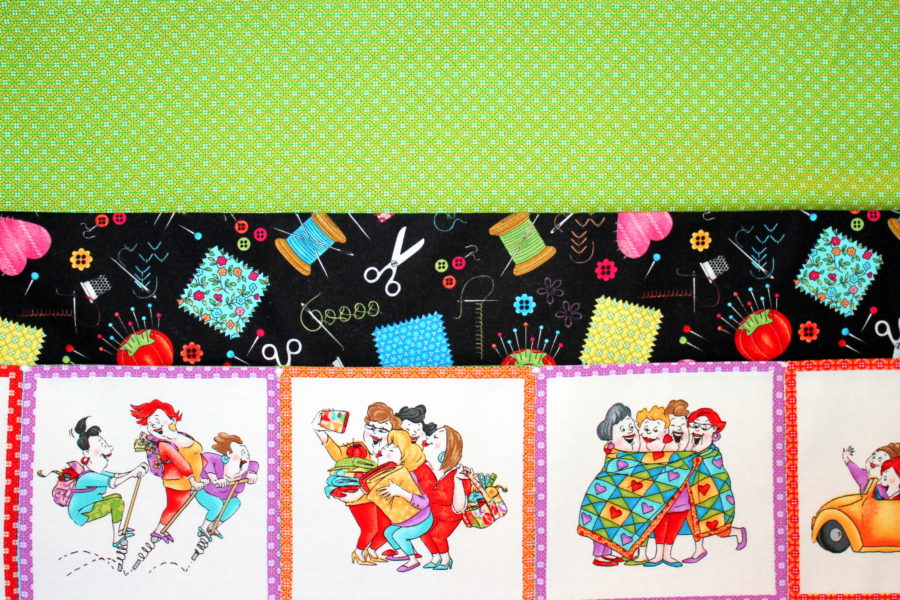
Is that the cutest fabric or what! It’s the Henry Glass Shop Hop fabric designed by Bonnie Krebs. The ladies in the fabric just crack me up and remind me of my favorite quilting friends. Those ladies are obviously having a great time!

Supplies you’ll need:
Heat N Bond® Fusible Interfacing – Light Weight
Aurifil A1050-204 Mako Cotton White Thread
Cutting Instructions:
Cut 5 – 5½” x 5½” squares (pockets)
Cut 1 – 5½” x 25½” rectangle (back of pockets)
Cut 2 – 8½” x 25½” rectangle (apron front and back)
Cut 3 – 5” x 25½” strips (apron tie)
Cut 1 – 5½” x 25½” Heat N Bond Fusible Interfacing – Light Weight rectangle (back of pockets)
Cut 1 – 8½” x 25½” Heat N Bond Fusible Interfacing – Light Weight rectangle (apron back)
Crafty Apron Sewing Instructions (all seams are sewn at ¼” unless otherwise specified):
Step 1: Sew 5½” x 5½” squares for pockets together. Press seams open.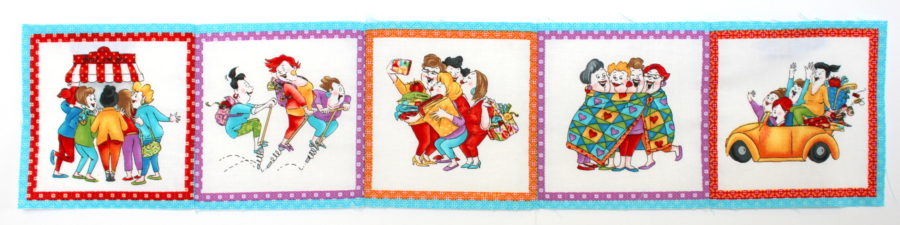
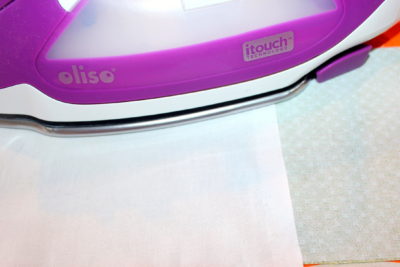
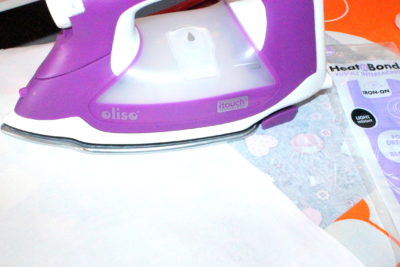
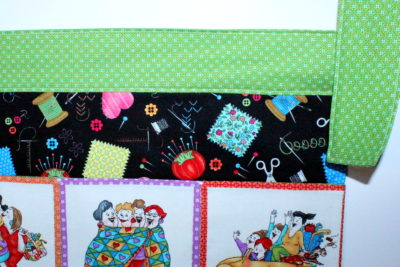
Step 2: Following Heat N Bond Fusible Interfacing – Light Weight directions, press rough side of interfacing to wrong side of 5½” x 25½” rectangle with your iron set at medium heat and with steam. Cover with lightweight pressing cloth. Press and hold iron with medium pressure for 10-15 seconds. Repeat and overlap to cover all areas. Let cool.
Step 3: With right sides together, sew 5½” x 25½” rectangle to top of pocket squares. Press seam towards top.
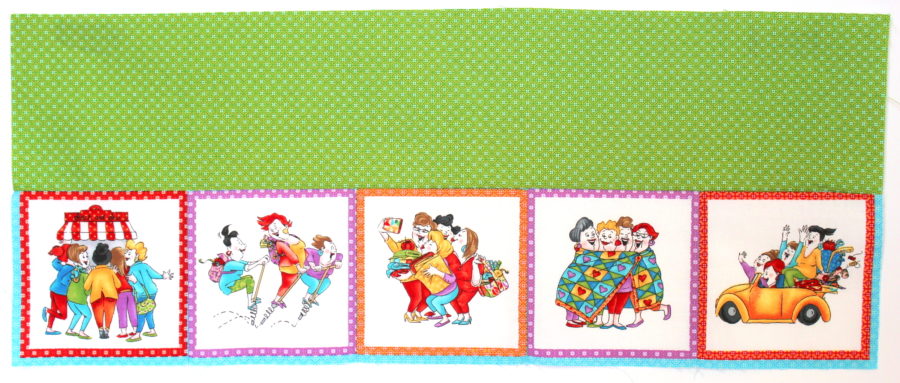
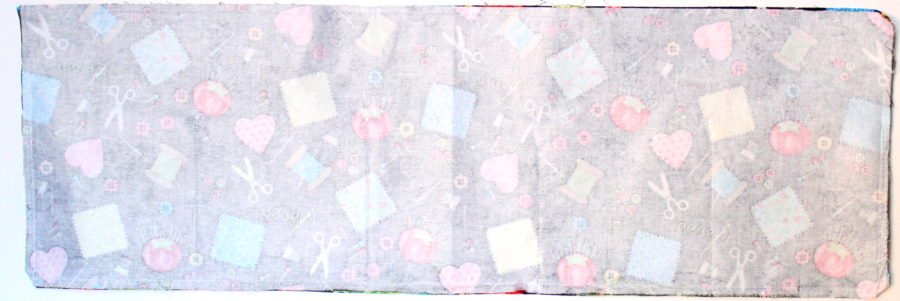
Step 4: With wrong sides together, fold on seam line and press.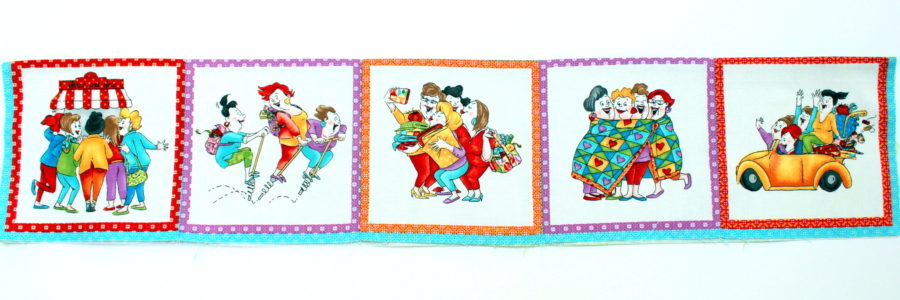 Step 5: Following manufacturer’s directions, press interfacing to wrong side of 8½” x 25½” rectangle.
Step 6: With right sides up, layer apron pieces beginning with 8½” x 25½” rectangle (interfacing face down.) Next, lay folded pockets with raw edges along bottom of rectangle. Pin in place. Baste around sides and bottom. Topstitch on pocket seam lines using Aurifil A1050-204 Mako Cotton White Thread; backstitch or zig-zag stitch at top to secure pocket.
Step 7: With right sides together, sew back and front of apron together on three sides; leave top open. *The back might be slightly larger than the front with pockets. Trim to make both front and back the same size if necessary. Clip corners and turn inside out. Press seams flat.
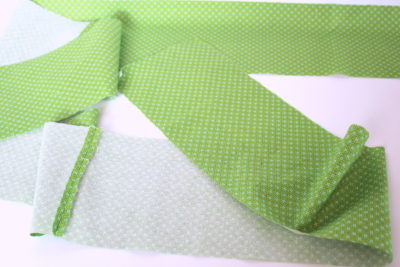
Step 8: Sew three 5” x 25½” strips together end to end lengthwise. Press seams open. Fold under ¼” on both lengthwise sides, wrong sides together, and press.
Step 9: Sew tie, right sides together, to top of Step 6’s section; center and match seams. Press seam towards ties.
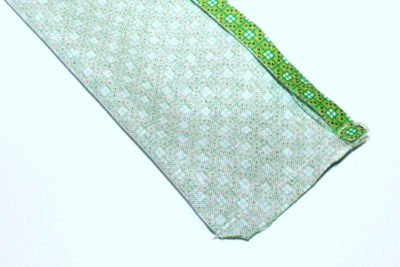
Step 10: Fold tie in half, wrong sides together. Press seam lengthwise on fold. Open tie and fold right sides together. Sew short ends with ¼” seam. Trim corners. Turn inside out and press.
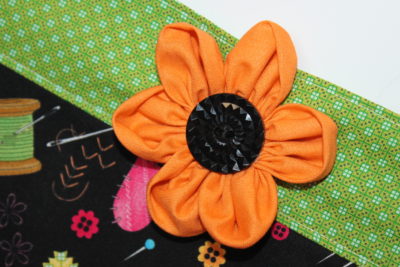
Step 11: Sew along open edge of tie by machine seam line by machine or by hand. Be sure to catch and cover all sides on apron and ties. Add flower if desired.
Step #12: Add a flower! Cut six 3″ circles. Fold the circles in half, wrong sides together. Run a basting stitch through the curved side of the folded circles with one length of thread. Embroidery thread is good for basting the halves—it’s stronger than regular thread. Pull the thread to gather the halves. Tack the first and last half circles together with a small stitch. Add a button to finish the flower and attach to apron tie.

You can find the PDF pattern in Just Carol’s Craftsy Store HERE.
Sherry
April 18, 2017 at 5:52 pm (7 years ago)Carol has created the cutest half apron and selected the perfect fabrics for cheerful and whimsy. I do love Heat-n-Bond and think I should make one of these aprons for myself and my sisters! Uber Cute Project and Thank You Carol for sharing your tutorial. Creative Apron Bliss…
Super Mom - No Cape!
April 19, 2017 at 10:05 am (7 years ago)This is such a cute apron that Carol has designed. It would be the perfect apron to wear at craft sales or garage sales for holding change. It would also be great to take to a quilting class or retreat.
Bernice
April 19, 2017 at 10:25 am (7 years ago)What a great idea. Thanks Carol for showing us how. You are awesome !!!!
Beverly VanderWerf
April 19, 2017 at 8:01 pm (7 years ago)I’m not a sew person but I do love this apron. Cute, cute.
Marcy
April 21, 2017 at 9:50 pm (7 years ago)Great idea to use with that fabric. Quick and neat gift for stitching buddies.