


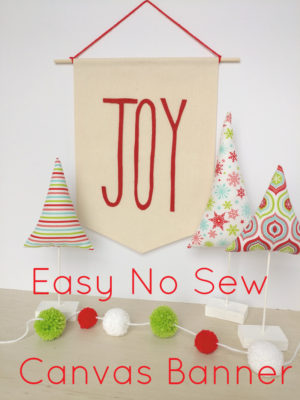
Canvas banners are so on trend right now, and it’s for good reason! They have a classic look, can be customized for lots of different purposes and they are inexpensive and fun to make. And now, with ThermOWeb’s PeelnStick Fabric Fuse tape, they are even No Sew!!
Easy No-Sew Joy Holiday Canvas Banner
Let me show you how easy they are to put together, and soon you’ll find you need one for every holiday!
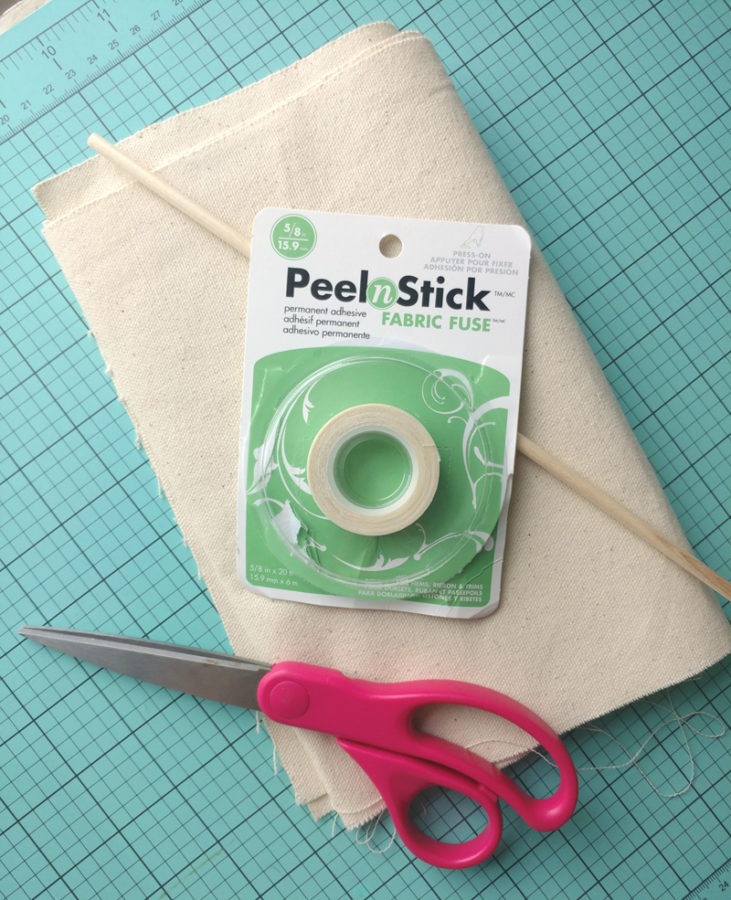
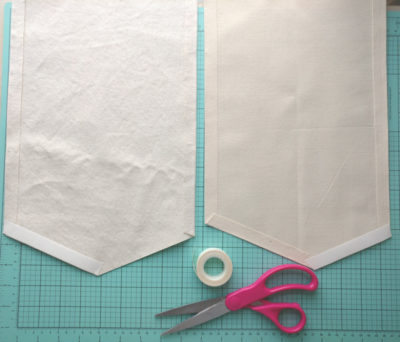
First, you will need a 12″ dowel, some canvas, Peel n Stick Fabric Fuse tape and a way to cut your fabric. I like using a cutting mat and rotary blade but scissors work too. You can make your banner any size you like, but the measurements I will give you will fit the 12″ dowel nicely without needing to be cut. Which I always find helpful.
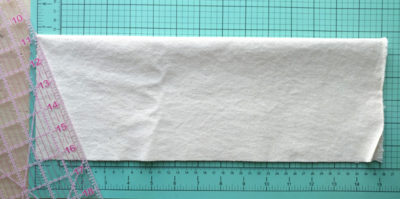
First cut a rectangle of canvas that measures 10 3/4″ wide by 15″ tall. Fold the canvas in half so that it is 5 3/8″ wide and 15″ tall. Use a ruler to mark a line from the fold on one short end to a point 2 1/4″ up on the opposite side. As shown in the picture. Either draw on this line, then cut out with scissors, or use a rotary blade to cut the point in your banner.
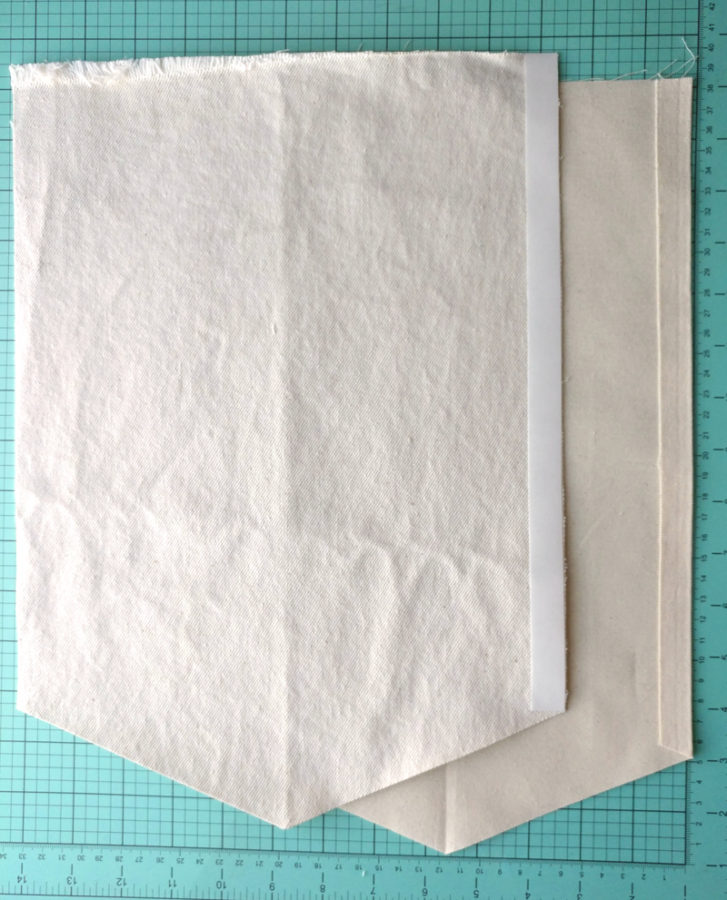
This is where I confess that this is my first time using Peel n Stick Fabric Fuse, but it won’t be the last! I love that it created nice crisp edges to my project and was super fast and easy to use. You will first line up the tape on one long edge, press it down firmly on the canvas. Then, you peel off the paper and fold the edge over to create a hem. I like to use the grid lines on my cutting mat to make sure my edges are straight and even. Repeat for the second long side.
Add Peel n Stick to one side of the pointed bottom. Cut the tape at an angle so the whole hem is covered with Peel n Stick. Fold over the hem. Finally, repeat with the last side of the point. Make sure when you fold up the last hem, the point is centered on your banner. If you have folded your hems evenly, it will be really close, if not, you may need to adjust the last fold a tiny bit.
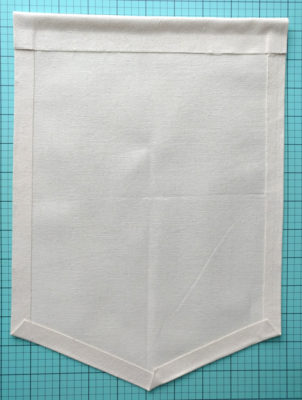
The next step is to create a channel for holding the dowel in place. The Peel n Stick holds so firmly, I even use it for this step! Place the Peel n Stick along the top edge of the banner. I line up the banner edge with a line on my cutting mat, then fold it up to a point 2 1/2″ above that, so basically fold it over 1 1/4″. You want to make sure you are leaving enough room for the dowel to easily slide through.
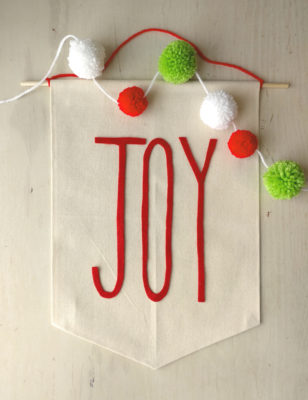
You know how kids say “last the best of all the game”? The last step in creating your canvas banner is always my favorite- DECORATING!! You can use felt, paint, vinyl, fabric- anything your heart desires to add some color, fun, and whimsy to your canvas banner. What will you put on yours?
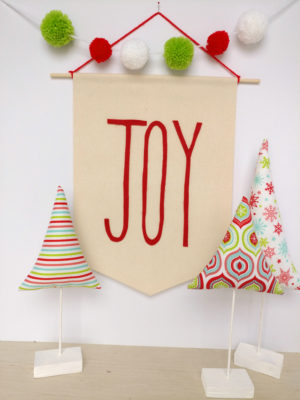
Now that you know how easy canvas banners are to make, the question isn’t if you’re going to make one, it’s how many will you end up making? Also, now that you know how easy Peel n Stick Fabric Fuse is to use, what else will you be using it for? I can’t wait to dream up lots of uses for my new favorite fabric adhesive! *Just a note though- you shouldn’t sew through the Peel n Stick Fabric Fuse, so if you want to add a stitched detail to your banner- I would recommend switching to Heat n Bond lite hem tape. It will help you create a crisp edge, while still letting you add sewing details to your banner!
Happy creating friends!