


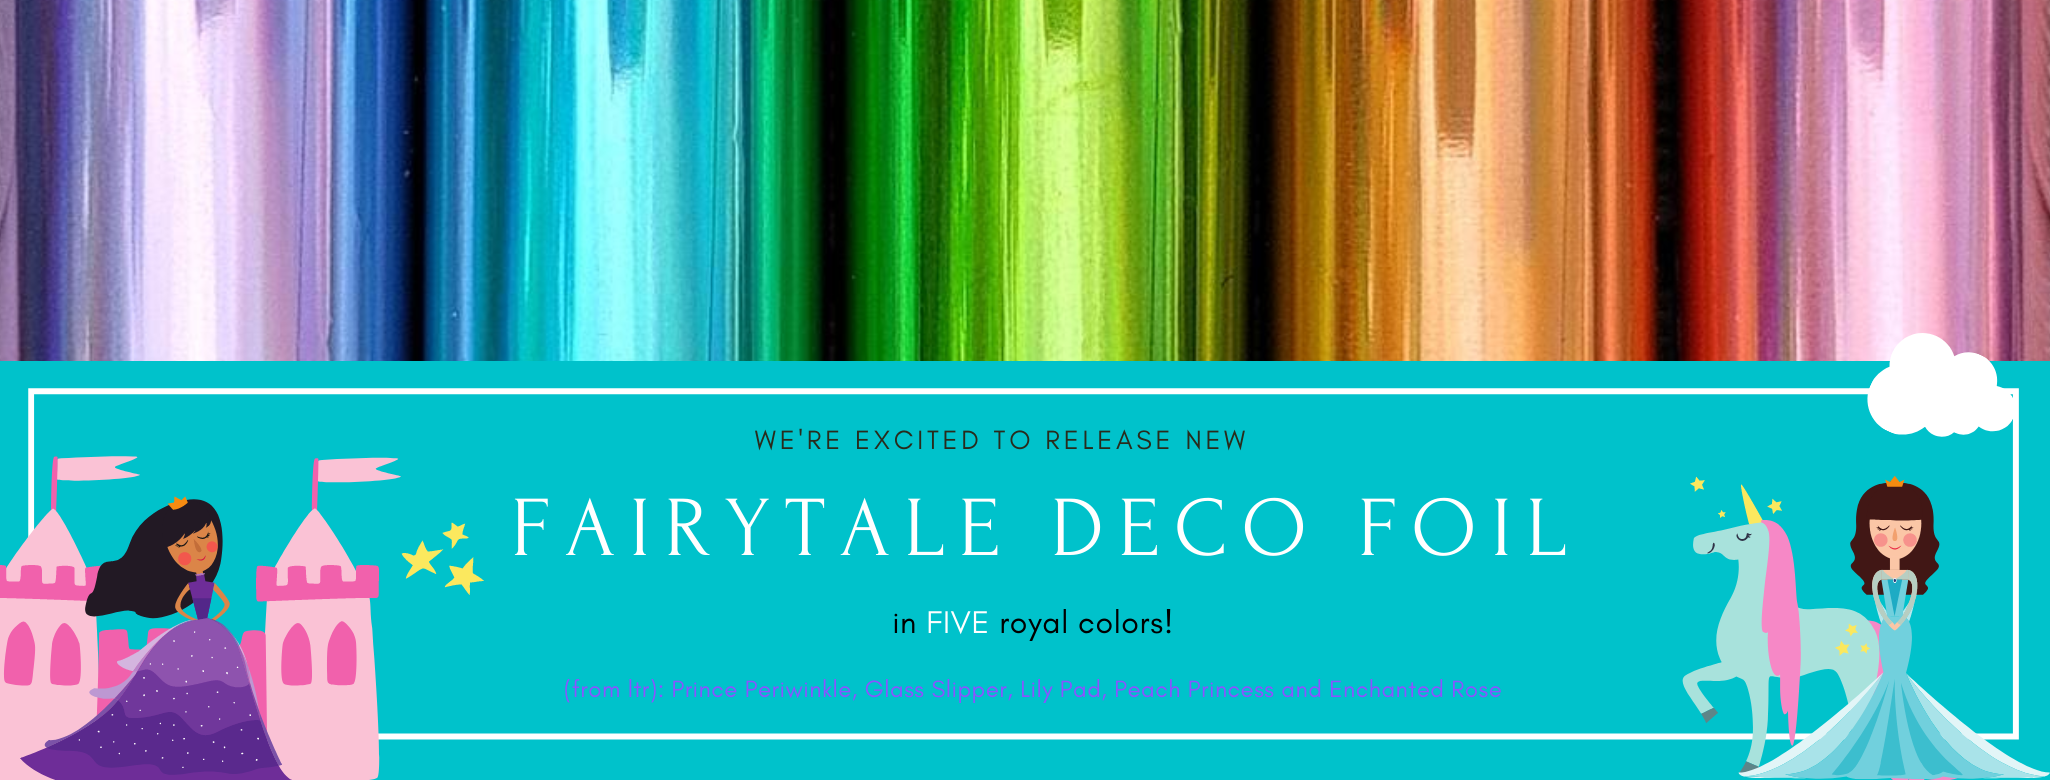
Fairy Foil Mini Album
Hello and welcome to Fairy Tale Foil week. Foil projects are always my favorite and this week we have some amazing new colors to share. I hope this inspires you to get back to the basics of paper crafting and create a fun mini album of your own.
Fairy Foil Mini Album Supplies
Deco Foil Transfer Sheets – Enchanted Rose, Lily Pad and Price Periwinkle
iCraft Ultra Bond Liquid Adhesive
Eileen Hull Easy Cut Adhesive Sheets
Deco Foil Peel and Stick Toner Sheets
Other Supplies: Foiling machine, cardstock, prepared mini-album, electronic cutter or die-cutting system, embellishments, quote stickers or printed quotes, and ribbon.
STEP ONE:
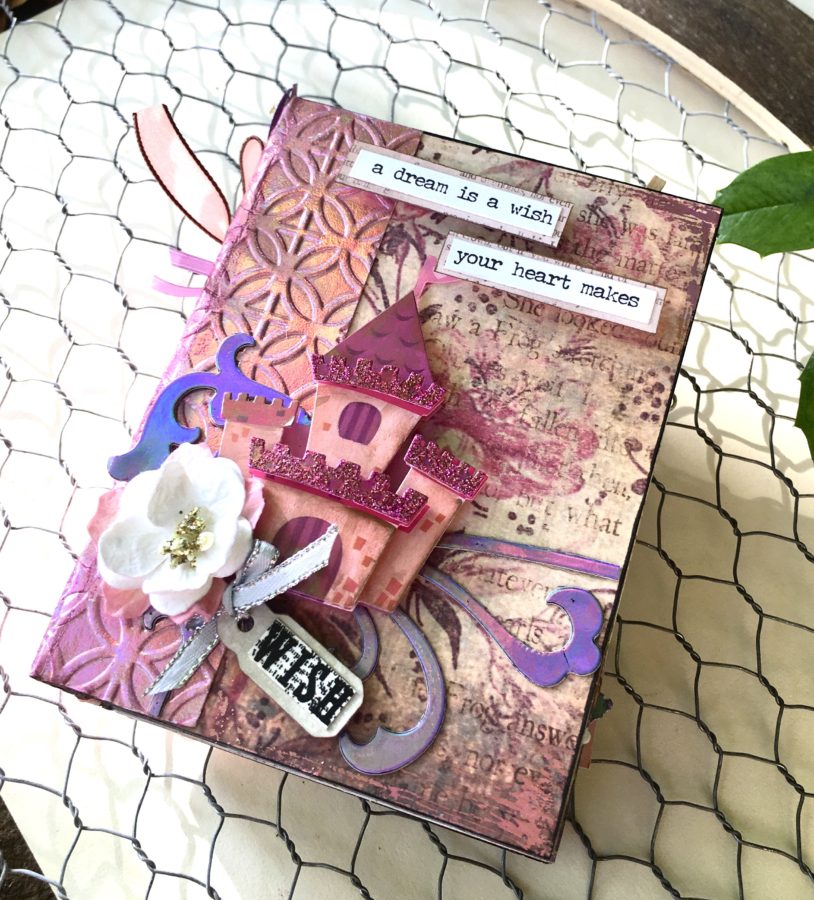
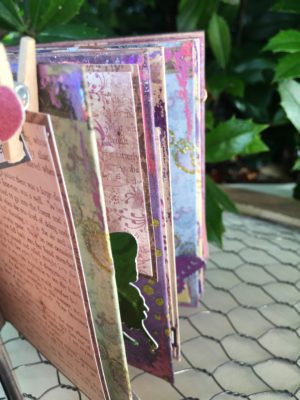
For this project, I am starting with a mini album I created earlier. There are so many tutorials on how to put together a mini-album, I thought I would start with that step completed; that way, we can get right down to the fun stuff!
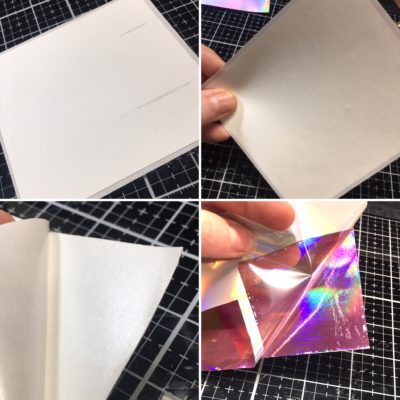
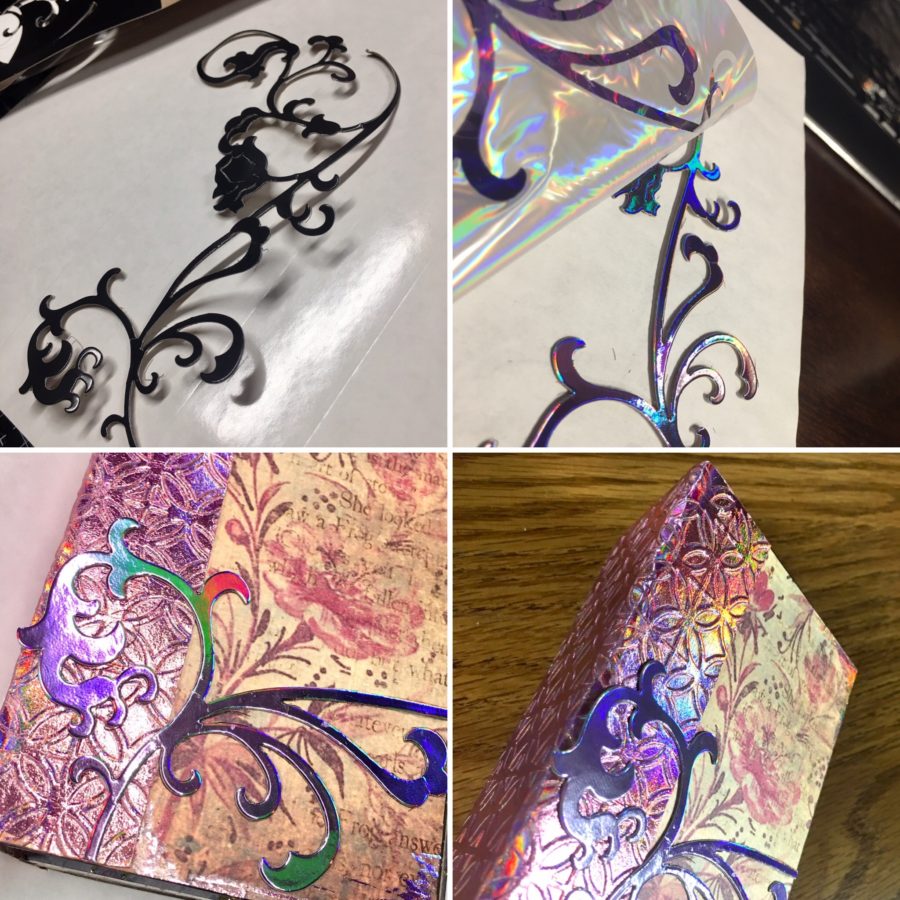
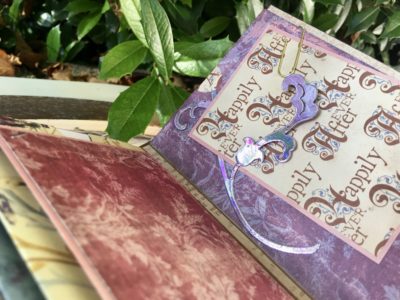
To create the binding for your mini album, cover a piece of cardstock (slightly bigger than you want your binding) with an adhesive sheet. Peel off the release paper and press the dull side of a foil transfer sheet (I used Enchanted Rose) against the adhesive and burnish. Gently peel off the foil release paper leaving a beautifully foiled piece of cardstock.
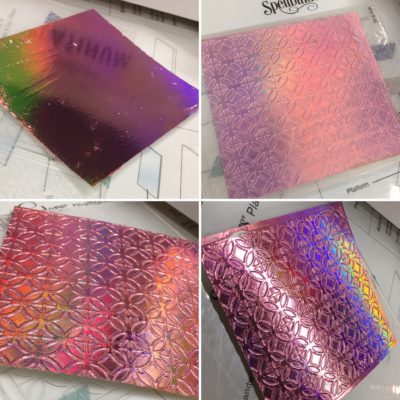
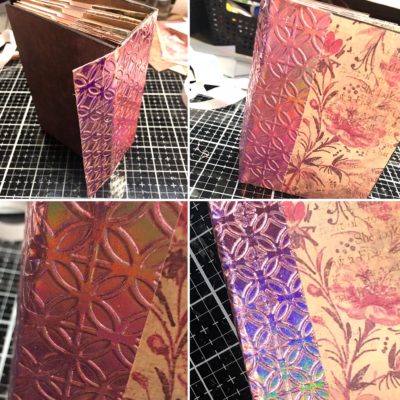
Now emboss the foiled cardstock with any embossing folder that will coordinate with your fairy tale mini album. Trim your binding to fit your mini album and adhere using a strong adhesive (I used Ultra Bond Liquid Adhesive) over your album binding.
Hint: You can add a thin layer of PVA glue over your foiled surface to seal the foil and help it stand up to normal wear and tear. It will give your foil a slightly matte appearance but it will still shine. Add the sealer after the binding is on the album.
STEP TWO:
Let’s create some foiled embellishments! I used PeelnStick Toner Sheets and three different techniques for these embellishments. For each of them, I adhered the PeelnStick Toner Sheet to cardstock first.
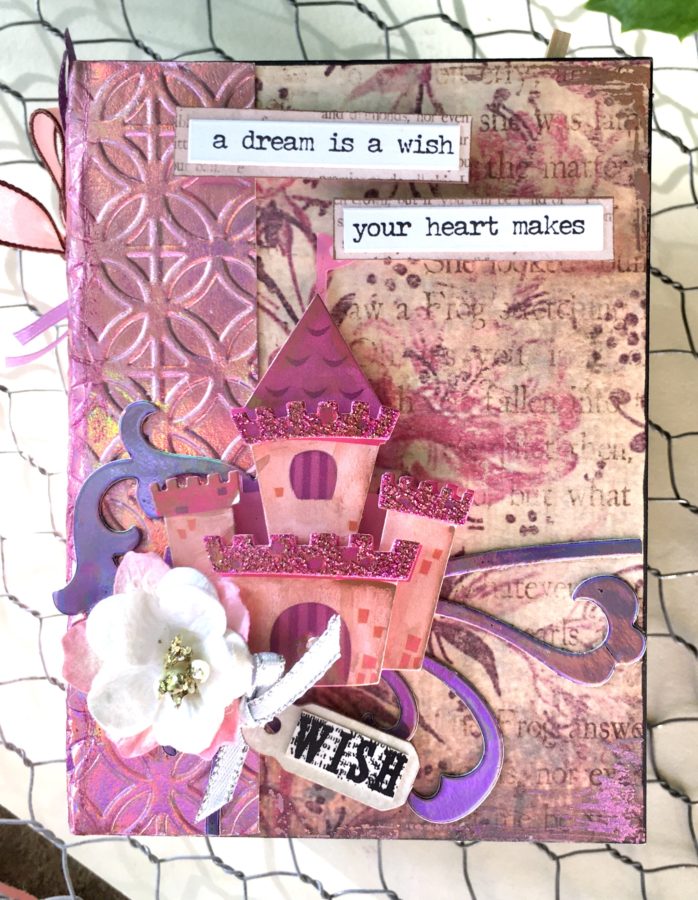
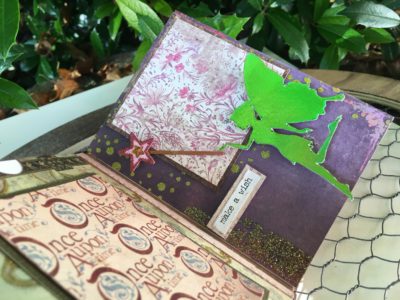
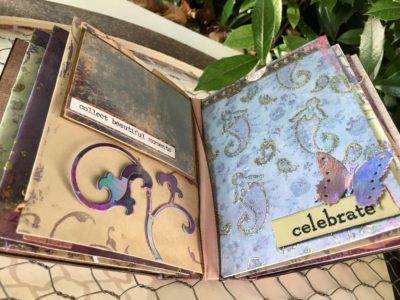
For the first one, I die-cut a flowery scroll and foiled it (see below *) with a Prince Periwinkle foil transfer sheet. I then cut the die-cut in half and used half on the cover and half inside the album.
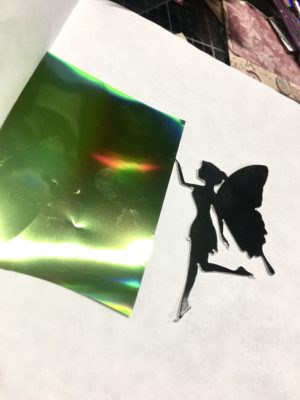
For the second, I cut out a fairy with my electronic cutter and foiled it using a Lily Pad Foil Transfer Sheet.
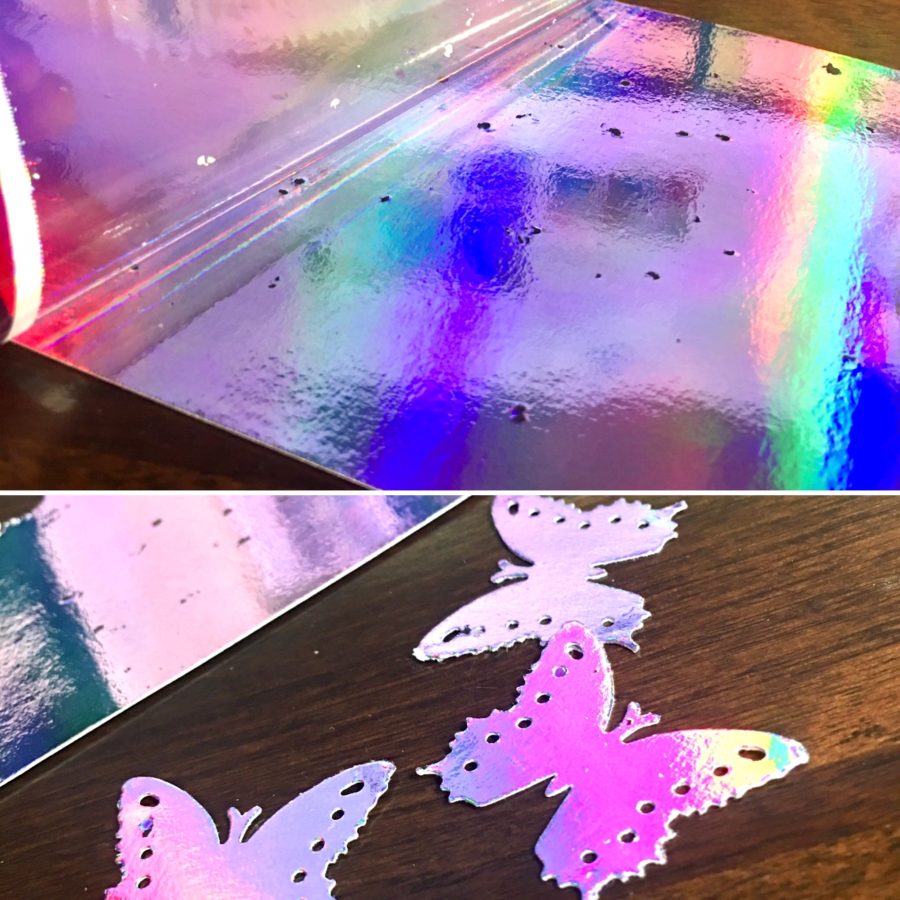
For the Third, I foiled a large square with a Prince Periwinkle foil transfer sheet and punched butterflies from it.
* To foil a PeelnStick Toner Sheet, place a piece of Deco Foil Transfer Sheet, cut to size, the dull side against the toner sheet, place into a carrier or folded piece of copy paper and run through a foiling machine or heat laminator. I run mine through twice, flipping the carrier over and running upside down the second time. This ensures I always get a clean, crisp foiled image.
STEP THREE:
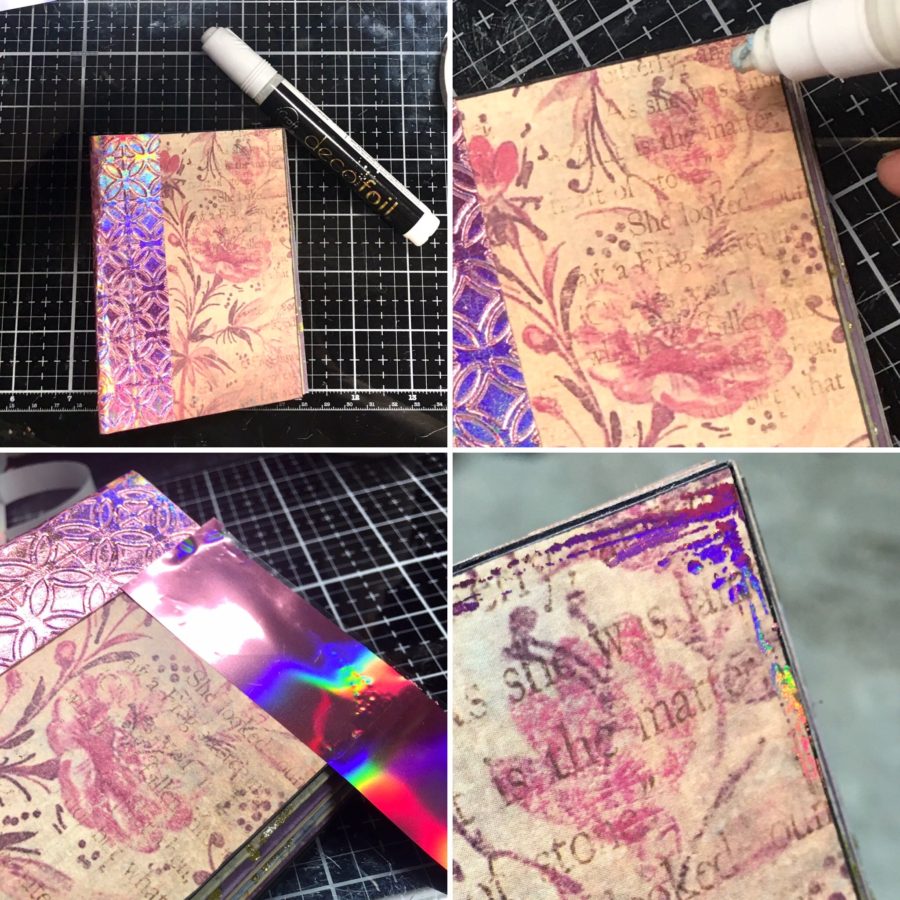
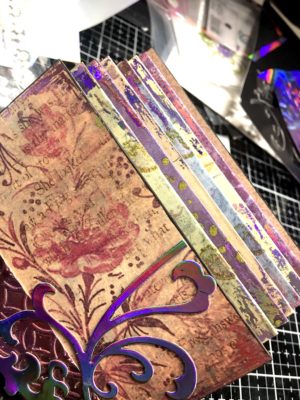
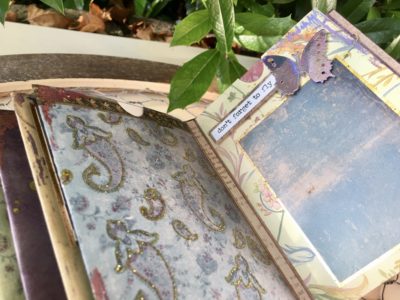
Using a Deco Foil Adhesive Pen, scribble on the corners of each page and let the adhesive come to tack. Place a scrap piece of foil transfer sheet over the tacky adhesive (dull side down), press down, burnish and peel the release paper away.
Hint: Do only two to three pages at a time so the adhesive doesn’t dry completely before foiling.
STEP FOUR:
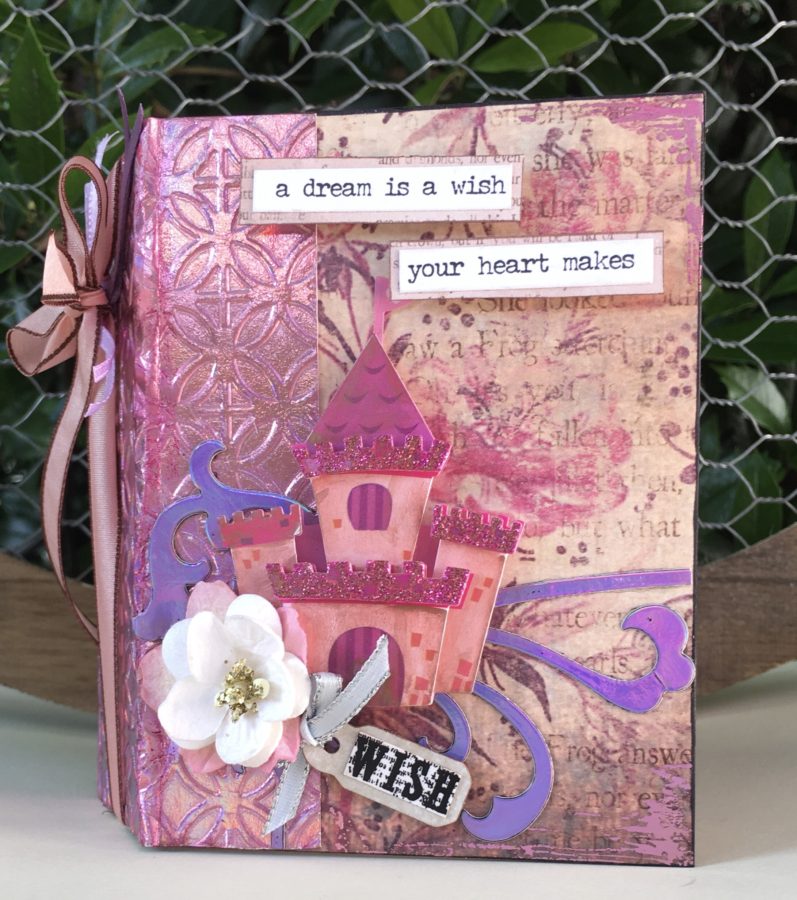
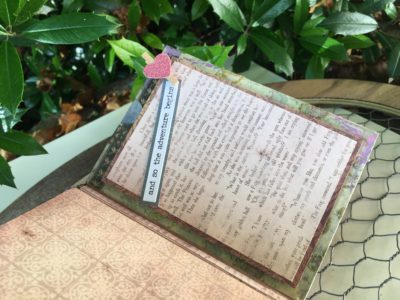
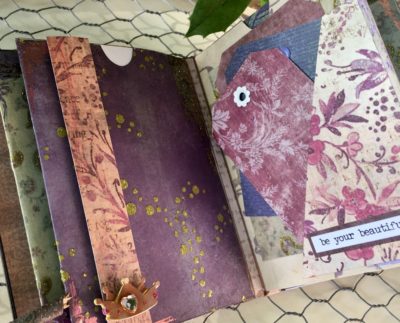
Embellish the mini album pages using your foiled embellishments, quote strips, and any other embellishments you have earmarked for this project.
Hint: If you don’t have quote stickers, take some time to create an entire page of typed quotes. Print your quotes on white cardstock and back Eileen Hull Easy Cut Adhesive Sheets to create your own homemade quote strip stickers.
STEP FIVE:
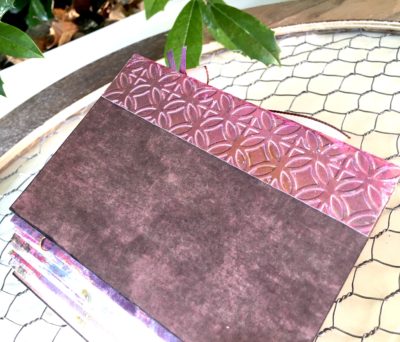
Finish off your album with a bit of ribbon.
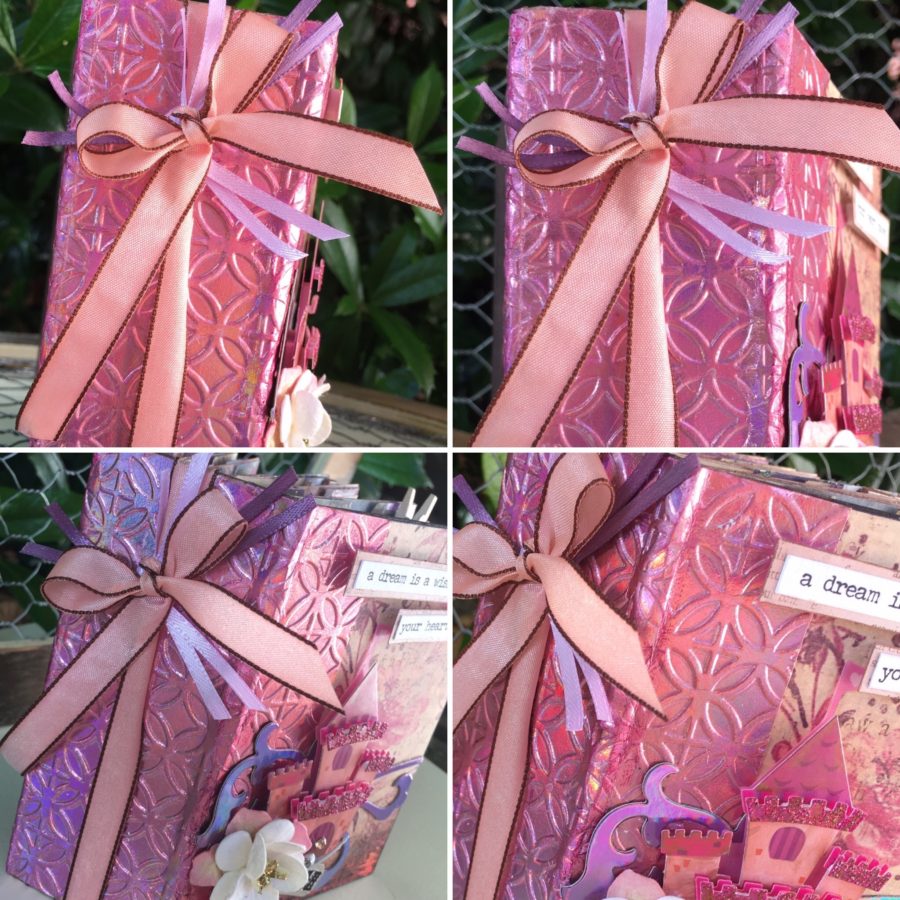
I have to admit that I absolutely love the way this binding looks! I hope you enjoyed this tutorial and it has inspired you to create a mini-album of your own.
Thanks for stopping by!

[…] Wendy Cuskey’s castle mini-album can be seen here: http://thermoweb.com/blog/fairy-foil-mini-album/ […]