


Father’s Day is approaching quickly, and if you’re in need of some masculine card design ideas, then you are in the right place. Today I have three guy cards to share with you that feature the fun of Gina K. Designs Fancy Foils, along with some different techniques and ways to use the foil for creating a more rugged, masculine style that is perfect for Dad. Let’s take a closer look.
Father’s Day Cards with Gina K. Designs Fancy Foils
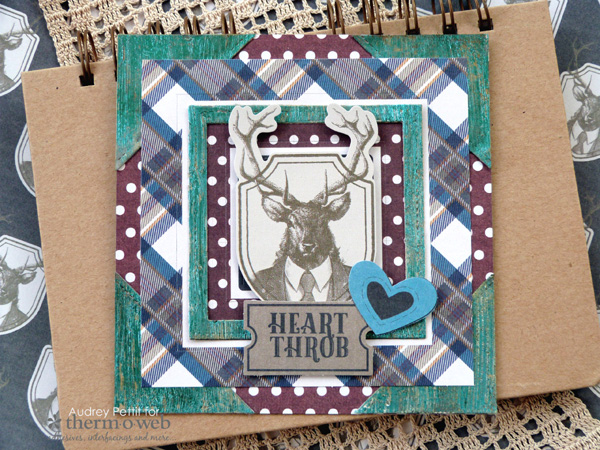
Heart Throb Card by Designer Audrey Pettit
Supplies:
Therm O Web Gina K Designs Premium Cardstock – Luxury White
Therm O Web Gina K Designs Die Set – Stitched Squares Large
Therm O Web Gina K Designs Fancy Foils – Turquoise Sea
Therm O Web iCraft Deco Foil Liquid Adhesive
Therm O Web XL Memory Tape Runner
Therm O Web 3D Zots Adhesive Dots
Therm O Web Purple Tape
Therm O Web Stitch n’ Sew Fleece
Patterned Paper, Die Cuts, Stickers: Photo Play Paper
Ranger Alcohol Ink- Mushroom
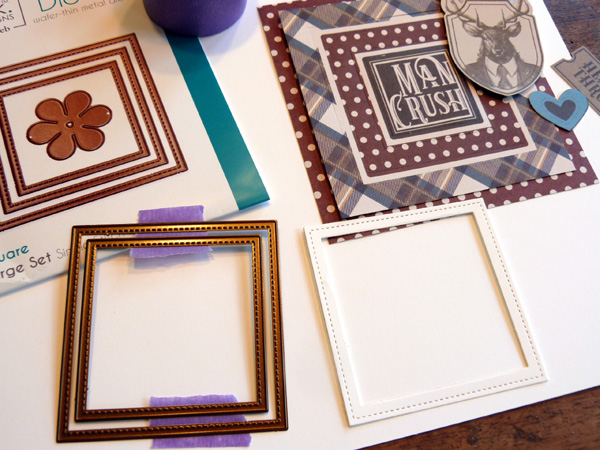
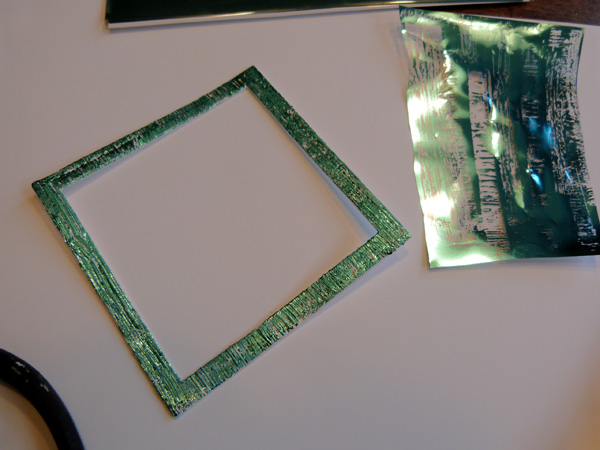
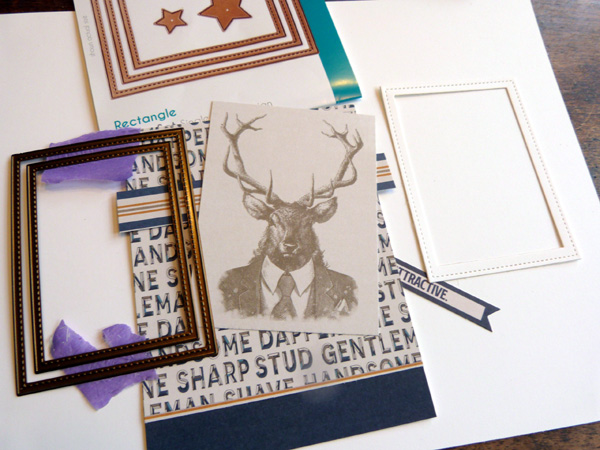
I recently got my hands on the adorable Man Card collection by Photo Play Paper, which is great for any masculine inspired card projects. To begin, layer papers and die cuts on a 5″ square card base, and gather additional accents to create a focal point scene. Nest the two largest square dies from the Stitched Large Squares die set, and hold them together with a bit of Purple Tape. Die cut the squares from GinaK’s Luxury White cardstock. Remove the inner square from the center, and cut it in quarters along the diagonal to create four triangles.
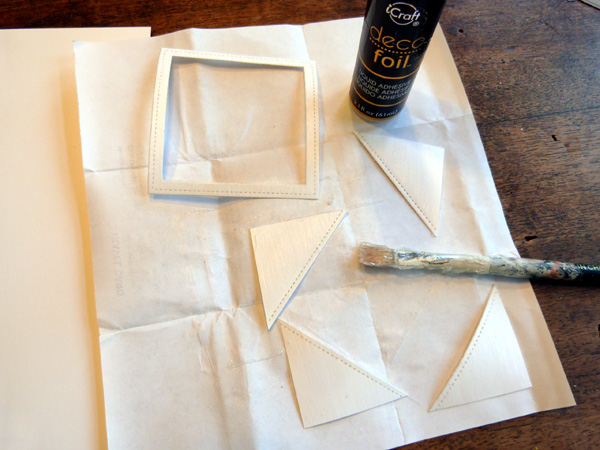
Using an old, junky paintbrush, apply iCraft Deco Foil Liquid Adhesive to the die cut frame and the four triangle pieces. The bristles on the brush add a striated texture to the glue, which ends up showing on your finished foil application, so think about that while painting on the liquid adhesive. I try to keep all my brush strokes going in the same direction, for a very uniform look. Once you have applied the adhesive, set the pieces aside to dry until they become tacky to the touch. And then wash out your paintbrush with warm, soapy water immediately.
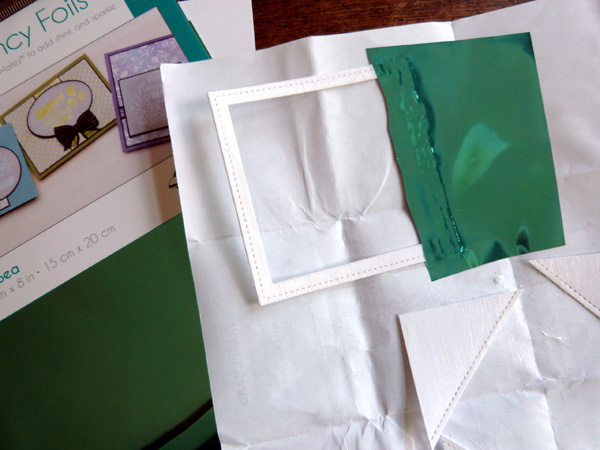
Once the adhesive has dried (will be sticky, but won’t come off on your finger), press a piece of Fancy Foil onto the die cuts, and rub over the top of the foil with the tip of your finger.
Peel up the foil, and press a fresh section down onto a new section, repeating the process above until the entire area is covered.
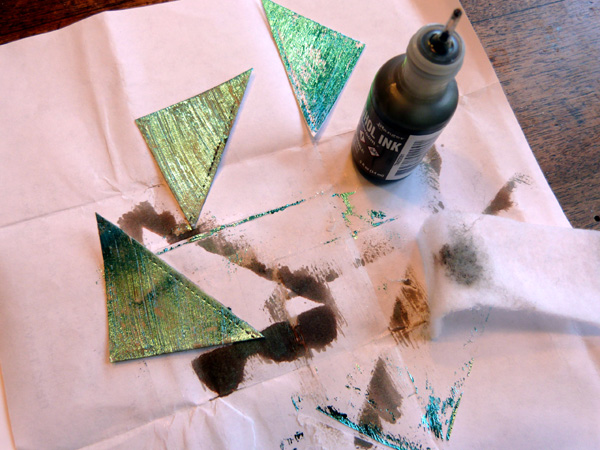
To age the appearance of the foil, and tone down the color for a more rugged, masculine appearance, try dabbing the foiled pieces with a bit of alcohol ink. Simply add a few drops of the ink to a piece of Therm O Web fleece, and then wipe the fleece over the foiled areas. Here you can see the difference between the two triangles that have been inked, and the one section that hasn’t.
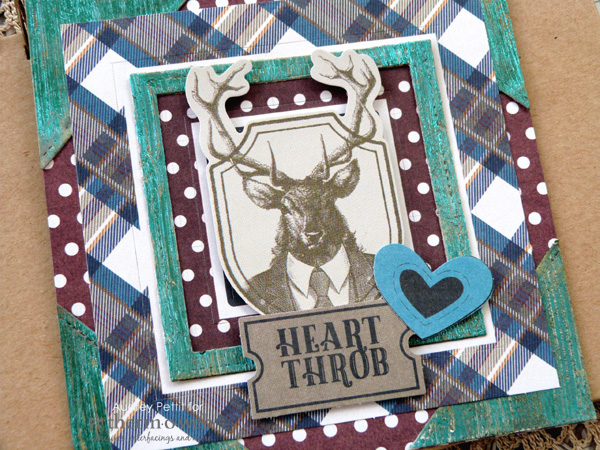
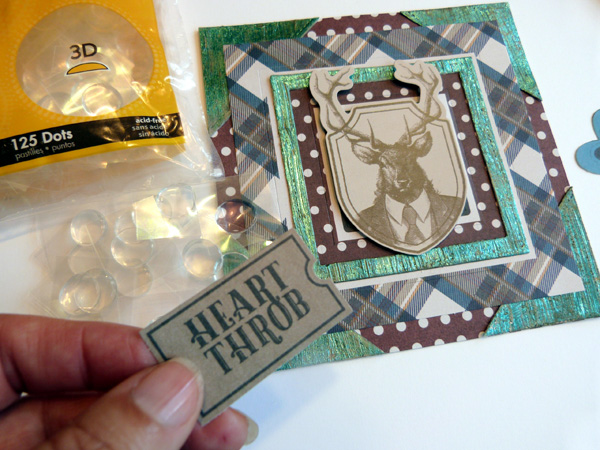 Adhere all the layers together with XL Memory Tape Runner. Add 3D Zots Adhesive Dots to the back of the accent die cuts and stickers, and place them in the center of the card. It’s super easy to snip the 3D Zots in half, or even in quarters, for those smaller areas, like the antlers of this stag.
For my next card, I will share another way to apply Fancy Foils, with a different finished texture and over all look, using the Deco Foil Adhesive Pen.

You Sir Are Very Attractive Card by Audrey Pettit
Supplies:
Therm O Web Premium Cardstock – Luxury White
Therm O Web GinaK Designs Die Set – Stitched Rectangles Large
Therm O Web GinaK Designs Fancy Foil – Wild Dandelion
Therm O Web iCraft Deco Foil Adhesive Pen
Therm O Web XL Memory Tape Runner
Therm O Web 3D Zots Adhesive Dots
Therm O Web Purple Tape
Patterned Paper, Die Cut: Photo Play Paper
Corner Rounder Punch: EK Success
To create the foiled frame on this card, begin by die cutting a rectangular frame using the two largest dies from the Stitched Rectangles Large die set from Luxury White Premium Cardstock.
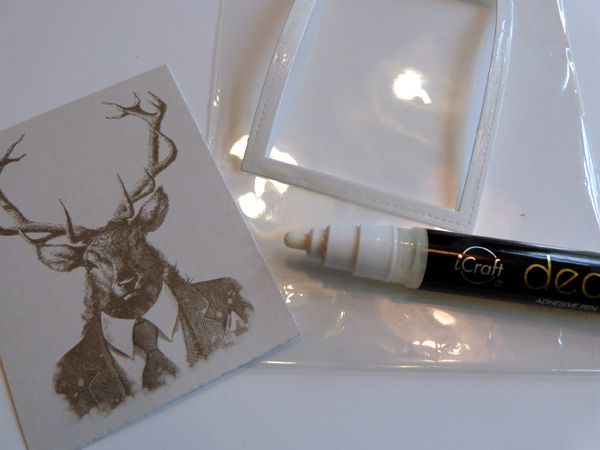
Coat the entire surface of the frame with liquid adhesive fusing the iCraft Deco Foil Adhesive Pen. Just like the liquid adhesive applied with a paintbrush, the adhesive pen adds lots of texture and variation to the finished foil application. You can also use the pen to add foil detail to printed images, die cuts, or stickers, like I’ve done with the tie on this stag journaling card. Simply draw on a bit of adhesive in the areas you wish to foil, and then set the pieces aside to dry.
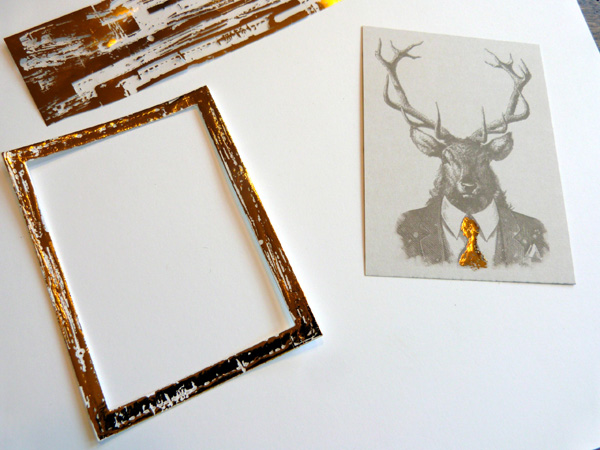
Once the pen adhesive is dry and sticky to the touch, press a piece of Fancy Foil sheet onto the glue (wish the colored side up and the shiny silver side down). Rub over the area with the tip of your finger, and then peel up the foil sheet. Move to a new section, and repeat the process until the entire area is covered.
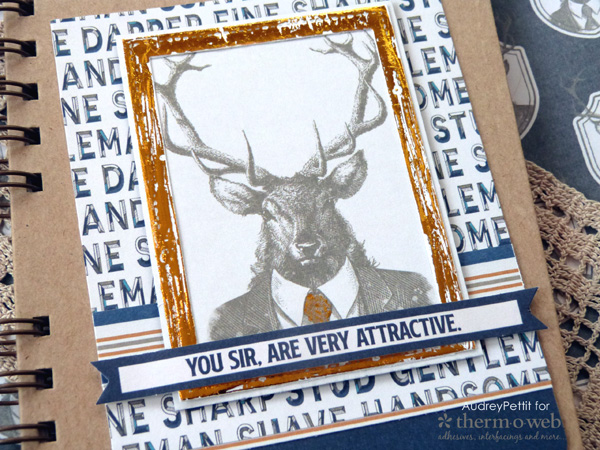
In this detail shot, you can see the cool chippy, textured finish you can achieve with the Deco Foil Pen. Aged and distressed, like the previous technique… but with a little less stria showing than the paintbrush application. Works really well for masculine designs.
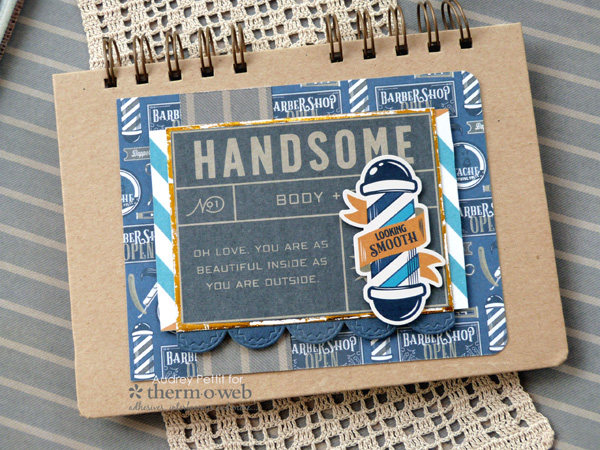
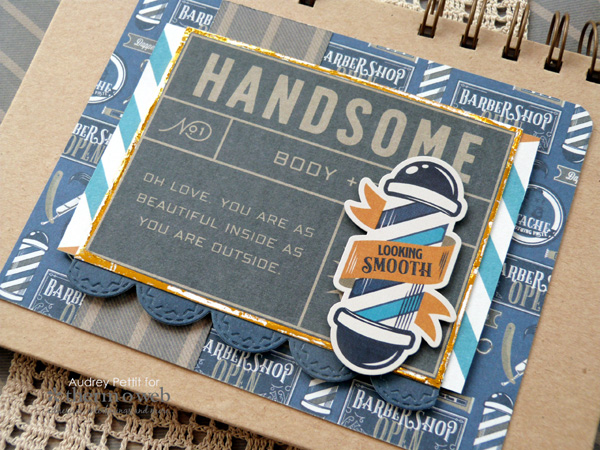
Handsome Card by Audrey Pettit
Supplies:
Therm O Web Premium Cardstock – Luxury White
Therm O Web Gina K Designs Fancy Foil – Wild Dandelion
Therm O Web iCraft Deco Foil Adhesive Pen
Therm O Web XL Memory Tape Runner
Therm O Web 3D Zots Adhesive Dots
Patterned Paper, Die Cut: Photo Play Paper
Die: Sizzix Stitched Ovals Thinlits
Corner Rounder Punch: EK Success
I have one last guy card to share, also featuring papers and accents from the Man Card collection, and a touch of shabby glam from GinaK Fancy Foil. For the layering frame behind the journaling card, I used the same technique as above, applying a bit of iCraft Deco Foil Pen adhesive to the edges of some Premium White Cardstock, and accenting with GinaK Designs Wild Dandelion Fancy Foil.
Enjoy!
Save
Save
Sharon Gullikson
June 13, 2018 at 10:54 pm (6 years ago)I LOVE the You Sir Are Very Attractive card. My husband would LOVE IT< TOO!
Brian Poteraj
June 13, 2018 at 11:03 pm (6 years ago)That’s a great Fathers Day card. The little bit of foiling adds a lot of interest–and I like how you added it in a distressed way.