


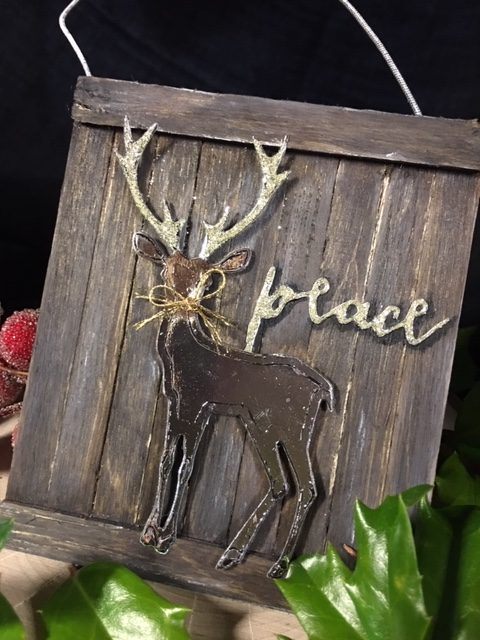
 Faux Barn Wood Deer Christmas Ornament
Hello friends, Wendy here with a tutorial for my technique to turn simple craft items you may already have on hand into a “barn wood” Christmas ornament. Let’s get started!
Supplies:
iCraft Deco Foil PeelnStick Toner Sheets
Deco Foil Transfer Sheets – Silver
Other Supplies, wood craft sticks, deer die, sentiment die, glitter, gold twine, silver twine, Distress Inks, white craft paint.
Deer Ornament Step One:
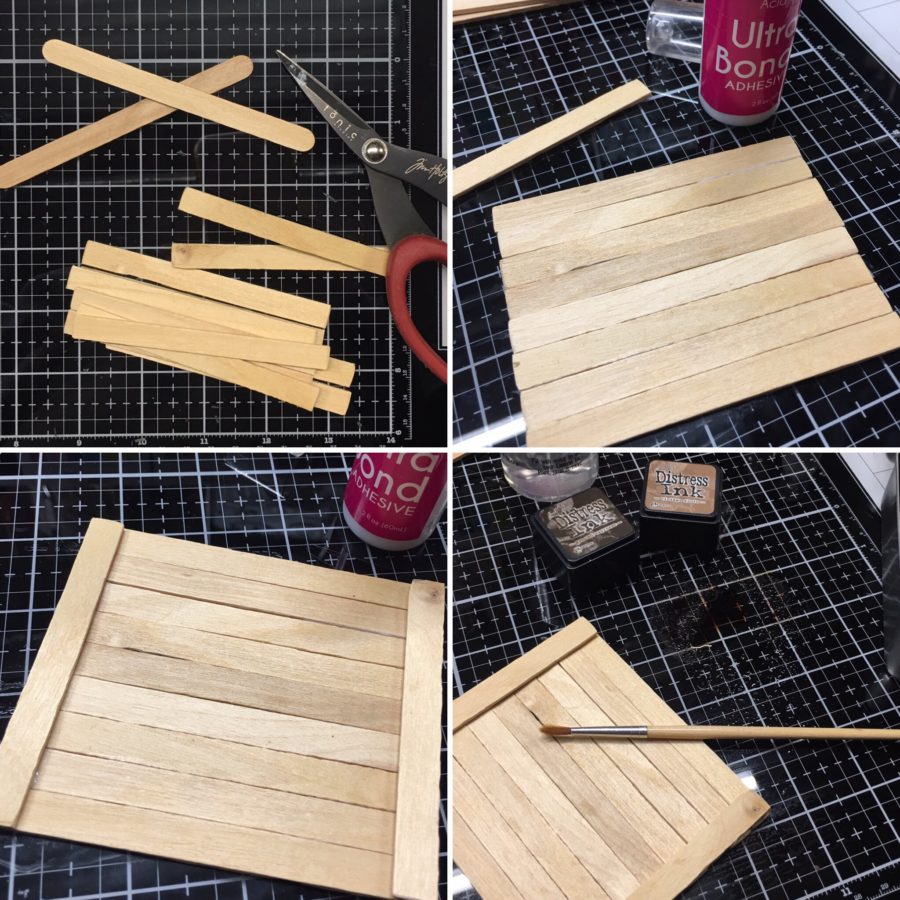
Start by cutting the rounded edges from your craft sticks. Apply iCraft Ultra Bond Adhesive to the edge of the craft sticks and adhere them together (I adhered nine together). Set aside and allow to dry. Once those are dry, cut two more crafts sticks to fit over the “pallet” you created earlier. Adhere these two pieces, one each to the top and bottom and allow to dry. Once the adhesive is completely dry, sand the mini pallet you’ve created.
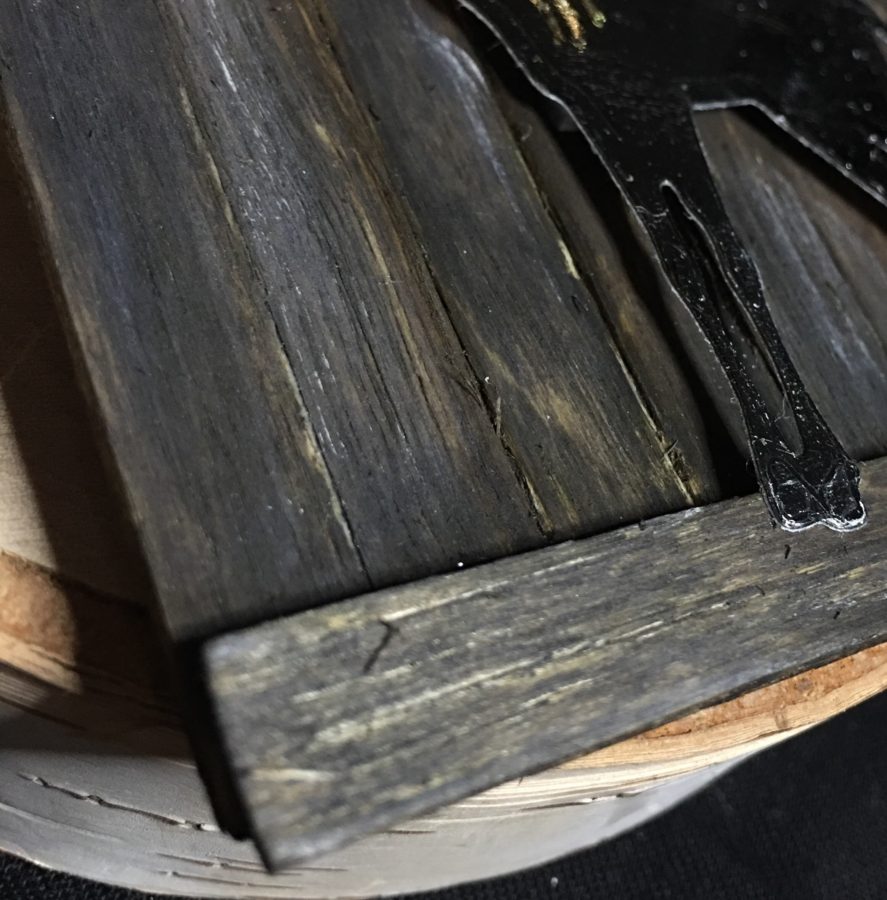
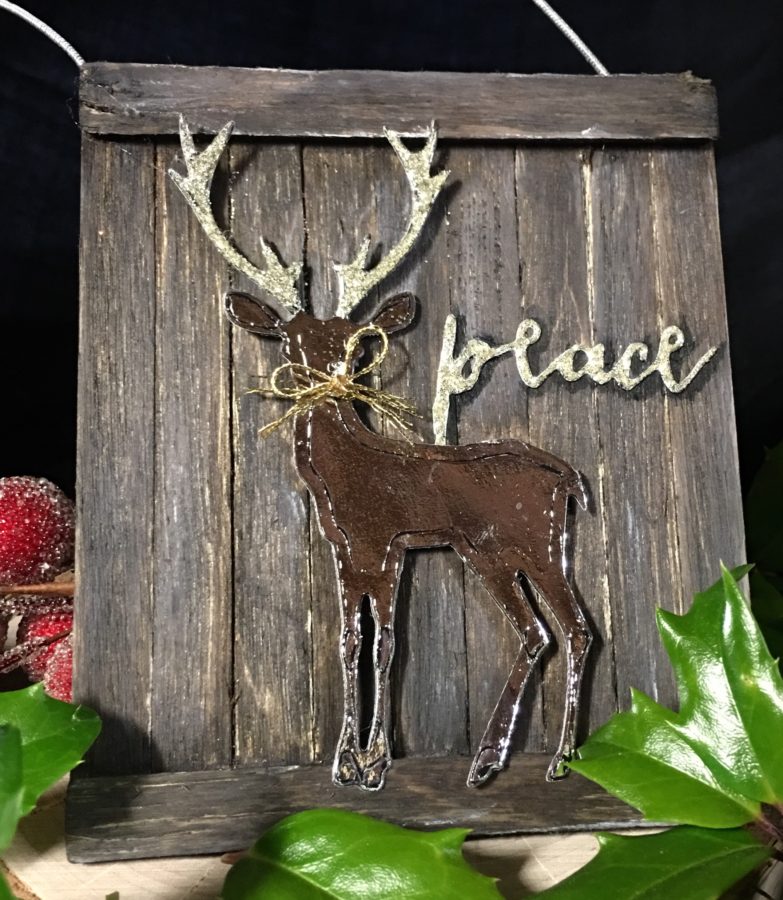
Using Distress Inks (I used Ground Espresso, Hickory Smoke and Vintage Photo) mixed with water, stain your pallet. This sounds simple, but I did this in several layers, sanding in between, dry brushing white craft paint, sanding again and staining again until I liked the tone of the wood. I was going for a dark barn look with a touch of that weathered gray look. Once I had the color right, I took a pair of tweezers and scraped up each “plank” separately. I really roughed up the ends of the horizontal pieces (see the next picture below). Once I had it really roughed up, I took a wet brush with a bit of Hickory Smoke Distress Ink and gave it one more light layer.
Hint: Once you cut the rounded edges from the first craft stick, use that one to mark the rest so that they are all the same length.
Step Two:
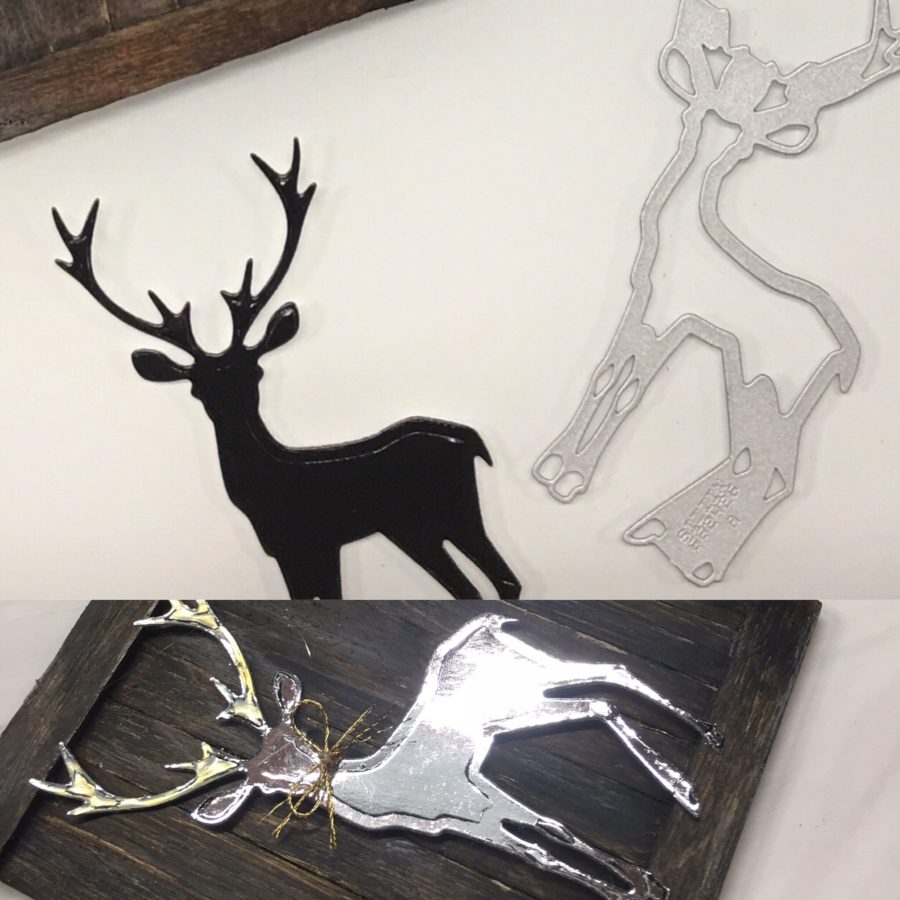
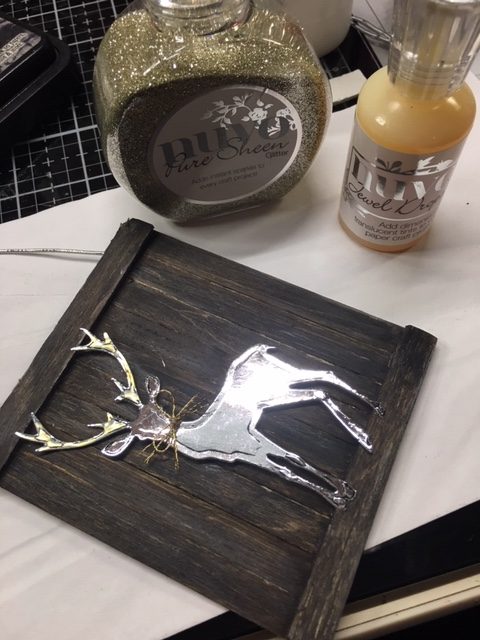
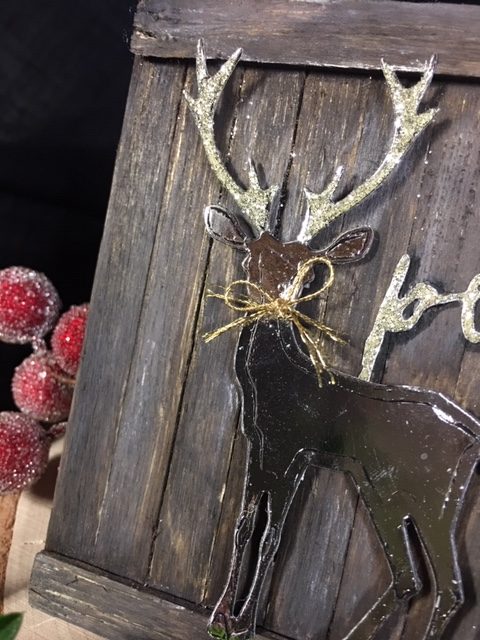
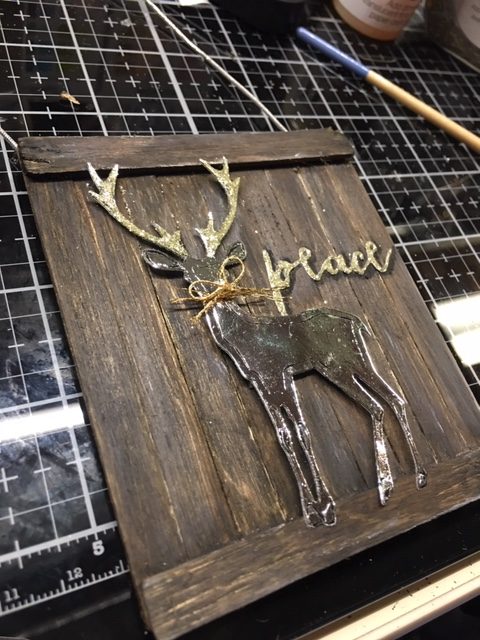
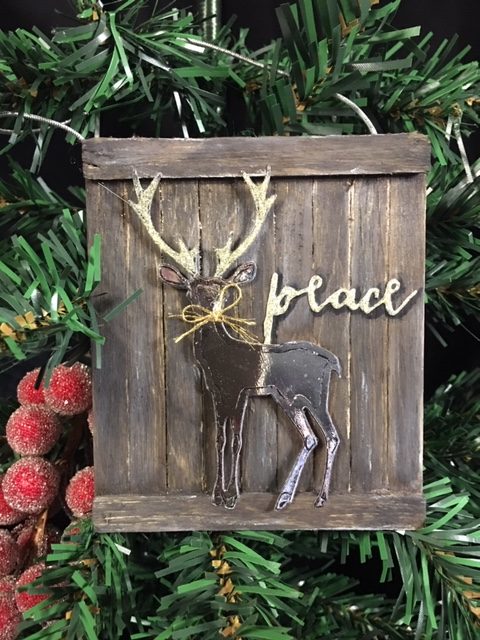
Die-cut a deer or deer head from PeelnStick Toner Sheets and foil with silver Deco Foil Transfer Sheets. I used the largest deer from the Tim Holtz Winter Wonderland (Sizzix) die set. Once the deer is foiled, glitter his antlers by adding a bit of Ultra Bond adhesive to them and dusting them with glitter. Once the glitter is dry, tie a bow around his neck and adhere him to the pallet using 3D Foam Strips cut to size.
Hint: To avoid the mess of using glitter, try a glitter glue or Stickles instead.
Step Three:
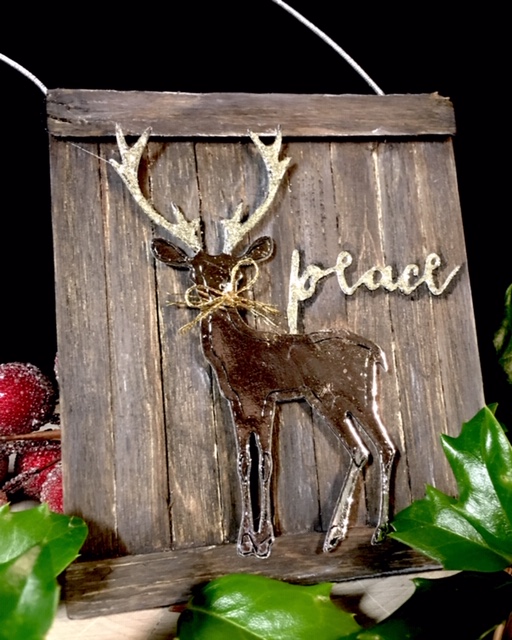
Die-cut a sentiment from glitter paper and adhere to the pallet.
Hint: In lieu of glitter paper, create your own. Smooth some Ultra Bond Adhesive onto a piece of cardstock and add glitter. After dumping off excess glitter, place a piece of leftover foil carrier (the clear piece that’s left after you use the foil) on top of the glittered cardstock and burnish it to make sure the glitter adheres completely.
Step Four:
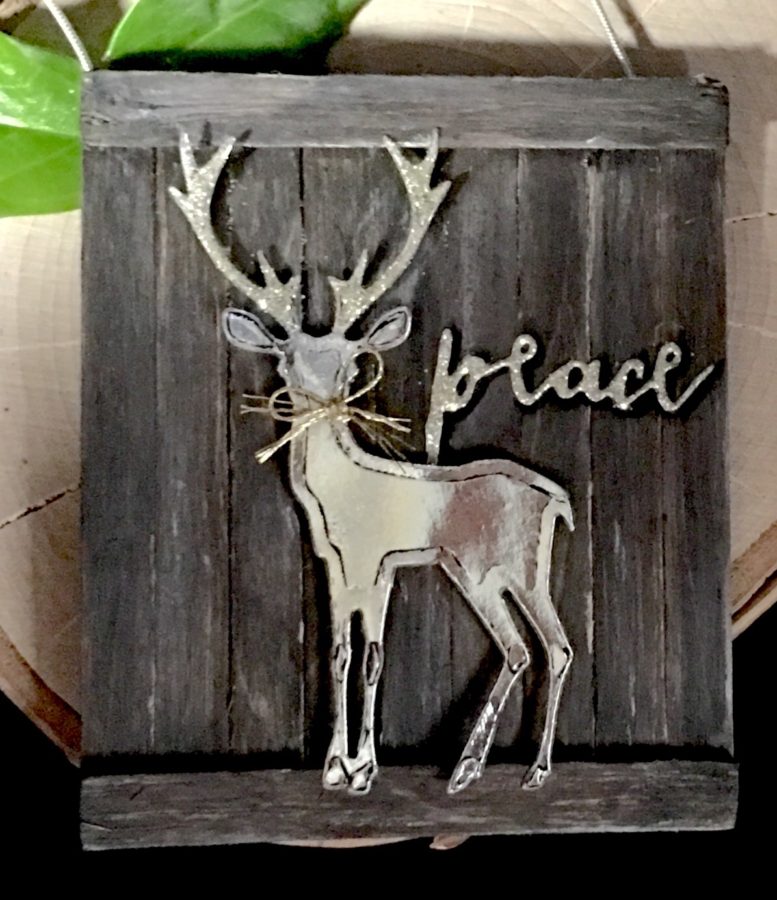
Add a hanger using silver twine or elastic and you have a faux barn wood Christmas ornament!
Thank you for stopping by for my tutorial. I hope this inspires you to create some “barn wood” of your own.
Wendy
Dana M
December 13, 2018 at 9:55 pm (5 years ago)Fantastic! Amazing ornament.