


Hi everyone! It’s Kim Lapacek of Persimon Dreams here! I’m finally back with the twelfth Mystery ‘Block of the Month’ featuring DecoFoils!

I hope you decide to join in the fun! Each block will be whimsical and fun and a perfect way to use up your scraps. In the end, you’ll have twelve 8-inch blocks that will make an adorable wall hanging OR you can use the blocks to make mini quilts, table runners, and pillows! Feel free to copy the button above and add it to your blog to share with everyone the fun we’re going to have with this quilt along.
Okay – time to reveal the twelfth block …

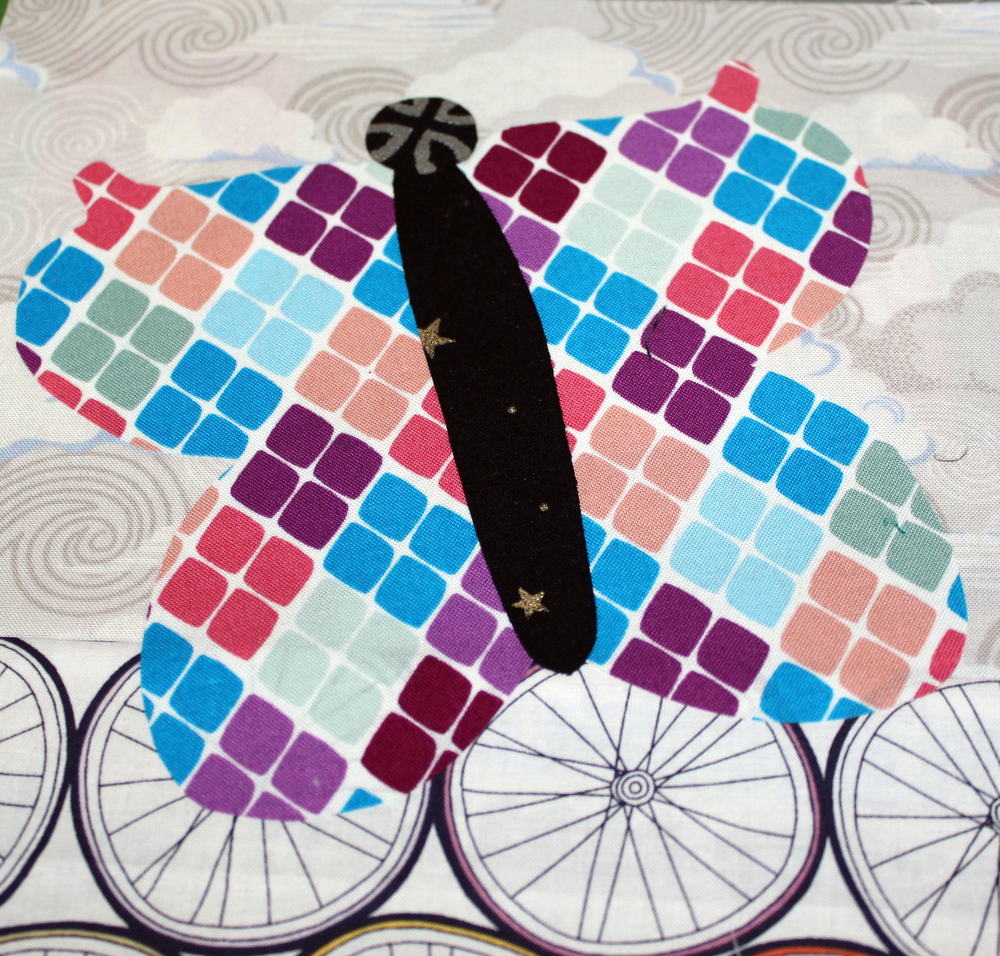
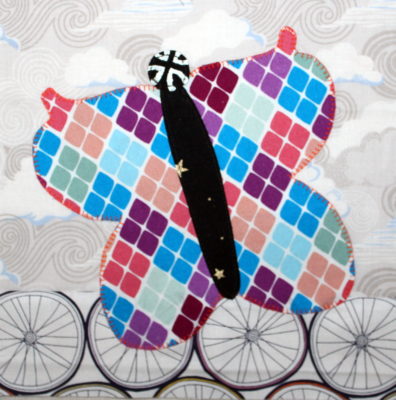
“Foiled Butterfly Block”
Supplies:
- “Foiled Butterfly Block” template PDF
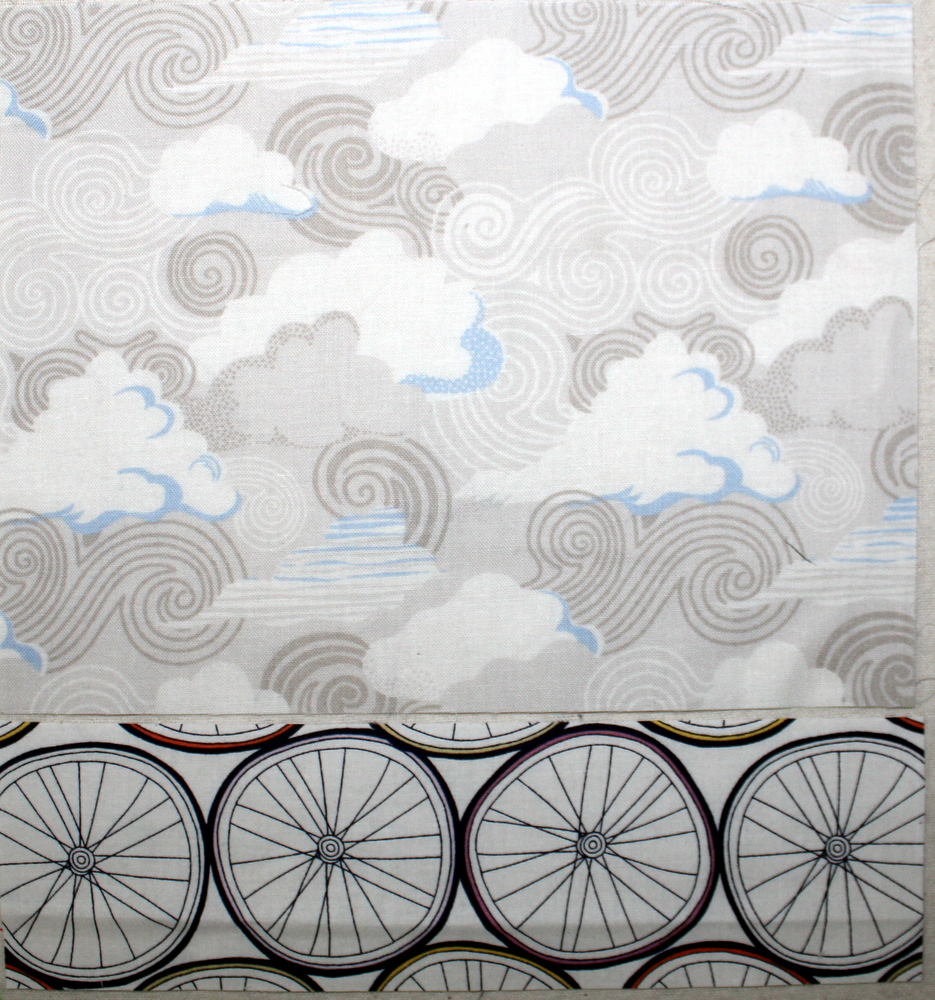
- Sky – 6.5″ x 8.5″ fabric
- Ground– 2.5″ x 8.5″ fabric
- Wings
- (2) 3.75” x 6.5” fabric
- Heat N Bond Lite: – just under (2) 3.75” x 6.5”
- Body
- (1) 1.25” x 5.25” fabric
- Heat N Bond Lite: – just under (1) 1.25” x 5.25”
- Head
- (1) 1.25” x 1.25” fabric
- Heat N Bond® Lite: – just under (1) 1.25” x 1.25”
Butterfly Directions:
Start by piecing the background of our block this morning. Take your 6.5″ x 8.5″ piece of sky fabric and sew it to the 2.5″ x 8.5″ piece of ground fabric.
 Press towards the ground fabric.
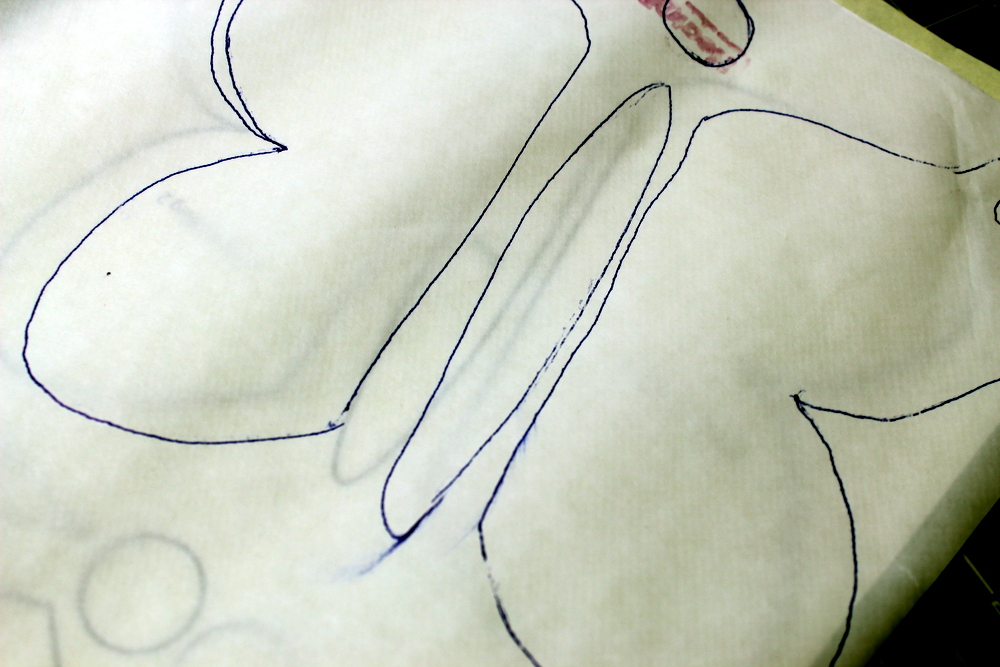
Now – take the templates you printed out after you downloaded it for free from my Craftsy pattern page and trace the wings, body, and head on to the corresponding Heat n Bond® lite pieces. Trim around the shapes but not too close to any lines.
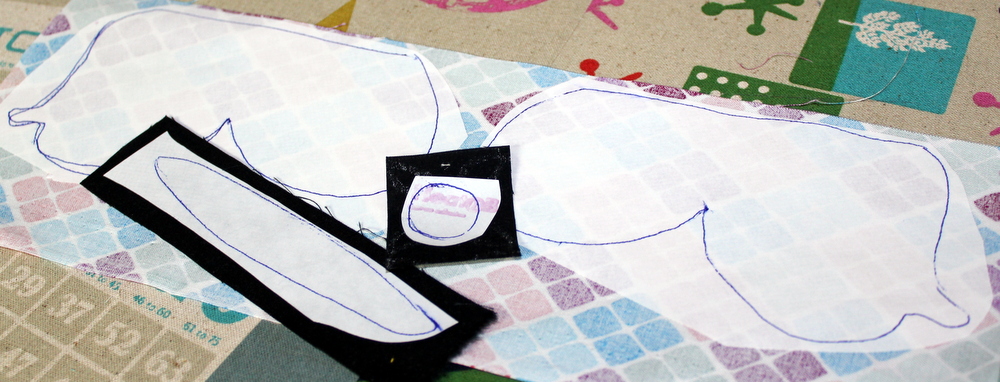
Press each Heat n Bond® lite shape to the wrong side of the corresponding fabric. Cut each shape on the lines you drew.
Peel the fusible paper off each fabric piece. Do this now so you don’t forget to do it before you do your final press. Press the wings, body and head down.
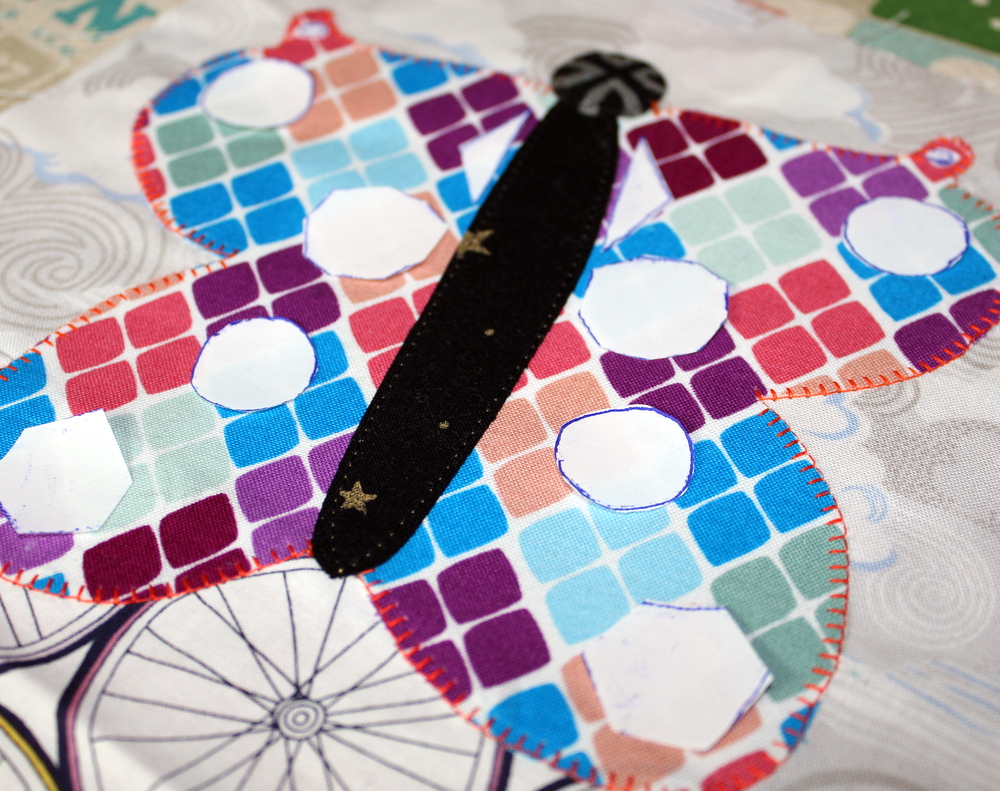
At this point, stitch around each of the pieces you fused down with the Heat N Bond Lite Fusible. I blanket stitched around the butterfly wings and free motion stitched around the body and head of the butterfly.
Now trace the geometric shapes onto iCraft® Deco Foil™ Hot Melt Adhesive. 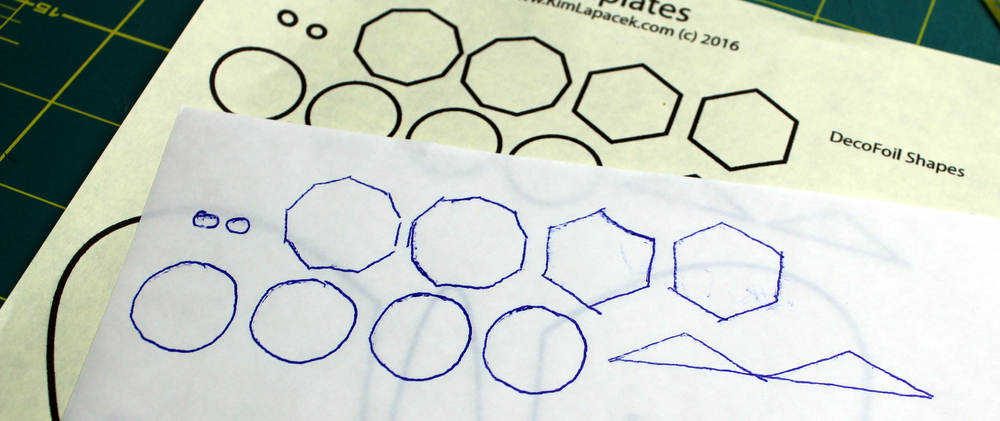 Cut these shapes out right on the lines. Place the shapes in the appropriate places on wings.
Take a Pressing Sheet and lay it over the shapes. Press for 30 seconds. Let the Deco Foil™ Hot Melt adhesive cool down. Seriously, let it cool down.
Let it cool down even more. And once it’s 100% cooled down, peel the paper off.
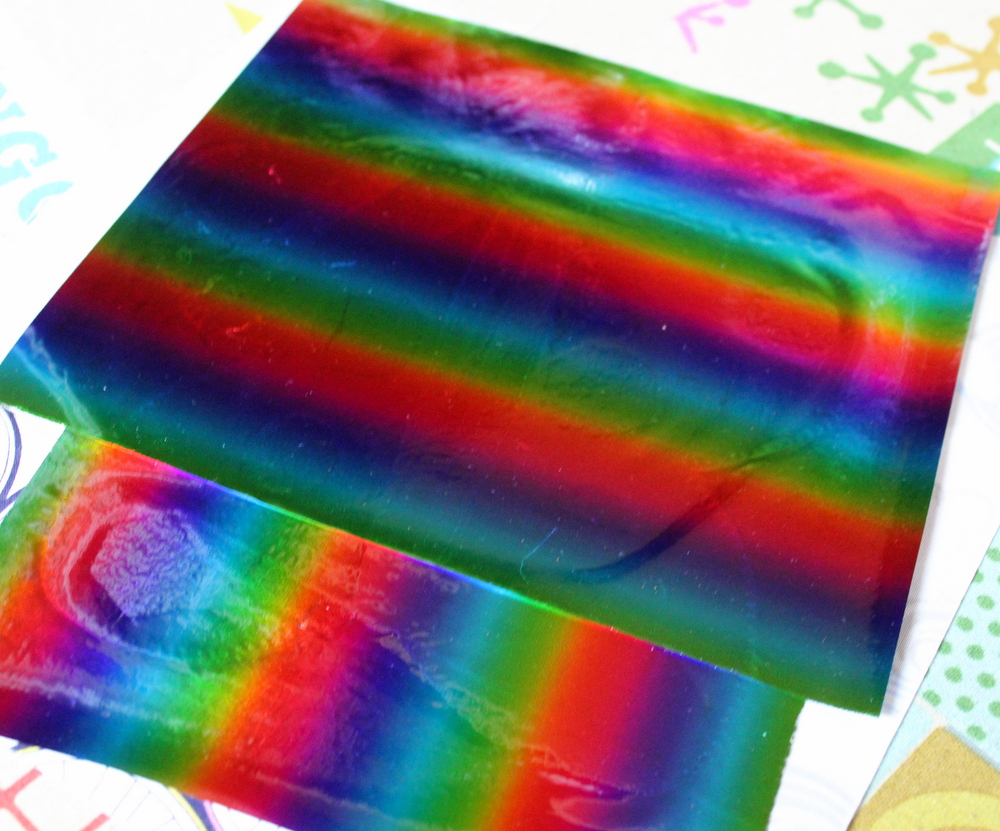
Lay pieces of rainbow DecoFoil™ over the shapes on the wings.
Take a Pressing Sheet and lay it over the DecoFoil. Press for 30 seconds. Let it cool down.
Once it is completely cooled down, peel the decofoil off the block. Voila!
You now have beautiful “Foiled Butterfly” block!
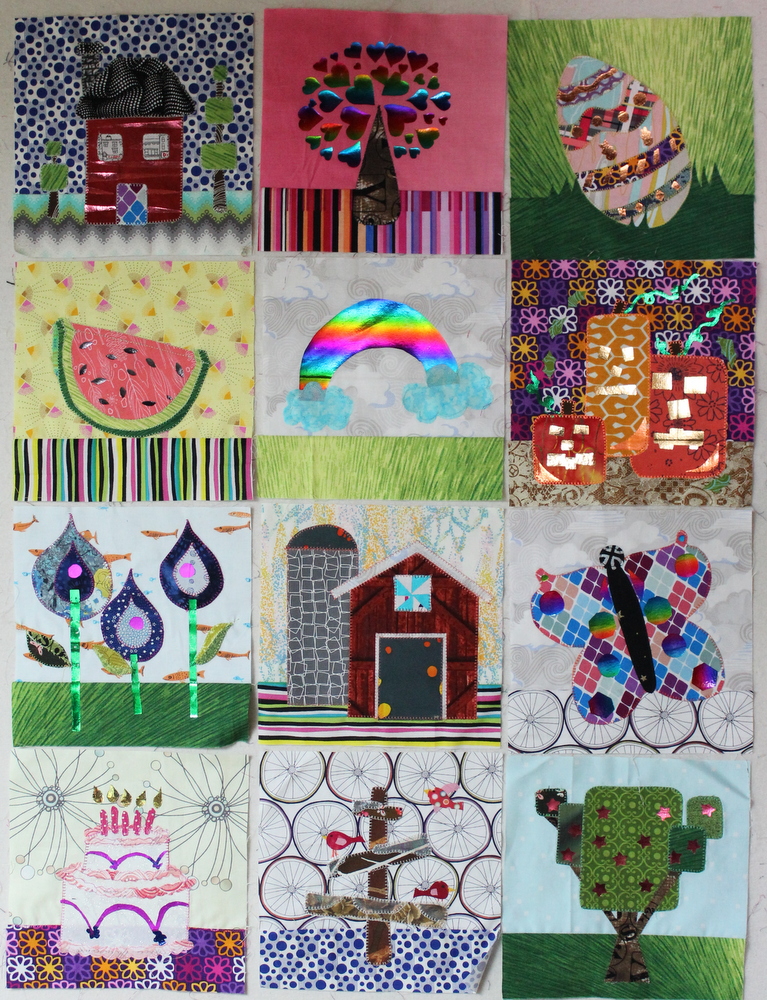
And this was the final block of the 12.
If you’ve followed along so far you should have all twelve blocks! If not … it’s not too late to join in! Here are the other eleven blocks -“Wish Upon an Apple Tree“, “Jack-O-Foil“, “House of Foil” , “Foil Covered Branches”, “Hearts of Foil”, “Foiled Egg”, “Foiled Cake,” “Mai Fleur Foil Flowers” , “Foiled Rainbow”, “Foiled Watermelon”, and “Shiny New Barn Quilt” I have shared with you so far. Do you have a favorite block of the bunch? I think I either like “Wish Upon an Apple Tree” or “hearts of Foil” or “Shiny New Barn Quilt” or … heck, I like them all!
The next thing I’ll share with you is an option for your final layout! Feel free to put all your blocks however you’d like though!