


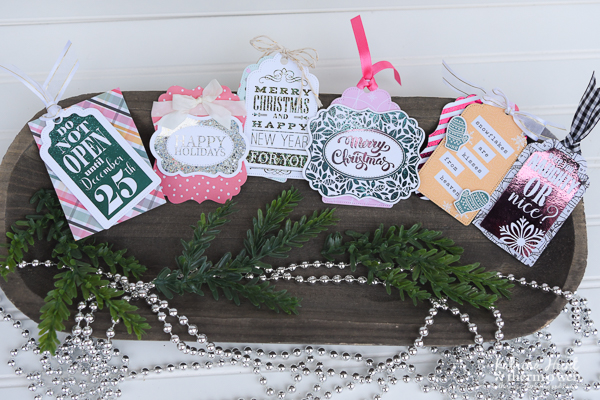
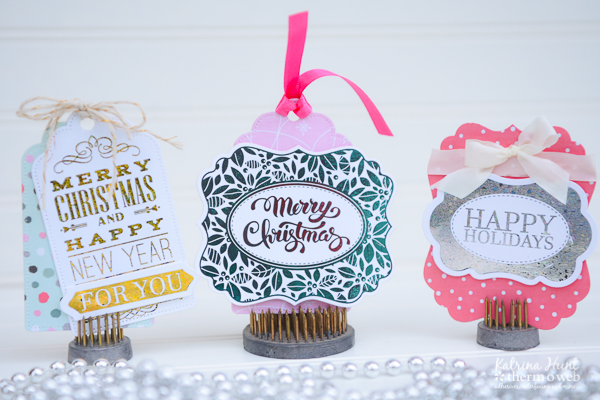
Hey there!! Are you a wrapper? Not the singing kind, but the “like pretty paper and bows” kind?! Well, I am! It’s Katrina from Paper, Scissors, and Glue here on the blog today to share some quick, cute and fun tag ideas using Gina K Designs Fancy Foils and Foil-Mates. Just add some coordinating pattern paper and you will be set to add these to your gifts this season!
Gift Tags with Gina K Designs Foil-Mates and Fancy Foils
Therm O Web Supplies Used:
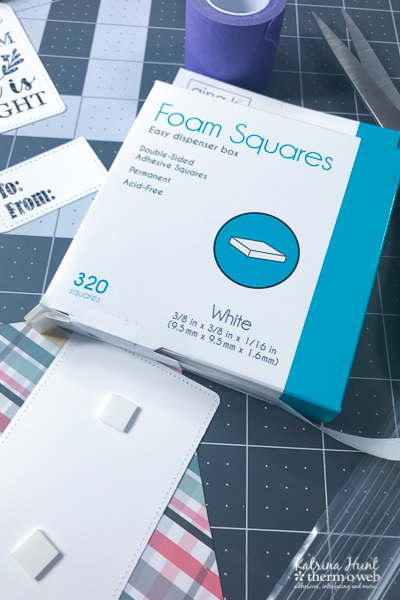
Gina K Designs Foam Squares – White (320 squares)
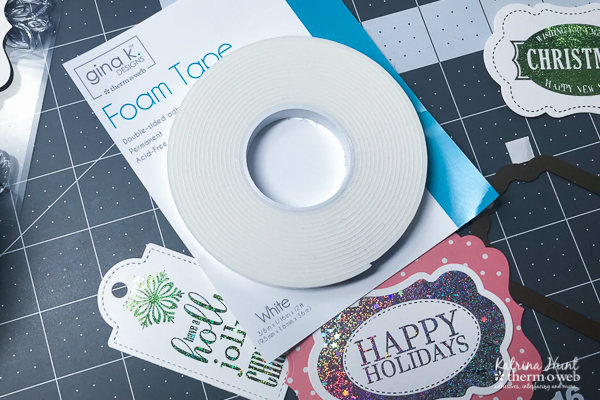
Gina K Designs Foam Tape 3/8″ x 12 ft.-White
Gina K Designs Permanent Adhesive Dot Runner
Gina K Designs Sheer Satin Fancy Ribbon 5/8″ x 10 yd-White/Gold
Gina K Designs Gingham Fancy Ribbon 5/8″ x 10 yd-Black/White
Gina K Designs Fancy Foils-Bubblegum
Gina K Designs Fancy Foils-Passionate Pink
Gina K Designs Fancy Foils-Turquoise Sea
Gina K Designs Fancy Foils-Silver Sequins
Gina K Designs Fancy Foils-Gold Sequins
Gina K Designs Nested Tag Dies-Set of 4
Gina K Designs Nested Label Dies-Set of 3
Gina K Designs Foil-Mates Sentiments-Tag Tidings
Gina K Designs Foil-Mates Sentiments-Festive Labels
Gina K Designs Foil-Mates Backgrounds-Ornamental Holiday
Laminator
iCraft Purple Tape
Other Supplies Used: Twine, Pink Ribbon, Cream Seam Binding, Pattern Paper (Simple Stories)
Creating the Gift Tags
Start by turning on laminator and letting warm up for at least 20 minutes (30 is better!)
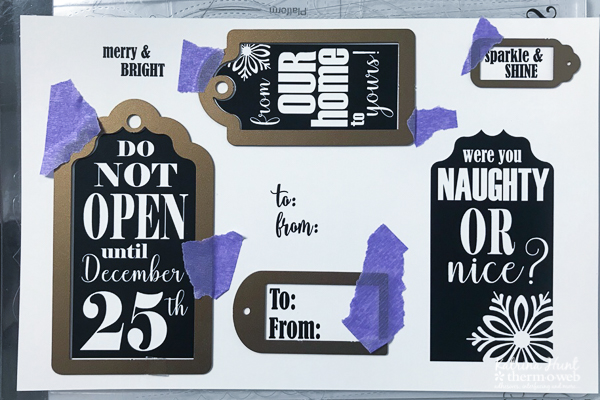
While laminator is warming, die cut Foil-Mates toner sheets using Purple Tape to hold dies in place around the toner images. Cutting multiple images at the same time is a great time saver and makes quick work of the die cutting process.
While you have the dies out, cut out some additional tags from pattern paper to create some fun backgrounds and extras for your foiled images. Also, use the dies to cut out Foil-Mates Background tags to embellish with some pattern paper and stickers.
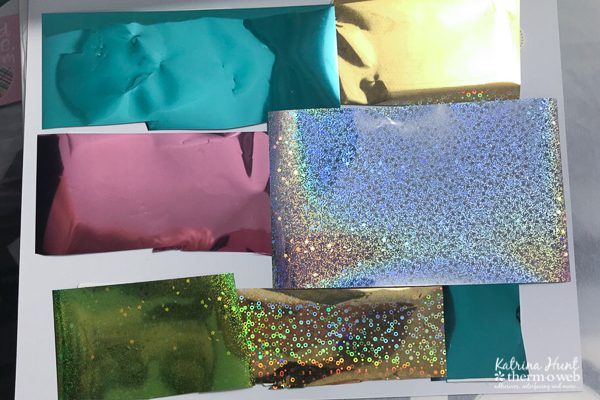
After you have sayings and tags die cut, use a variety of the Fancy Foils to foil the die cuts. Again, save time by foiling multiple images and tags all at once.
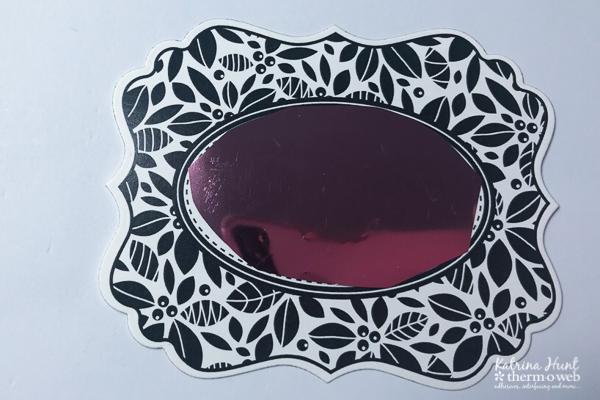
Create multi-colored images by cutting foil smaller and foiling one color at a time. Here I foiled the “Merry Christmas” in pink first and then ran the image thru the laminator again foiling the outside foliage of the label in turquoise.
Use a combination of adhesive to adhere the tags together. Most of the tags I have used the new Gina K Designs Foam Squares and Foam Tape to give the tags some dimension. I also used the Permanent Adhesive Dot Runner for areas that didn’t need a little “pop”.
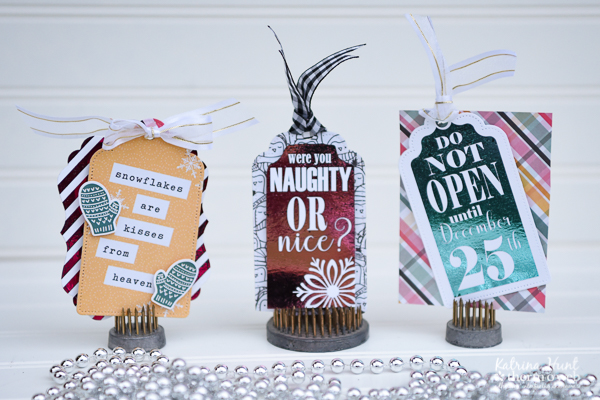
A few fun tips. The large tag die will almost fit completely on a 3×4 journaling card. You may have to wiggle it to make it work, but I cut two of the tags below from 3×4 journaling cards. The “snowflake kisses” and the background on the “naughty or nice tag. Trim the labels and tags to make them fit and change them up. The “naughty or nice” tag was originally die cut with the large tag die. After cutting, I decided it would look cute using the penguin journaling card as the background. But I didn’t have a bigger tag die. So I trimmed my foiled tag down and used the large die to cut the journaling card. By trimming off the excess, you can see the penguin background and it gave me a different way to use the toner sheet!
Now, to buy some wrapping paper to match these little beauties!! Shhh…don’t tell anyone, I am a wrapping paper hoarder too!! Have a wonderful holiday season and make it a homemade one with some foiled gift tags!