


Hello everyone!
I am happy to introduce myself as a new member of the Therm O Web Design Team!
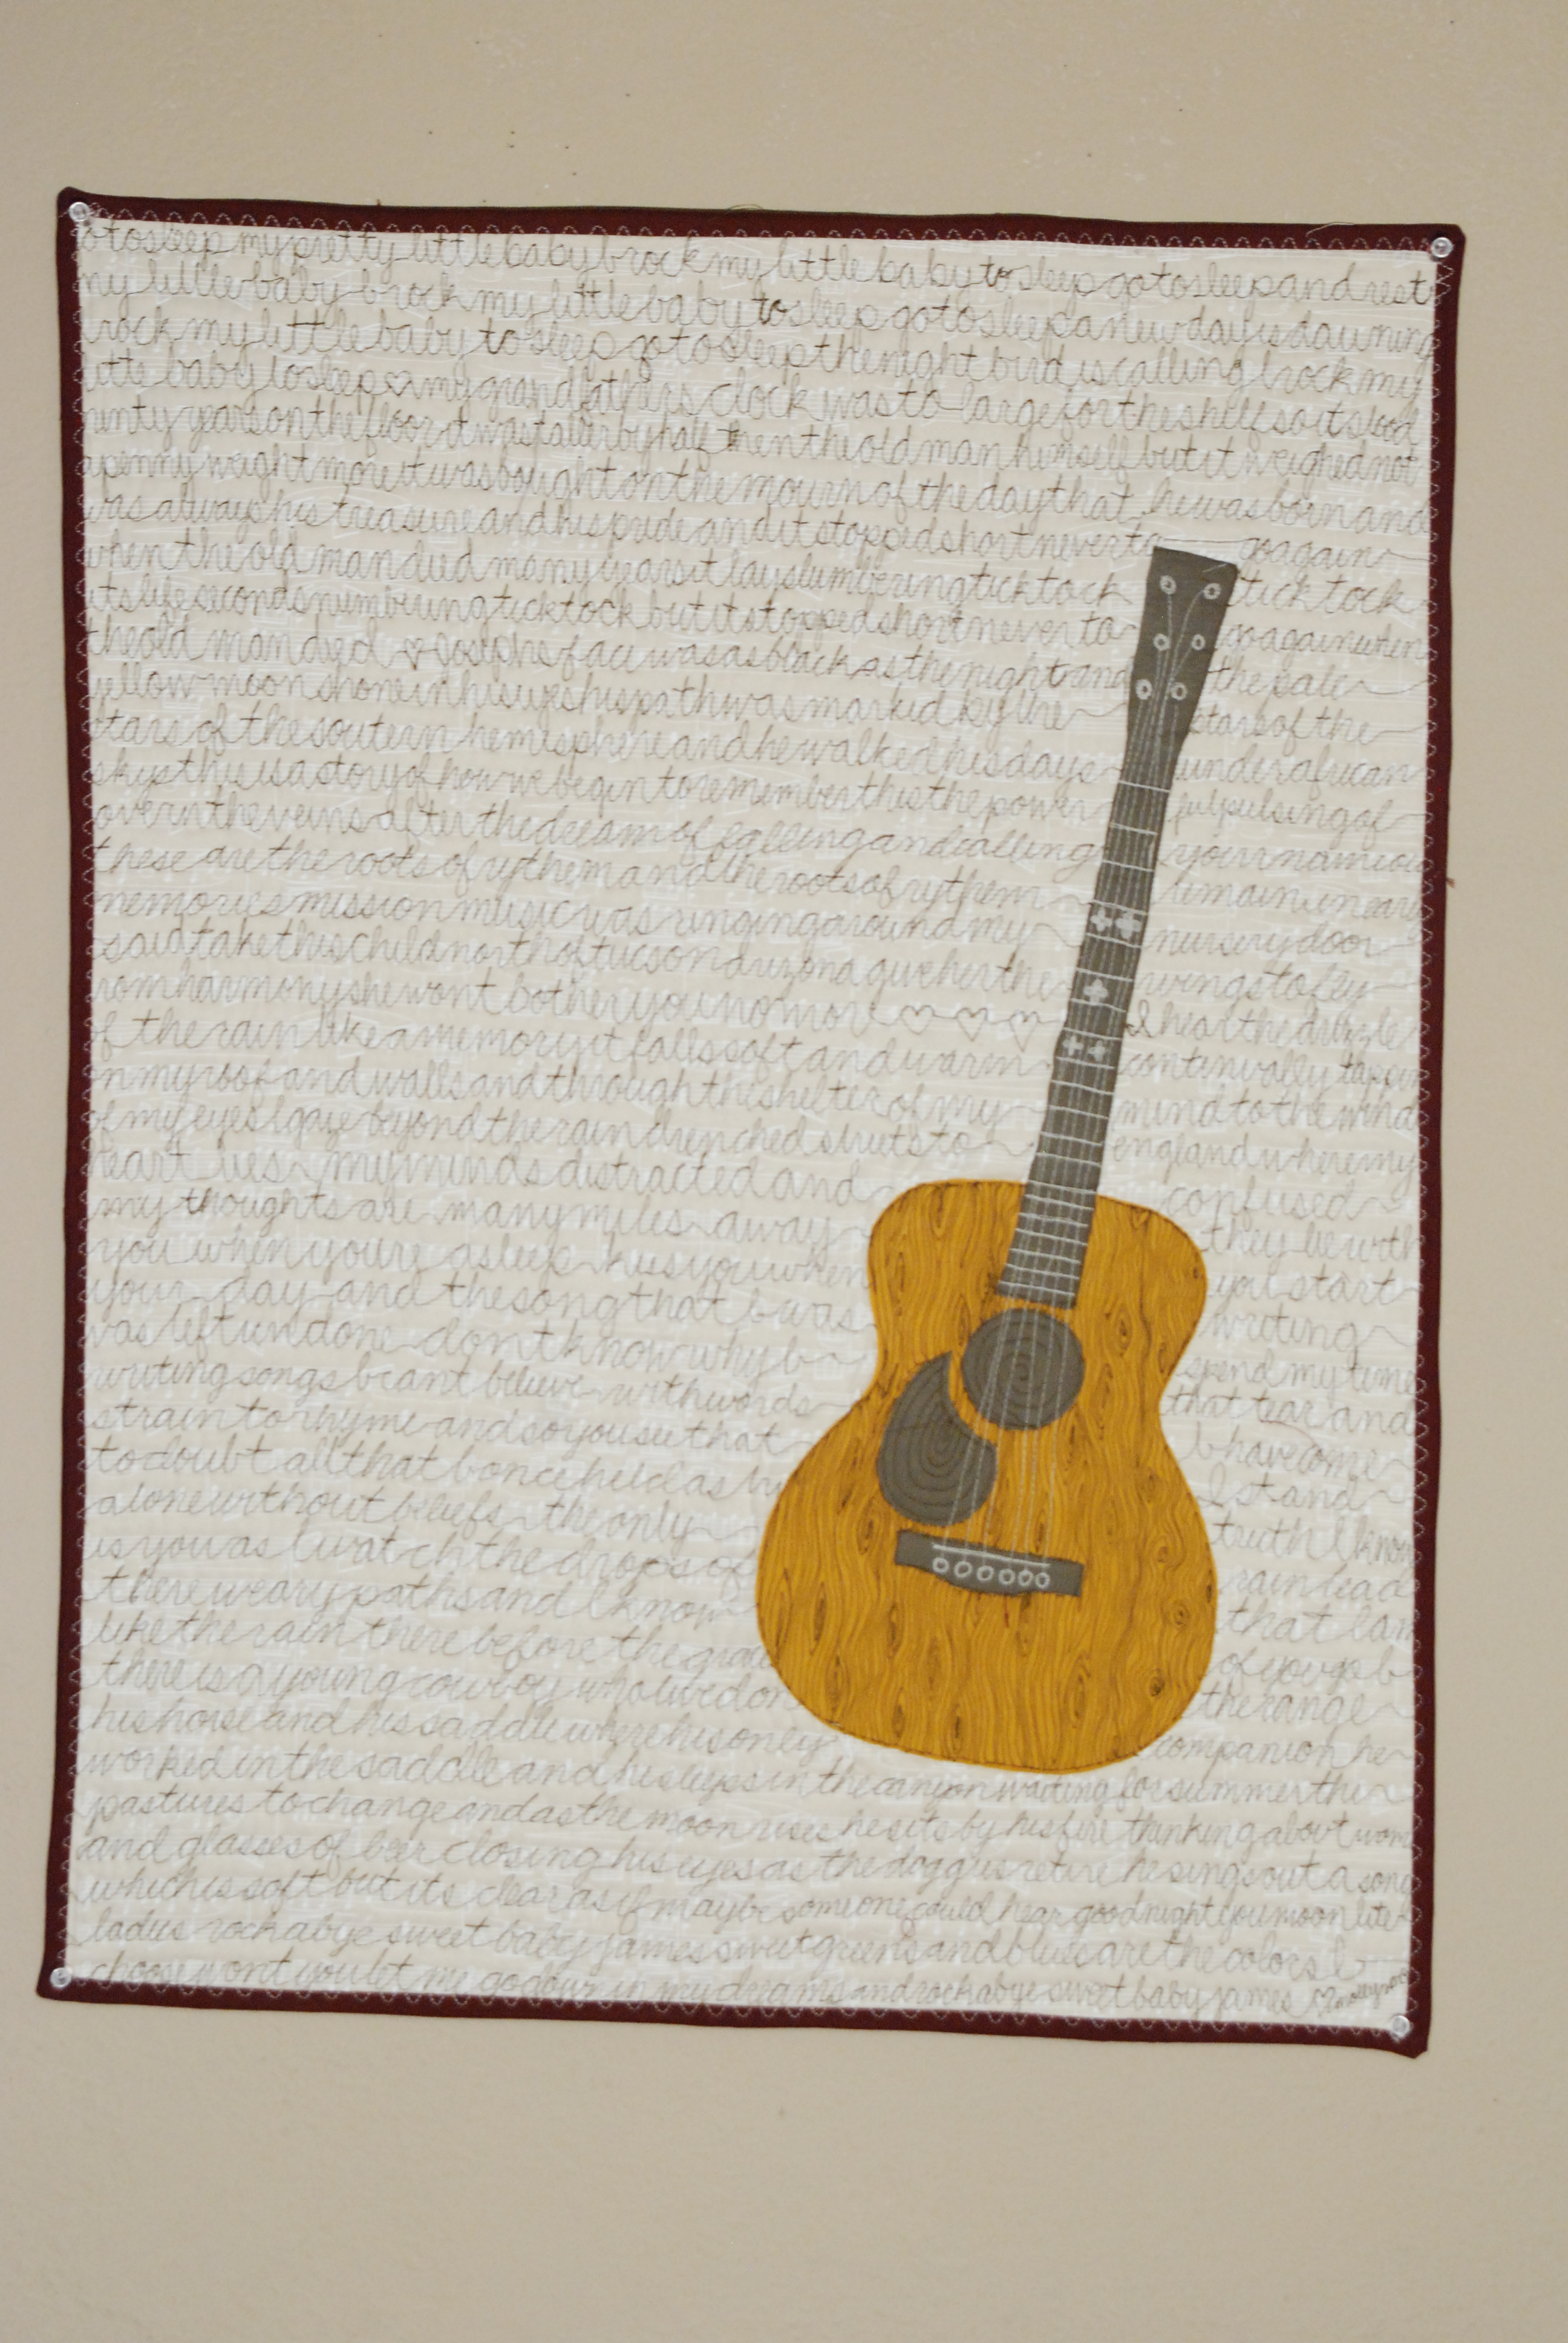
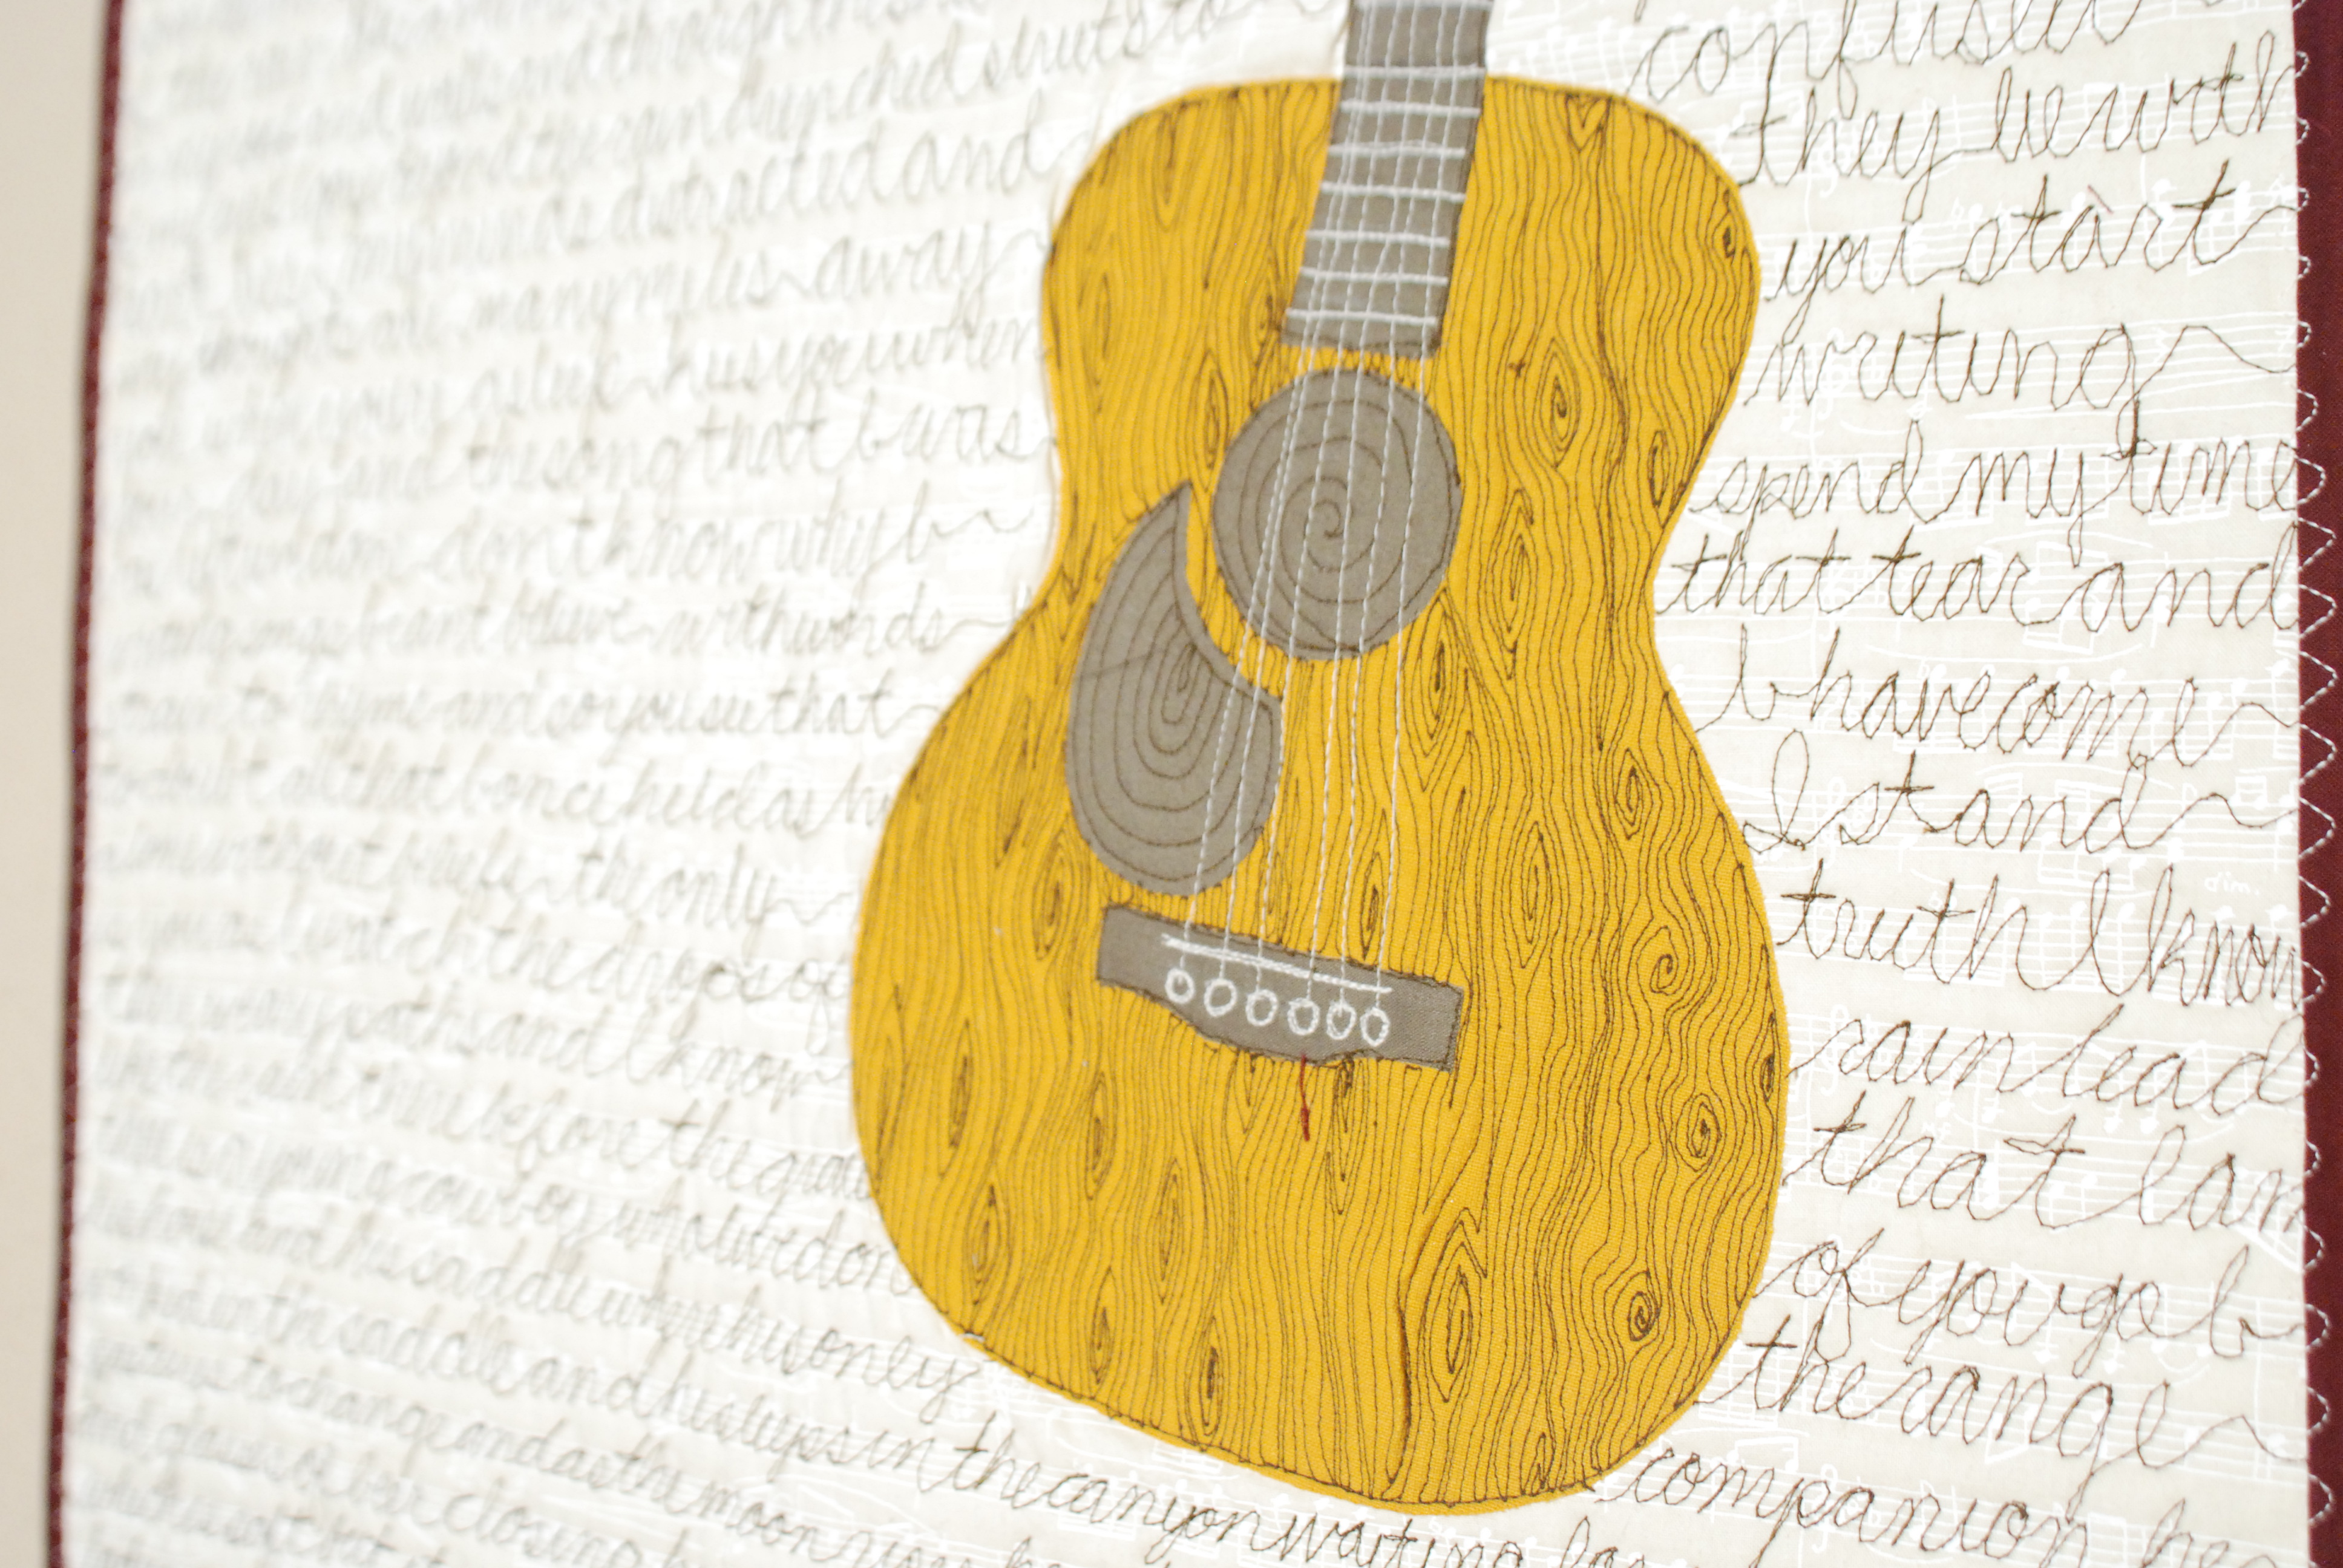
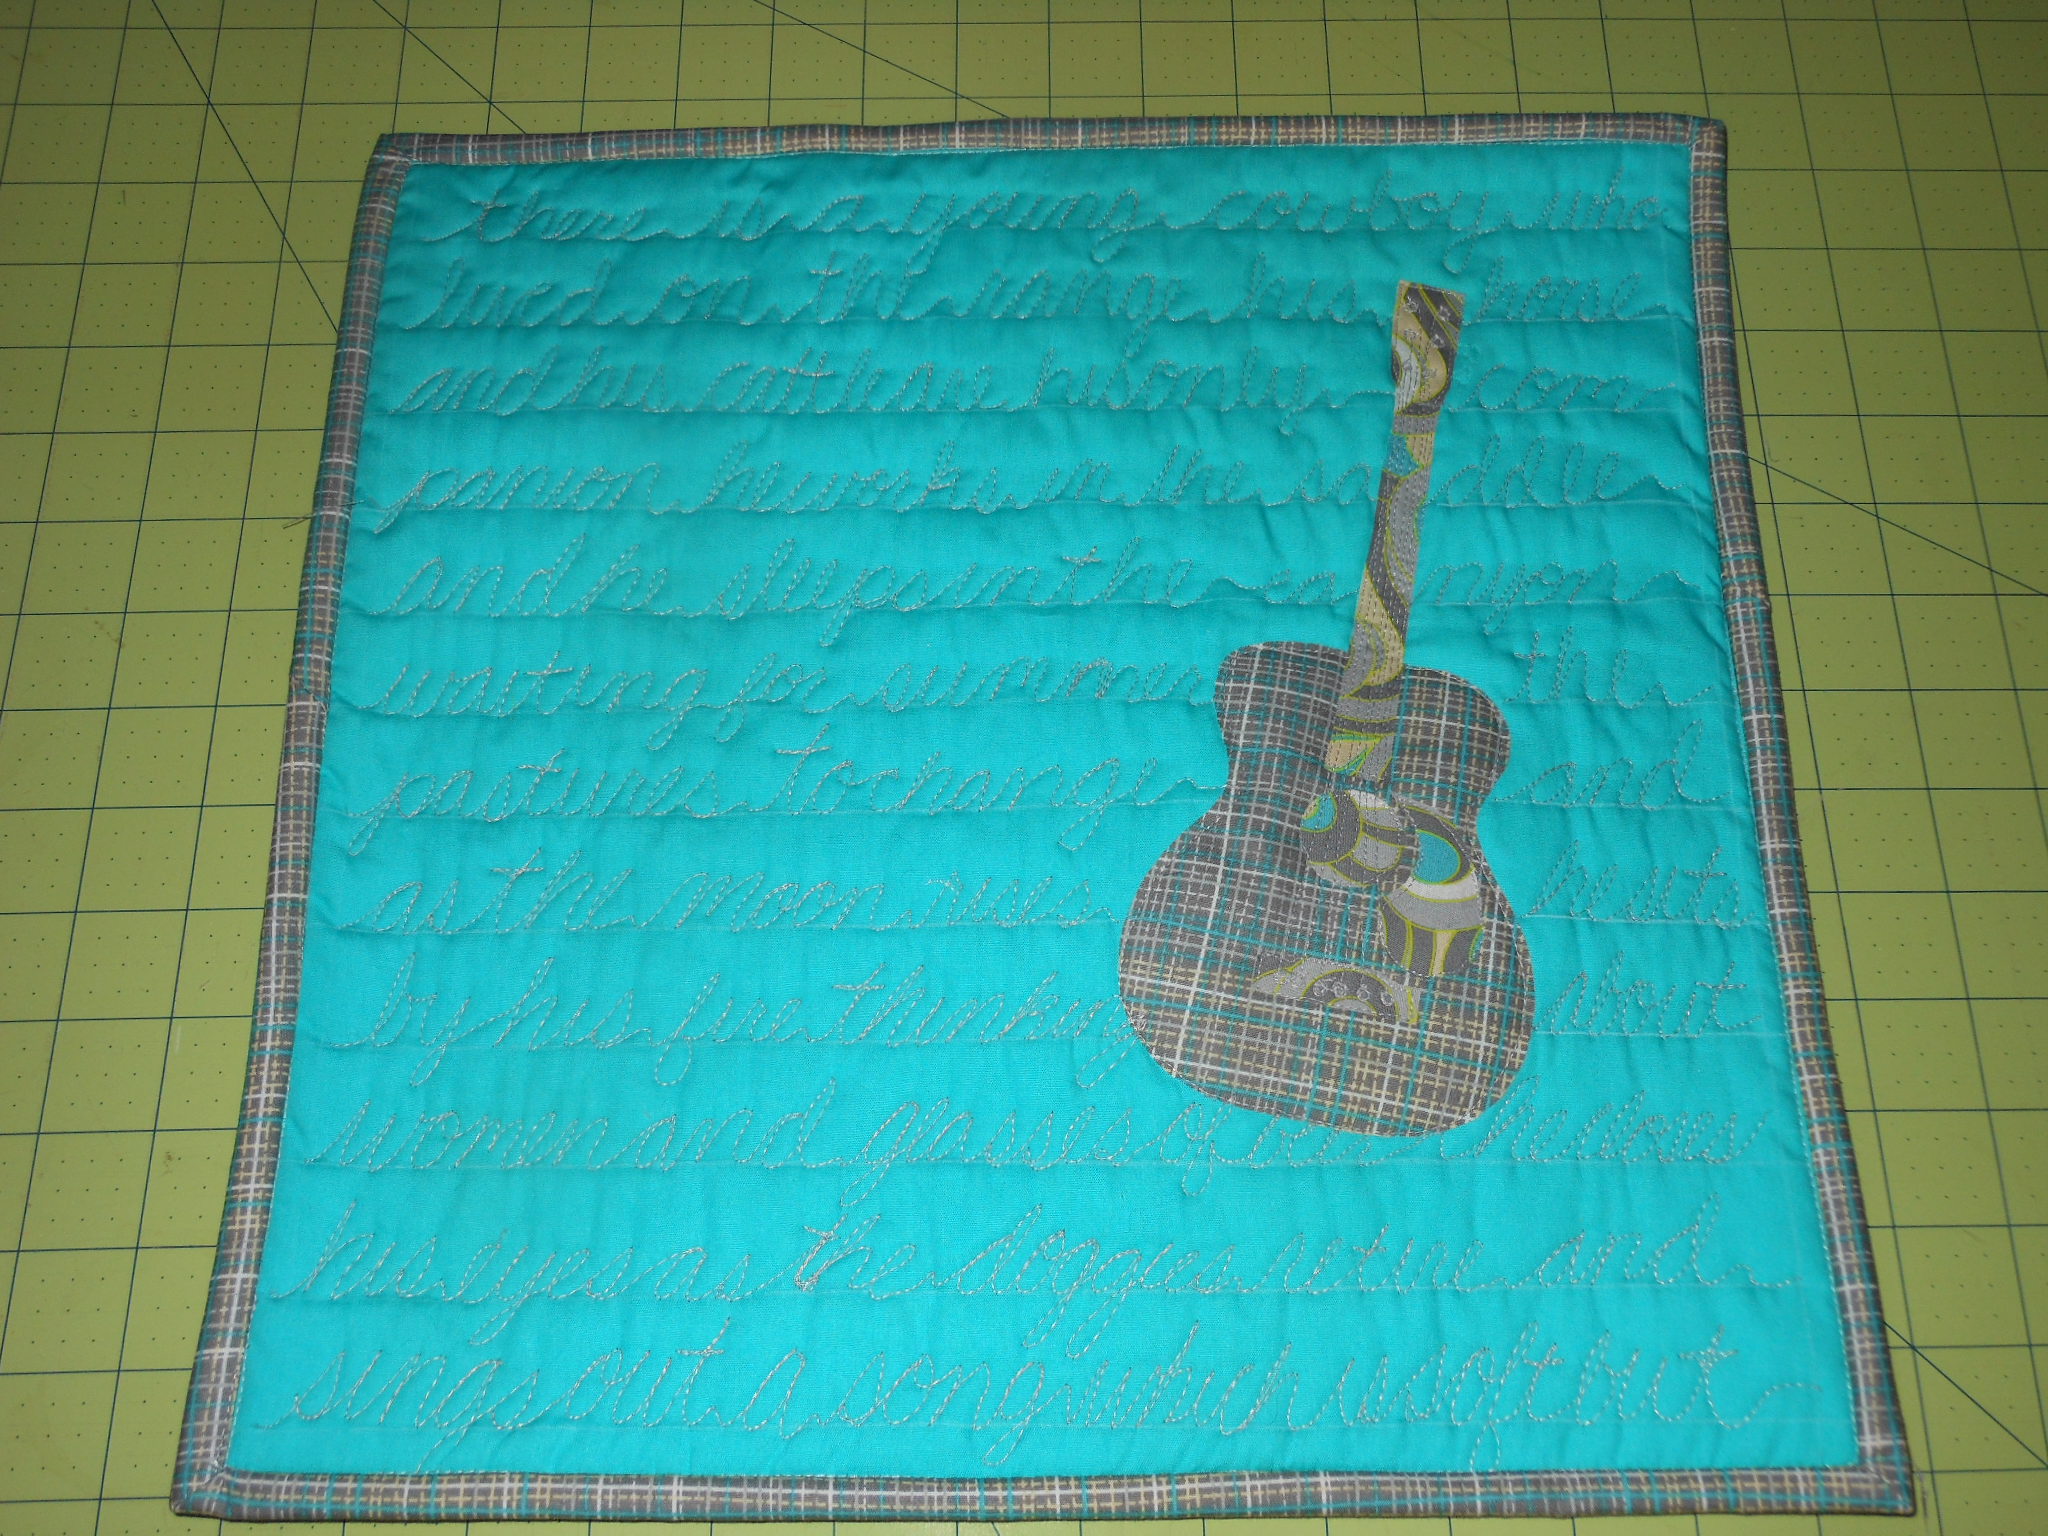
My name is Molly, I blog at SewWrongSewRight.blogspot.com and I have been quilting for almost a decade now. I particularly love free motion quilting, and I often seem to design my projects around free motion quilting designs I want to try out. The project I am going to share with you today exemplifies what I mean, as I have been playing around with handwriting quilting- and wanted to design something to practice that. It was fathers day a few weeks back and I wanted to make my dad something extra special, and try out more handwriting quilting.
I thought back to my childhood and remembered the many hours we would spend together, him playing the guitar and me singing along to our favorite songs. I figured that inspiration could certainly be translated into a quilt, and so I made him the quilt pictured below. I appliqued the guitar on and then quilted in the lyrics to some of those favorite songs. I really loved the end result, and after some encouragement from the other Therm O Web designers I thought perhaps many of you might have a guitarist in your life that you might like to honor, and so I present the guitar applique tutorial.
I will show you how to make your very own guitar to applique to anything you like. Bonus points to anyone who tries to quilt in lyrics in the background of the guitar~
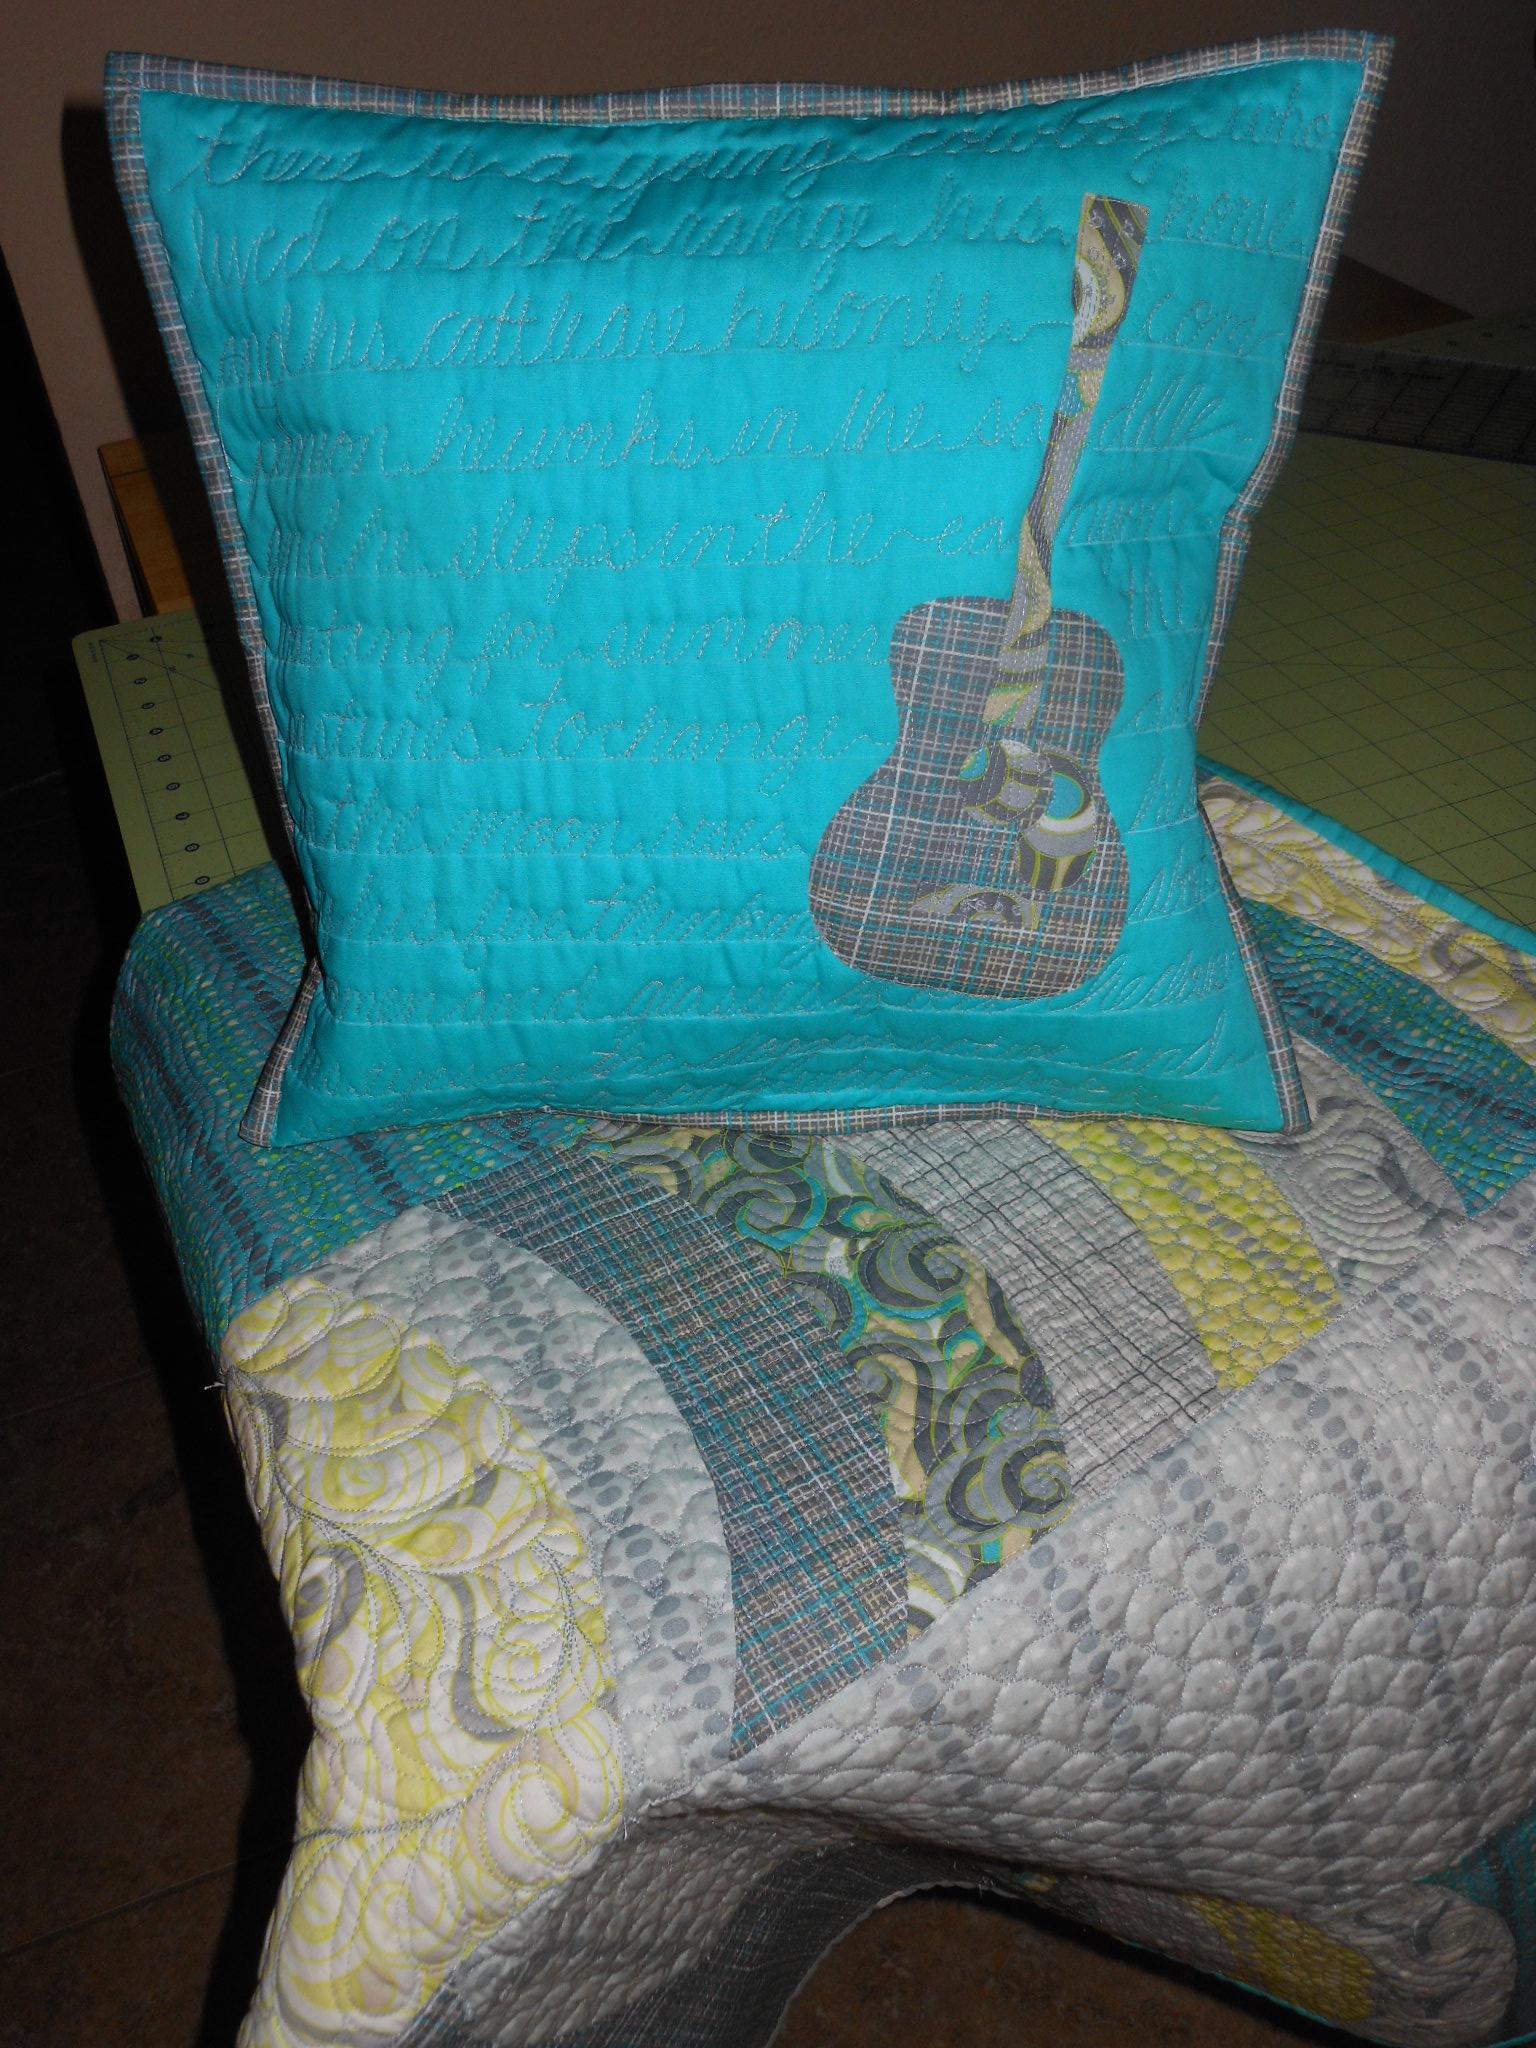
Unfortunately I didn’t originally think about making a tutorial when I made this quilt, so I didn’t take process pictures. I still wanted to share the method of making the guitar, so I made another guitar project- this time a pillow- and I will show you how I did it below.
Supplies Needed:
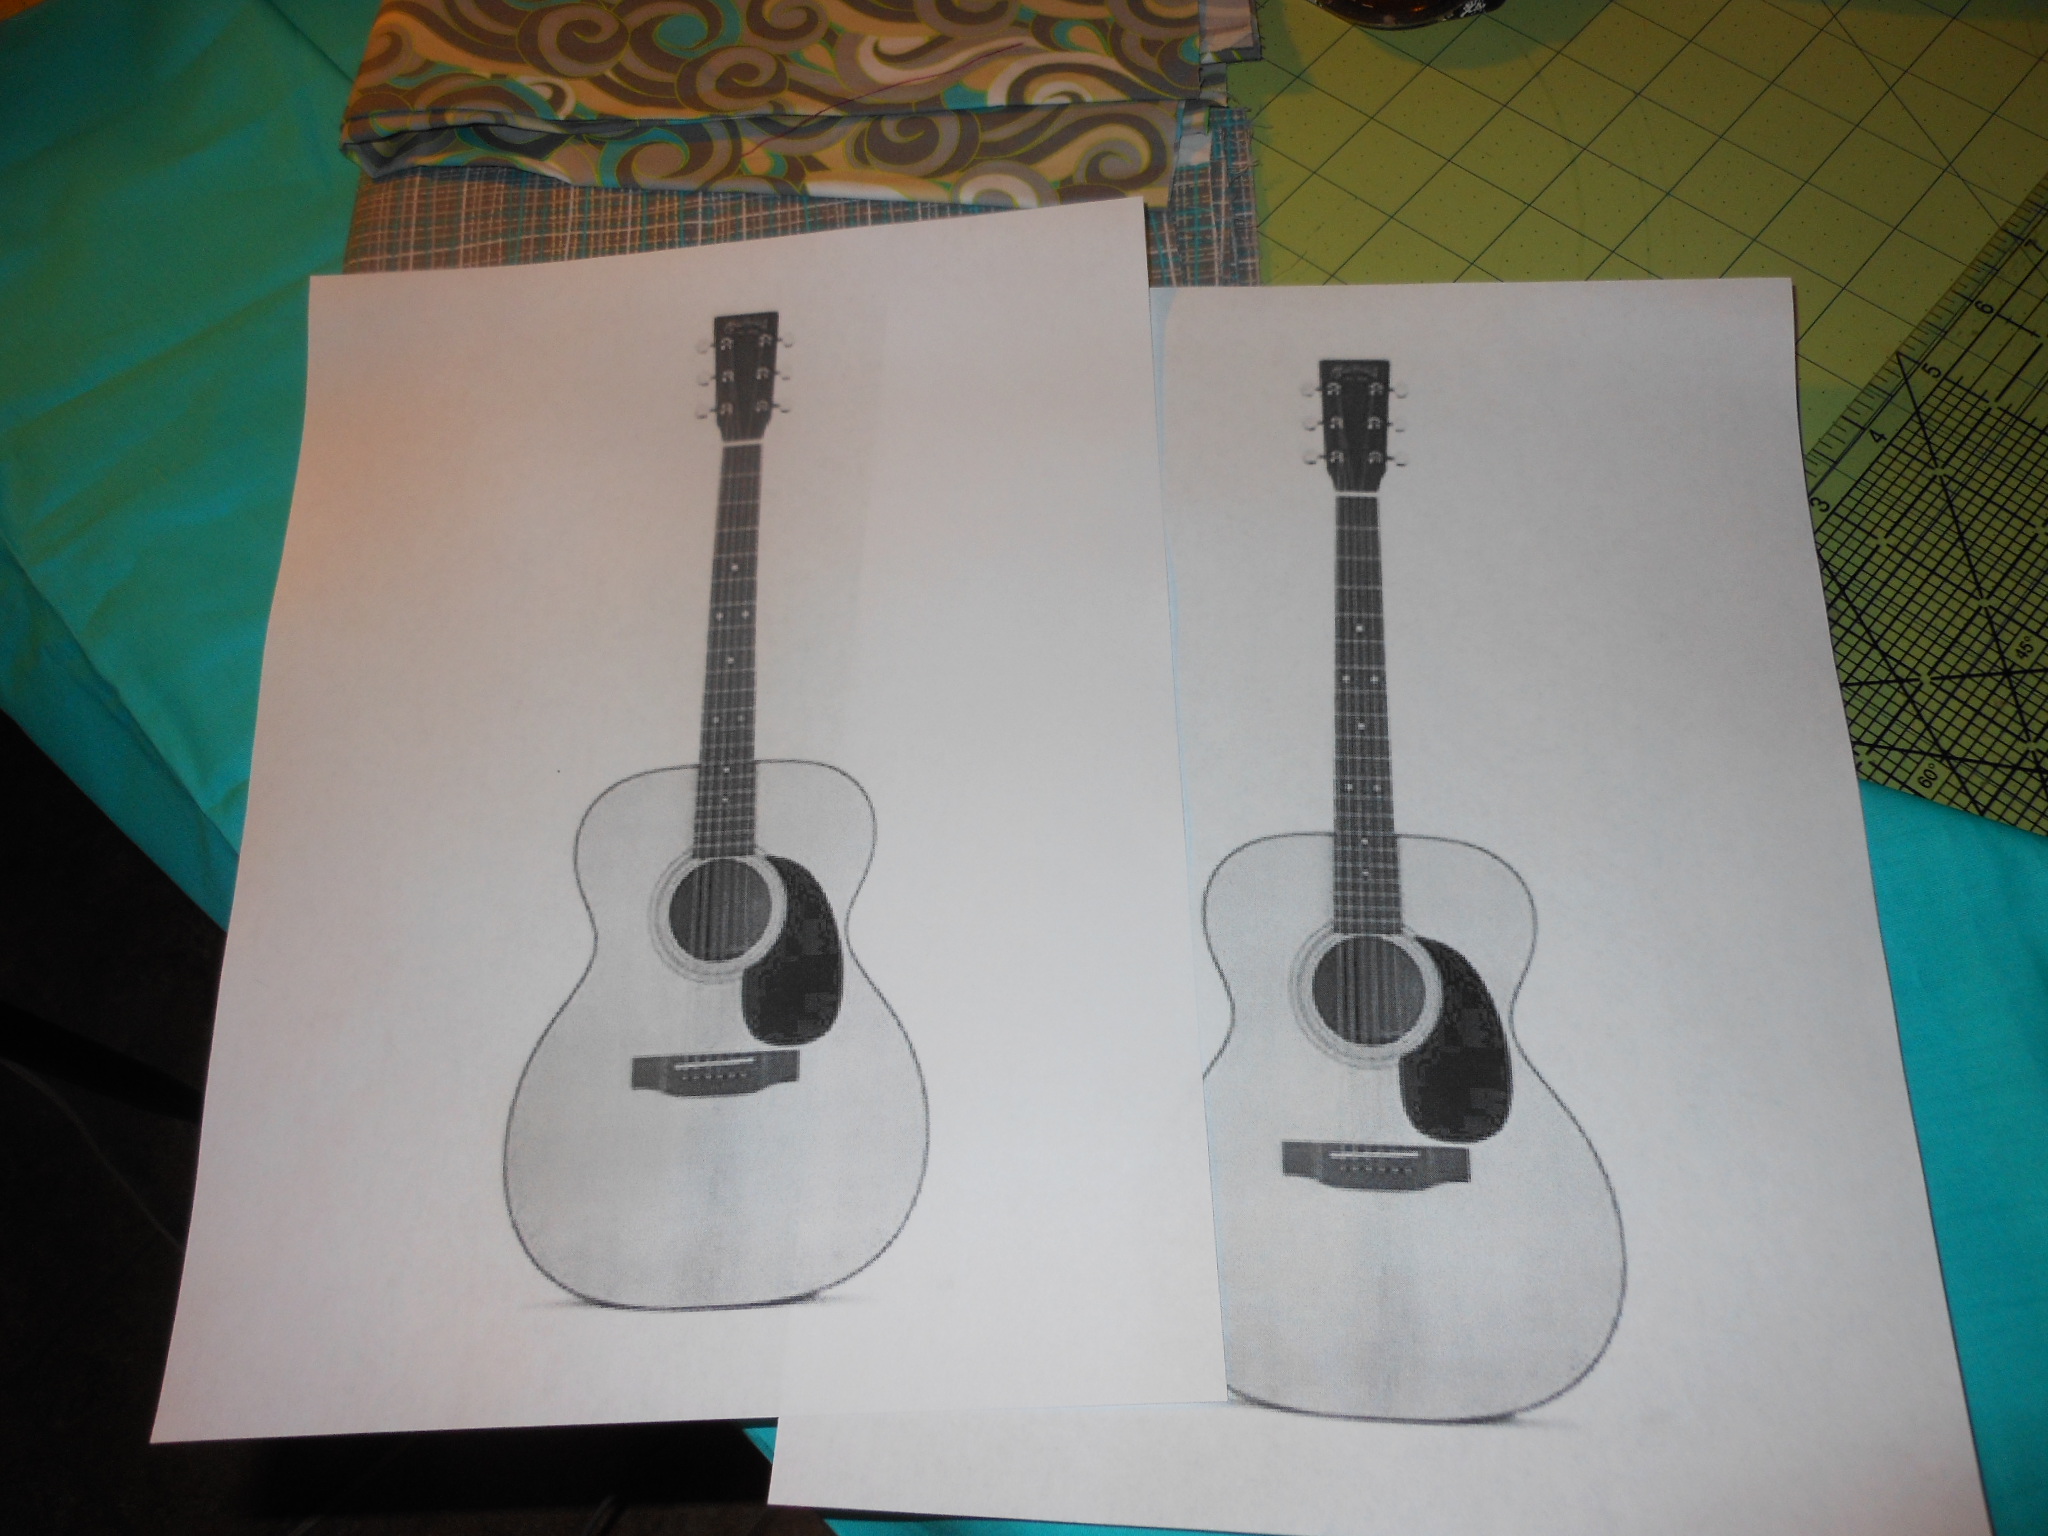
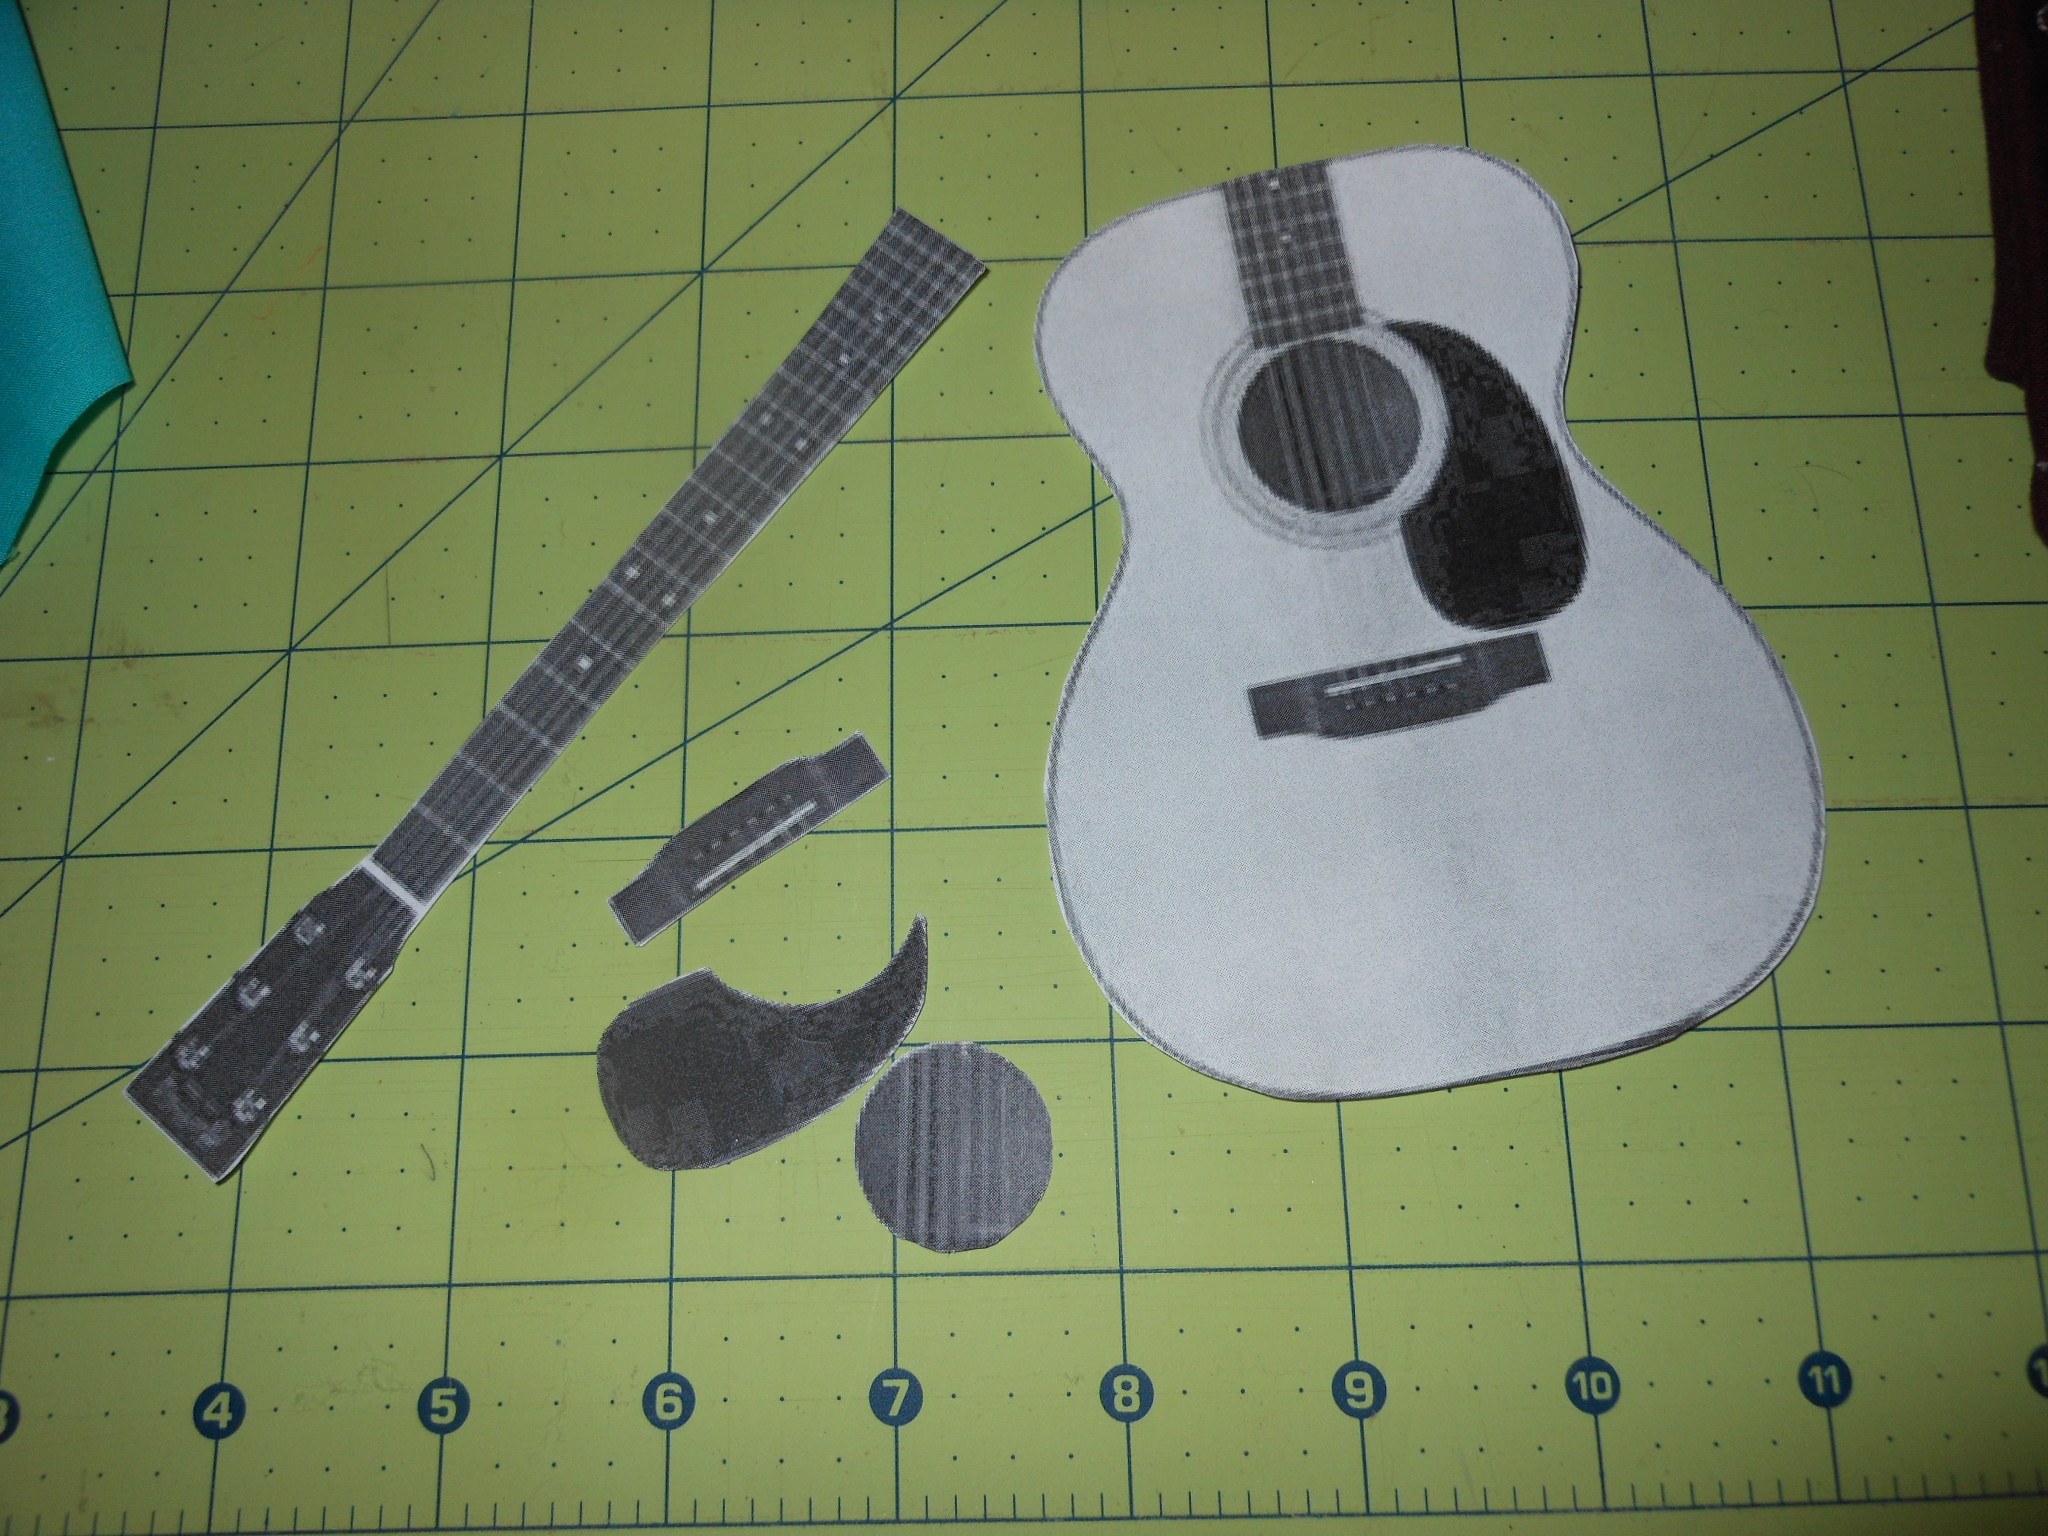
2 print outs of guitar picture in desired size
fabric big enough for guitar body
contrasting fabric big enough for sound hole, fret guard and neck of guitar
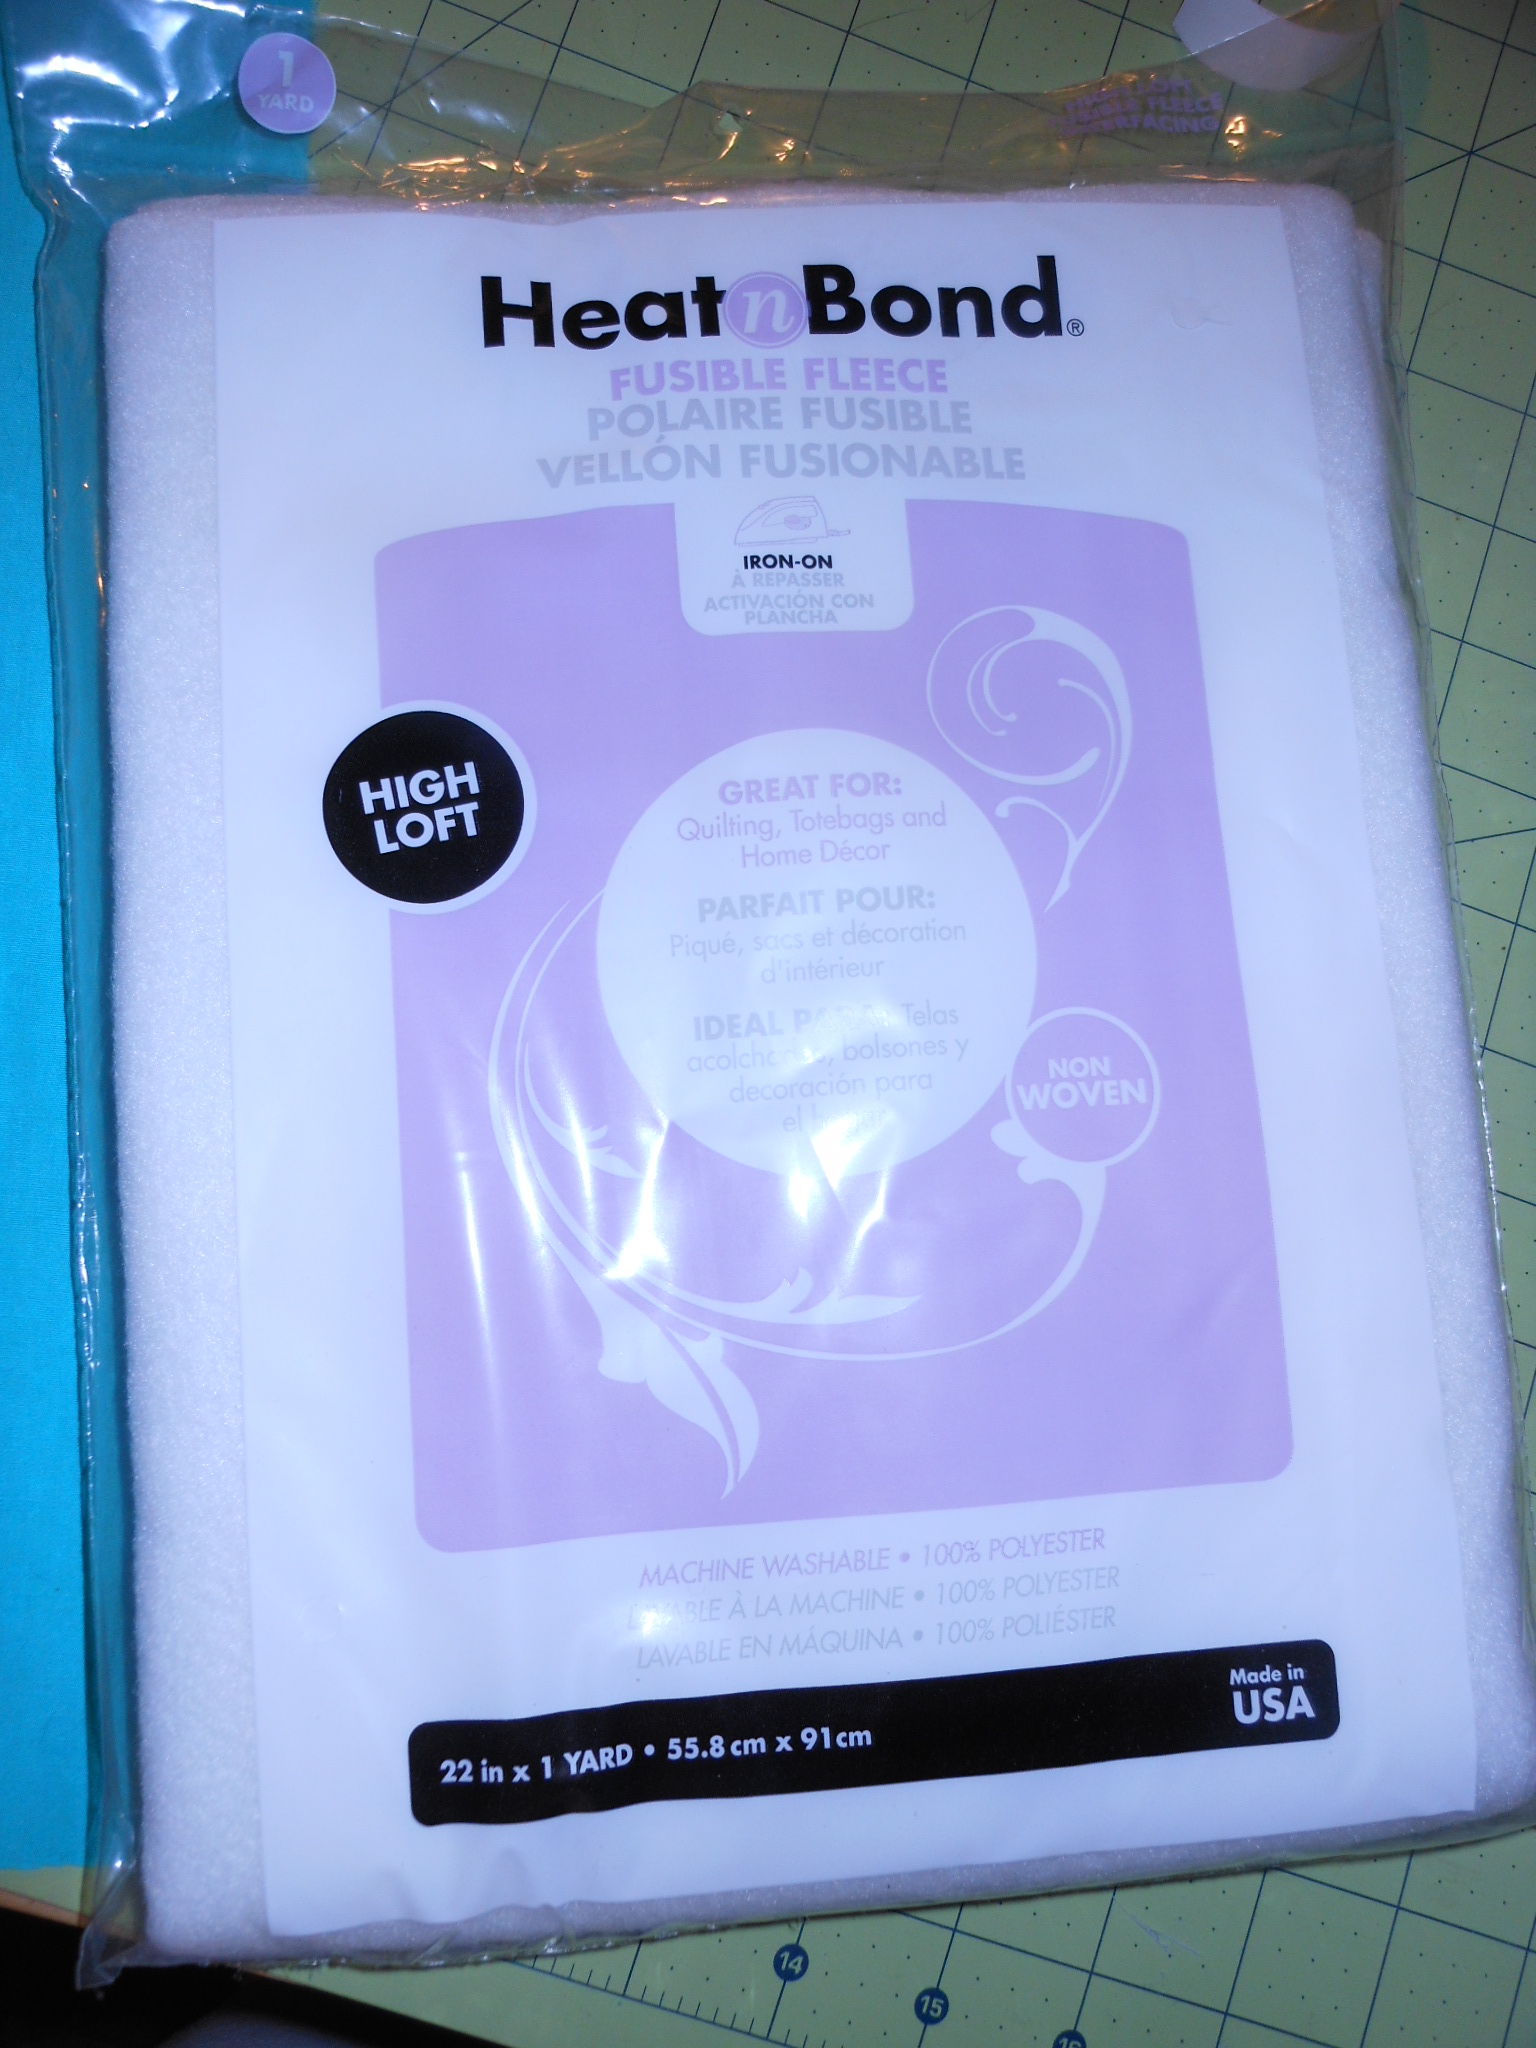
HeatnBond® Fusible Fleece
HeatnBond® Lite
Step one:
you will need 2 print outs of a guitar- I recommend finding out which type of guitar the person you are making it for plays, and choosing a picture from google images that is the same type. Look for a high resolution flat image (not one at an angle) and either blow it up to desired size and print it out yourself, or save the image and take it to a copy shop and have them blow it up and print 2 copies for you. For my pillow I blew up the image so it was just large enough to fill an 8.5×11 sheet of paper- for the quilt I stretched it out to fill 2 sheets of paper.
Step two:
Carefully cut out the body of one guitar, then take the other copy and cut out the sound hole, neck, and pick guard as well as the bottom part where the strings connect to the body of the guitar (not sure of the technical term)
 Step Three:
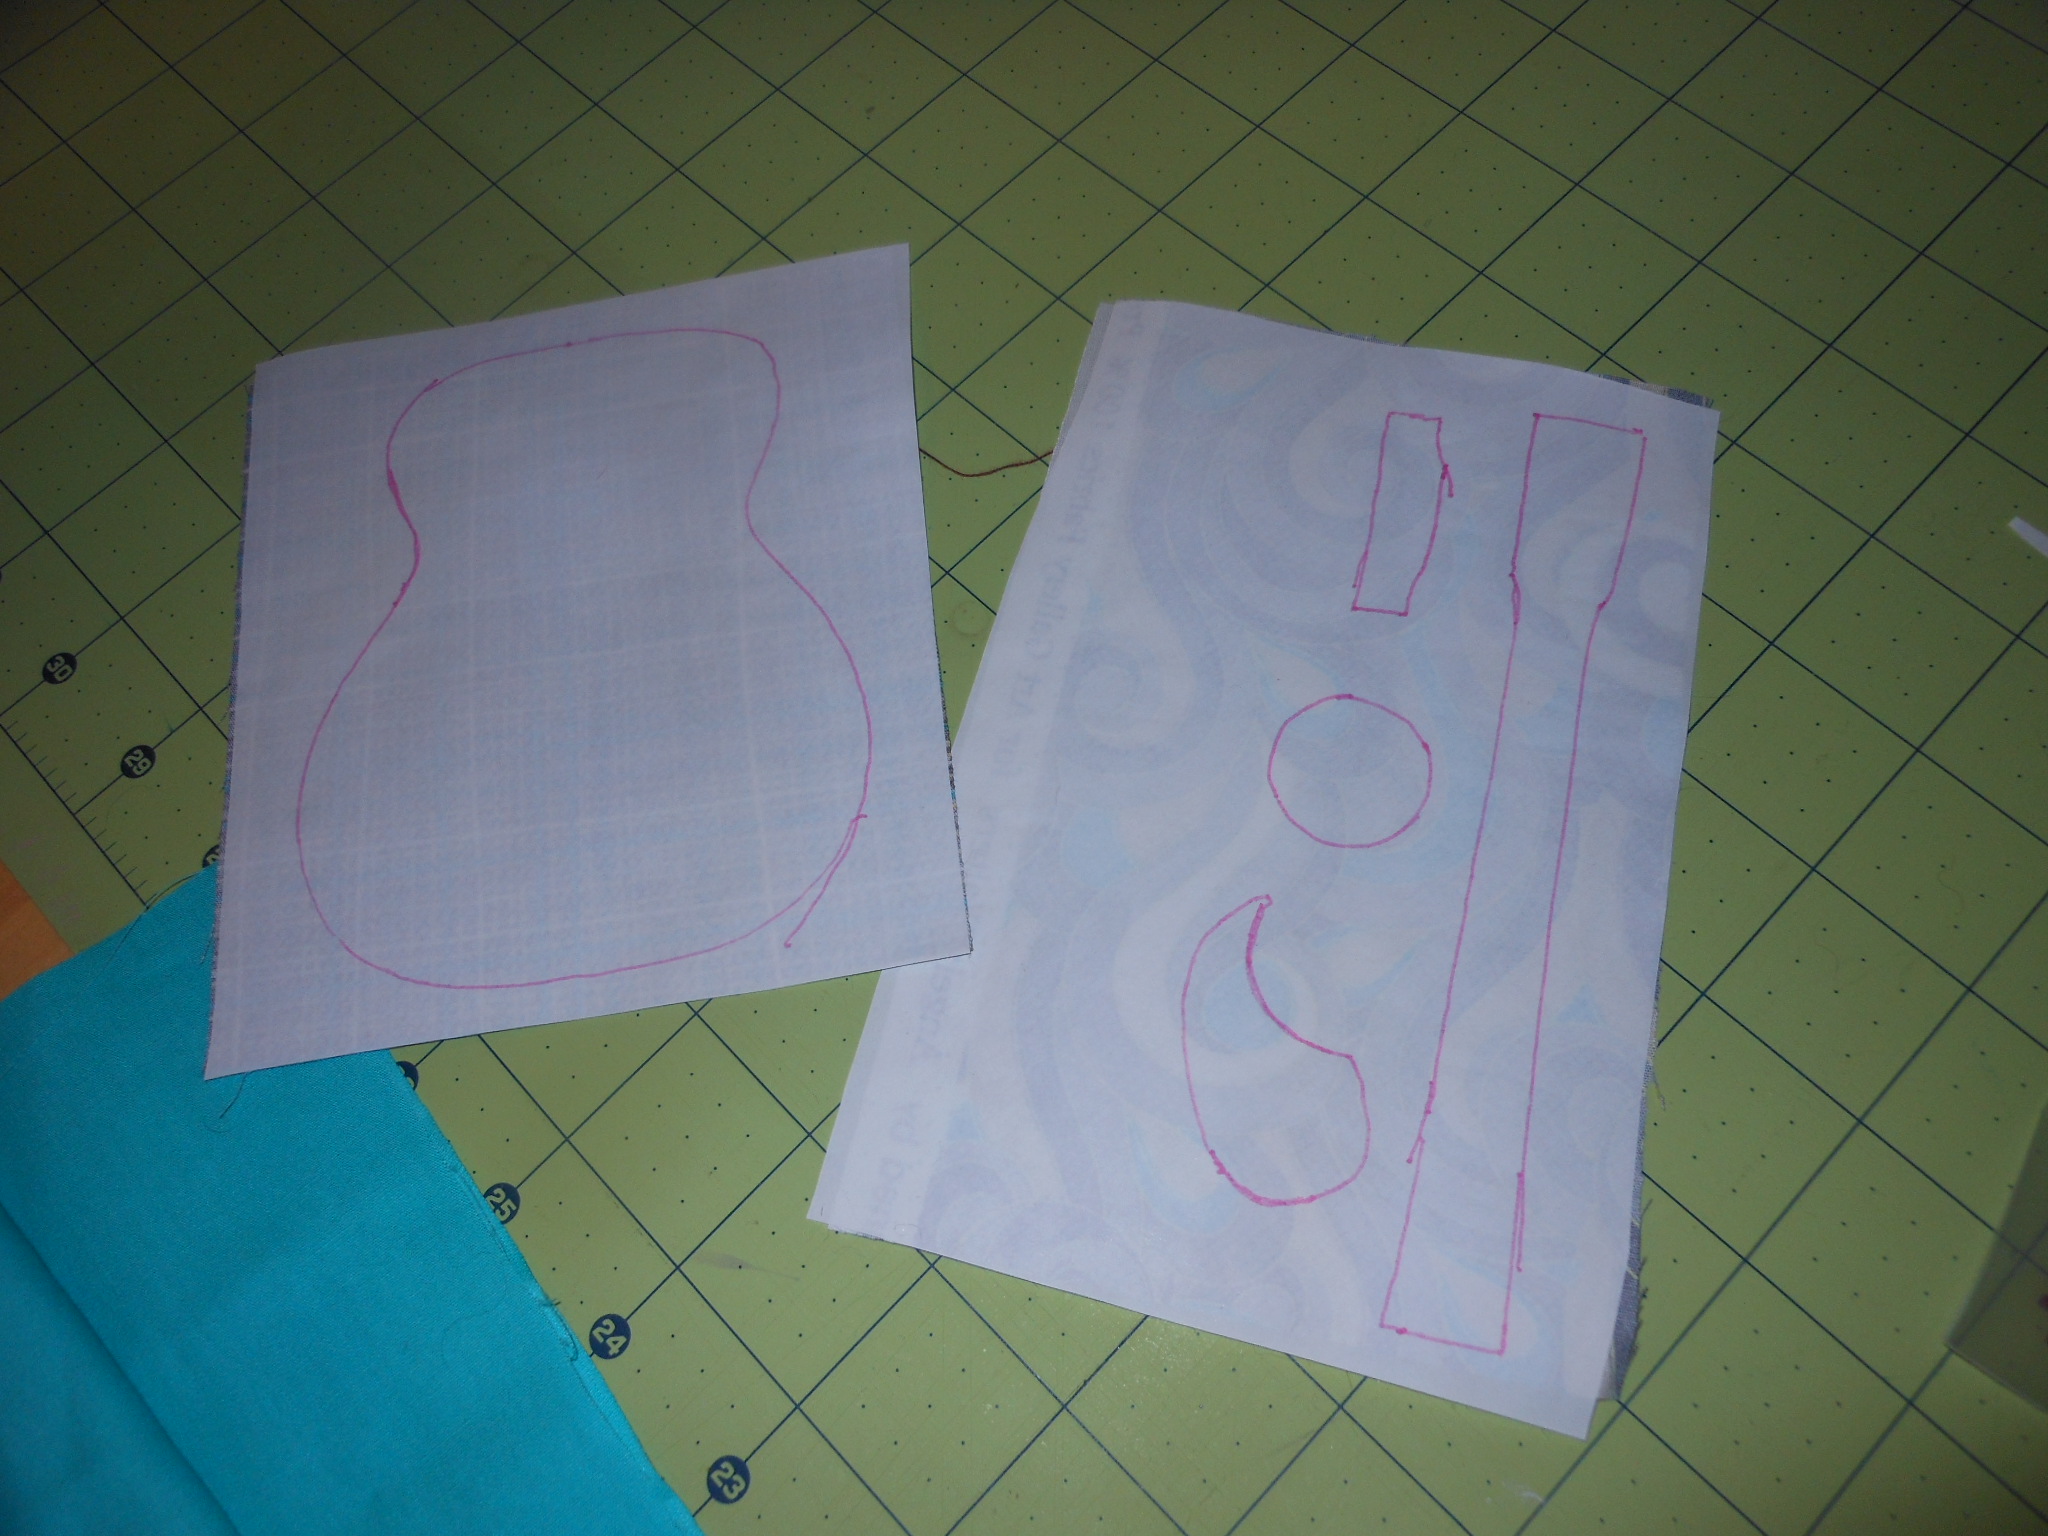
Next you want to take your HeatnBond® Lite and trace the images on the paper side (remember to trace the pick guard upside down, or the version you cut out will go on the wrong side of the sound hole)
 Step Four:
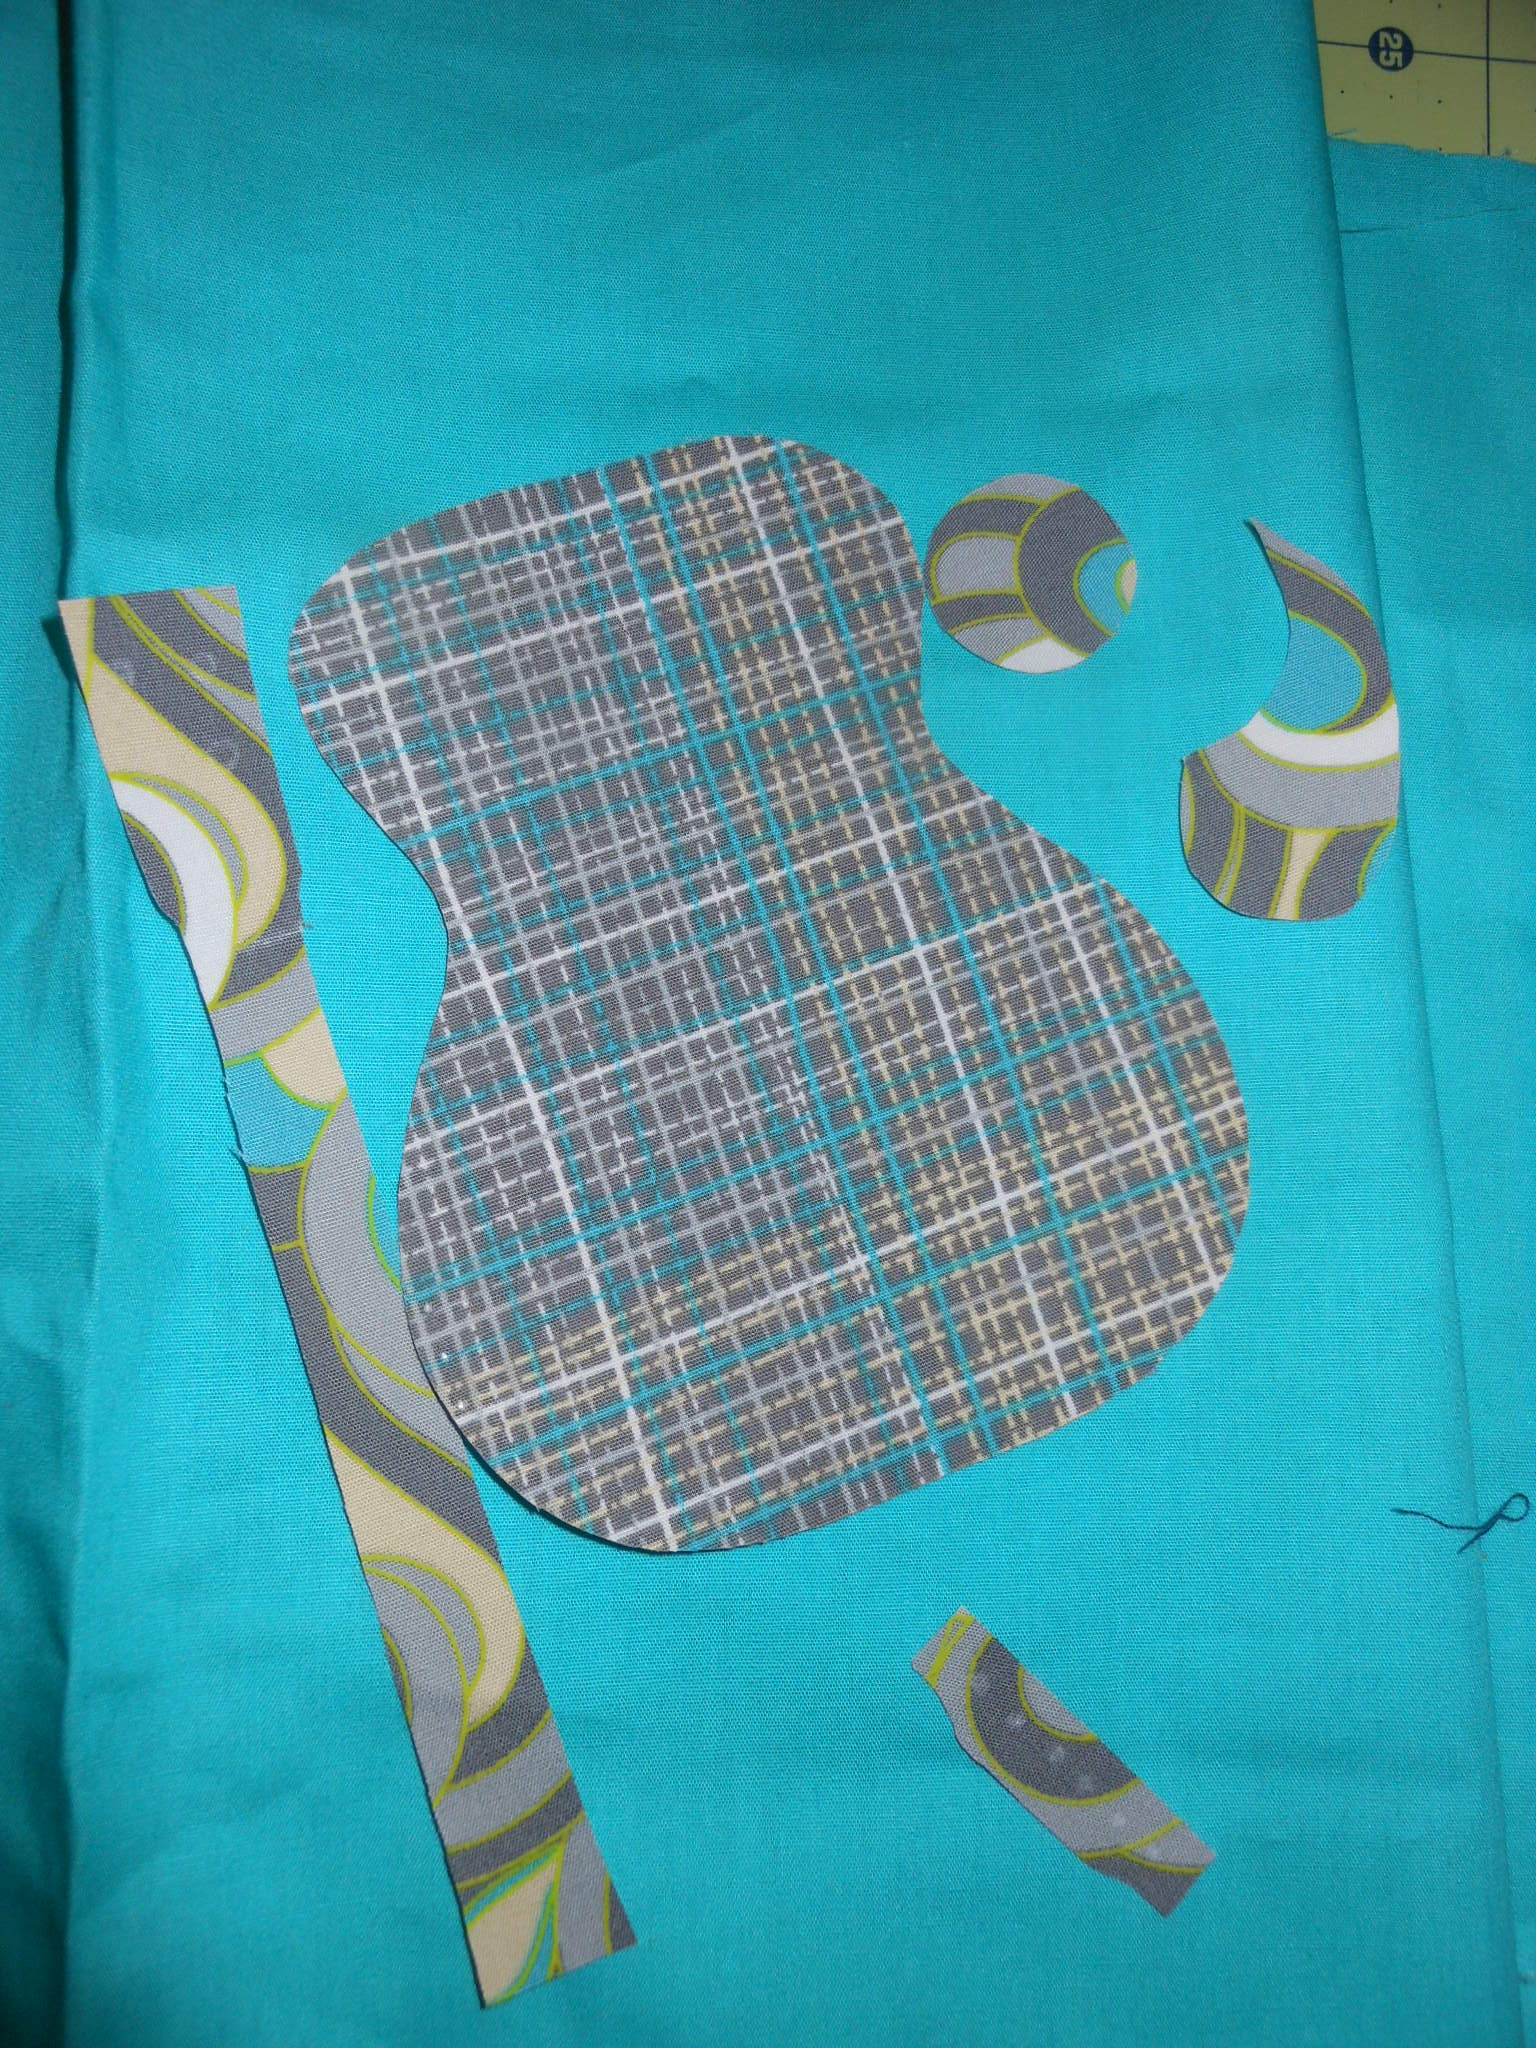
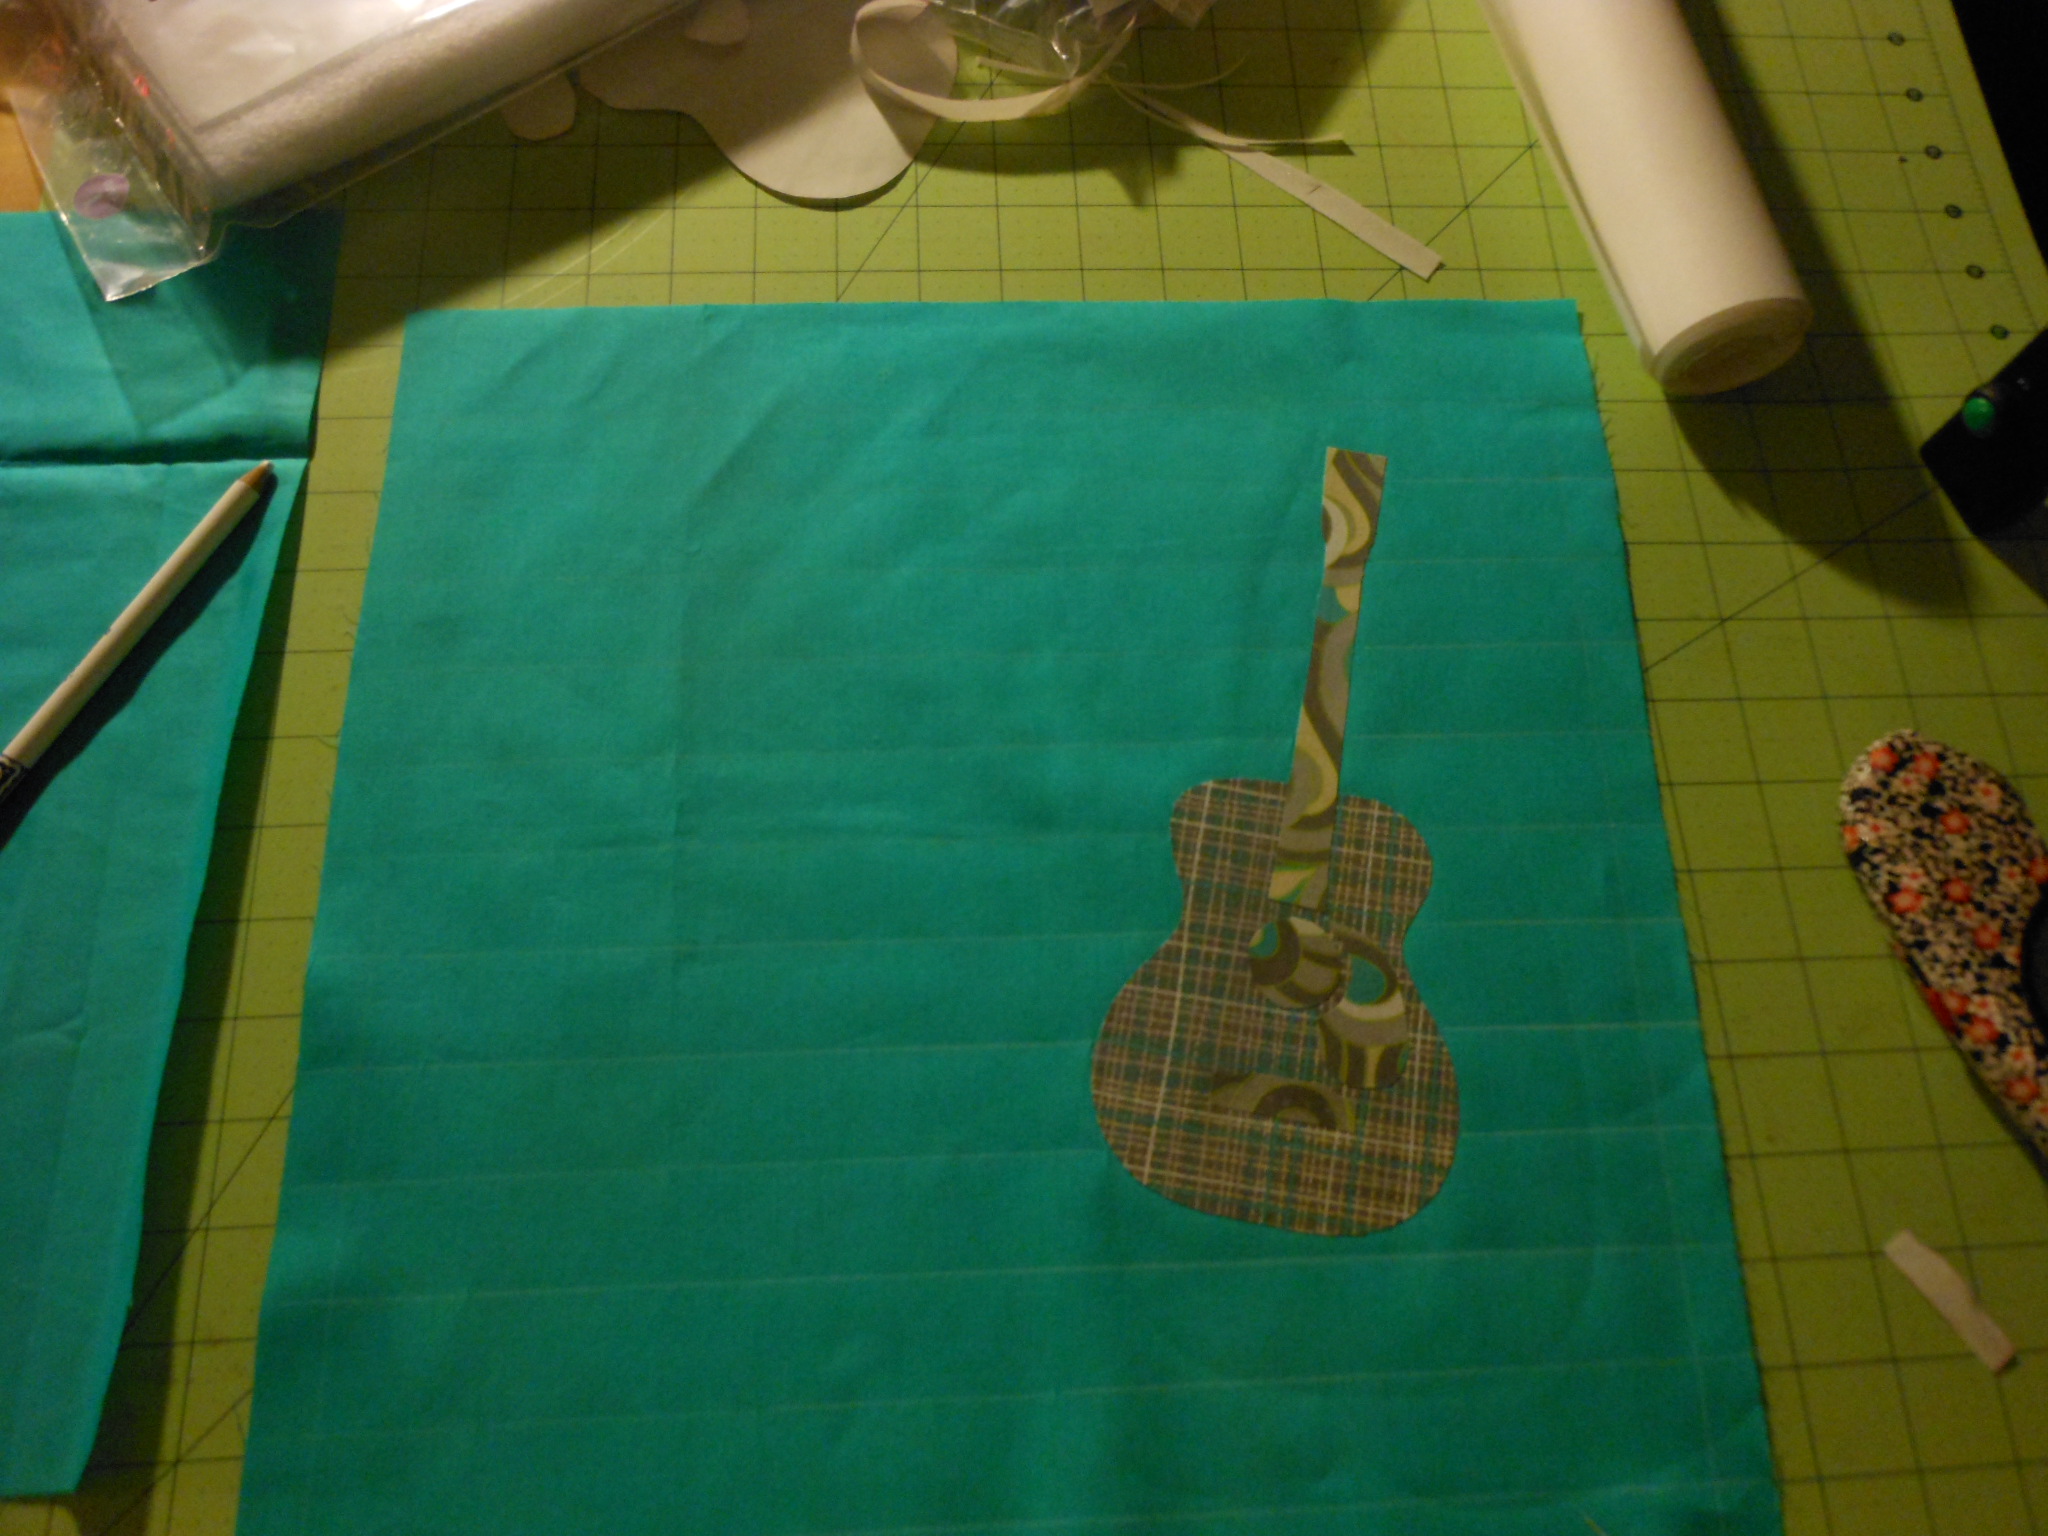
Now that you have your images traced cut a square around the body of the guitar and fuse to the body fabric according to the manufacturers instructions, and cut a square around the other parts and fuse to the contrasting fabric. Once they are cool cut them out.
 Step Five:
Now you want to carefully arrange the guitar pieces on the project you want to applique them to, making sure everything lines up just right. It helps to look at the original image. At this time I also like to mark any details I want to quilt in later, if you notice on the image above, the bottom piece I have marked where the strings will end, and on the neck piece I have marked where the tuning pegs would be. Once you have the pieces arranged as you want carefully fuse them to your project all at once by setting the iron down and lifting when done- no sliding or back and forth!
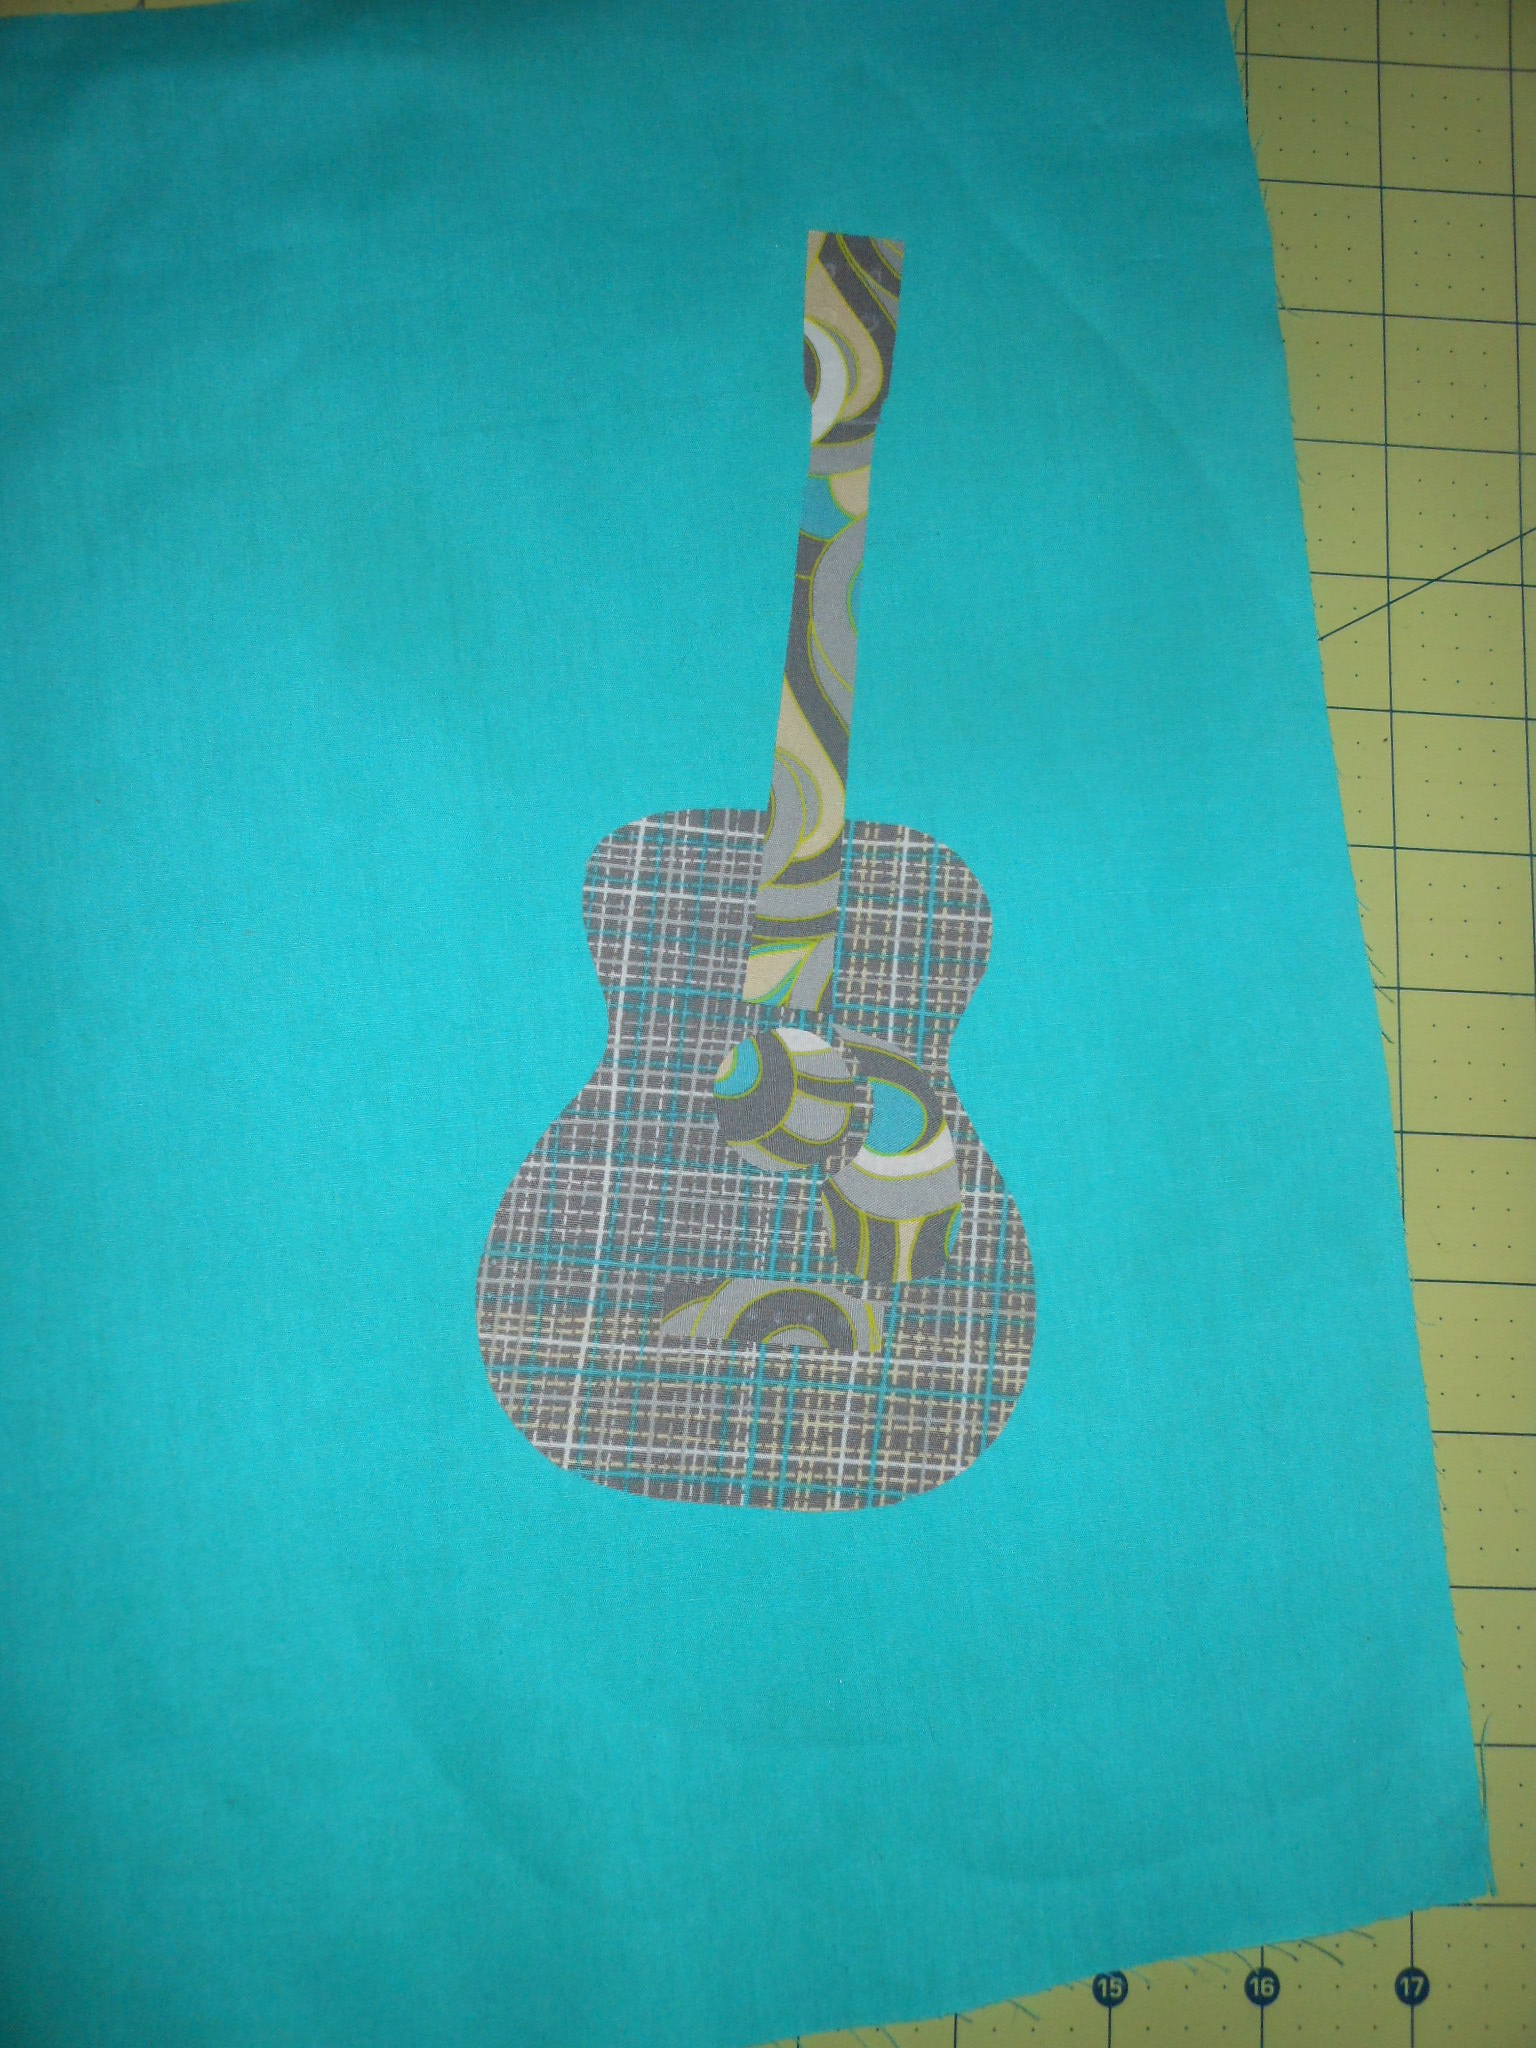 Now you have an awesome guitar applique- time to rock out! For this project as I mentioned before I made a pillow- so I pulled out my favorite HeatnBond® Fusible Fleece and fused it to the back of this.
Then I marked my lines and quilted in some song lyrics
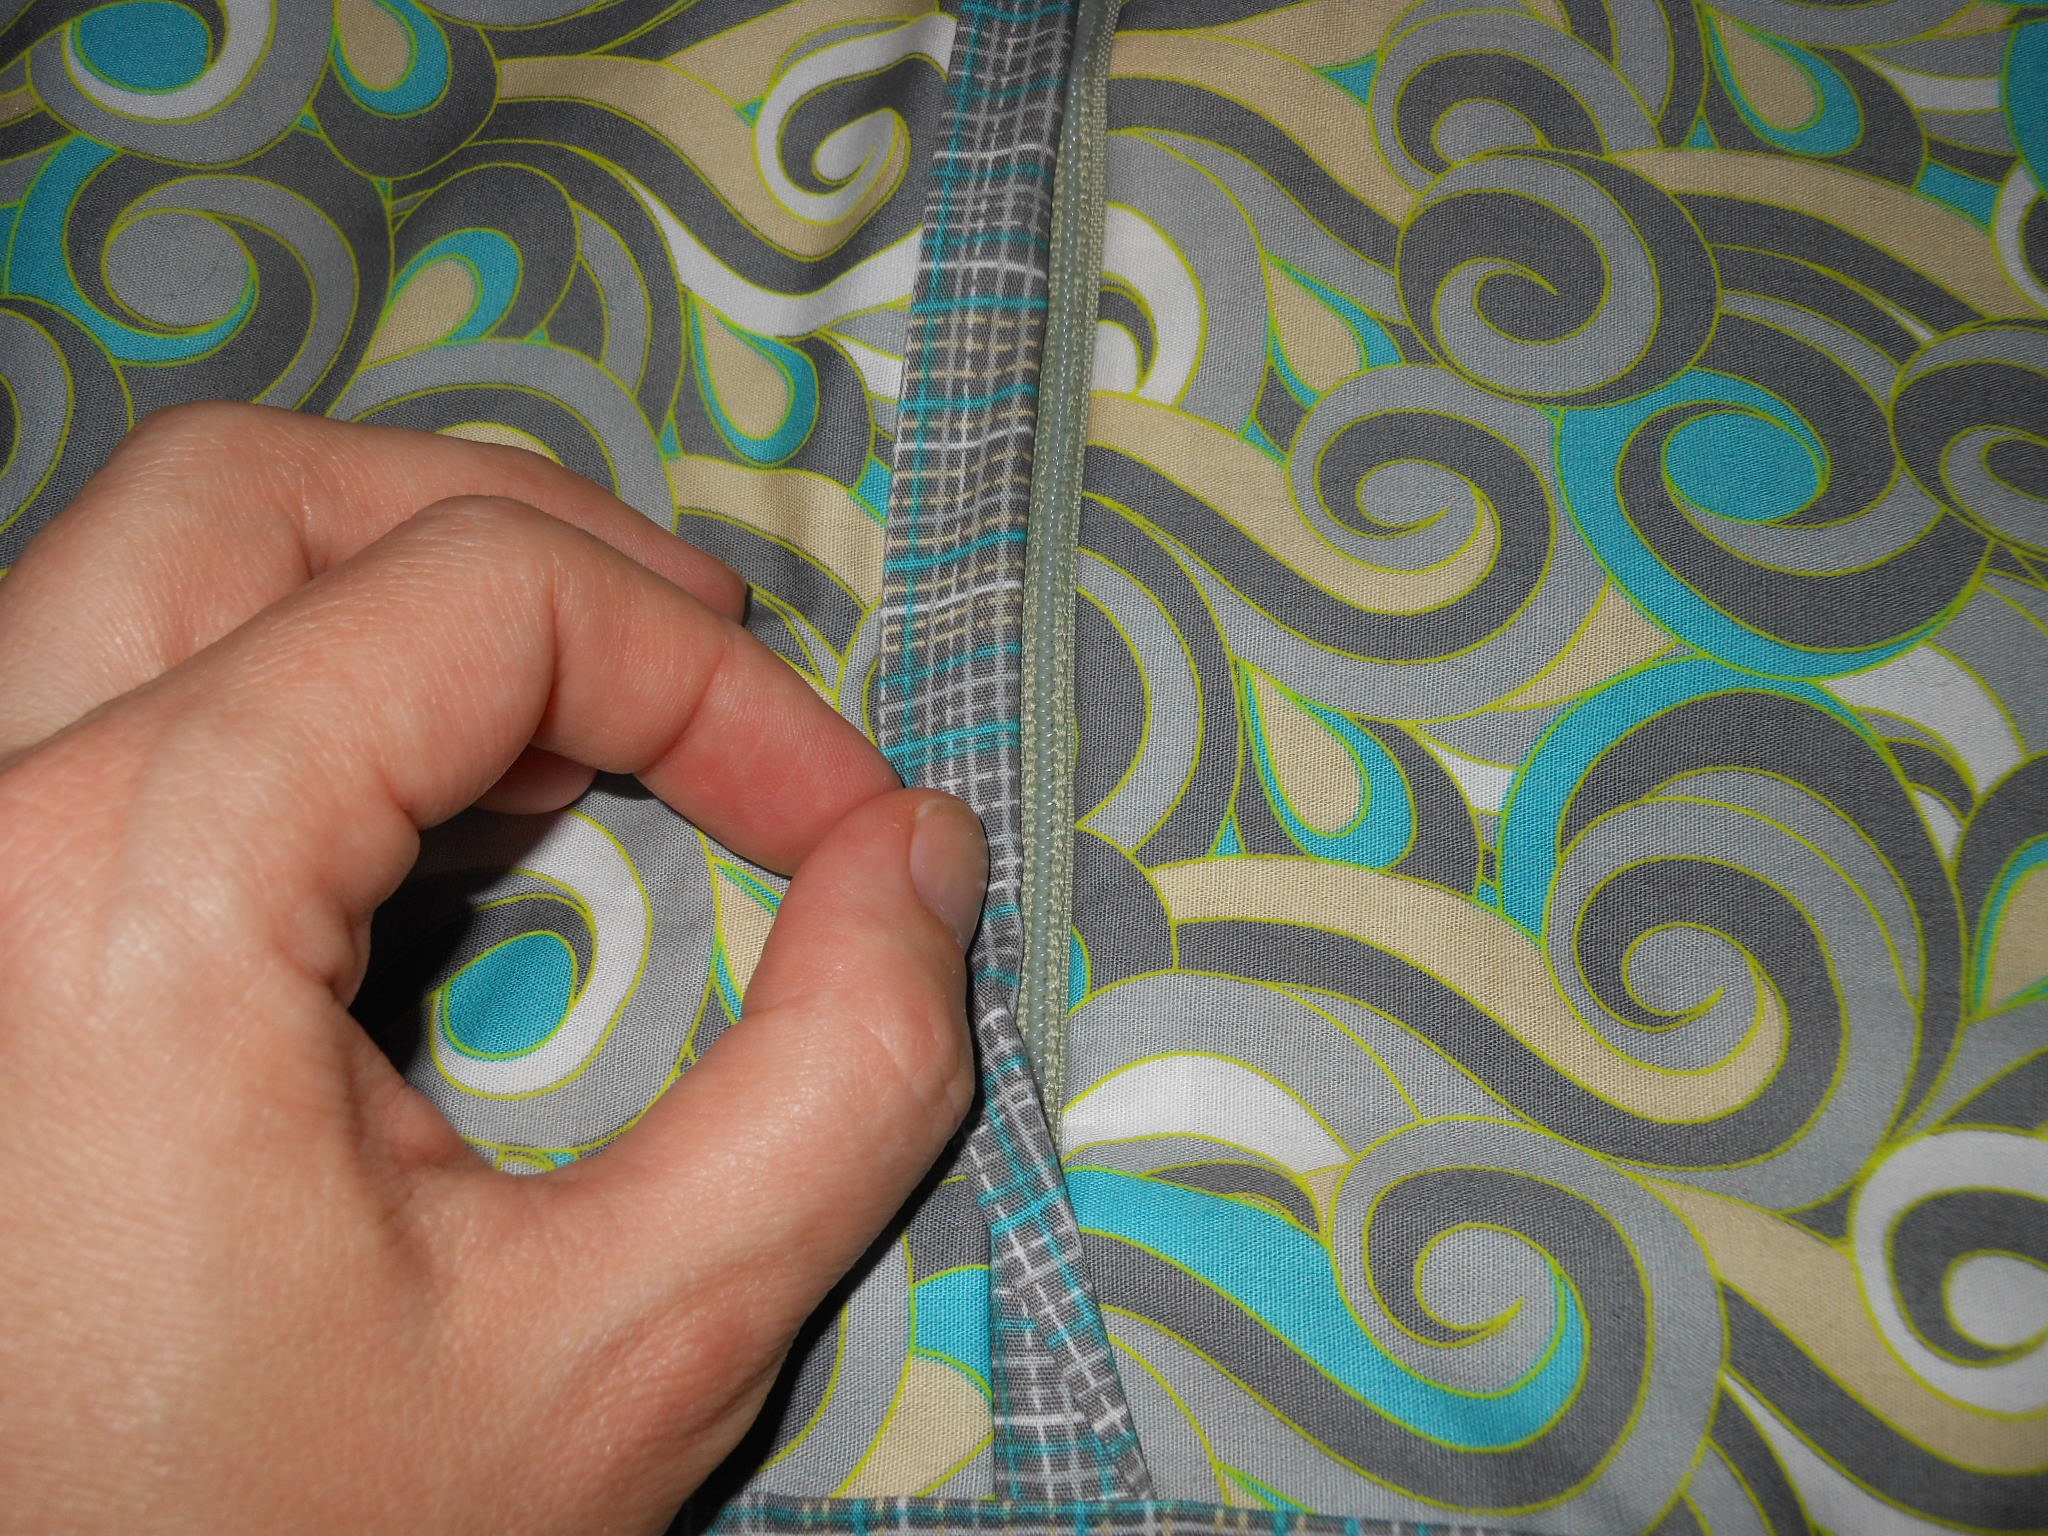
 then I made a backing with a flap and zipper and bound the edges- voila- pillow is done!
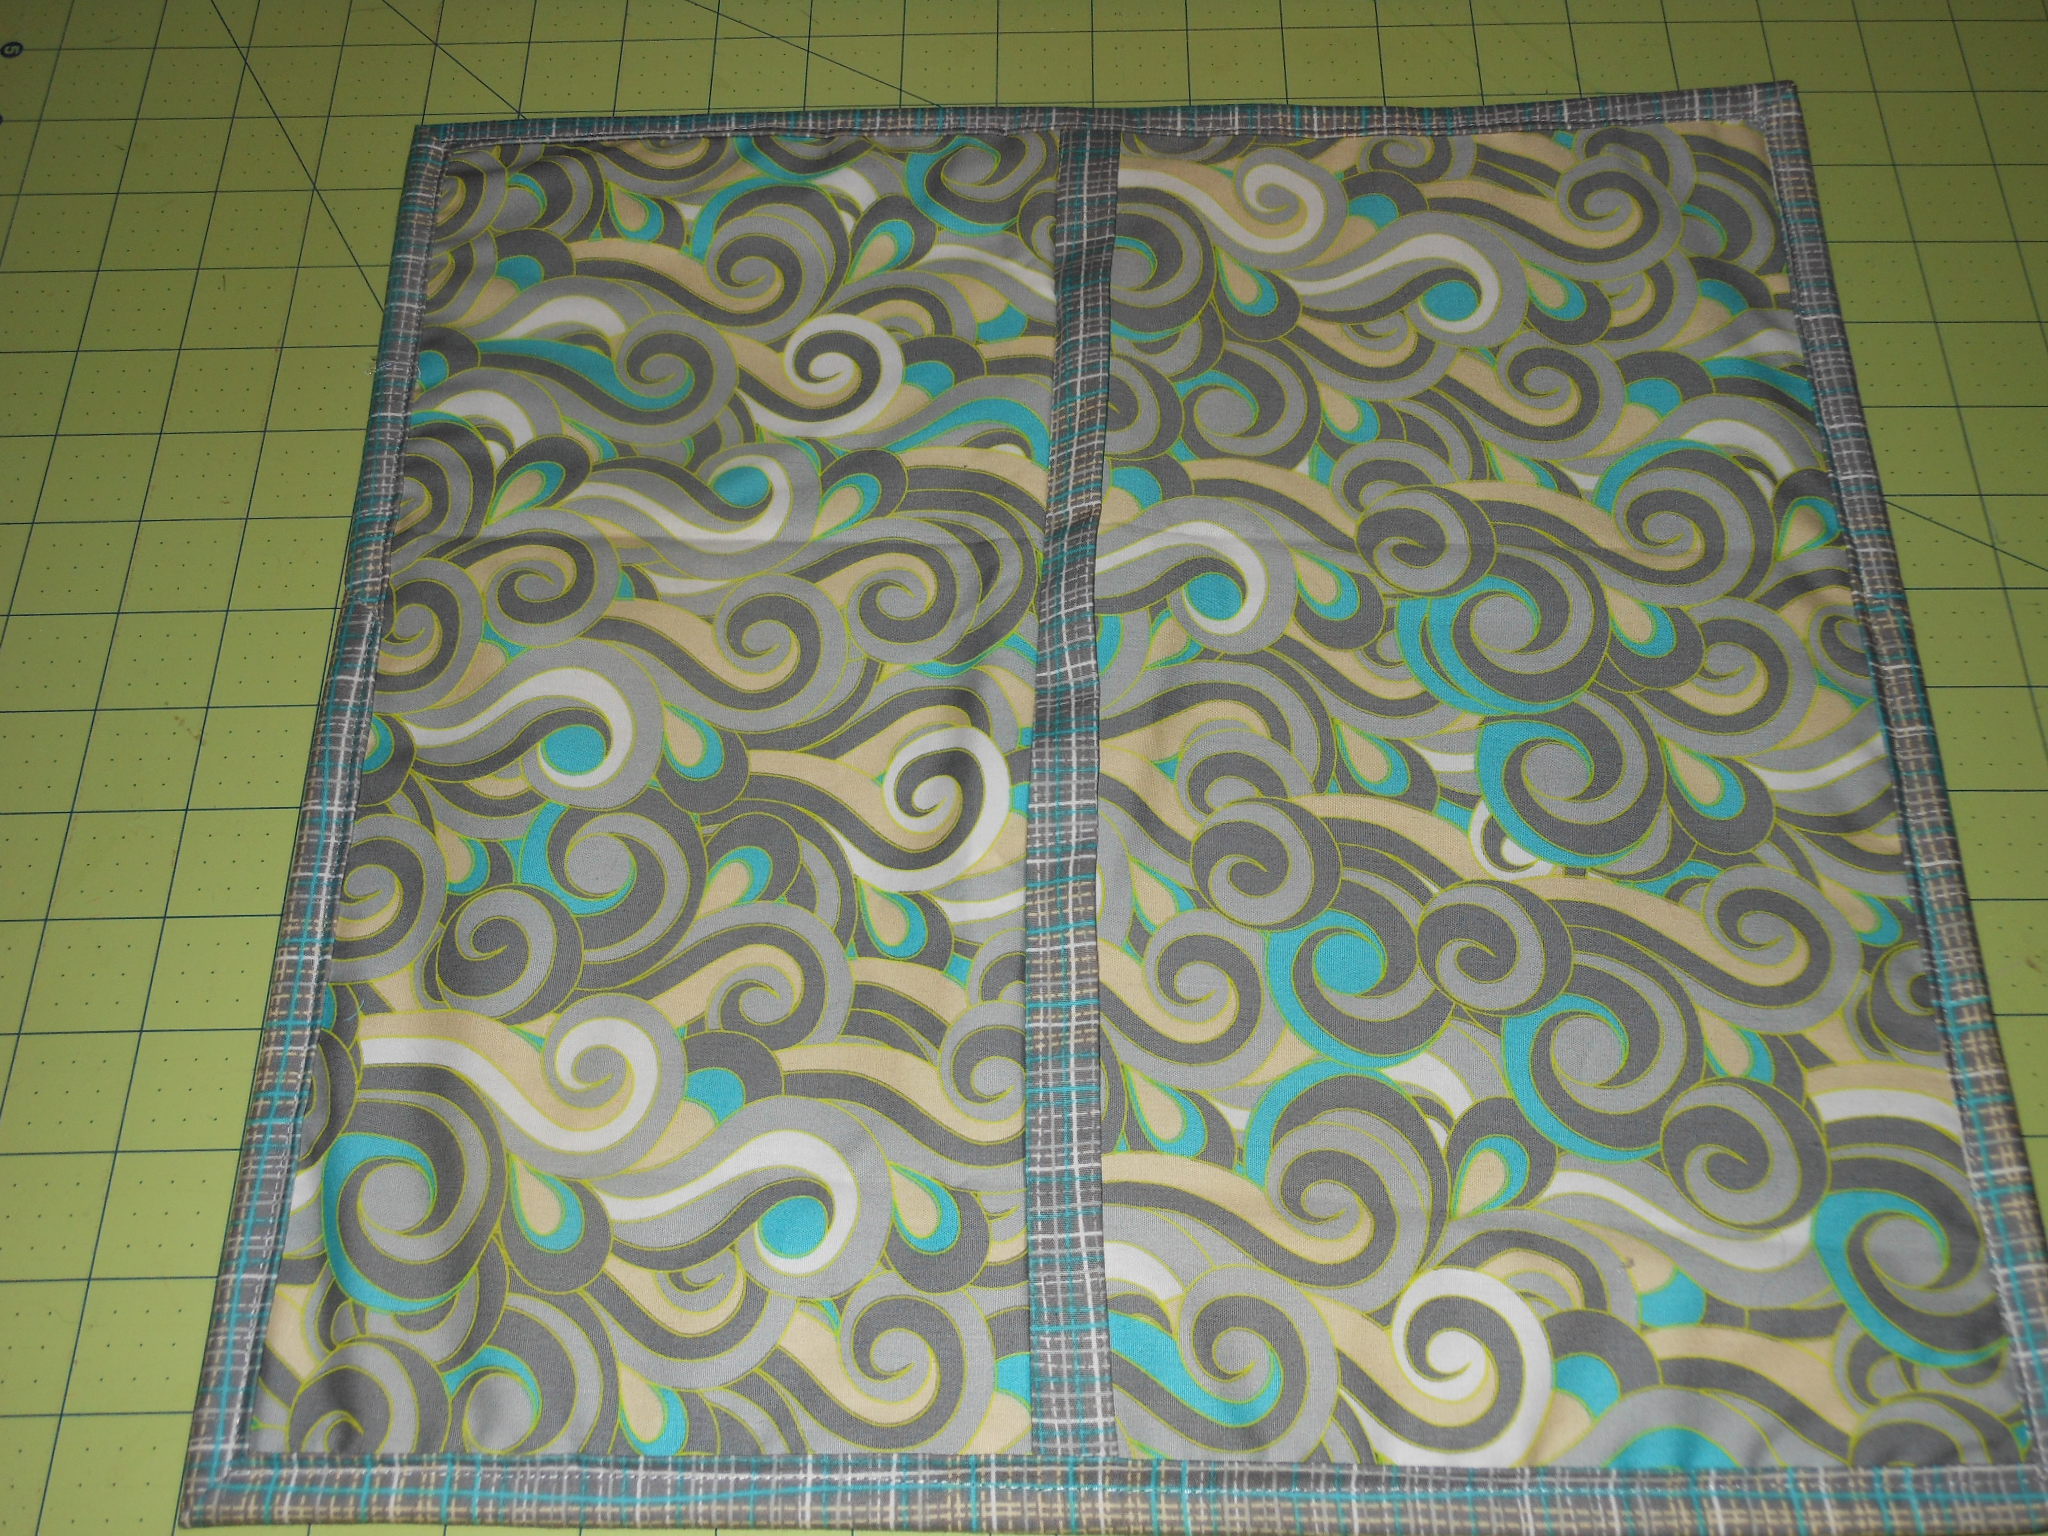
I made this pillow to match a quilt I made for Angela Walters Textures “Make it Right Challenge” a few months back.
I love the quilt- so much so I decided to keep it for myself, which I seldom do, and now I have this sweet pillow made in matching Textures fabrics! Hope you enjoy the tutorial, and thanks for reading!
How would you like to win an assortment of your favorite HeatnBond® products? If you said yes..follow the easy to use Rafflecopter to enter to win!
a Rafflecopter giveaway
Nancy Hanson
July 21, 2013 at 3:51 pm (11 years ago)How talented you are! I am so impressed by this web page and your talent of designing and creating quilts. Thank you for sharing your gifts with us. You have inspired me. I have never quilted before but I would like to give it a try. You make it seem so easy… Good luck to you!
Molly
July 23, 2013 at 6:04 am (11 years ago)Thanks so much Nancy, I really appreciate your kind comments about my work and encourage you to give quilting a try-! It is such a rewarding and fun hobby!
Veronica
December 3, 2013 at 6:54 am (10 years ago)this is awsome… my son is a drummer… always thought about making a quilt with a drum set on it…. this is a great idea for each of the band guys…. a small quilt with their individual instrument on it
Surabhi
December 3, 2013 at 7:20 am (10 years ago)Hi Molly, Wow ! What a wonderful idea ! Thanks much for sharing. Truly appreciate it. Quilting words and sentences is a great idea, but I guess it needs a lot of practice , I have just started quilting and am truly inspired. Thanks again.
Hilda Donovan
July 1, 2014 at 9:04 pm (10 years ago)Hi, Molly.
Where did you get the picture of the guitar you used?
Victoria
January 30, 2017 at 4:32 pm (7 years ago)How do you quilt the lyrics? By hand or computerized long arm?? Thanks.
admin
January 30, 2017 at 5:10 pm (7 years ago)Molly added the lyrics by free-motion quilting it onto the quilt. Look for Molly’s book with more information on this technique!