


My Quiet Book brings back a ton of memories for me. It was back in the “olden days” that I first learned about quiet books. The ladies from the church who were my mom’s age assembled them during a weekday class and there were happy three and four-year-old children on Sunday. The parents were happy, too, because those little fidgety kids were engrossed in their new books and the parents could listen to the sermon without being interrupted. I never made a quiet book for my own children, but my older sister did. Her children were probably happier on Sunday than mine were! I decided it was time to make one for my grandsons so my daughter could have a few moments of quiet time while the littlest Monkey Boys check out My Quiet Book.
HeatnBond Applique Children’s Quiet Book
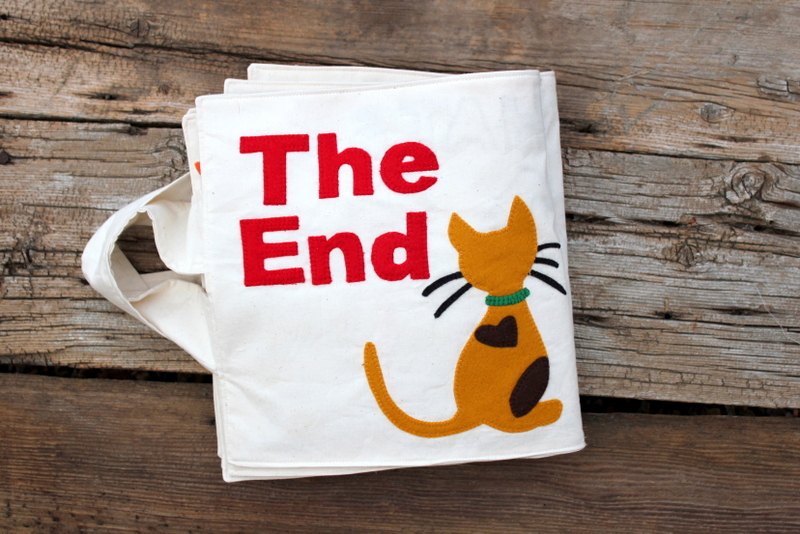
My Quiet Book by Carol Swift, Just Let Me Quilt – closed book measures 10″ x 10″
![]()
Supplies for making My Quiet Book:
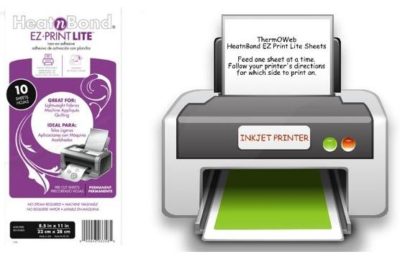
Heat n Bond Lite, Iron-on Adhesive or Heat n Bond EZ Print Lite Sheets
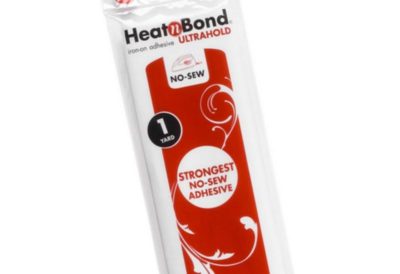
Heat n Bond No-Sew Ultrahold Adhesive
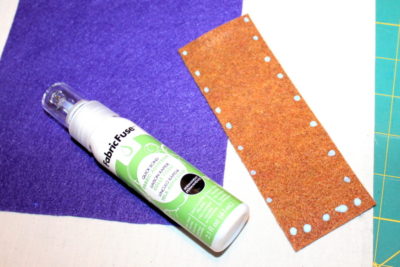
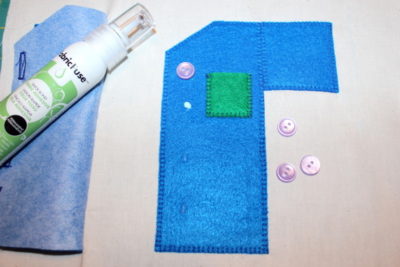
Heat n Bond Fabric Fuse Liquid Adhesive
Heat n Bond Fusible Interfacing – Light Weight
Heat n Bond Fusible Interfacing – Heavy Weight
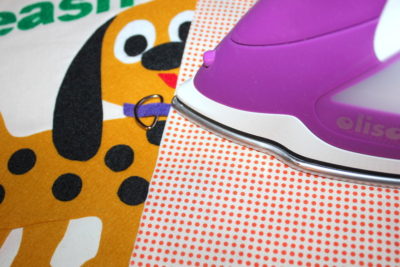
Iron – I love my purple Oliso iron!
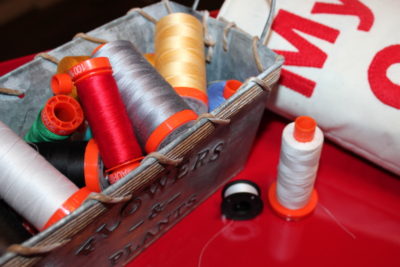
Thread – Aurifil thread is great for applique
Fabric for the pages – cotton or muslin
Felt in various colors
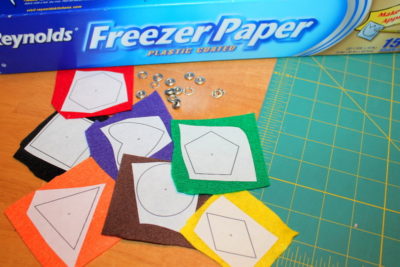
Freezer paper
Pressing cloth
Snaps, zippers, buttons, clips, hooks, hook and loop fastener/Velcro, buckles, eyelets, etc. Check around your house for things that zip, open and close, or snap. A dollar store is a great place to look for gadgets to use in My Quiet Book. (*Use sizes that are appropriate for the age of the child and that won’t pose a choking hazard.)
Hints and ideas for making My Quiet Book:
Be sure to read through all the directions first. The fun thing about making a quiet book is that you can be versatile with the items on each page. Just because the directions say to use snaps (or whatever) it doesn’t mean you have to use them. Switch it up to use whatever you’re comfortable with.
Heat n Bond Fusible Interfacing – Light Weight and Heat n Bond Fusible Interfacing – Heavy Weight are great for the pages of the quiet book. Adding interfacing to the back of the fabric will help give stability to the book. Use a heavyweight interfacing for the cover and back page.

Following package directions, cover with a pressing cloth and iron 10″ x 20″ interfacing on the back of each fabric rectangle page. A piece of leftover fabric works great for a pressing cloth.
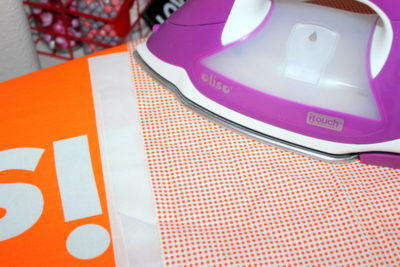
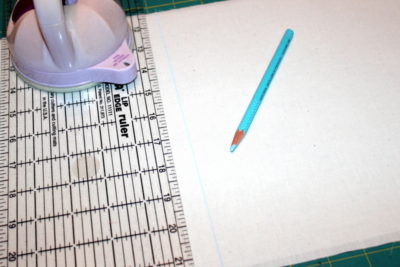
Mark the center on fabric’s right side of each 10½” x 20½” rectangle by pressing a fold or marking with a washable marker. Each side of fold or mark is one page of the book. The line will be helpful to keep the designs centered on the page. The line will also help when assembling the book by lining up the marks to keep it centered.
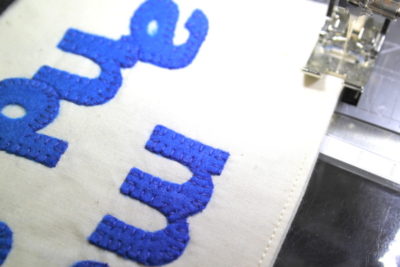
If you use Heat n Bond Lite, Iron-on Adhesive for applique you must sew around the edges to secure felt pieces. Trace designs on the smooth side of adhesive and follow package directions for applying to fabric. Or, for a quick method to transfer designs to adhesive, use your inkjet printer, print out applique pattern pieces using Heat n Bond EZ Print Lite sheets. Load one sheet at a time into the paper tray. The sheet should be placed so printing is on the smooth side of the paper. Print quality at the normal setting and for plain paper. Allow 5-10 seconds for ink to dry.
If you use the Heat n Bond No-Sew Ultrahold Adhesive in assembling the pieces for the book, DO NOT sew around the edges! It will gum up your needle. The Heat n Bond No-Sew Ultrahold Adhesive is a quick method for putting this book together and is strong enough to hold the pieces in place. Trace applique designs on the smooth side of No-Sew Ultrahold and iron to wrong side of fabric. Cut out shapes and iron in place following package directions.
Heat n Bond Fabric Fuse Liquid Adhesive is a strong adhesive and can be sewn over. It’s great for holding the pieces in place until you sew. There’s no need to use a lot of Fabric Fuse if you’re just going to hold a felt piece in place. Dabbing some dots around the edges will do it! Make sure you let it dry before sewing.
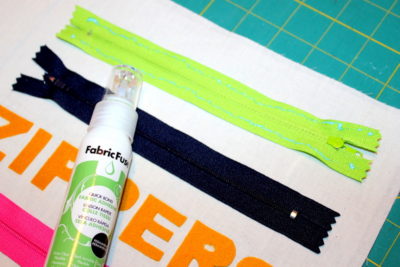
Fabric Fuse is perfect for dabbing a little on the back of Velcro pieces so you can place them in the right spot on your fabric before sewing. Using it along the edges of zippers makes it so easy to attach them before sewing.
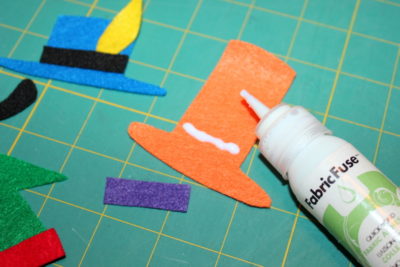
Assembling the hats and adding Velcro to the back of them using Fabric Fuse worked great!
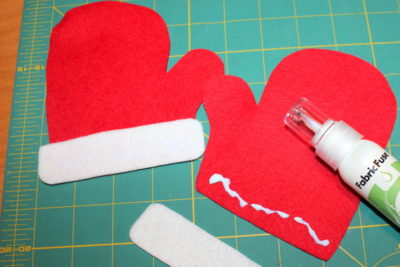
The mittens went together easily with the Fabric Fuse, too.
There’s no need to change the bobbin thread for every thread change when sewing around the edges of felt. Use a neutral color thread in the bobbin and lower your thread tension so the bobbin thread won’t pull up. Aurifil thread comes in many weights and colors so it’s perfect! Assembling all the pages before sewing around applique pieces can save some time with fewer thread changes. Pick a thread color and sew all the pieces of that color and then move on to another color thread and felt. Aurifil 50 wt threads were used to sew around the applique pieces in the book. The red in Aurfil #2250 is beautiful!
When working with felt, it’s important to cover it with a pressing cloth when ironing otherwise it may melt. This fact from comes personal experience. It isn’t pretty to see what it does to an iron! Iron adhesive pieces to wrong sides of fabrics with a medium heat iron, no steam. Press for 2 seconds. Repeat until all surfaces have been bonded to the fabric. Let cool. Cut out applique pieces. Peel off paper liner. Place applique shape, adhesive side down, on top of the project. Press and hold iron for 6 seconds (felt might take longer) on each section until the entire piece is bonded. Let cool.
Felt doesn’t fray so you can use a variety of stitches to keep the shapes in place if you use the sewing type of adhesive. Straight, zig-zag, or blanket stitches are good for edges, but you can get creative with other stitches on your machine. On loose pieces of felt (like for buttons), ironing Heat n Bond Fusible Interfacing on the back will give it stability when applying buttons, snaps, or Velcro. Fabric Fuse the buttons where you want them, let them dry, and then sew in place.
Freezer paper is a good for tracing pattern pieces that won’t need adhesive. Trace on the shiny side and iron shiny side down on felt. Cut out pattern pieces. The freezer paper pattern pieces can be reused several times…sweet!
Don’t place pieces or gadgets too close to edges of rectangles. You’ll be sewing around those edges and you won’t want to catch things in the seams. A walking foot can help when sewing around the edges.
After all the pages are assembled and sewn together, stack them with the cover and back page at the bottom and the road pages at the top. Line up the center marks and sew down the middle twice to secure. Aurifil 12 wt blended nicely with the muslin. The heavier thread like Aurifil #2000 12 wt will definitely hold that book together!
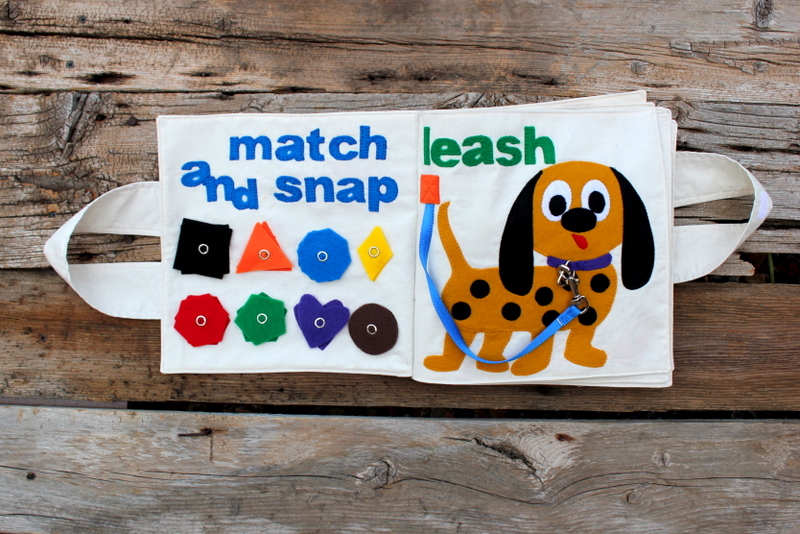
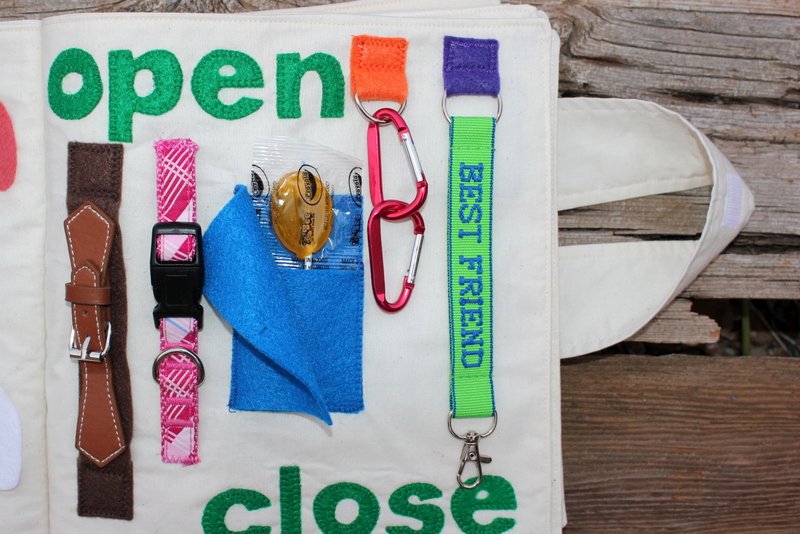
Snaps and a leash to clip went on these two pages.
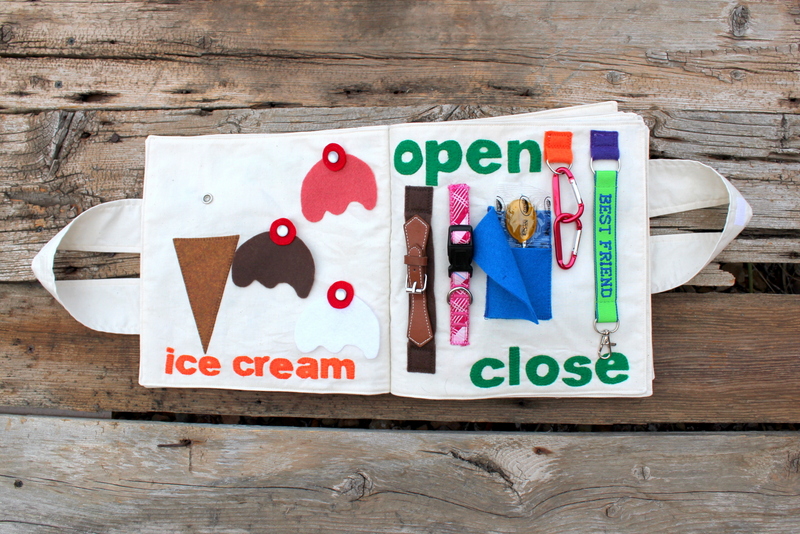
Change the ice cream with snaps and play with lots of different open and close items.
A little door to open and close with a pocket holding a sucker. It might be good to add some wet wipes if you add a sucker!
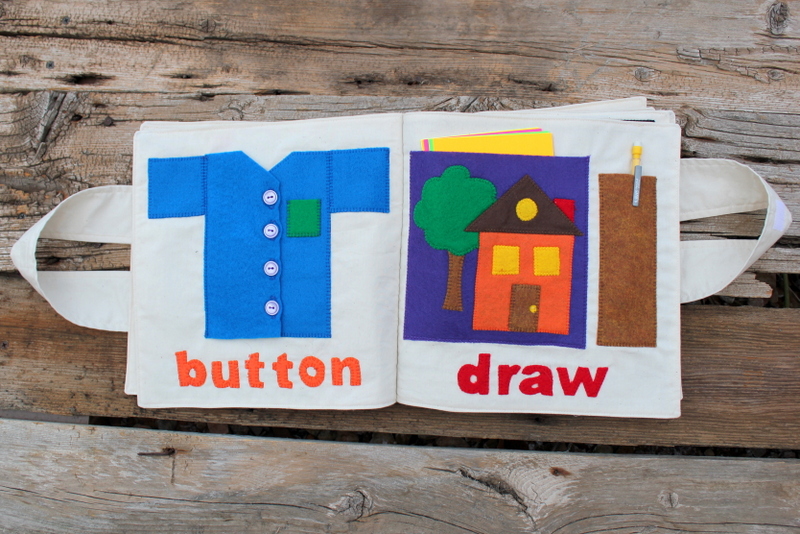
Learn to button and have fun drawing with the paper and pencil here.
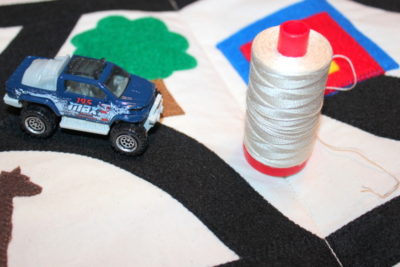
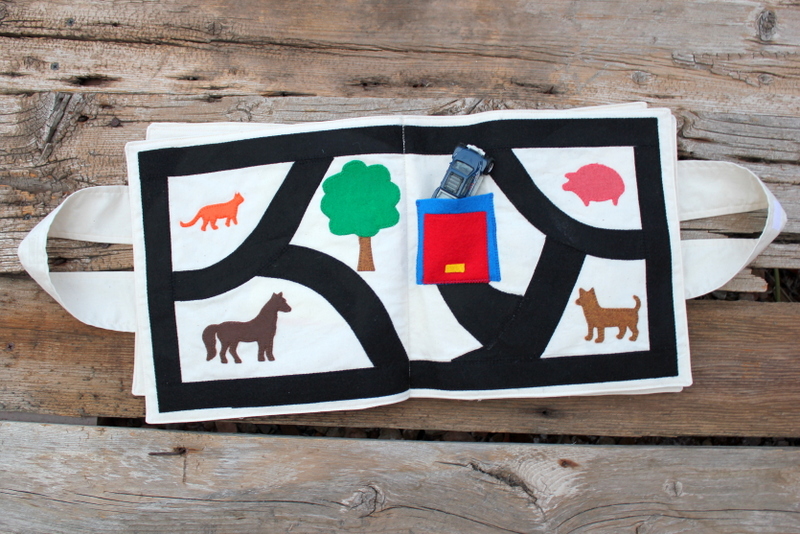
Add a small truck or car to drive the roads on the middle pages of the book.
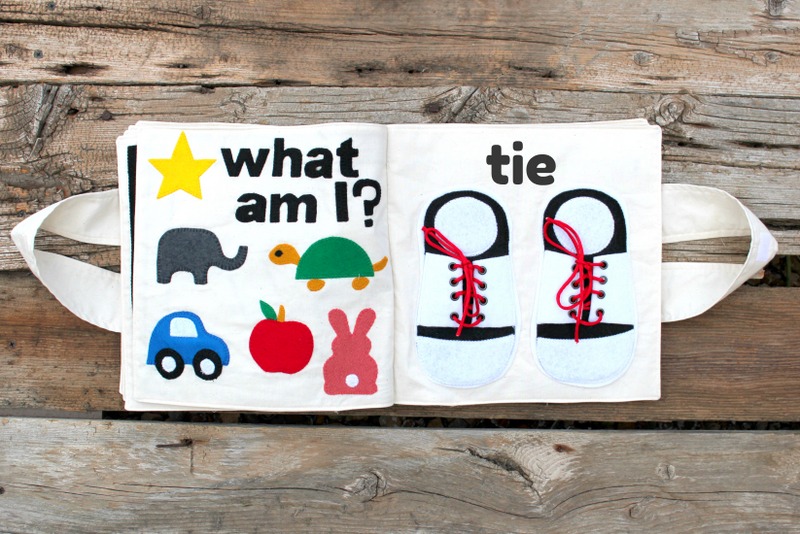
Guess the objects and learn to tie the shoelaces.
The book has Velcro on the strap to keep it closed when the quiet time comes to an end.
You can find the directions and patterns for My Quiet Book HERE. Have fun making My Quiet Book to keep those little ones happy!
Amy
December 22, 2017 at 11:30 pm (6 years ago)That is just adorable, Carol.