


It’s Katrina, from Paper, Scissors and Glue here on the blog today. You may know that I have just started learning how to sew in the past year. The team at Therm O Web has been so supportive of this adventure! One of my goals it to make a quilt, but I didn’t want to jump right into something that big, so I settled on a mug rug. And I made a cute card to go with it! The Moda Woof Woof Meow collection is just so cute I didn’t know where to start!
So, I pulled out the items I was going to work with to get some inspiration! If you google mug rug tutorials there are a ton of them if you aren’t quite sure of the steps. I watched several and then made it up as I went along!
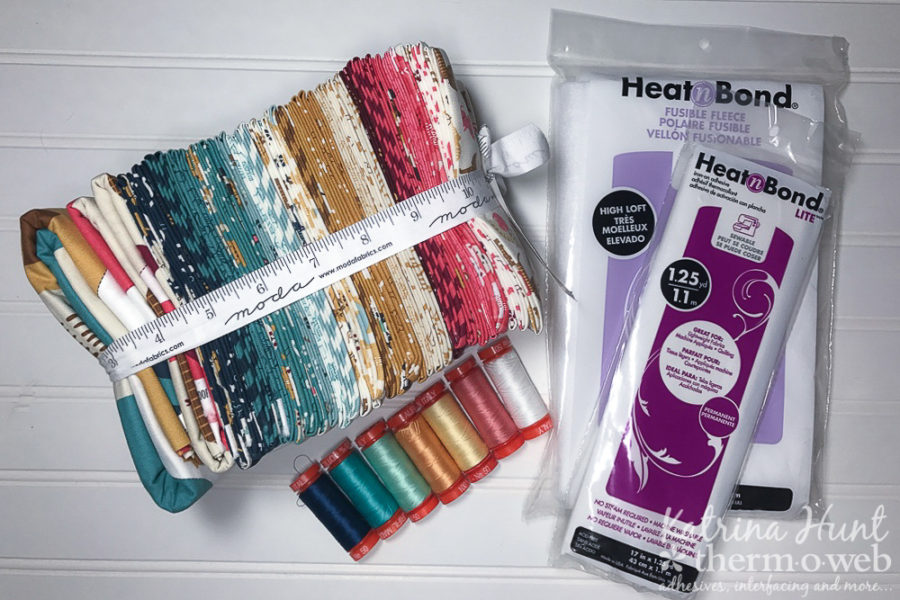
All that fun Moda fabric, some great HeatnBond products and some Aurifil thread and the wheels started turning and I ended up with what you see below! AND I had to use that fun ribbon that held those fat quarters together!
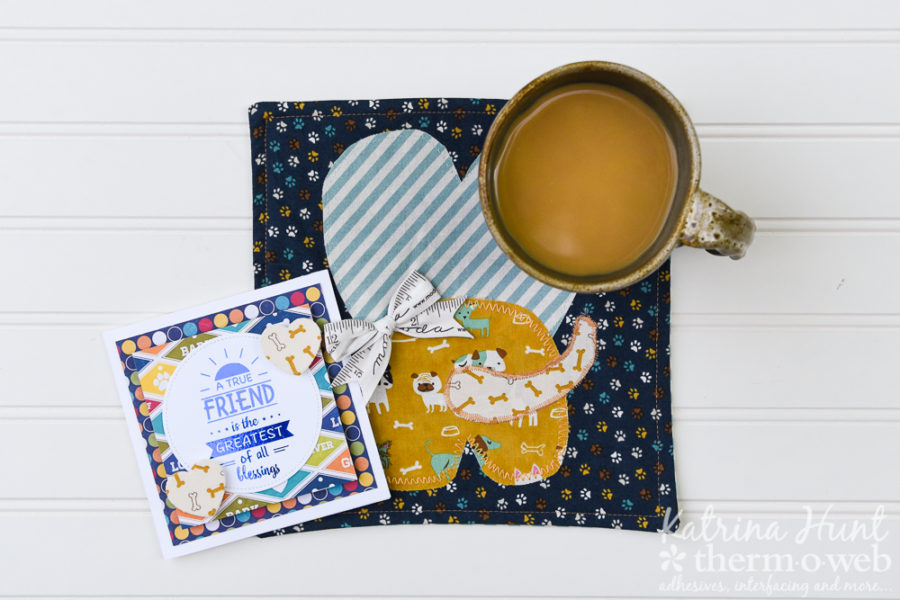
Woof Woof Mug Rub and Coordinating Card
Therm O Web Supplies:
Therm O Web 3D White Foam Squares-Combo Pack
Therm O Web Mini Tape Runner
Therm O Web iCraft® DecoFoil™ Hot Melt Adhesive
Therm O Web iCraft® DecoFoil™ in Deep Blue
Gina K Designs Cardstock-White
12″ inch Laminator
HeatnBond Fusible Fleece
HeatnBond Lite
Gina K Designs Nested Circle Dies-Large Set
Gina K Designs FoilMates-True Friend
Other Supplies: Moda Fabric-Woof Woof Meow, Aurifil Thread (Simplify Collection 50wt); Hand Sewing Needle, Iron, Rotary Cutter, Fabric Scissors, Paper Trimmer, Cuttlebug Manual Die Cutting Machine, Jillibean Soup Pattern Paper, Bernina Sewing Machine
The dog pattern is actually my roommate’s stamp she uses to mark her pottery pieces. She was kind enough to draw it bigger for me and then I traced and cut it out of cardstock for a pattern. (If you are wondering, yes the coffee cup is one of her pieces!)
Woof Woof Mug Rug Project Instructions:
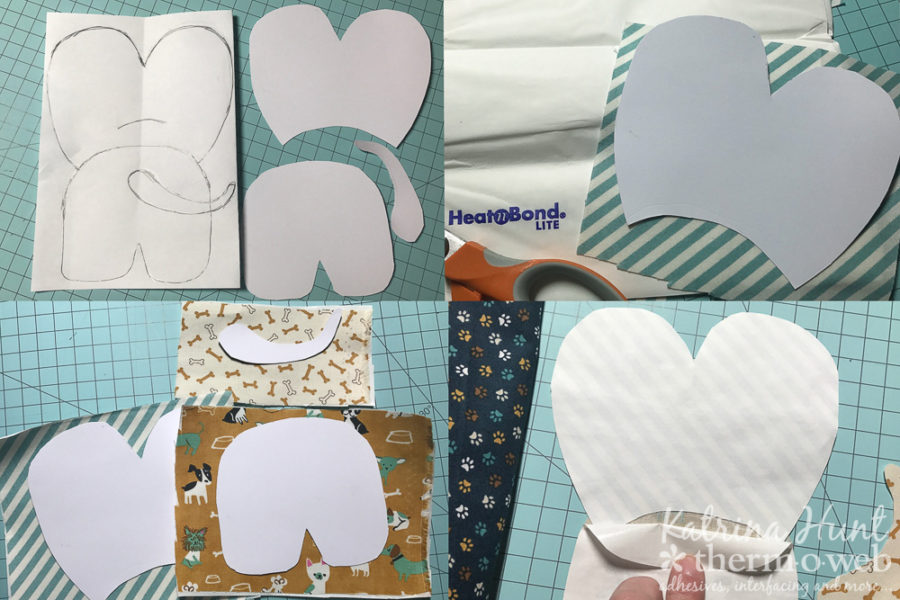
Fabric squares and HeatnBond Fusible Fleece are cut to 10.5 x 10.5 inches.
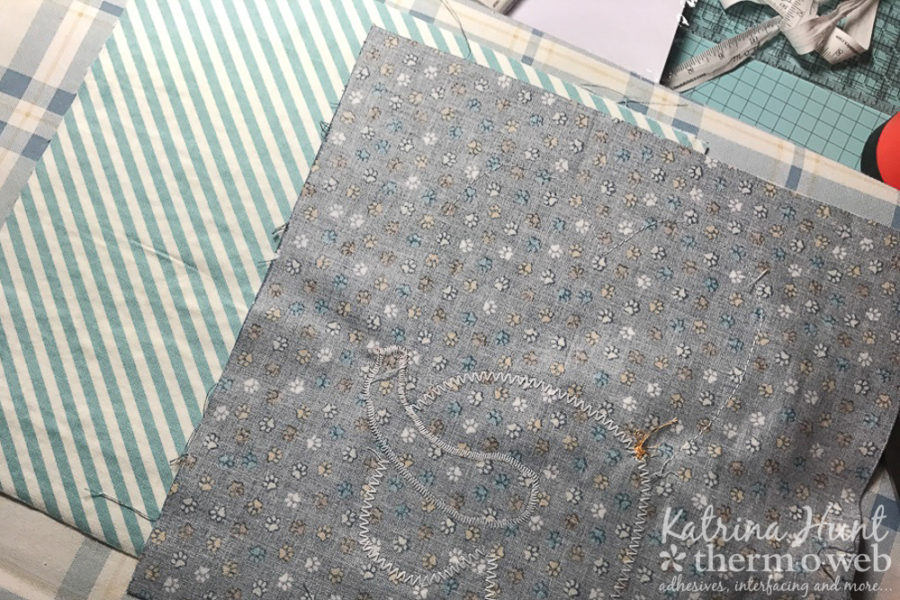
- Cut pattern pieces out and then cut out a piece of fabric to fit. Adhere HeatnBond Lite to fabric using an iron. Cut pattern pieces out of stabilized fabric.
- Note: I pulled back a bit of the backing so that I could attach the head and body together using the iron, before laying on my top to adhere. Do not attach tail just yet.
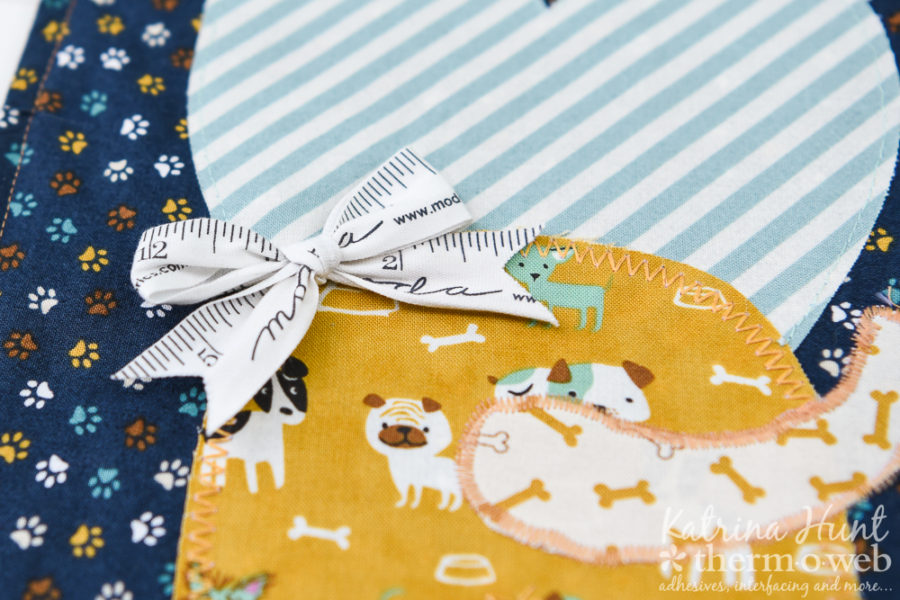
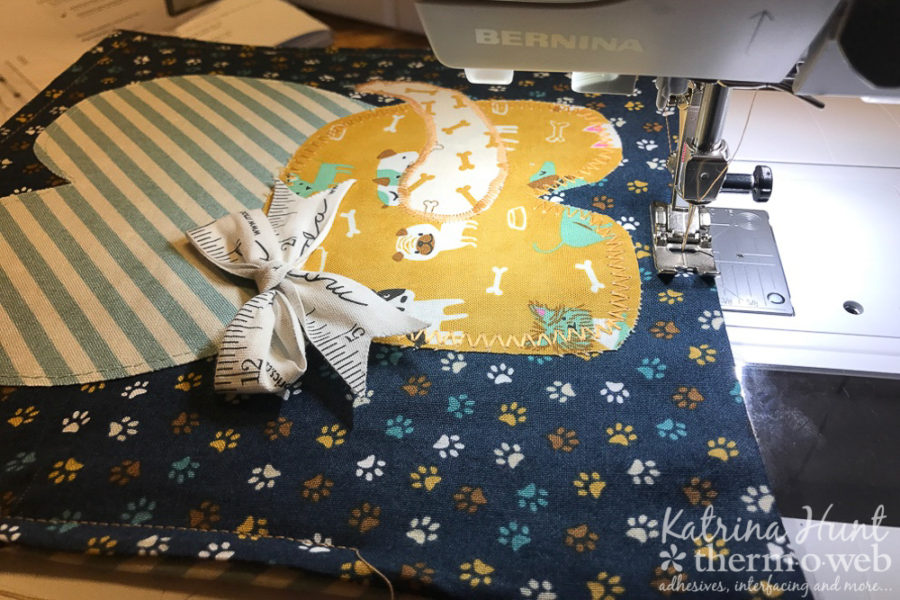
- Adhere head and body to the front piece of fabric, centering. Stitch around head and body either by hand or with the sewing machine. Attach tail and stitch around it.
- After body and tail are completed, use a hand sewing needle to attach the bow.
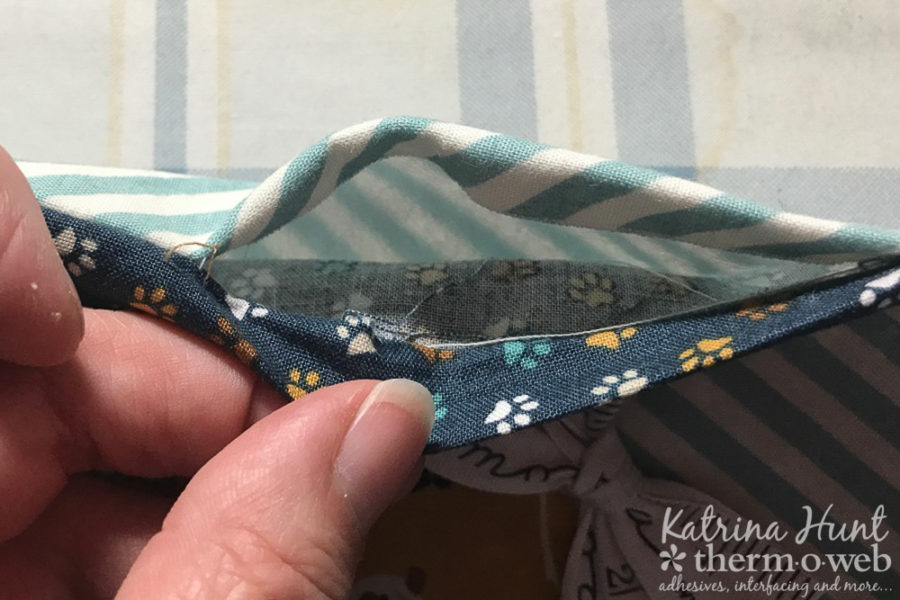
- Adhere HeatnBond Fusible Fleece to the wrong side of the back fabric. Then place the front piece of fabric onto back fabric with right sides together. Sew around the square, leaving a 2-3 inch gap to be able to turn your piece right side out.
- Trim corners and sides if needed before turning piece right side out. Make sure and get your corners pointy with chopsticks or the end of a tiny paintbrush.
- Flip right sides out and turn edges of the opening to the inside and iron. This opening will get closed in the next step.
- Using contrasting thread, sew around the edges of your piece to close. I used the side of my presser foot as my seam guide.
- Press with an iron and admire your work!
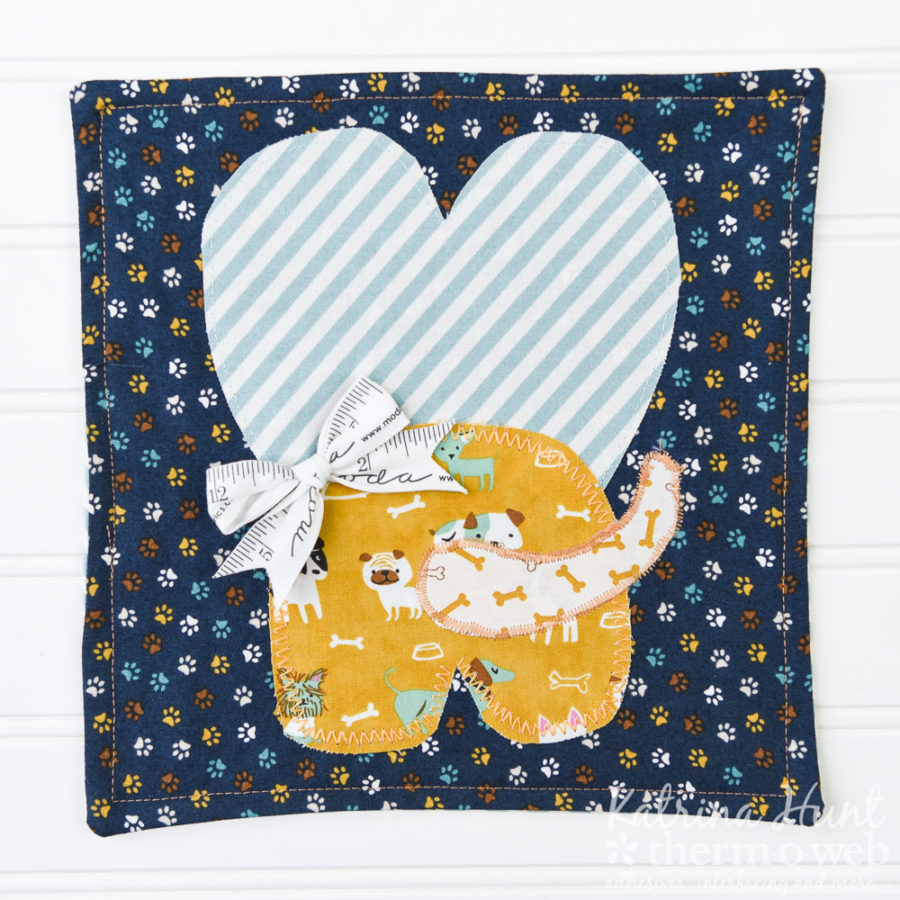
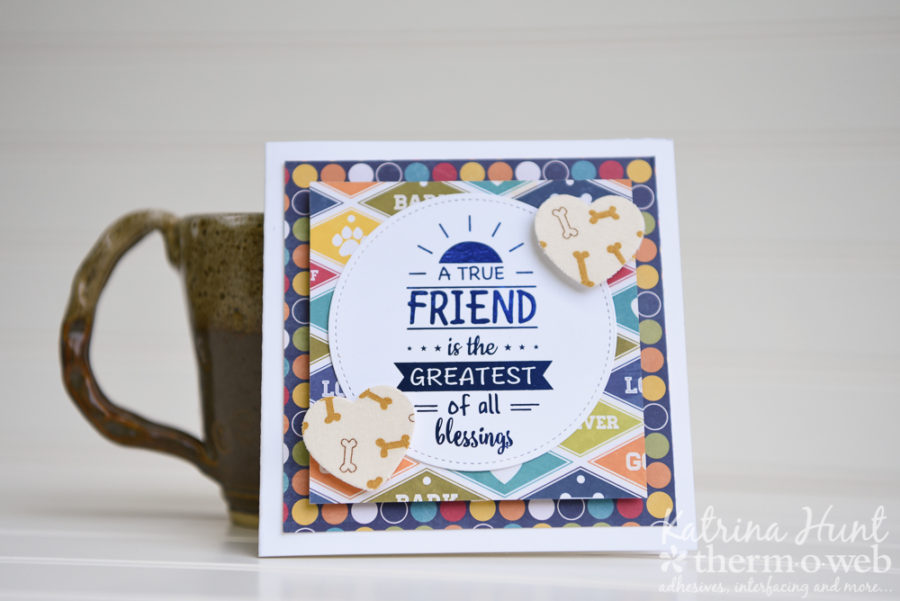
Ugh…how cute is that bow?!!!! I will admit I am hoarding that trim! Now to the card. Gina K’s Foil-Mates make it so easy to make a card in a snap! Add her dies and have even more fun!
Woof Woof Triend Card Instructions:
- Turn on laminator to heat for at least 20 minutes.
- Cut Premium Cardstock in White to 10 x 5 inches. Fold in half to create card base.
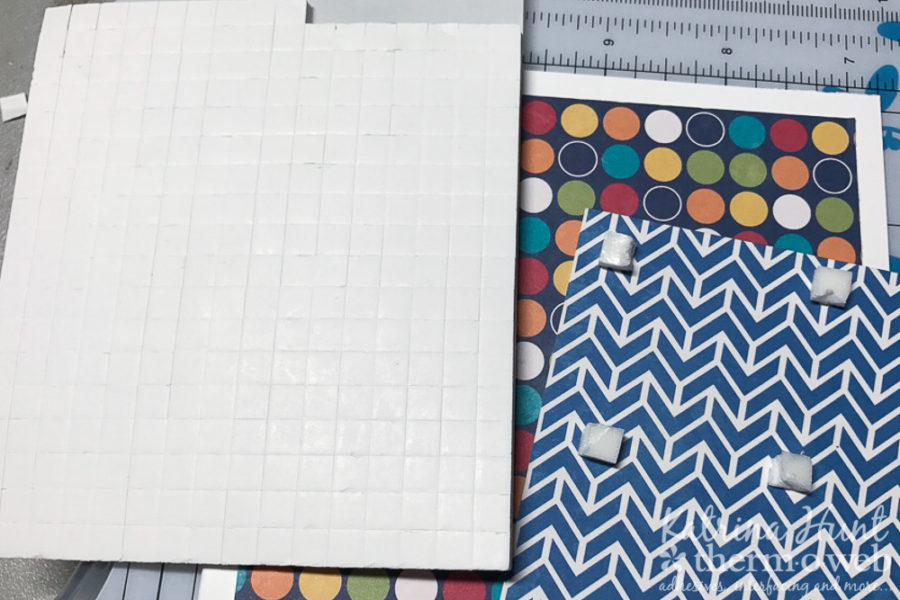
- Cut a piece of pattern paper to 4.5 x 4.5 inches and adhere with Sticky Tape Mini Runner.
- Cut another piece of pattern paper 4×4 inches and adhere to card base with 3D Foam Squares
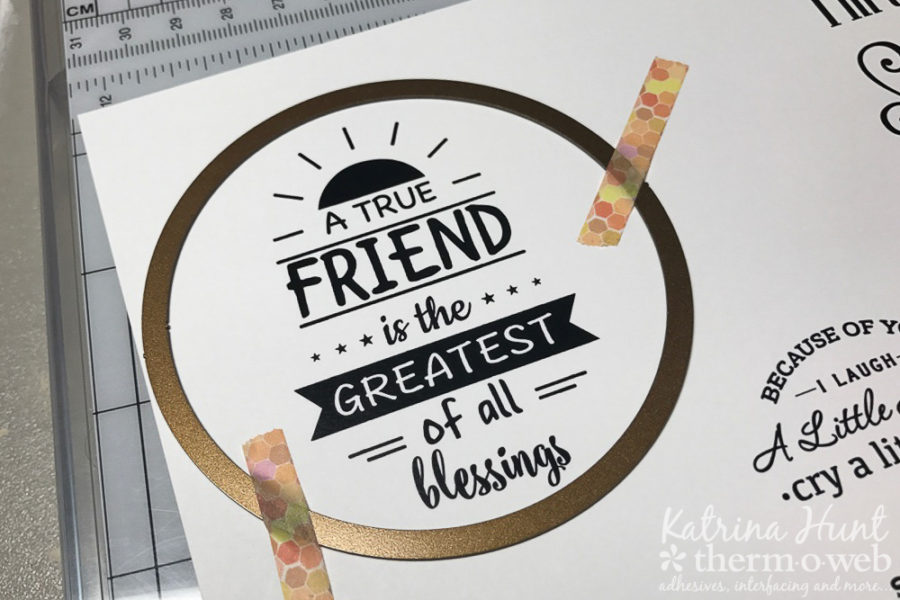
- Die cut Foil-Mates sentiment out using the largest circle die.
- Foil the sentiment in a coordinating color by running it thru the laminator. Adhere to the card base.
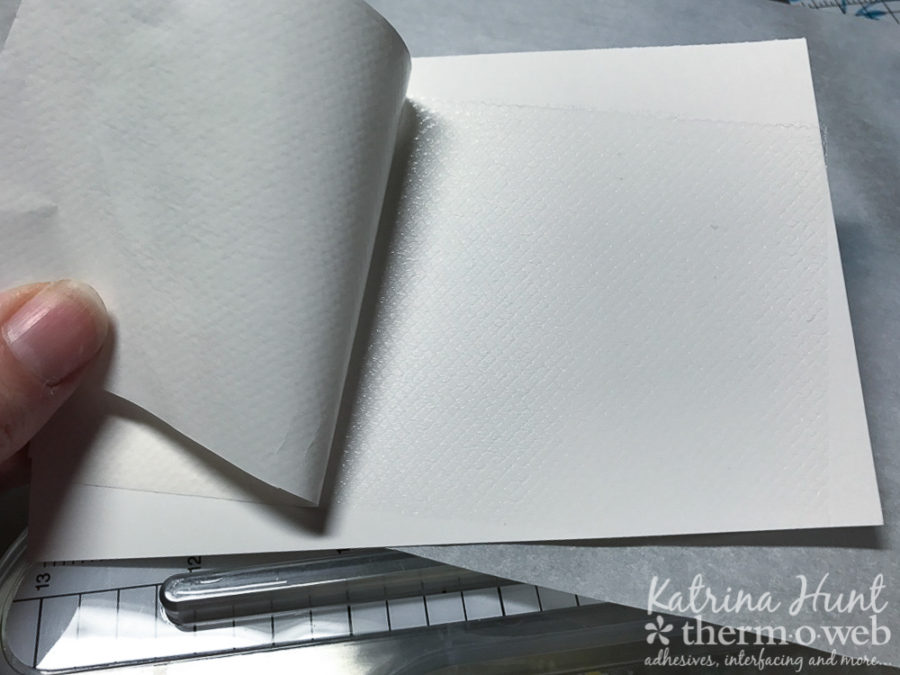
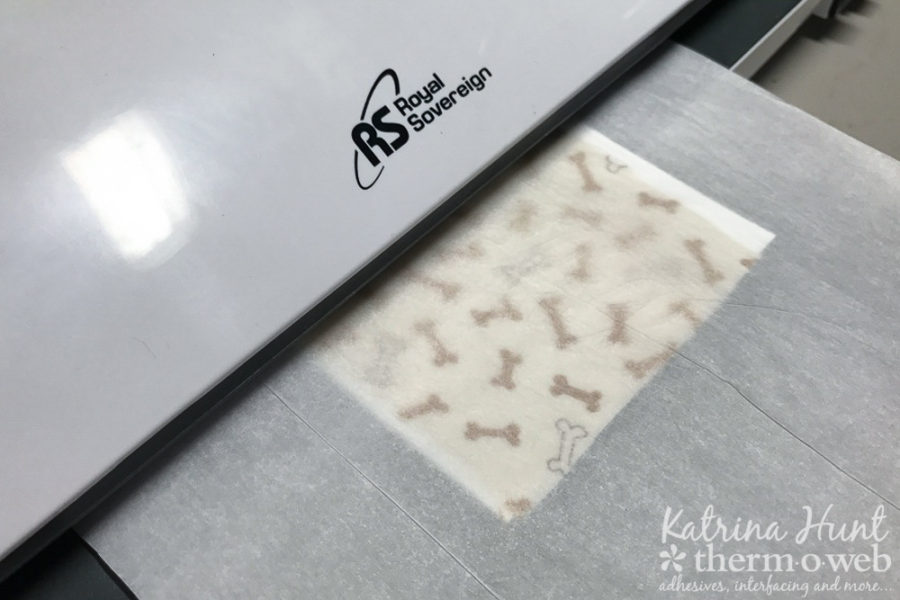
- Use the Deco Foil Hot Melt Adhesive and apply it to to a piece of cardstock by running thru the laminator. Peel off backing.
- Cut a piece of fabric and then run it thru the laminator, placing it on top of the cardstock adhesive side up (that you just revealed when you pulled off the backing sheet). This will adhere the fabric to the cardstock and make it sturdy.
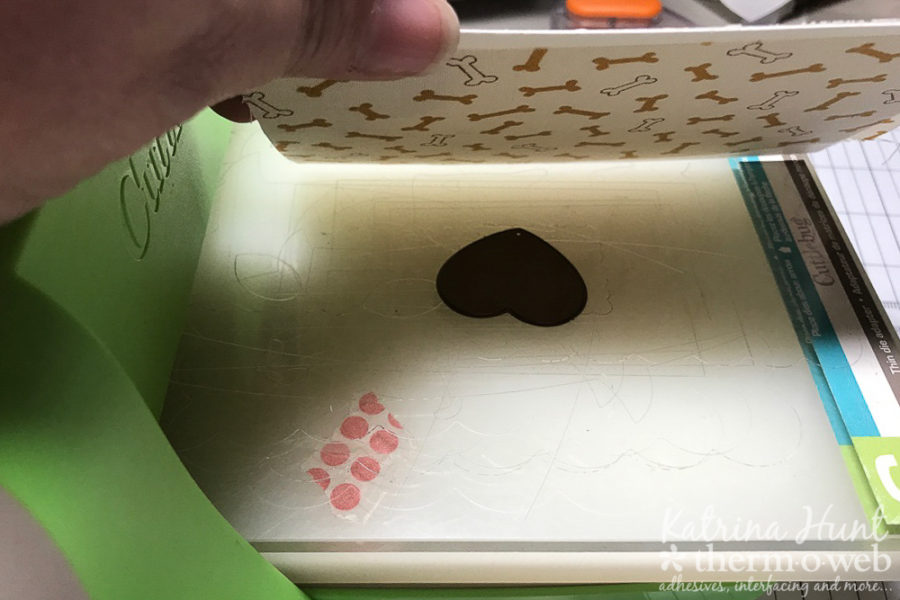
- Using the heart die, die cut the fabric piece that you just adhered to the cardstock. It may take a few passes and it also may take a shim in your cutting machine. (Mine is older and I need a new one!)
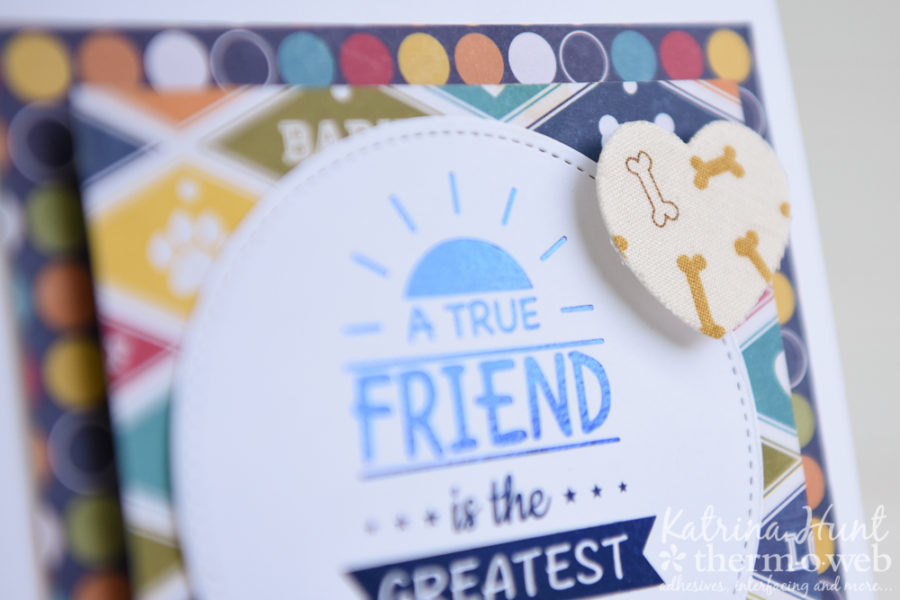
- Adhere those hearts to your card front with 3D Foam Squares and you have a card that coordinates with your mug rug!
Thanks for stopping by the blog today! I hope I have inspired you that you can sew AND paper craft! You don’t have to do just one!! Have a great day!