


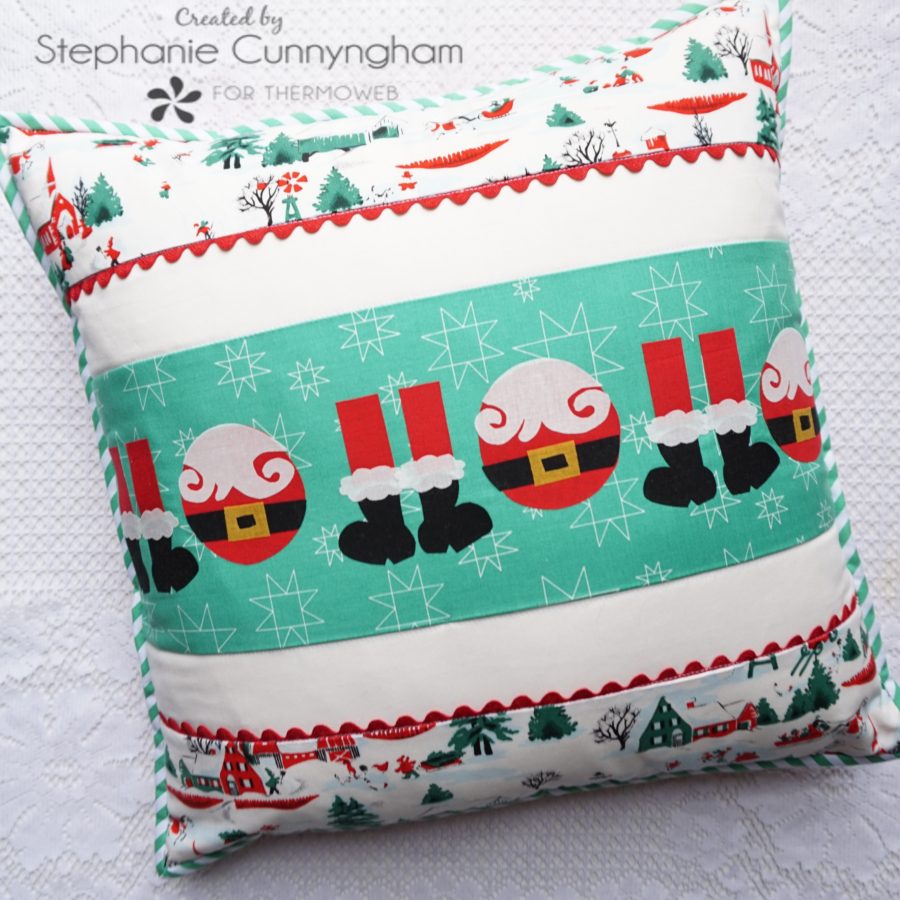
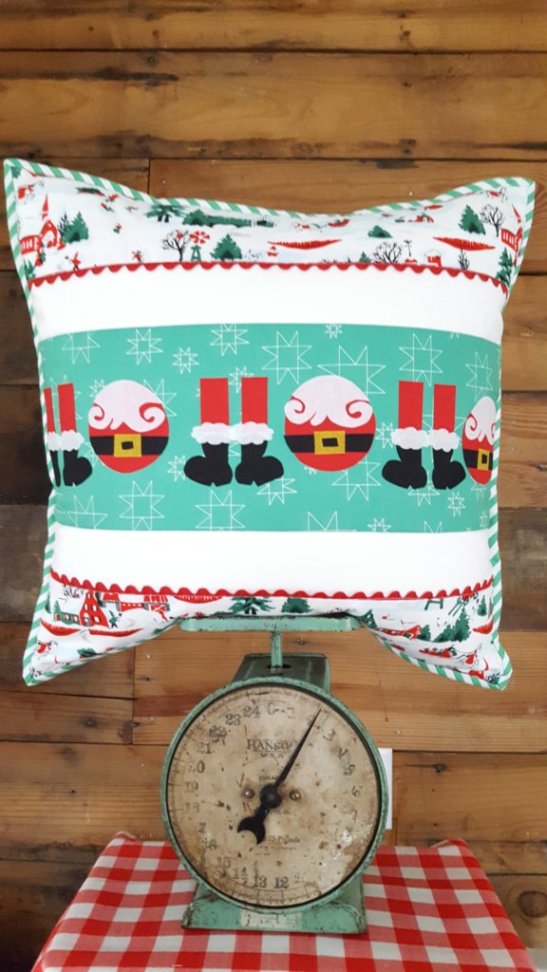
Christmas Ho Ho Ho Pillow
Christmas sewing is in full swing around here this month. Every year I try to have all my Christmas makes done by early November so that I can enjoy them as long as possible before the Christmas season ends. This year I have made two Christmas pillows so far, and I have a new Christmas quilt in the works. I am sewing frantically to finish it in time! By far, pillows are my favorite quilty thing to make. They are much faster to finish than a quilt, they require less time and resources, and they are a great way to try a new technique. This year I made my first applique Christmas project, this Ho Ho Ho pillow, and I am very happy with how it turned out. Keep reading and I’ll share how you can make one too!
Supplies Needed
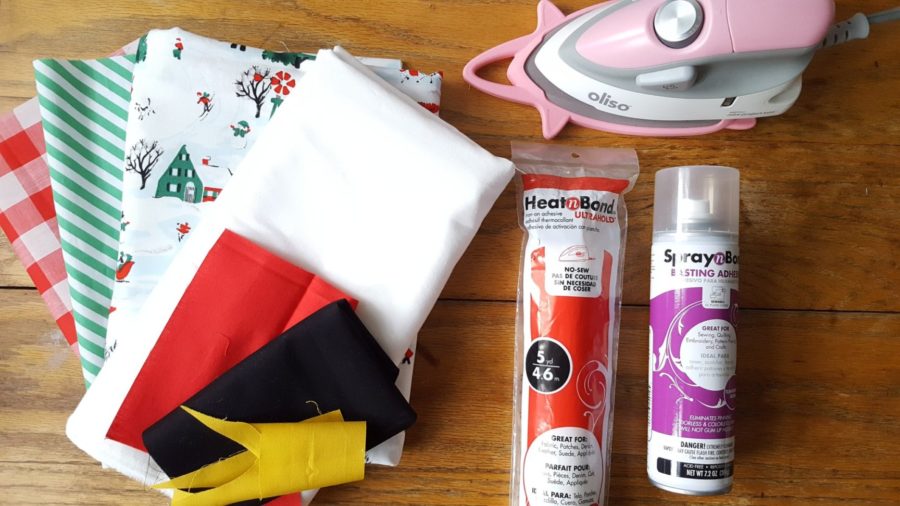
- HeatnBond Ultra Hold fusible interfacing
- SpraynBond Basting spray
- 1/4 yard fabric for the pillow back
- 1/4 yard binding fabric
- A zipper, at least 20″ long
- Assorted fat quarters for the pillow front (I used three different fabrics)
- Small pieces of red, black, and gold fabric
- 18.5″ square of batting
- 19″ square of lining fabric
- Optional: Ricrac
- A good iron, like the Oliso or Oliso mini
- Pattern templates
- 18″ pillow form
Sewing Instructions
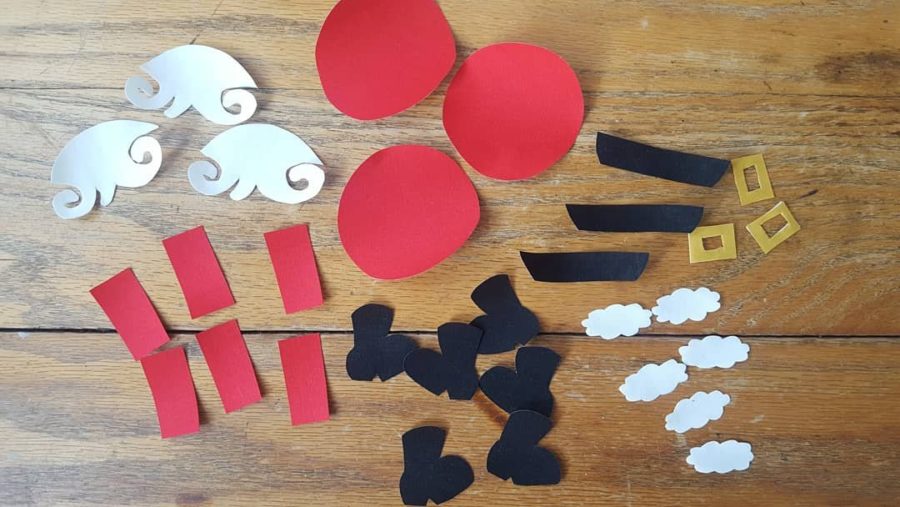
- Trace patterns on the backside of the HeatnBond, I try to trace the pattern pieces that will be from the same fabric close together. For example, for this project, I traced the boot and the belt pieces beside each other because they will be both be cut from black fabric. Once all patterns are traced, fuse them to the back of the corresponding fabrics.
- Black: Santa’s boots and belt
- Red: Santa’s pants and the large circle piece
- Gold: Santa’s belt buckle
- White: Santa’s beard and the fluff on his boots
- Cut out all of the shapes. Aren’t they cute?
- Choose the fabric you want to fuse your applique pieces to, and cut a 6.5″ x 18″ strip.
- NOTE: This pillow will have an 18″ pillow insert. When possible, I make my pillow cover just a bit smaller to make sure the form fills it out nicely.
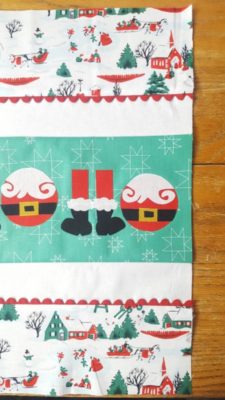
- Peel the paper backing off of your applique pieces and arrange them on the strip of fabric. The goal is to use Santa’s pants and boots to form an “H,” and to use his belly pieces to form an “O” to spell out “Ho Ho Ho” on your pillow.
- I arranged my pieces approximately 2″ from the top of my strip
- Fuse the pieces in place with your iron, following the instructions on the HeatnBond package.

- From your white fabric, cut two 2.5″ x 18″ strips, and sew these to the long edges of the appliqued strip. Press away from the white.
- From a different fabric, cut two 4.5″ x 18″ strips and sew these to the other edge of the white fabric, again pressing away from the white. If desired, sew a strip of ric rac between these two pieces.
- Layer the lining fabric, batting, and pillow-top and secure in place with basting spray.
- Quilt as desired.
- OPTIONAL: Add some hand stitching with a bold thread on the white strips of fabric.
- After the pillow top is quilted, trim to 18″ square.
- To make the pillow back, cut backing fabric in two pieces:
- 14″ x 18″
- 6″ x 18″
- Sew zipper along 18″ sides of both pieces. Trim pillow back to 18″ square, making sure to not trim off the zipper pull!
- TIP: Open your zipper halfway before trimming, just to make sure. (Don’t ask me how I know this…)
- Pin pillow front and back together.
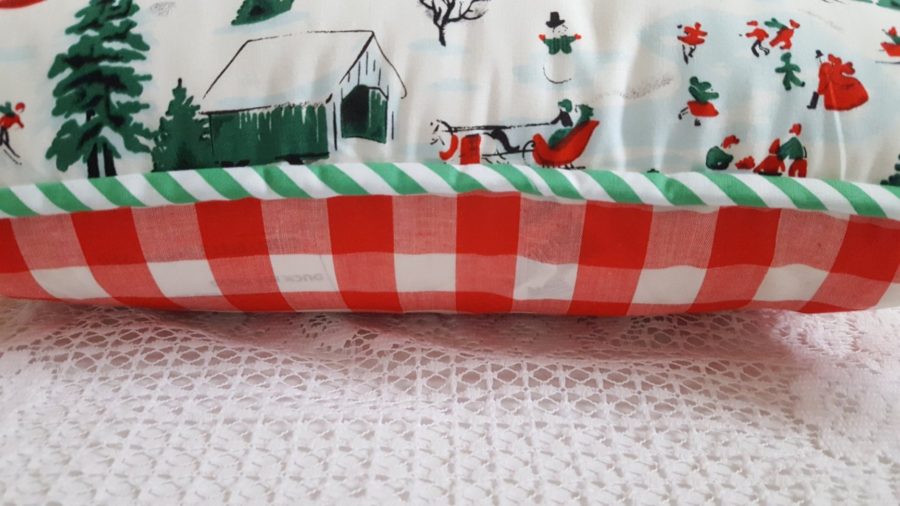
- Cut the binding fabric into two 2.25″ X WOF strips and sew together. Press in half, wrong sides together, along the strip. Attach binding to the pillow using your favorite method.
- Stuff with a pillow form and enjoy!
For more sewing projects and inspiration, feel free to visit me on Instagram or stop by my blog. Thanks for sewing along!
Stephanie