Hi again! It’s beginning to look a lot like Christmas.
The tree is up over here at Sew Incredibly Crazy.
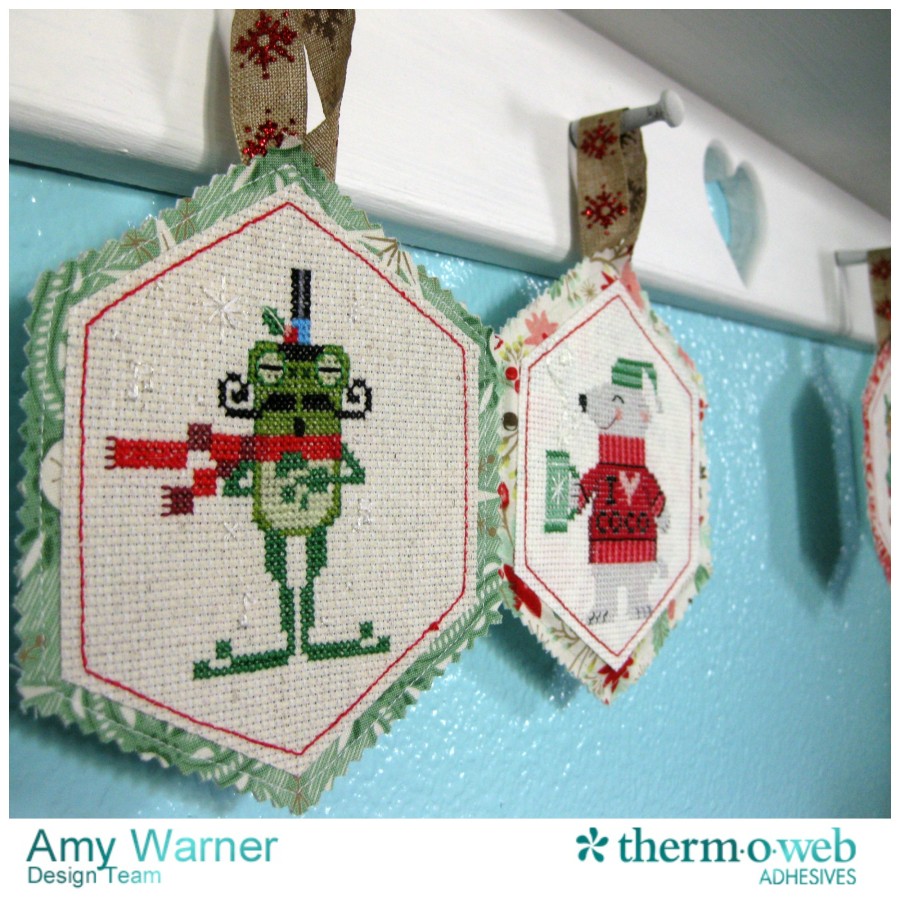
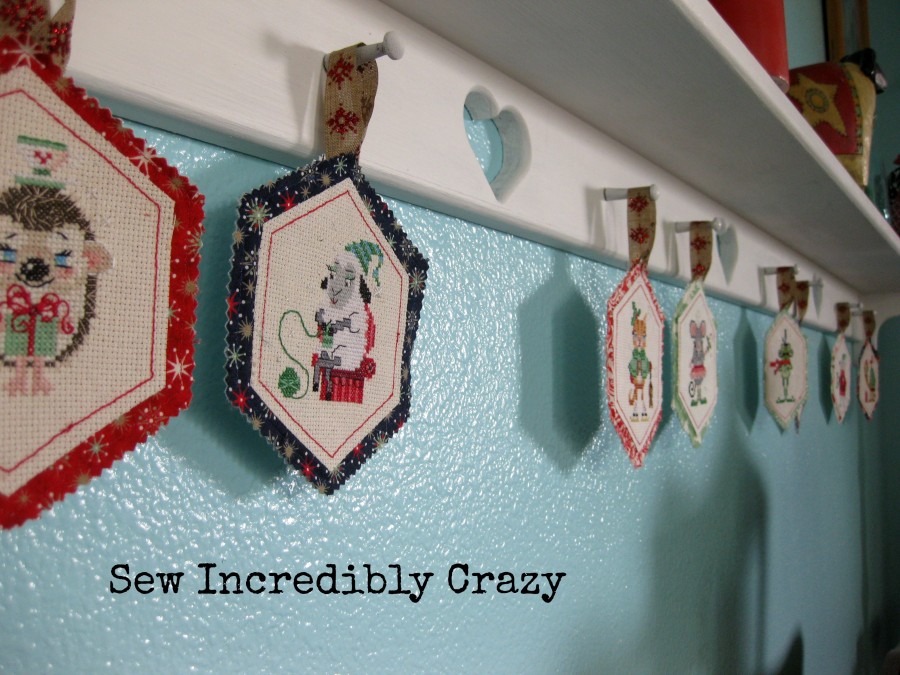
The stockings are hung and so are these little cuties.
I love to multi-craft. I have so many loves that I like to combine them at times. This is a combination of my love of cross-stitch and sewing. I have been working on a little Cross-stitch along by Brooks Books and wanted to make the designs into ornaments.
You will need:
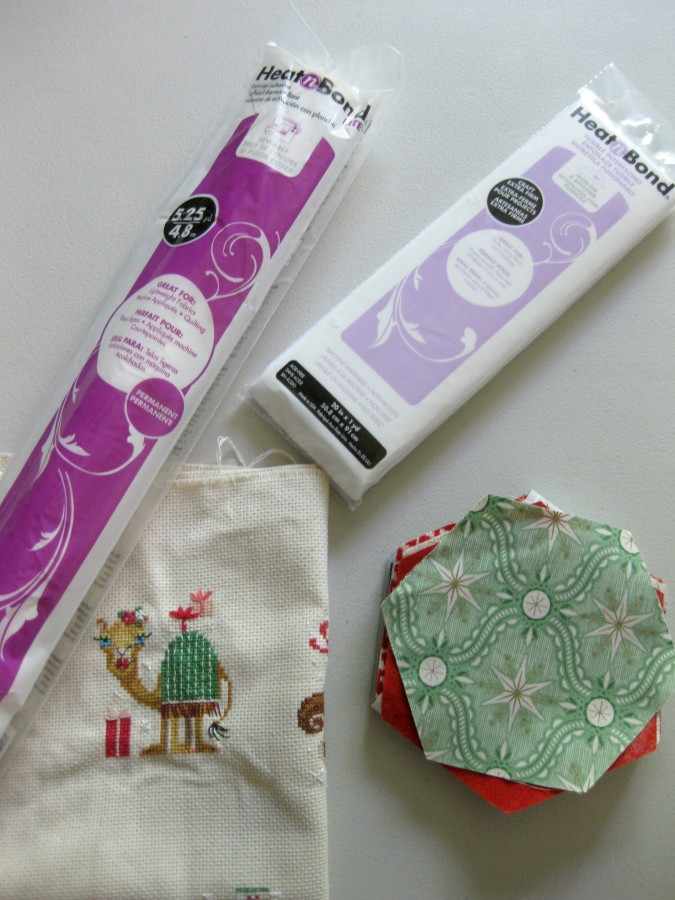
Your cross-stitch design – If you don’t cross-stitch, you could fussy cut a fabric design to use in the center as well
a shape that is larger than your design- I used Moda pre-cut Honeycombs
HeatnBond Craft Extra Firm Non-Woven Interfacing
6″ of ribbon
Pinking shears
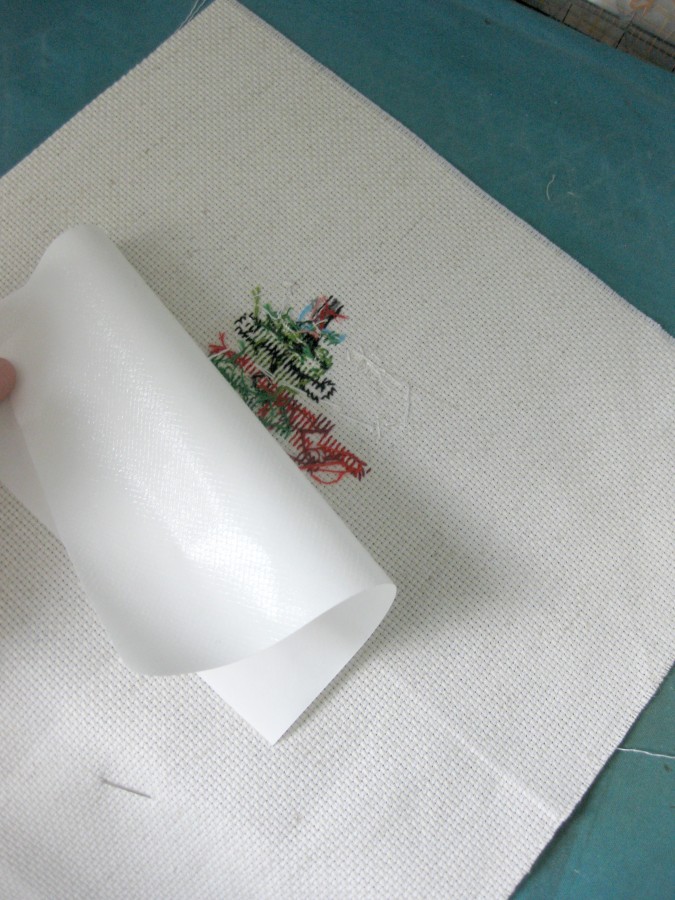
Take the HeatnBond® Lite and make a piece bigger than the shape you plan adhere it to. Iron it to the back of your cross-stitch design.
What I absolutely love about using HeatnBond® Lite , is that you don’t have to worry about the Aida fabric fraying.
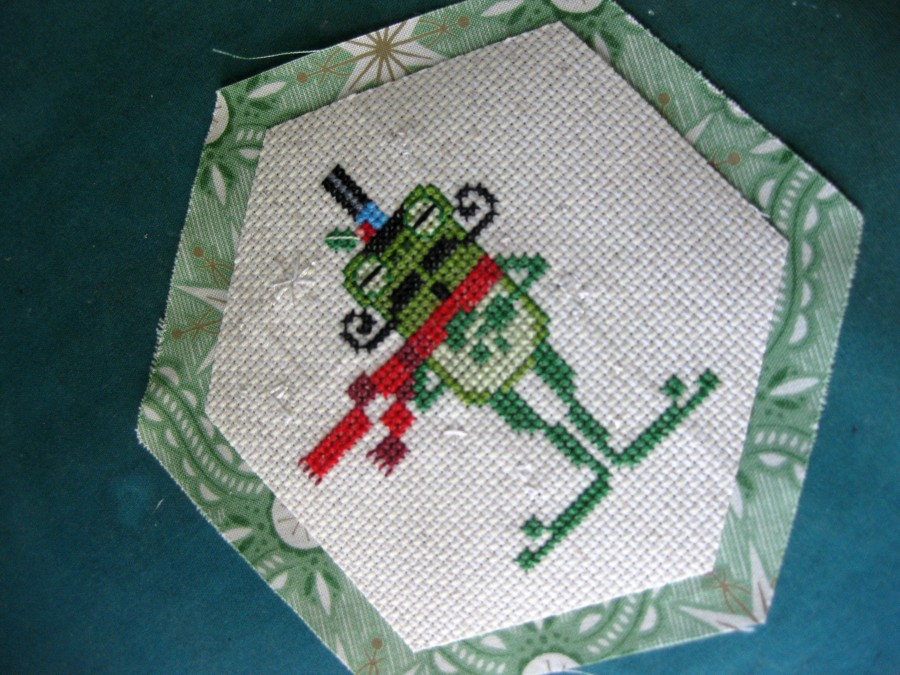
I made a template that was smaller than the fabric piece. I wanted to be able to see the pretty fabric as well as the cross-stitch design.
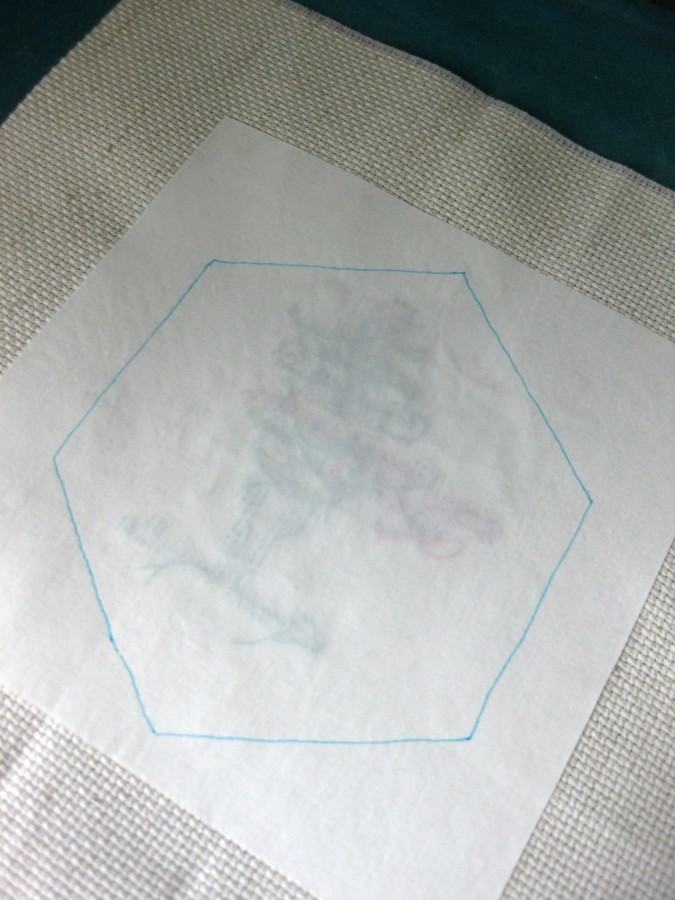
Trace your shape onto the HeatnBond® Lite . Make sure it is nice and straight and exactly how you would like it.
Cut the cross-stitch fabric.
Iron it onto your fabric shape.
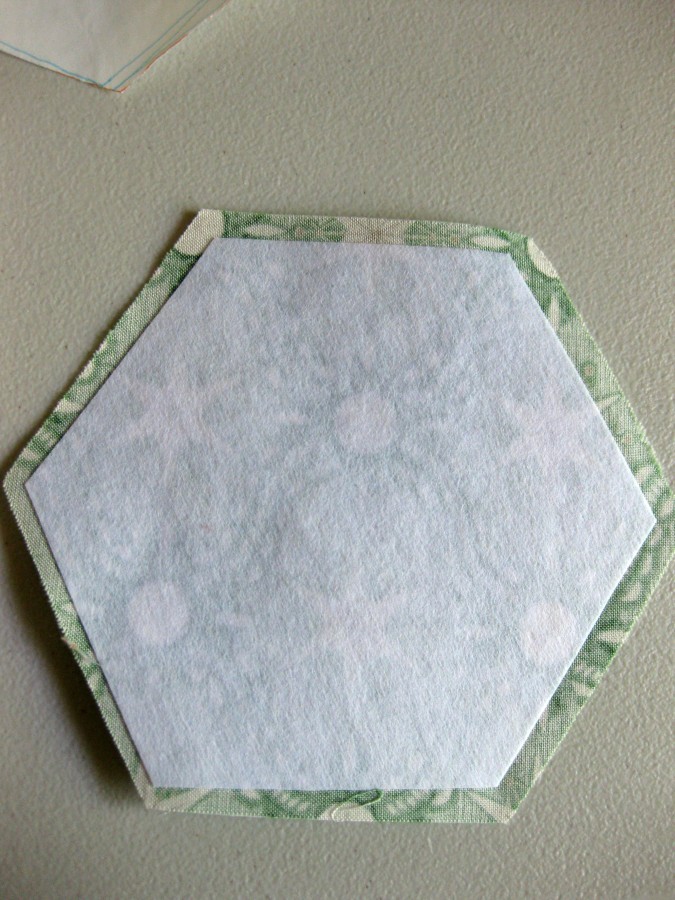
Cut a piece of HeatnBond® Craft Extra Firm Non-Woven Interfacing. Make it a 1/4″ smaller than that of your fabric. Grab another fabric shape, center your HeatnBond® Craft Extra Firm Non-Woven Interfacing piece and iron on the wrong side of the fabric. This gives the ornament stability.
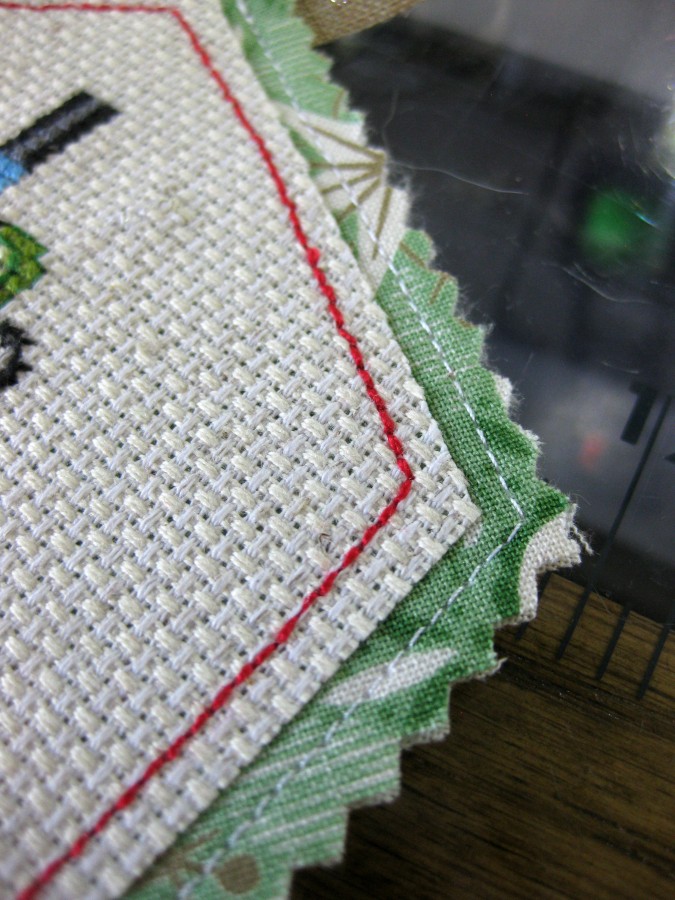
Sandwich your two fabric pieces wrong sides together. Use your pinking shears and cut around the edge of your ornament.
Center your piece of ribbon on the top of your ornament in between the layers.
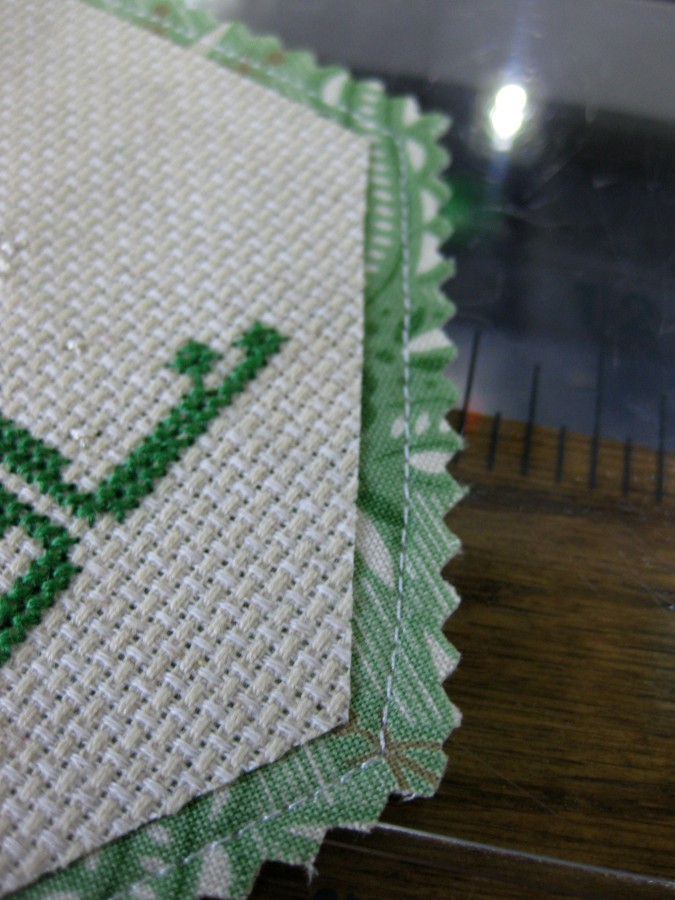
Sew around the perimeter of the ornament. I used 1/4″
Last, sew around the perimeter of your cross-stitch fabric.
I used Aurifil 12 wt. I love the extra detail that it adds to the design.
Enjoy for many years to come!! Have a Joyous and Merry Season.

Throughout the month of November we shared our #30DaysofThankful. We’re carrying it forward into December with an amazing giveaway for you..because we’re thankful all the days of the year!
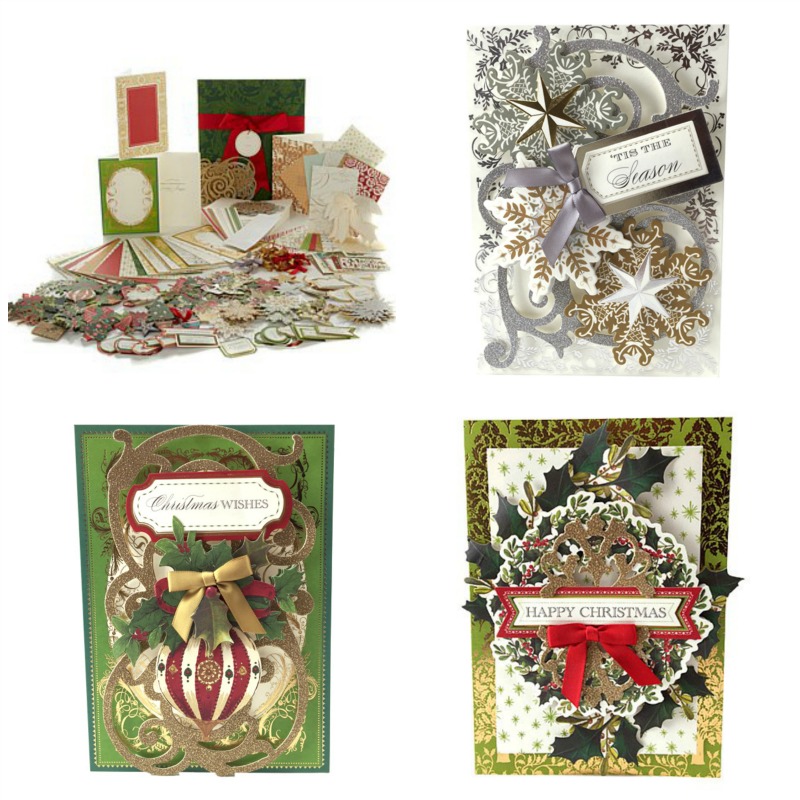
We’ve been sharing all the things we’re thankful for from our family and friends to our HeatnBond® Fusible Fleece, iCraft® Easy-Tear Tapes to our Pets. We’re ending the month with a stellar giveaway from our friends at Anna Griffin! You’ll love it if you’re the winner of the Anna Griffin Holiday Trimmings Card Kit! It’s filled to the brim And we’d like to give you a chance to win one thanks to our friends at Anna Griffin. Simply follow the Rafflecopter to enter to win!
Here’s what is in this amazing kit:
(30) 5″ x 7″ Cards
(22) 4″ x 6″ Cardstock layers
(15) 2-1/2″ x 3-3/4″ Die-cut postcards
32 Glitter cardstock stickers
(18) 7″ x 1″ Border stickers
(6) 4-1/4″ x 4″ Die-cut paper bows with gold foil
24 Pre-tied bows in red, gold and silver
(30) 3D sentiment stickers
(32) 3D decorative stickers
36 Decorative die-cuts
(30) 5-1/4″ x 7-1/4″ Envelopes – ivory
250 Pieces of 1/4″ foam adhesive
Storage box
Idea sheet

Pat
December 11, 2015 at 4:52 pm (9 years ago)Thanks for the great tutorial, Amy!
Kate
January 2, 2016 at 6:13 am (9 years ago)This is such a great idea for finishing these critters – thank you.