


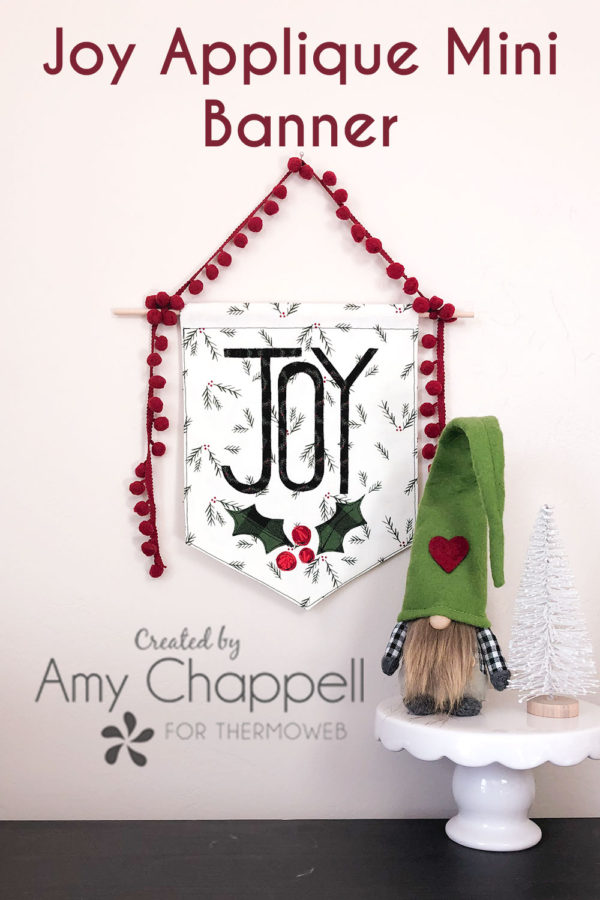
I am always on the lookout for quick and simple gifts to give to friends and neighbors. These Joy applique mini banners require very little fabric and time but look amazing! Read on for all the directions and get the free pattern!
Sew a Joy Applique Mini Banner
Supplies
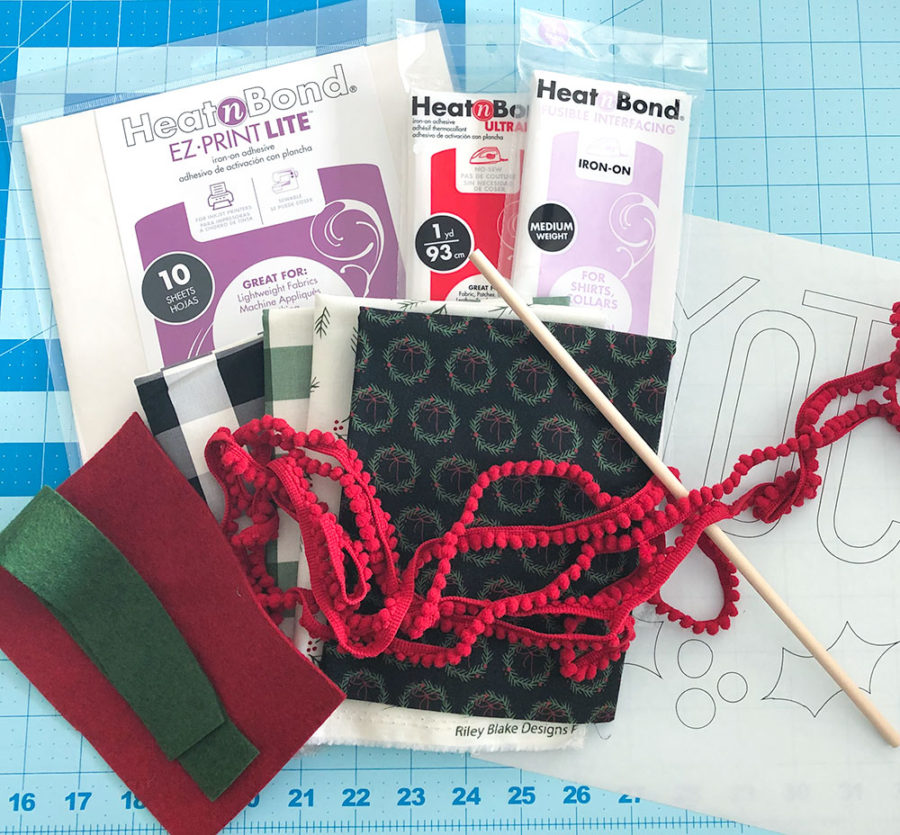
- Pattern pieces for applique
- Fabric for Banner- I am using some prints from Winterberry by Riley Blake Designs
- 12″ dowel for hanging the banner
- Felt or fabric for the applique
- Heat n Bond EZ Print Lite – if you want to stitch around the applique or Heat n Bond Ultrahold– if you don’t want to have to stitch around the applique
- Heat n Bond Fusible Interfacing- medium weight– not absolutely necessary, but if you have a fabric with a light background, this will help with shadowing, and I also like the structure it gives to the banner.
- ribbon, twine or pom trim for hanging
Prepare banner for Applique
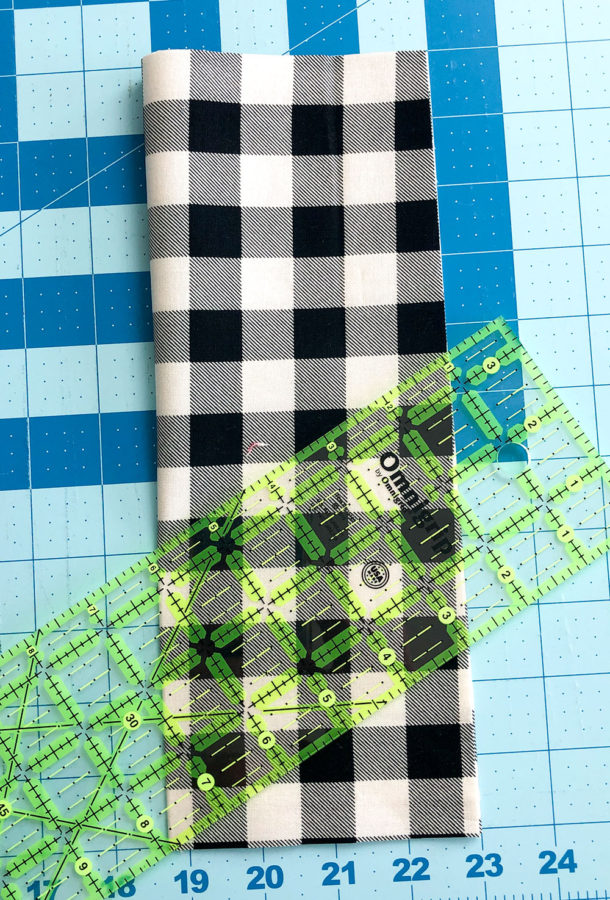
To begin, cut two rectangles of fabric 8″ wide by 10″ high. Fold the fabric in half and measure up 2 1/2″ up the side with the raw edges. Cut a line from this mark to the fold to create the point on the banner.
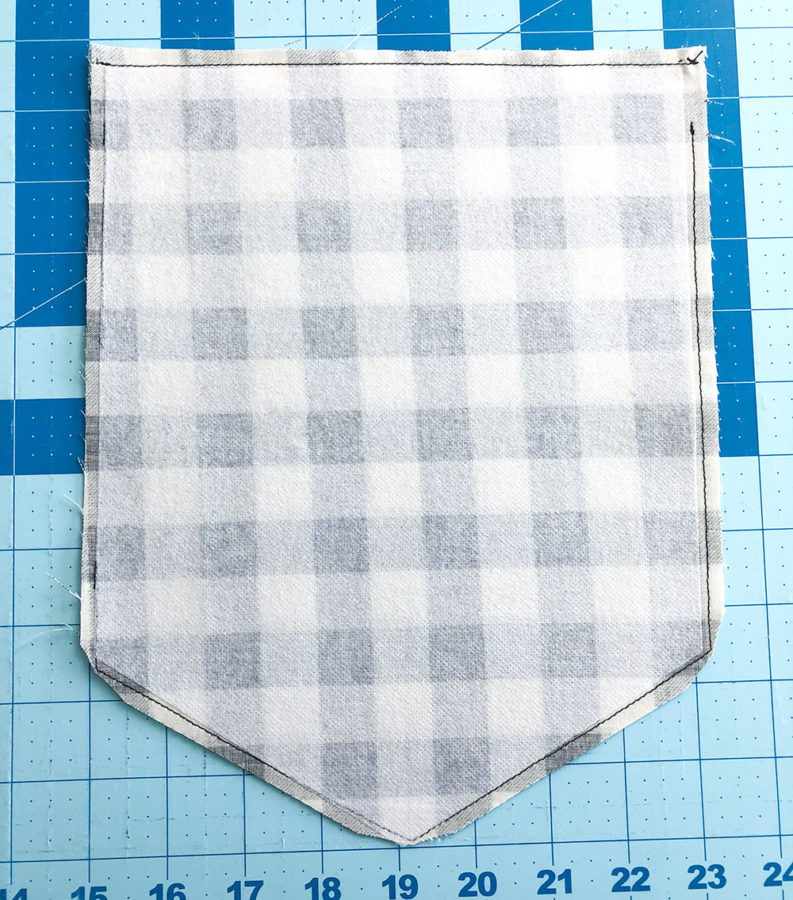
Cut a piece of interfacing (if using interfacing) 7 1/2″ X 9 1/2″ and repeat the steps to create a point on the bottom. Center the interfacing on the back of one piece of banner fabric and fuse into place. Next, place the two banner pieces right sides together. Mark 1″ down from the short, straight side. Pin the rest of the banner together.
All seams are 1/4″ and remember to backstitch at the beginning and ending of each line of sewing.
Sew a straight line across the top short side. Sew around the rest of the banner starting at the mark 1″ from the top and stopping at the second mark 1″ from the top. Make sure to leave an opening for turning on one of the long sides of the banner. Clip the corners on the bottom point of the banner. Turn the banner right side out and press well- making sure to turn the seam allowance from the opening under. Sew a line 3/4″ away from the top of the banner to create a channel for the dowel. Edgestitch around the rest of the banner to finish it.
Add Applique to Joy banner

Print or trace the applique pieces onto Heat N Bond. Cut around the pattern pieces leaving a slight margin. Fuse the Heat N Bond to the wrong side of the fabric or felt being used for the applique. Cut out the pattern pieces along the line. Peel the paper backing away from the pattern pieces.
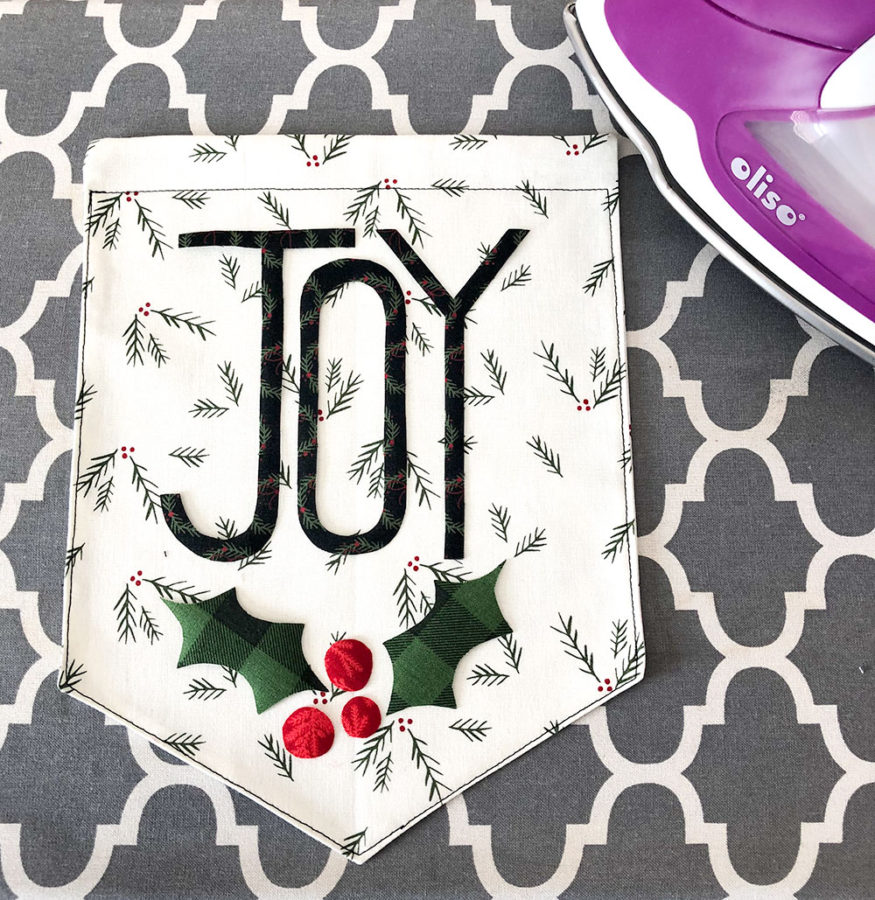
Position the applique pieces on the banner as desired. It is best to do this on your ironing board or some other pressing surface. Fuse the applique in place following the package directions.
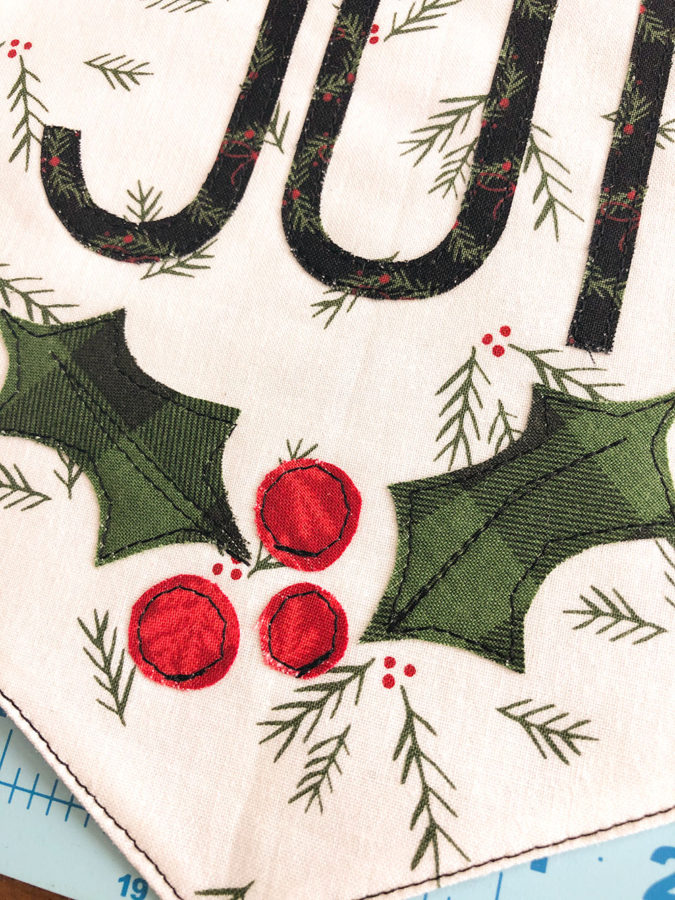
If using Heat N Bond Lite, you will need to stitch around each applique piece. I like to use a contrasting thread sometimes to add more detail to the project.
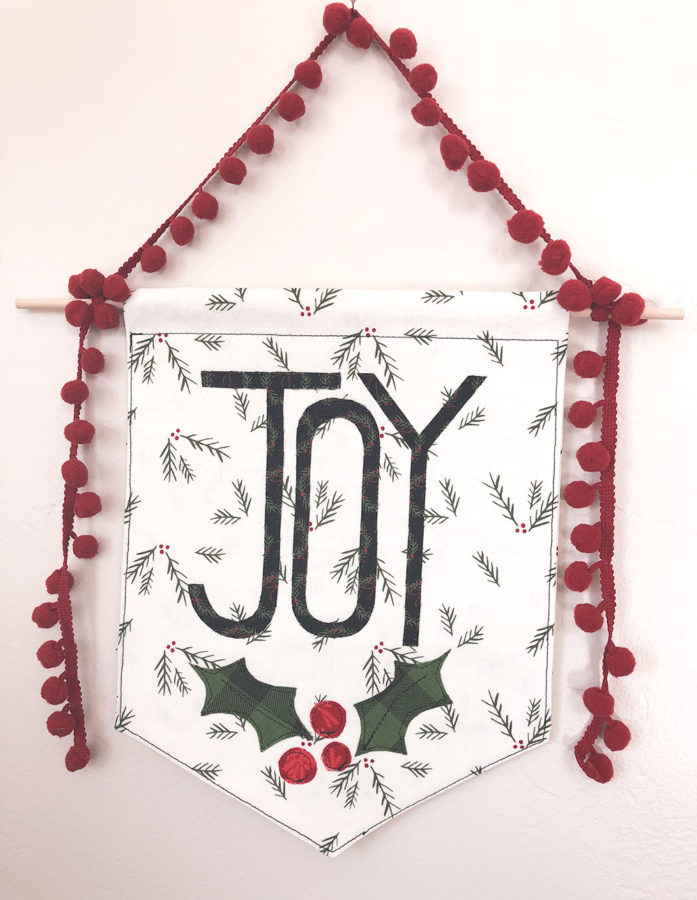
All that is left is to insert the dowel into the channel on the top and tie your ribbon, twine or trim on for hanging!
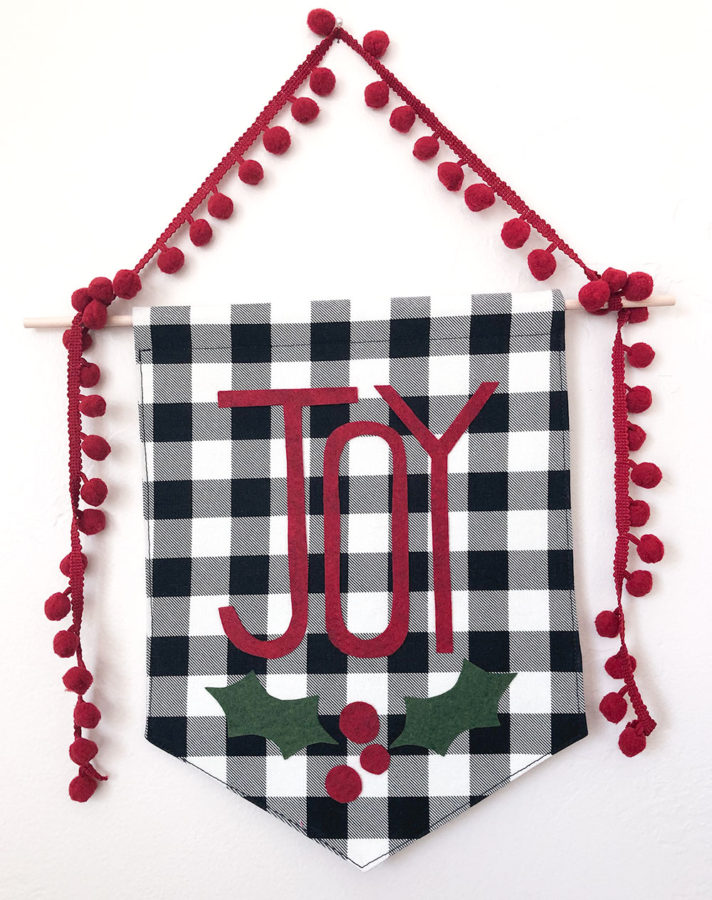
I can’t decide if I like the felt or fabric version better!! Which one are you going to make?
If you are looking for more gift ideas, you might like this set of nesting pouches that are perfect for travel or organizing a purse! Or, this fabric covered notebook is a fun option for teachers!
Happy Sewing my friends! xoxo! Amy
[…] a little banner. I have made a few so far, this Merry and Bright one using my Cricut Maker, and this JOY one I sewed for the ThermoWeb blog as part of my work designing for them. I wanted to make something a […]