


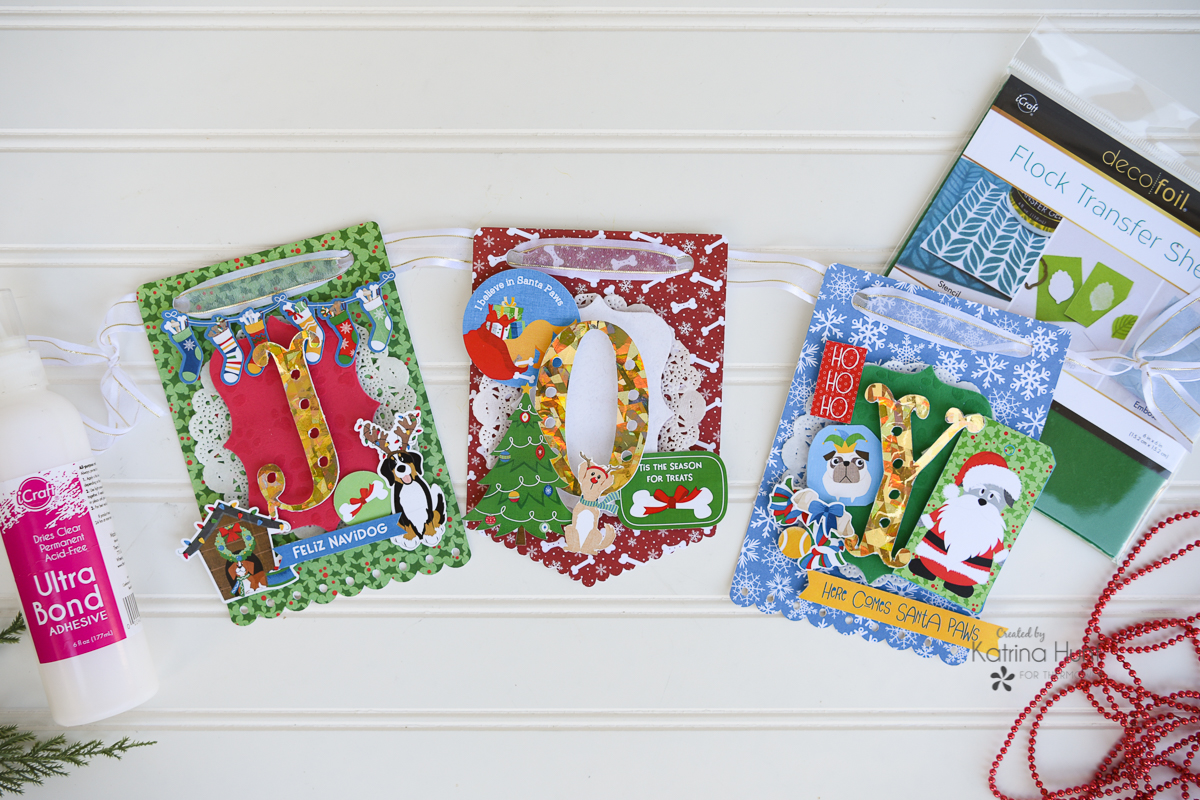
Hey Hey!! It’s Katrina here from Paper, Scissors, Glue and Hybrid sharing a fun dog-themed Christmas banner using Deco Foil, Deco Foil Flock and lots of fun adhesives! I love making banners and I am going to show you how quickly you can make one! This banner took me about an hour and a half start to finish. And as a result, I now have an adorable holiday decoration!
JOY Dogs Christmas Banner
Therm O Web Supplies Used:
Therm O Web Memory Runner XL
Therm O Web Zots-Medium
Therm O Web 3D Foam Squares-1/2 inch
Therm O Web 3D Foam Square-1/4 inch
Therm O Web Foam Sticky Strips
iCraft Easy Cut Adhesive Sheets
iCraft Deco Foil Foil Transfer Sheets-Gold Shattered Glass
iCraft Deco Foil Flock Transfer Sheets-Ruby Red
iCraft Deco Foil Flock Transfer Sheets-Emerald Green
iCraft Deco Foil Flock Transfer Sheets-White Latte
Deco Foil Foil Toner Sheets
Deco Foil Peel and Stick Toner Sheets
iCraft Ultra Bond Liquid Adhesive
Gina K Designs Premium Cardstock-Luxury White
Gina K Designs Sheer Satin Fancy Ribbon-White/Gold
Laminator
Other Supplies Used:
Photo Play Paper-The Muttcracker 12×12 Collection Kit
Photo Play Paper-The Muttcracker Ephemera Pack
Joy Banner Cut File-Silhouette Design Store
Banner Details

First, let’s talk about what makes a banner quick and easy! A banner cut file is a great quick tool to use or you could use your metal dies and a manual die cutting machine. I wanted the letters on this to be pretty big, so for that reason, I opted for a digital cut file and my Cameo. I actually cut the banner pieces out twice, once out of Gina K White Cardstock and then again out of pattern paper. After cutting the pieces, I adhered them together with Ultra Bond Liquid Adhesive. Because you are adding a layer of cardstock also, it will make the banner a little sturdier and it will hold up for a few years!
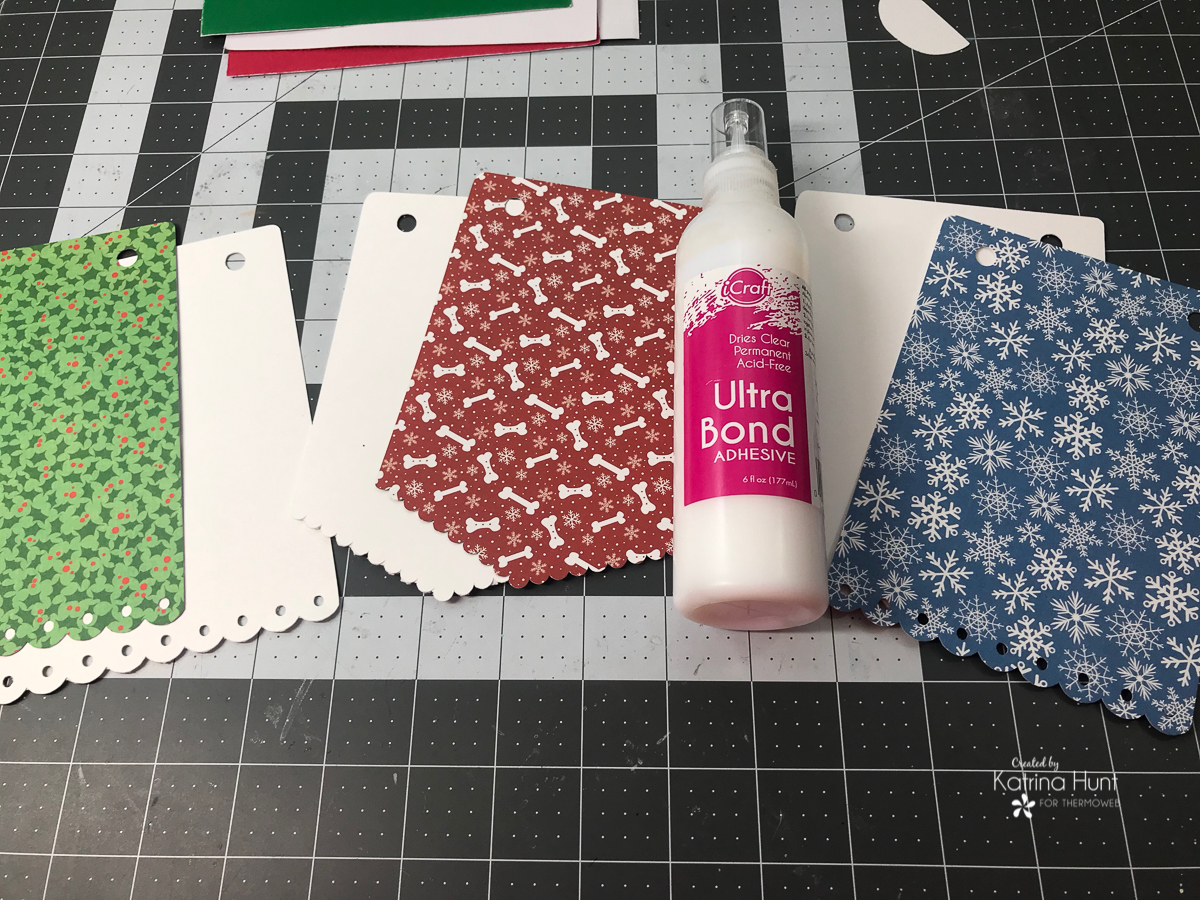
Once all the pieces were together, I placed them under a heavy book to let them dry for a few minutes. This little step helps keep them flat! While your pieces are drying you can work on cutting out the other pieces that you need for your banner, the “label” that sits behind the letter and then the letters themselves.
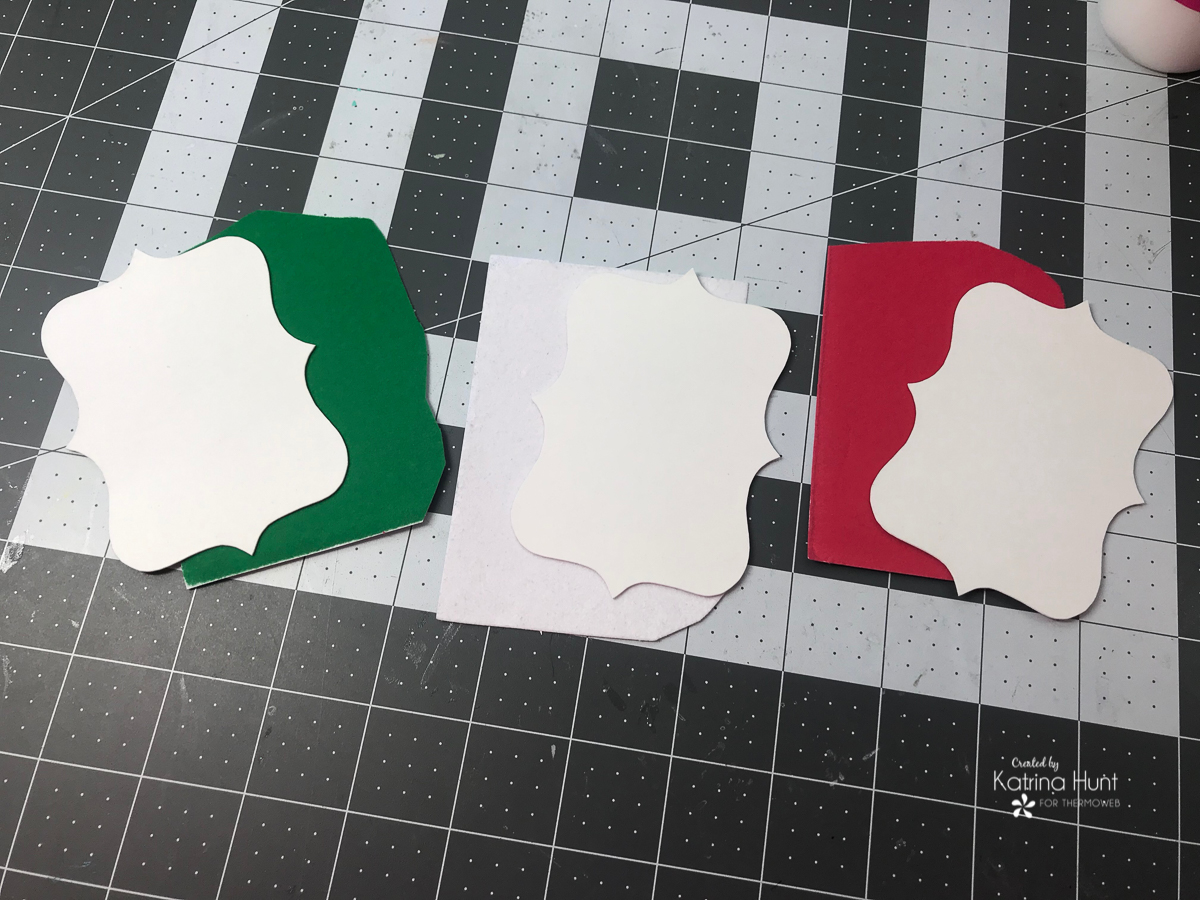
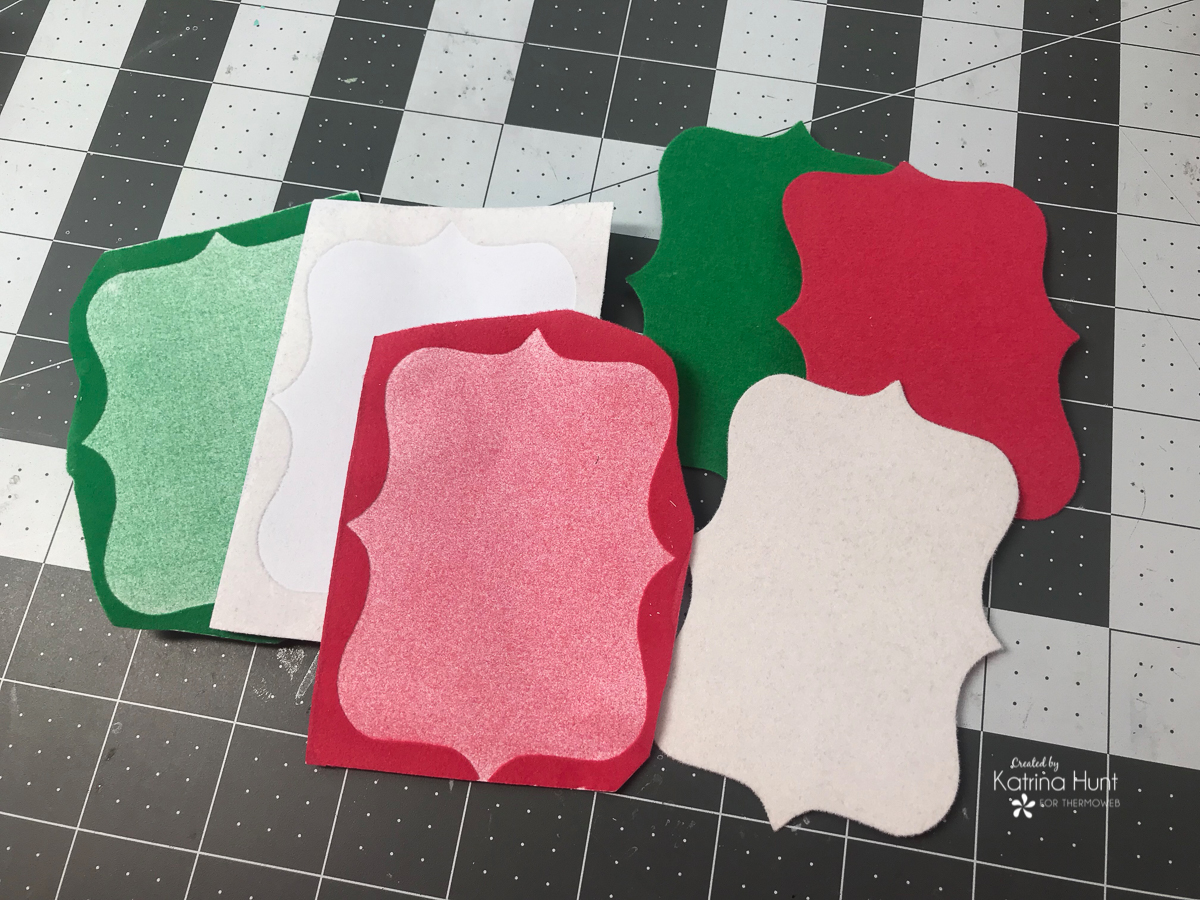
Before you cut the labels, apply an Easy-Cut Adhesive Sheet onto some Gina K Cardstock and then run through your die-cutting method of choice. To do this, remove one of the protective backing pieces and just apply onto your cardstock.
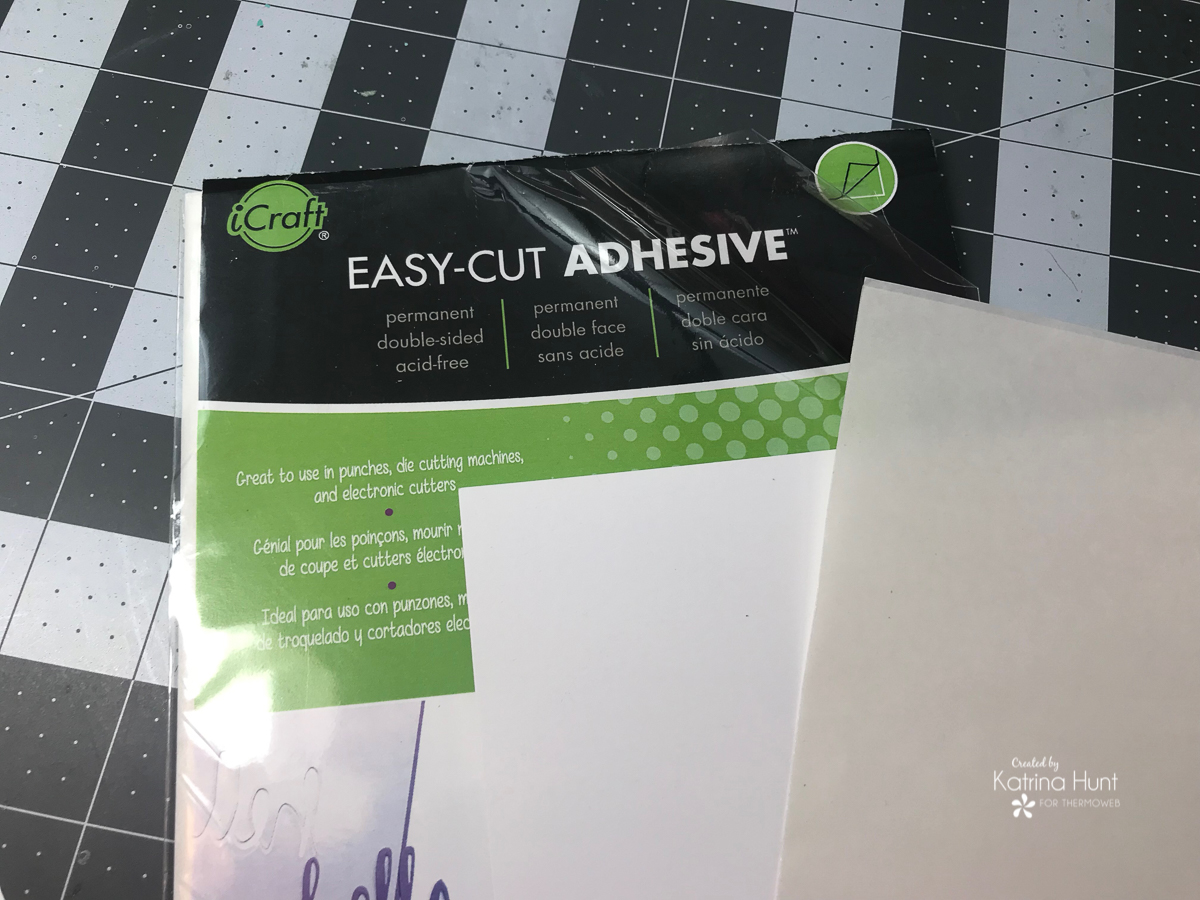
Leave the other protective backing piece on. This will allow you to work with cutting out your shape and keeping your adhesive protected. Now, die cut your label and also trim a piece of Deco Foil Flock that will fit your label. Once this is done, you can now remove the other protective backing and then lay your flock on top. Run through your manual die cutting machine, the pressure will apply the flock evenly to your adhesive base on your cardstock.
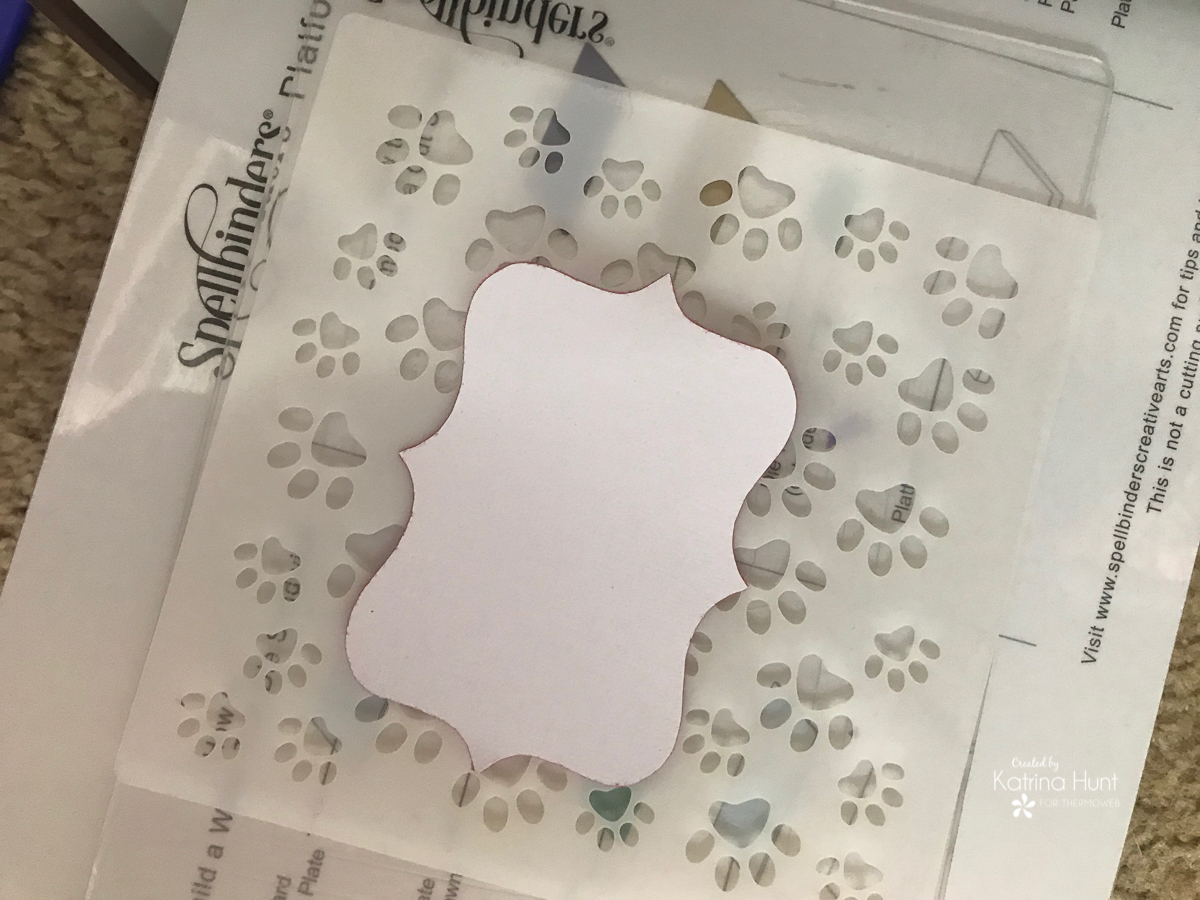
Next, carefully remove the flock transfer sheet and your label will be magically flocked! Now, you can either leave as it, or you can ink or emboss! I choose to emboss by using a stencil and running back through my manual die cutting machine.
Place your flocked piece face down between your die cutting plates. I made sure that my smoother plate was facing the flock side so that I wouldn’t get any of the cut lines that the plates develop over time. They will transfer to the flock, just so you know!
Pawprints!!! So cute right?!!!
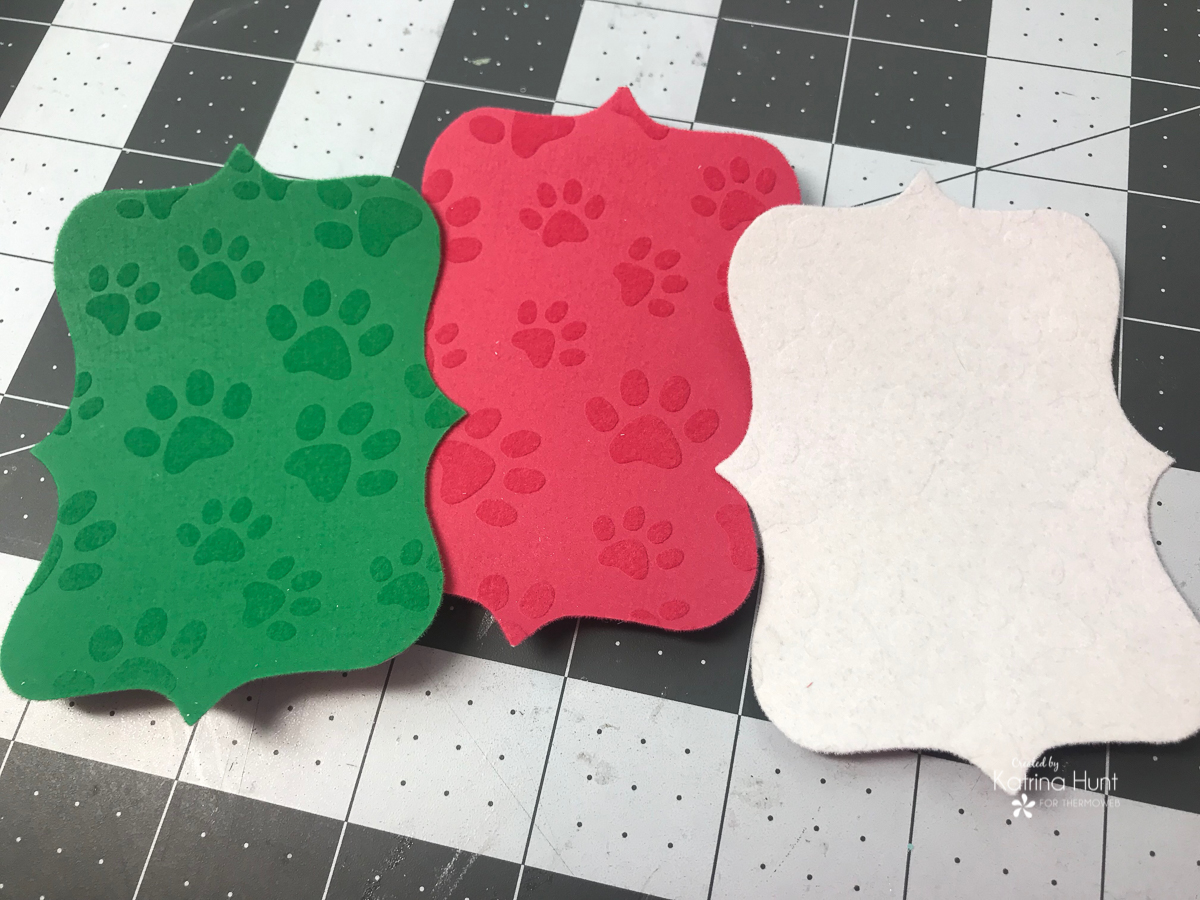
In addition, the embossing adds just a little touch of something extra. And an excuse to use paw prints. LOL
Now you can start work on your letters that spell out JOY. First, cut them out of the Deco Foil Toner Sheets, you can use either the PeelnStick or the basic toner sheets. Next, I cut them out again using Gina K Cardstock, just to make them sturdier. After you have both of them cut, then adhere them together with the Ultra Bond Liquid Adhesive, just like you did with the banner pieces.
For the next step, you will use a laminator to adhere the Deco Foil to the toner sheet. Let your laminator warm up at least 20 minutes to make sure it’s good and hot! Cut pieces of the foil color that you have chosen to fit your letters. Using the parchment paper that comes with the toner sheet package (or you can make your own transfer sheet out of regular parchment paper), along with a piece of cardstock for a shim, make a sandwich with the parchment paper by folding it in half, on the inside place cardstock, die-cut toner sheet letters and the foil transfer sheet on top of the letters. Close the sandwich and run through your laminator. I ran my sandwich through a couple of times, just to make sure I had good coverage.
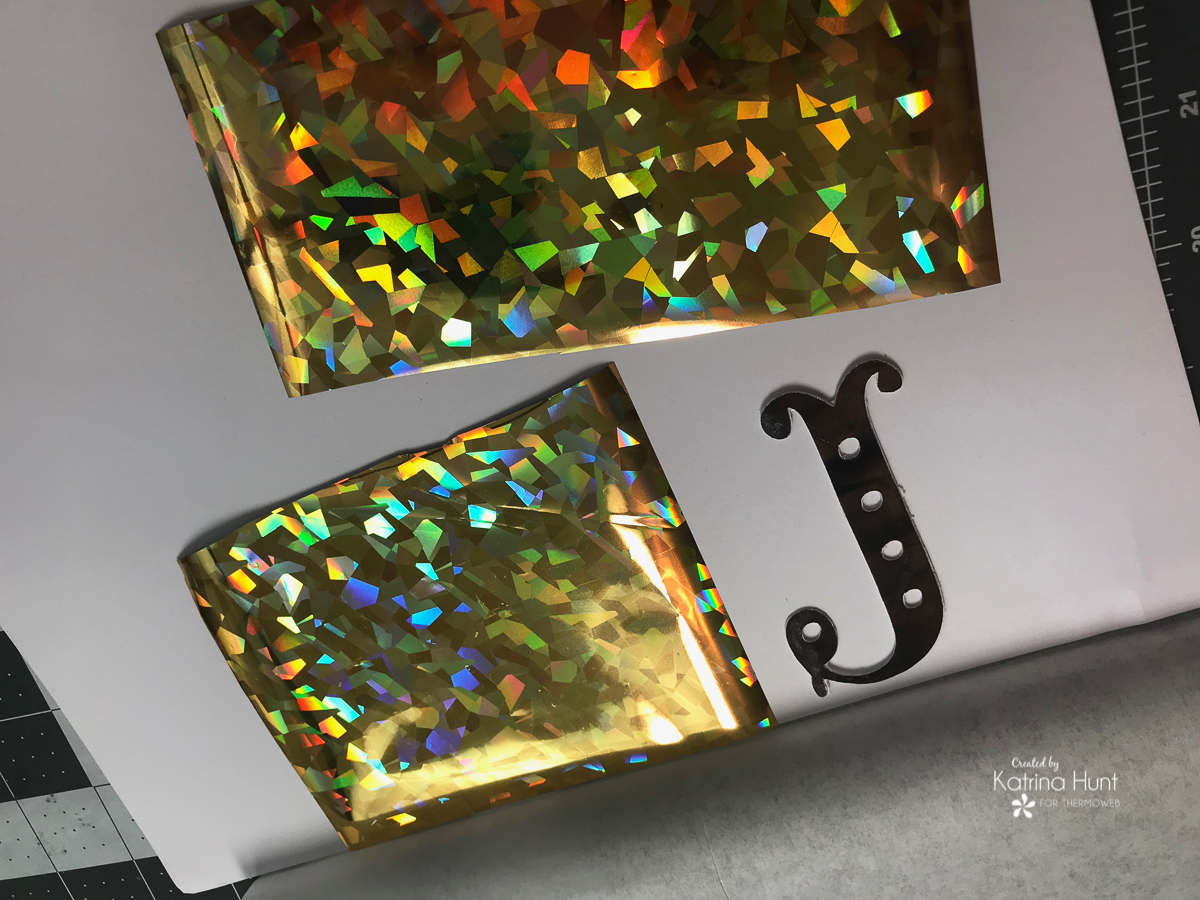
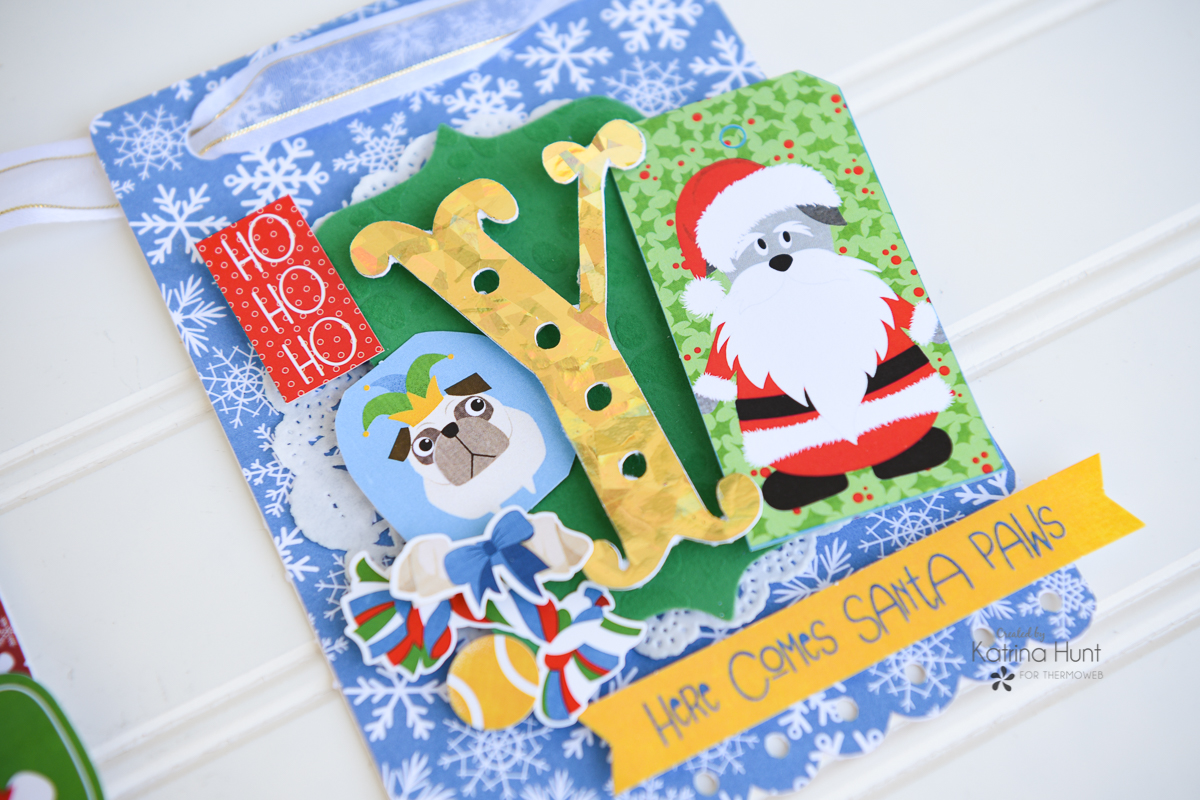
Look at the shine! I used the Shattered Glass foil in gold, but you could use any color of Deco Foil that goes with your paper collection! I loved the gold for Christmas!! Plus it matched the Gina K Sheer Ribbon that I used with the gold trim!
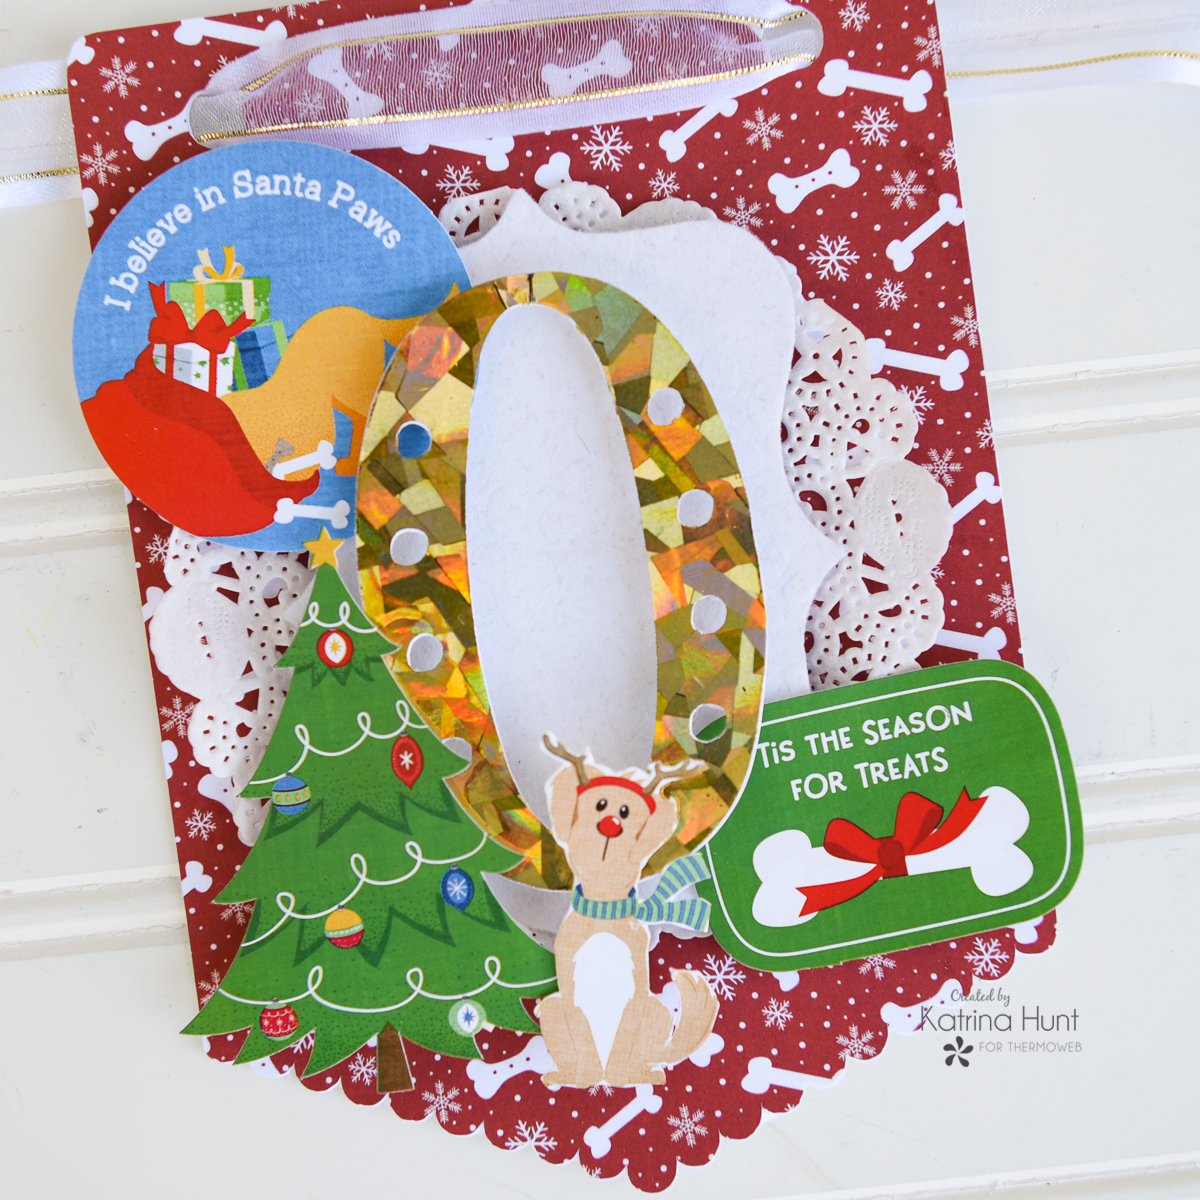
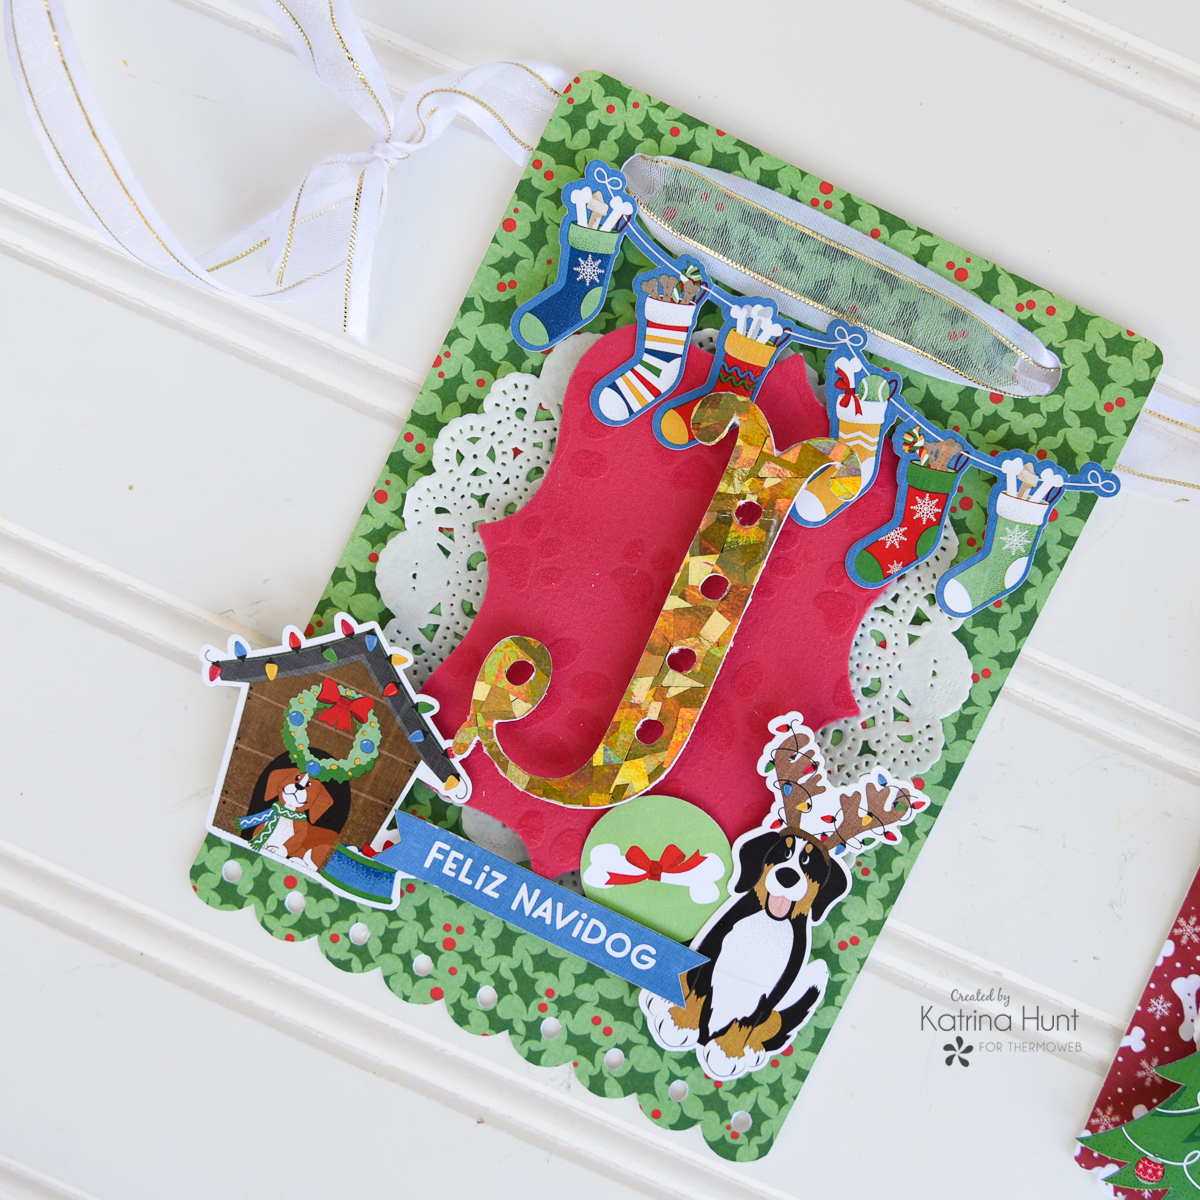
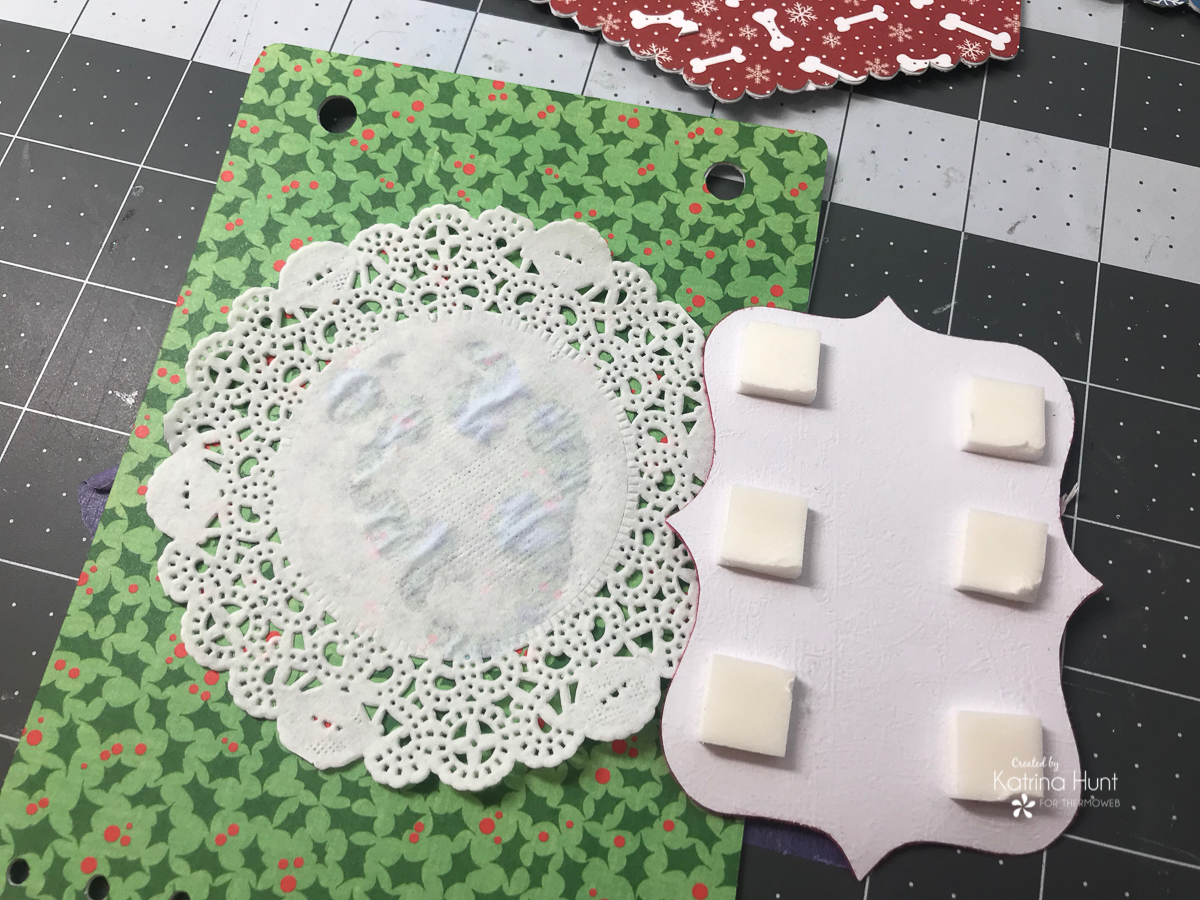
Finally, after you have your letters foiled, you can start embellishing each banner piece. I used a paper doily (from the baking section at the store!), adhered it by using the Ultra Bond Liquid Adhesive to the banner piece. Then, the label and letters were adhered using 3D Foam Squares in a variety of sizes. At this point, you can also start adding die cut ephemera and stickers from your paper collection.
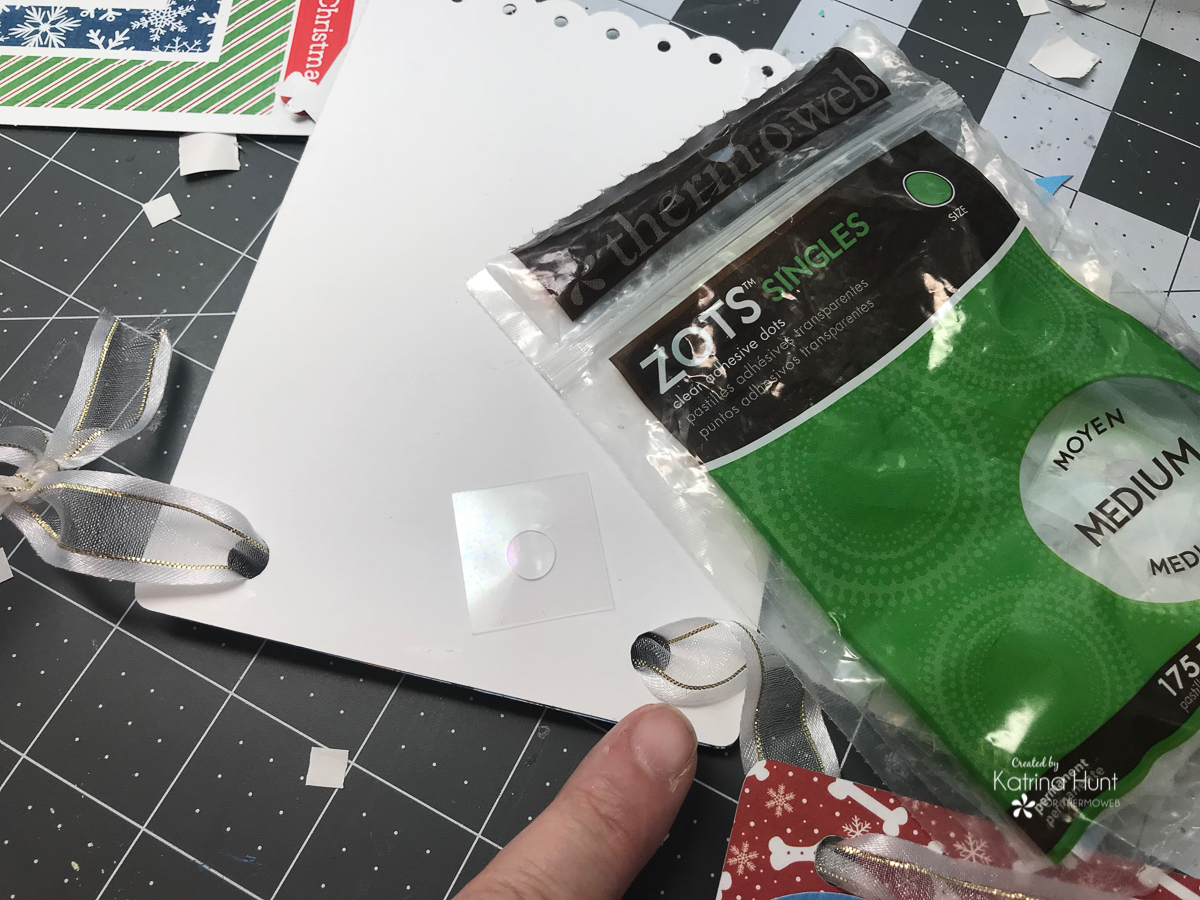
Finish up your banner by adding the Gina K Ribbon in White/Gold, by stringing it through the holes in your banner pieces. If you used steel die, you can always create a hole by using a paper punch. To keep your ribbon from twisting, add a couple of Zots on the back of your banner pieces to hold the ribbon flat. I am pointing at where I added some at each hole.
I just love how this turned out. I may have to take it to work and hang it on my office door! I hope this gets you in the Christmas crafting spirit. This type of banner really doesn’t take any time to make and would look cute hanging anywhere!
Thanks for stopping by today!! Have a wonderful crafty day!!