


Hi! Chrissie here today! I’m going to show you how to create a last minute holiday card, using DecoFoil™ Transfer Sheets, the DecoFoil™ Adhesive pen and a stencil! It’s easy-peasy, but with incredible results!
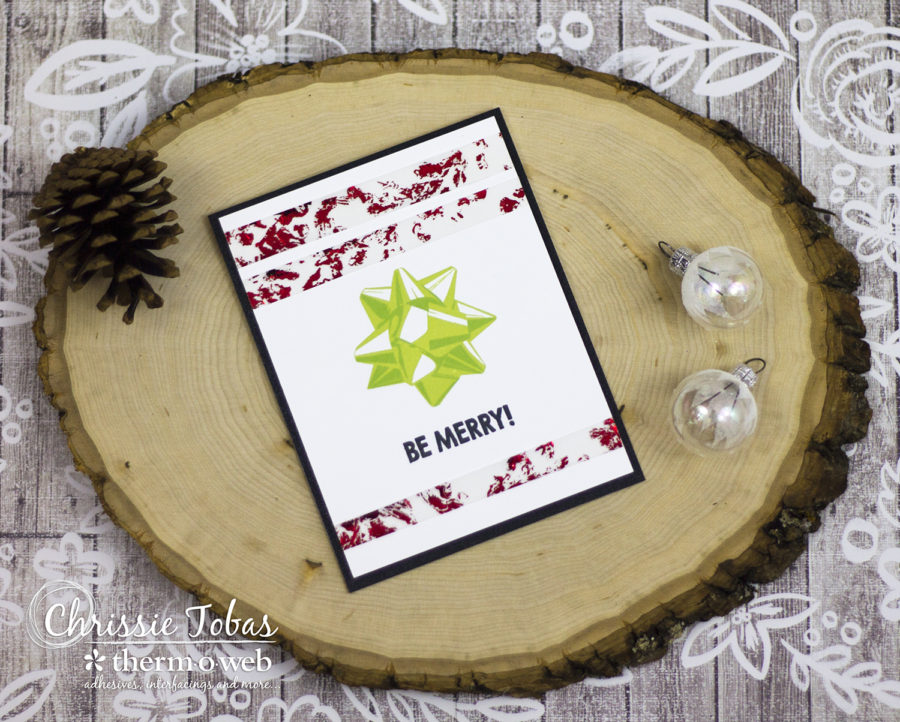
Last Minute Holiday Card with DecoFoil and Vellum
Therm O Web Supplies:
3D WHITE FOAM SQUARES • COMBO PACK
MEMORY TAPE RUNNER XL™
DECO FOIL™ TRANSFER SHEETS • RED
DECO FOIL™ ADHESIVE PEN .34FLOZ
Other Supplies:
Papertrey Ink New Leaf and Green Parakeet inks
Vellum
White Cardstock
Black Shimmering Cardstock
Mini MISTI
Art Impressions Tropical Christmas Stamp set
Memory Box Stencil Raymelle
The Ton Holiday Bows Stamp set
Memento Tuxedo Black ink
Project Instructions for Holiday Card:
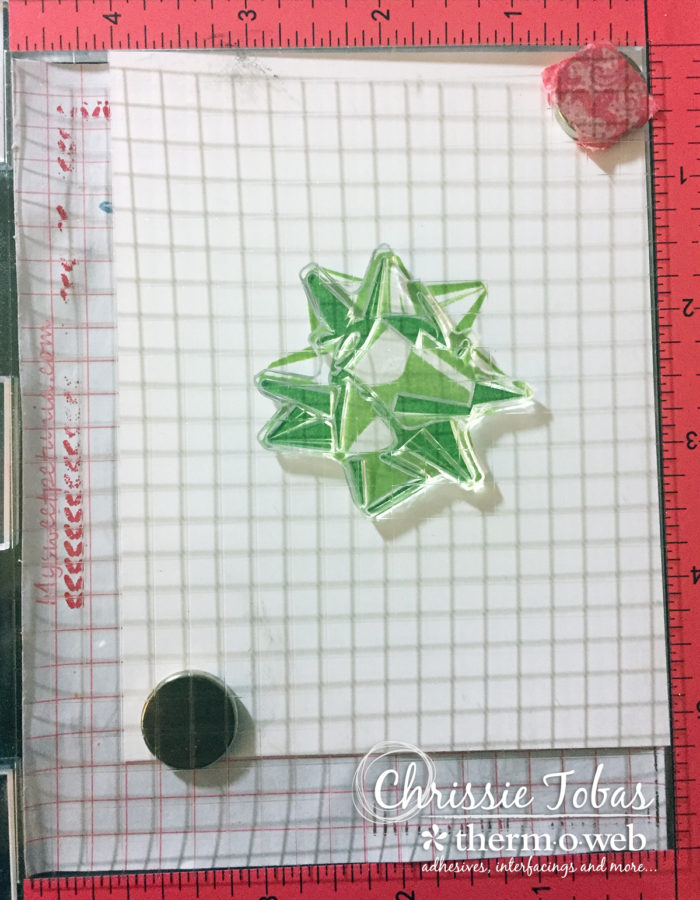
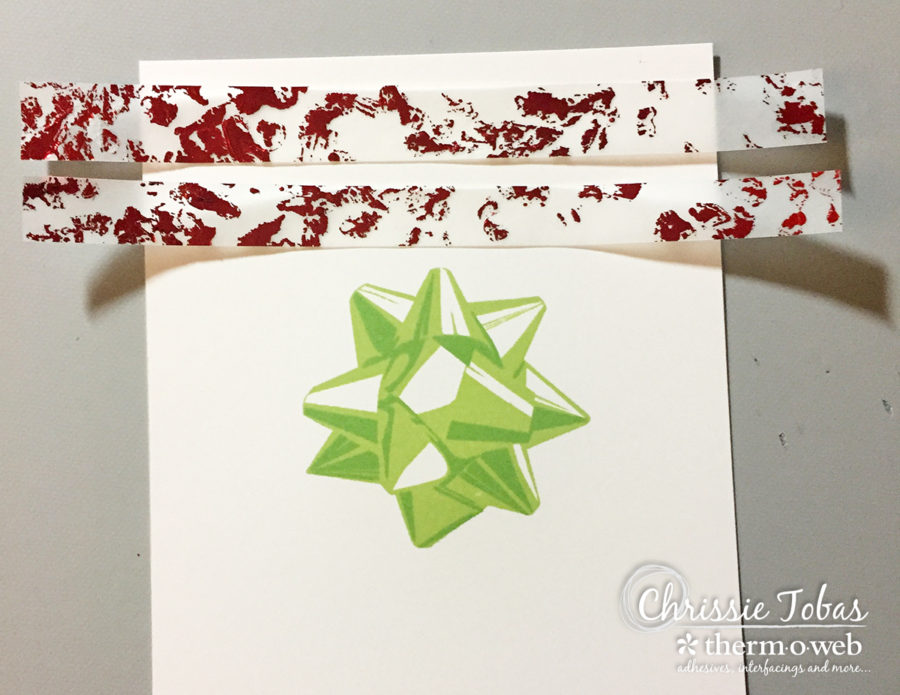
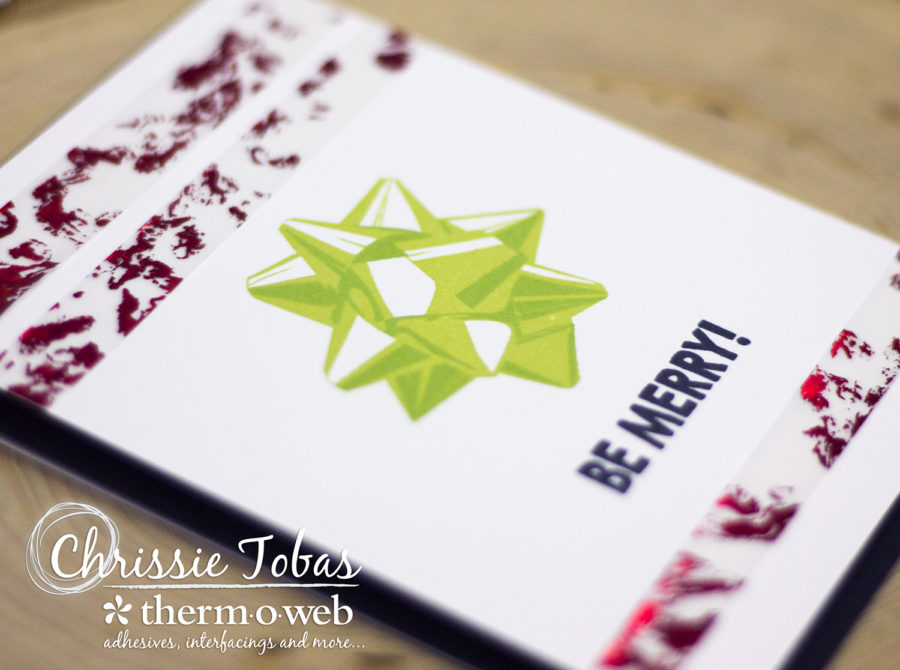
Stamp the bow. I used the MISTI to align everything perfectly, since this particular stamp set has multiple layers to create realistic looking images. A MISTI isn’t required, though! You can easily line it up (since clear stamps are easy to see-through) or you can use other available alignment tools.
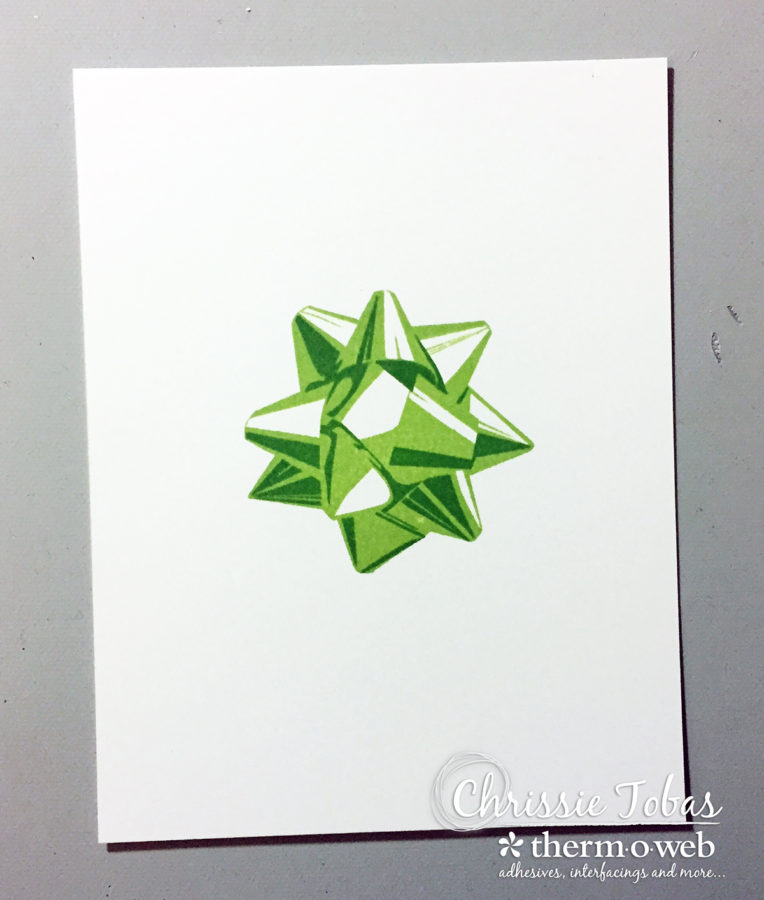
I used two different color greens to stamp the main image, then to add in the shadows.
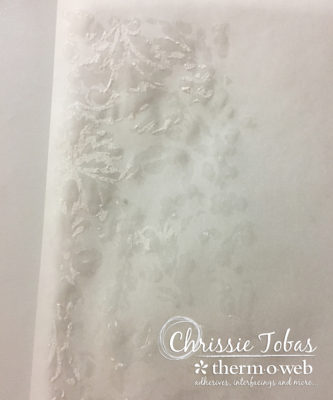
Adhere a piece of vellum down to your works surface using washi or other removable tape. Make sure it is secured down and will not move. ‘Color’ in the stencil using the DecoFoil™ adhesive pen. Work quickly, so you can peel away the stencil from the vellum. It doesn’t need to be perfect. We are looking for a more distressed look, so it’s OK to miss some of the stencil areas. I only did about 1/4 of the left side of the stencil because I knew I’d be cutting it into strips later on.
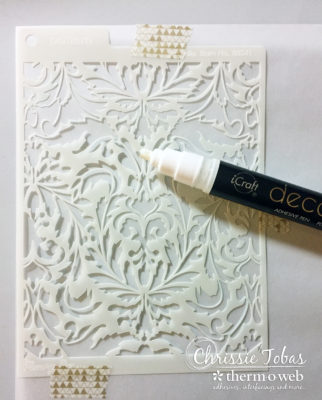
Gently peel off the stencil from the vellum. Clean off the stencil immediately! TooltipTextThe glue is very sticky and you don’t want your stencil ruined. Allow the glue on the vellum to dry 100%!
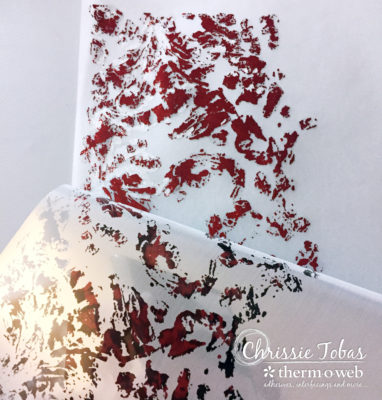
Once the adhesive is dry, press the Red Deco foil (silver side down) onto the adhesive. Press down, then gently pull it up. It leave a distressed, foiled look! If you want more foil to show, press down again.
Trim the vellum into strips. These were trimmed to about 3/4 and two strips were 1/2 inch each.
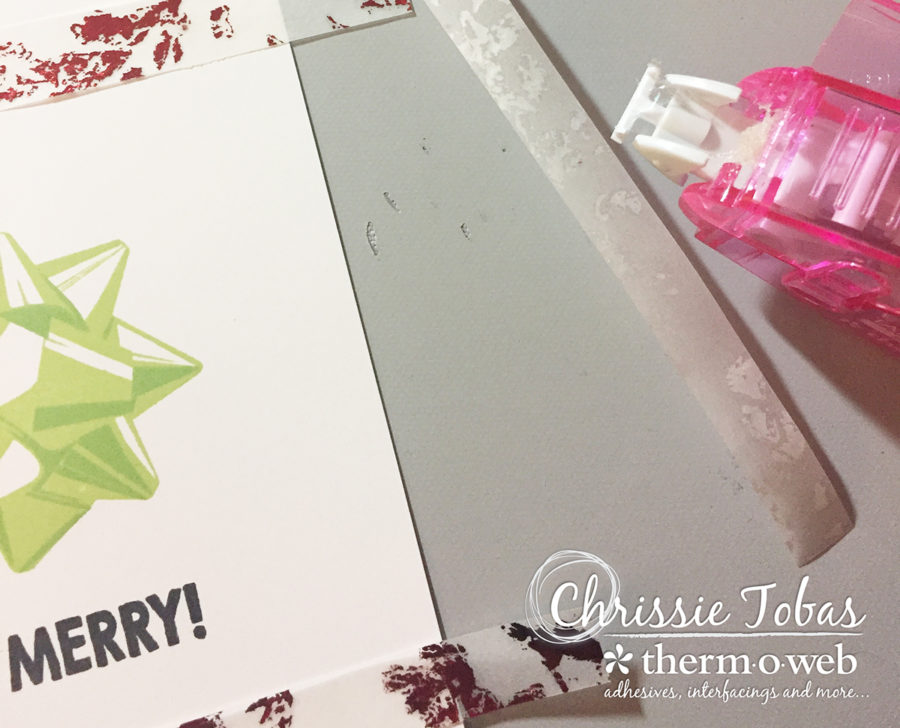
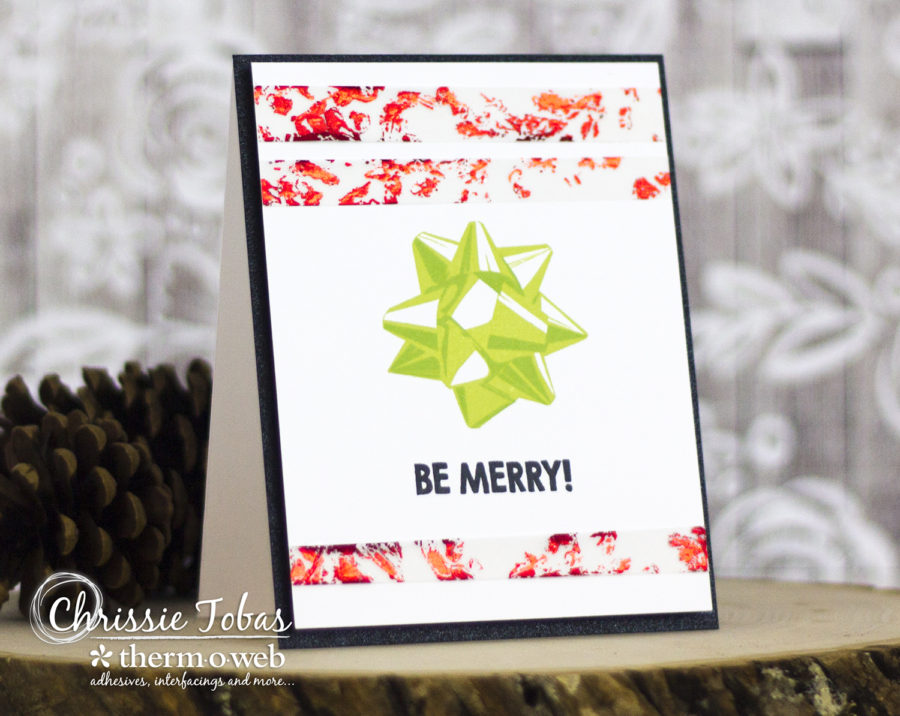
Use your XL Memory tape runner to add the strips to the card panel. The adhesive doesn’t show through the vellum at all (the foil does a good job covering it and the XL runner does a good job not showing through, too!).
Adhere the panel using 3D foam squares to a card base made from black cardstock (I used shimmering black to give it some extra pop). The base was trimmed to 4.25 x 11, then scored at 5.5 inches to create a top folding card.
See how easy that was? The vellum foil adds that extra embellishment to an otherwise simple card. It doesn’t take away from anything else; but really adds to the overall layout!
Don’t forget to follow us on Instagram and use hashtags #decofoil and #thermoweb so we can see all of your creations! I hope you give this technique a try!
Laura
December 23, 2017 at 4:41 pm (6 years ago)So cute. Thanks for showing us another great way to use Decofoil