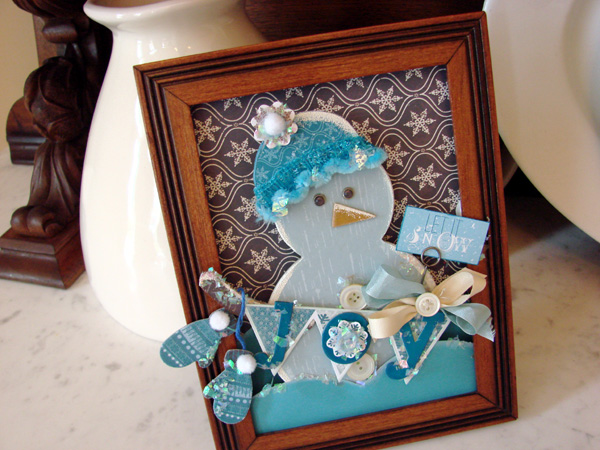
In this household snow is a good thing!
It means snow days, sledding, lots of hot chocolate and some fun!
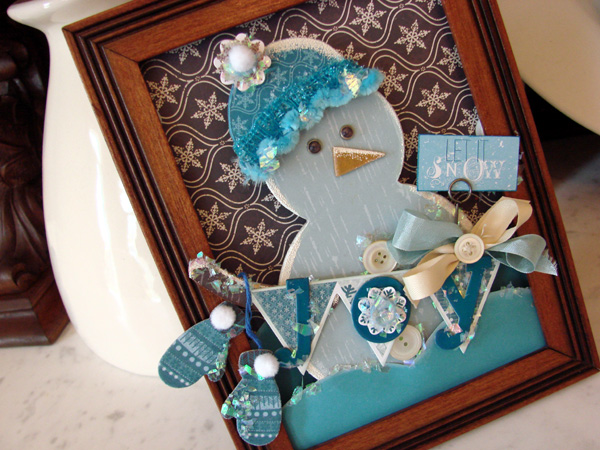
Designer Audrey Pettit created this cutie that to us…is equally fun!


Let it Snow Shadowbox by Audrey Pettit
Therm O Web Supplies:
Therm O Web Superstik Glue Stick
Therm O Web 1/8″ Supertape
Therm O Web 1/2″ Zots Singles Adhesive Dots
Therm O Web 3D Zots Singles Adhesive Dots
Patterned Paper, Chipboard Alphas, Die Cut Banner, Fabric Stickers, Cardstock Stickers: Little Yellow Bicycle
Chipboard Snowman: Cosmo Cricket
Brads: We R Memory Keepers
Trim: Webster’s Pages, Stampin’Up, Papertrey Ink
Mica Glitter: Stampendous
Ink: Clearsnap, SEI
Embossing Powder: Stampin’Up
Memo Pin: Tim Holtz
Buttons: vintage

I love making handmade decor projects for the holidays. They are so fun to create, and add a special festive touch that’s unique just to you. I’ve had this chipboard snowman in my stash for quite some time, just waiting for the right inspiration to strike. I really love how easy he was to decorate using just a few Zots adhesive dots and the fabulous Superstick Glue Stick. I tell you what……I am in LOVE with that glue stick!

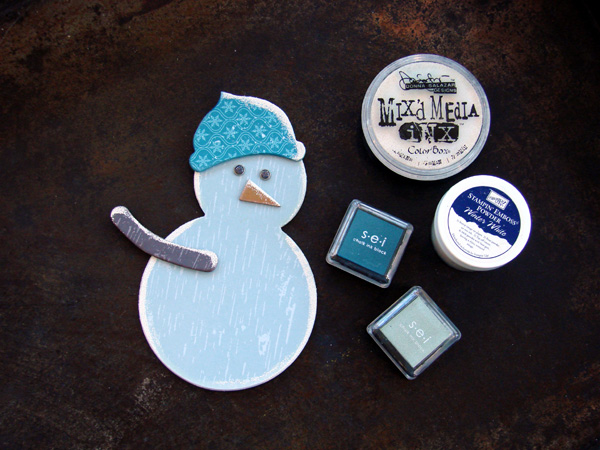
1. Apply Superstik Glue Stick adhesive to the front of the chipboard snowman pieces and cover with patterned papers.

2. Once the pieces are covered, edge each with inks. I used a light blue around the snowman body, a darker teal on the hat, and followed with a bit of white all around. While the white ink is still wet, add white embossing powder and heat set with an embossing tool.
3. Add mini brads for eyes.

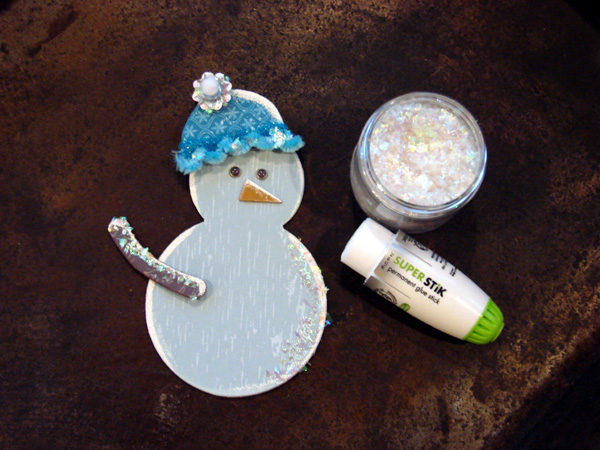
4. Apply 1/8″ Supertape to the rim of the hat and add trim.
5. Adhere snowman pieces together using Zots 1/2″ Singles Adhesive Dots and Zots 3D Singles Adhesive Dots.

6. Rub Superstik Glue Stick adhesive on select spots of the snowman body and hat and cover areas with mica glitter. Press the glitter into the adhesive and shake off the excess. This works great not only on the patterned paper, but also on the trim on the hat, and all the other embellishments, as well.
7. Embellish snowman with fabric stickers, die cuts, chipboard alphas, and cardstock stickers. Add a memo pin holding a cardstock sticker and a big bow topped with a button. Be sure to add touches of mica glitter to all the pieces using the Superstick Glue Stick.

8. Cut a background paper to fit your frame opening. Cut hills from a contrasting paper for the bottom of the frame. Ink hills and add mica glitter using the Superstik Glue Stick. Insert background paper into the frame. Adhere snowman using Zots 3D Singles Adhesive Dots. I stacked three 3D dots on top of each other to create lots of depth for my shadowbox. Finally, add hills on top of the snowman, slipping the edges into the sides of the frame to hold in place.
Switching gears our friends at Women’s World magazine shared this adorable project just in time for Thanksgiving!

Click on the image to see the project along with instructions for this fun and festive project!
Our Therm O Web HeatnBond helps makes creating this gobbler just a bit easier! Click here for full instructions on how you can make this!
0 comment on Let It Snow With Therm O Web
1Pingbacks & Trackbacks on Let It Snow With Therm O Web
-
[…] my busy week, I didn’t get a chance to share with you this little frosty guy I made for Therm O Web last week. It was holiday decor week on the blog. Perfect excuse to finally use this adorable […]


Patty O'Malley
November 20, 2012 at 6:13 pm (11 years ago)I love this shadowbox!