


The 4th of July is quickly approaching, and now is the perfect time to create some cards with a patriotic red, white, and blue flair. To me, the 4th is all about celebrating our country with parades and fireworks. And what better way to enhance the shiny bright lights of fireworks than with a bit of sparkling Fancy Foil from Gina K Designs. Today I have two festive Fancy Foil Americana cards to share featuring the adorable Red, White, & Blue collection from Photo Play Paper, along with some super easy tips for applying foil to all your paper-crafting projects. Let’s take a closer look.
Let’s Get Patriotic with Gina K. Designs Cards
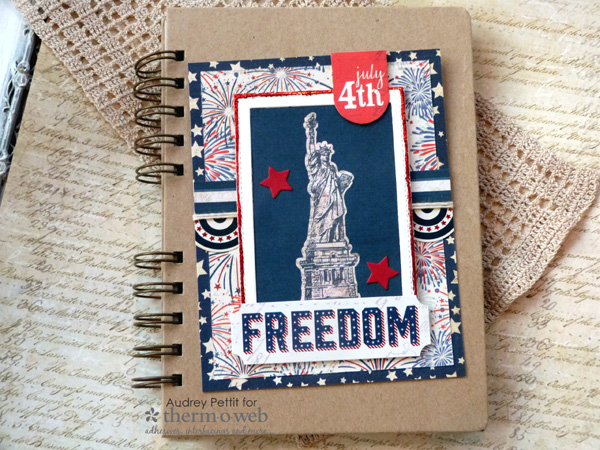
Patriotic Cards by Designer Audrey Pettit
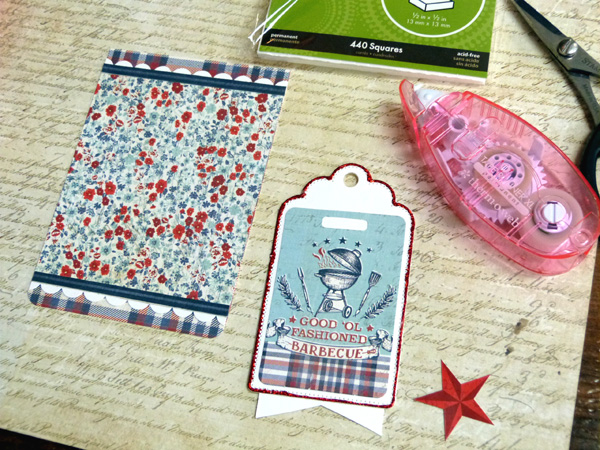
Supplies:
Therm O Web Gina K Designs Premium Cardstock: Luxury White, Red Velvet
Therm O Web Gina K Designs Wafer-Thin Die Sets: Stitched Rectangles Large, Decorative Tags
Gina K Designs Fancy Foils – Radiant Red
Therm O Web Gina K Designs Fancy Ribbon – Sheer Satin White/Gold
iCraft Deco Foil Adhesive Pen
XL Memory Tape Runner
Therm O Web 3D Adhesive Squares
Therm O Web Zots Adhesive Dots – Small
iCraft Purple Tape
Gina K Designs Pure Luxury Cardstock – Ivory
Photo Play Paper Red, White, & Blue Collection- 12×12 Kit, Die Cut Ephemera
Punches: Fiskars Scalloped Border Punch, EK Success Corner Rounder
Twine
Let’s take a closer look.
Let’s Get Patriotic with Gina K. Designs Cards Instructions:
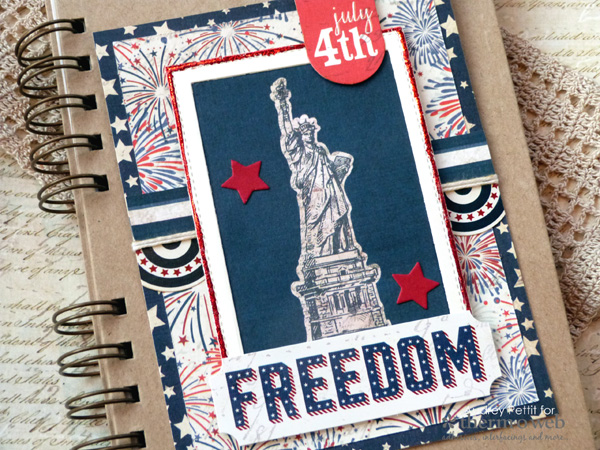
To begin, layer some patterned papers, stickers, and die cut ephemera onto a standard A2 card base. Use two contrasting prints for the background of the card, and add a thin strip of striped paper across the middle of the card, adhering all the paper elements together with Therm O Web XL Memory Tape Runner. Add a section of bunting border sticker below the strip, trimming the ends as needed. Wrap twine two times around the border, tying into a simple knot in the center of the card and trimming the ends close.
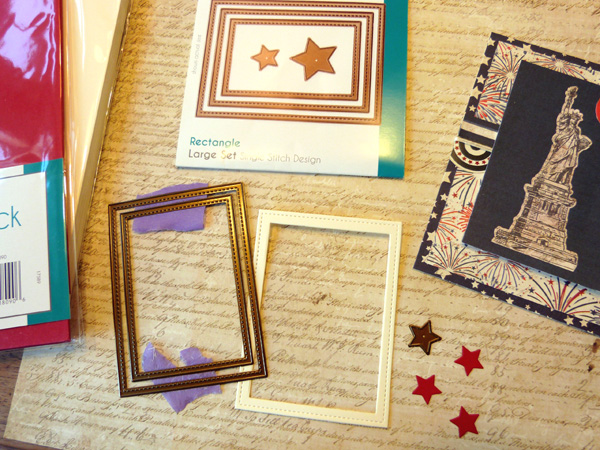
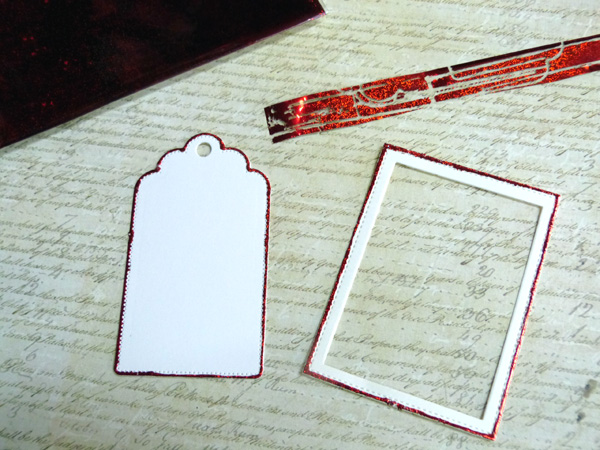
For the focal image, die cut a rectangular frame from Gina K Designs Ivory card stock. To create the frame, nestle the two largest dies from the Stitched Rectangles Large die set together, and hold them in place with a bit of Therm O Web Purple tape, before running them through your die cutting machine. Die cut several of the small stars from the same die set from Gina K Designs Red Velvet card stock. For the second card, die cut the large die shape from the Decorative Tags set from Gina K Designs Luxury White card stock.
For both of the cards today, I wanted to add foil accent to just the outside edges of both the tag and frame, leaving the card stock on the inside to show. This is a fun way to add a two-toned effect to your elements, and I love how this really accents the beautiful stitching detail of these dies. And better yet, this is a super easy technique and doesn’t require the use of a heat laminator.
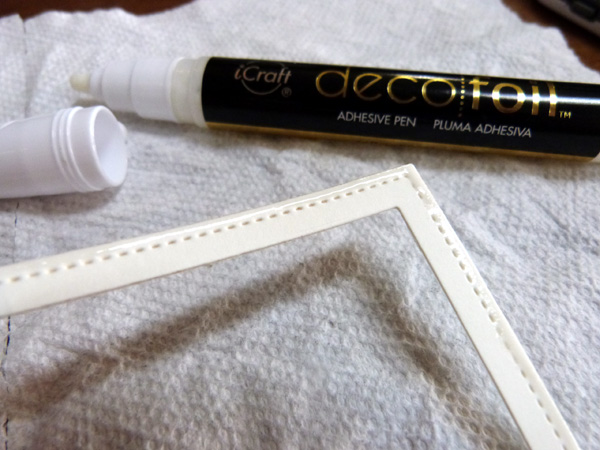
Simply apply a thin strip of foil adhesive around the outside edge of the die cuts using the iCraft Deco Foil Adhesive Pen. Set the pieces aside to dry for several minutes, until the adhesive is dry, yet tacky, to the touch.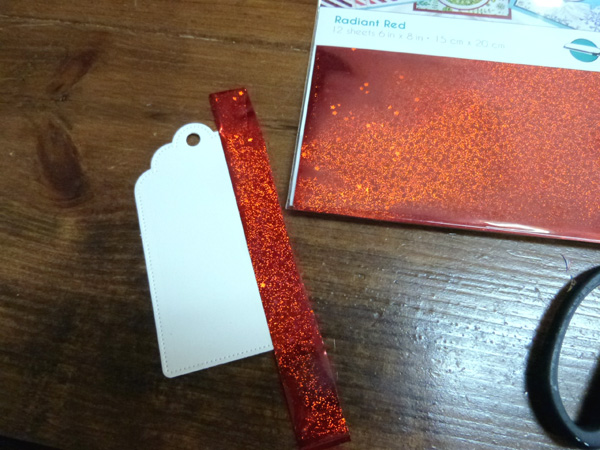
Trim off a small section of Fancy Foils sheet. Press the foil down onto the adhesive, with the colored side of the foil up, and the shiny silver side down. Rub over the foil gently with the tip of your finger, and the peel the foil up and move to another section.
Repeat this process until you have all the areas covered with foil. You can see that this doesn’t take much foil at all.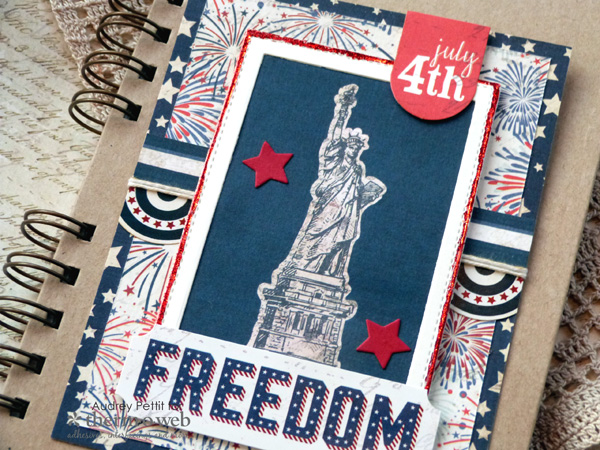
Adhere the foiled frame over a journaling card, and accent the scene with additional stickers and die cuts. Place 3D foam adhesive squares behind the journaling card, as well as behind any elements that stick out beyond the frame. Snip apart the 3D squares with your scissor, if you need smaller pieces. Adhere the frame to the center of the card. Add the die cut stars using small Zots adhesive dots.
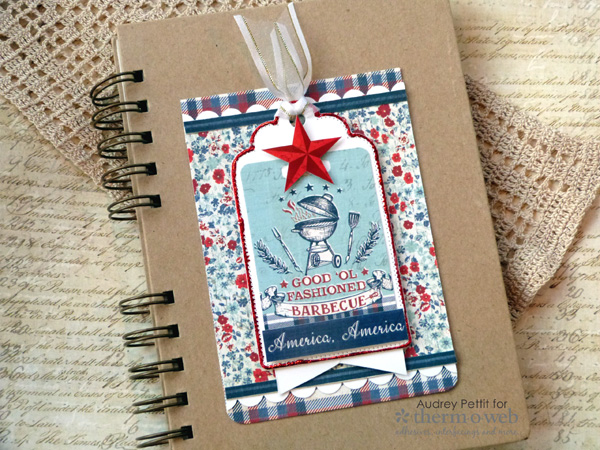
The second design is a petite 3.5″ x 5″ card, accented with a large central tag. Once again, layer the base of the card with patterned papers, and this time, add scalloped borders punched from GinaK Designs Luxury White Premium Card Stock.
To accent the die cut tag, add an ephemera tag to the center, and add a v-notched rectangle of cardstock to the back of the tag.
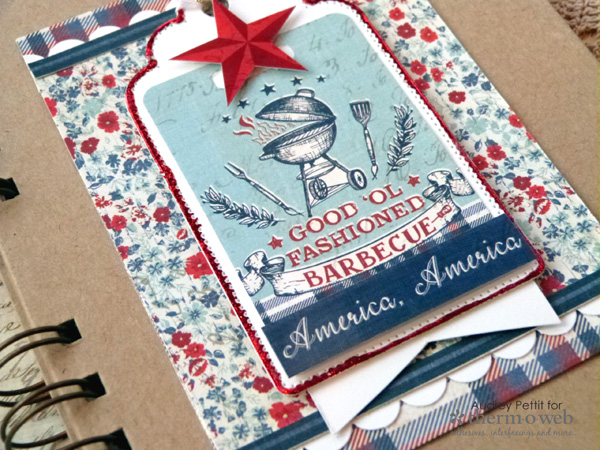
Tie the top of the tag with Gina K Designs Sheer Satin ribbon, and trim the ends as needed. Apply 3D Adhesive Squares to the back of the tag, and adhere it to the middle of the card.
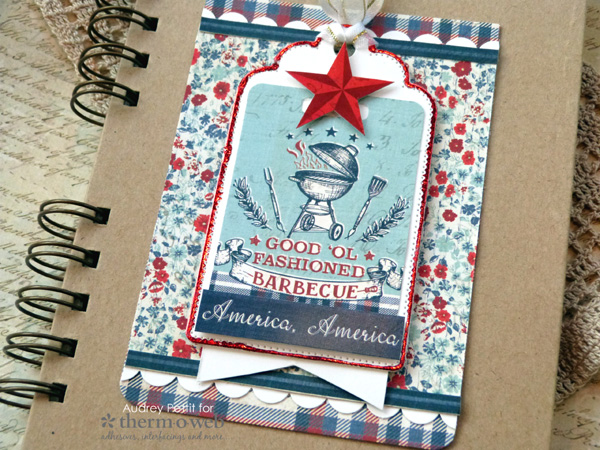
Embellish the tag with a few additional stickers, popped up with 3D adhesive squares.
Enjoy!
Patty Bell
June 21, 2018 at 8:57 am (6 years ago)Beautiful cards