


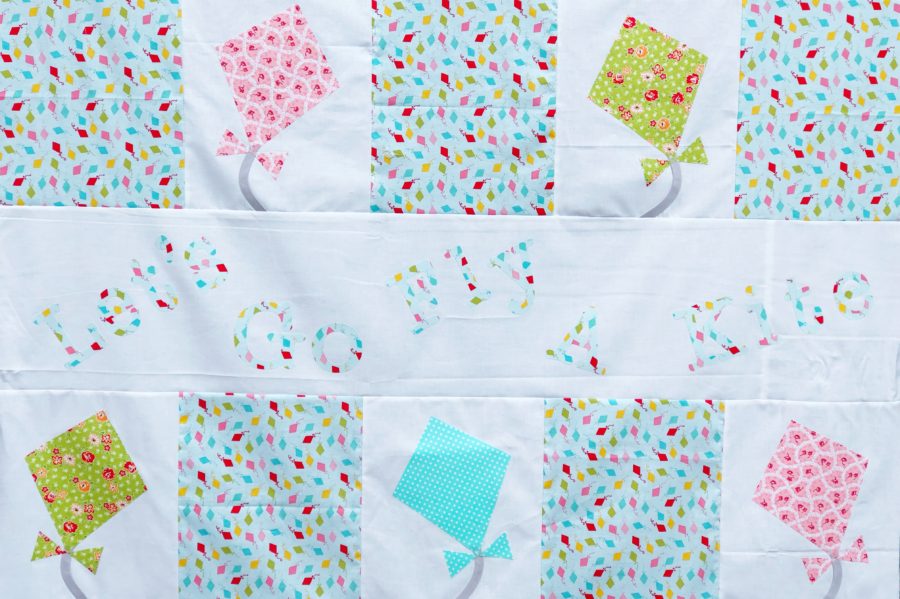
Hello Spring! Jen here from The Smitten Chicken. This quilt has all the spring vibes and I’m excited to share it with you today. I am also a huge Mary Poppins fan! So that’s where ‘Let’s Go Fly a Kite’ came from!
Let’s Fly A Kite Quilt
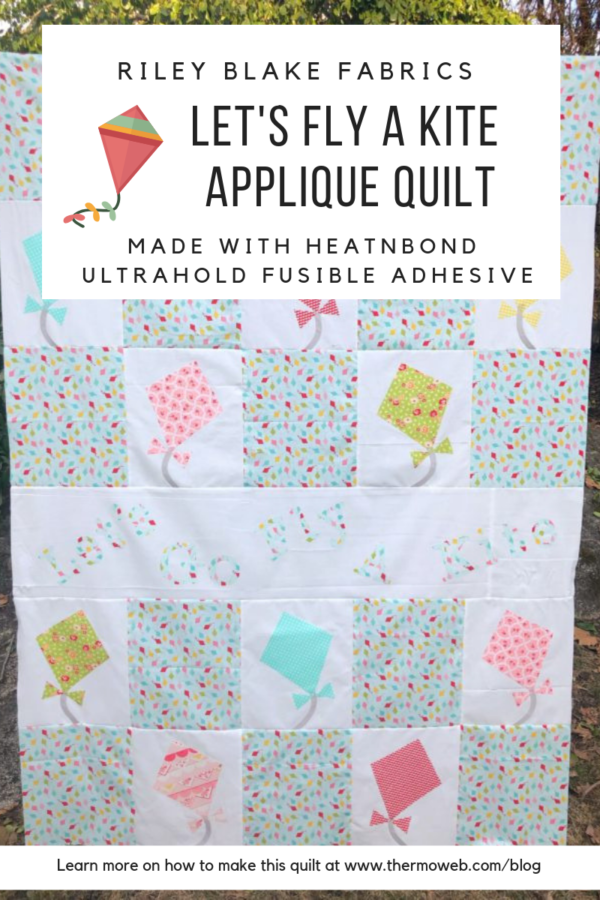
I was super inspired by this fabric pull! And then the kites stole the show! Do you want to make one too?
Here are the supplies you will need:
2 yards of kite fabric (or any fabric you choose)
6 fat quarters (this will be for the kites)
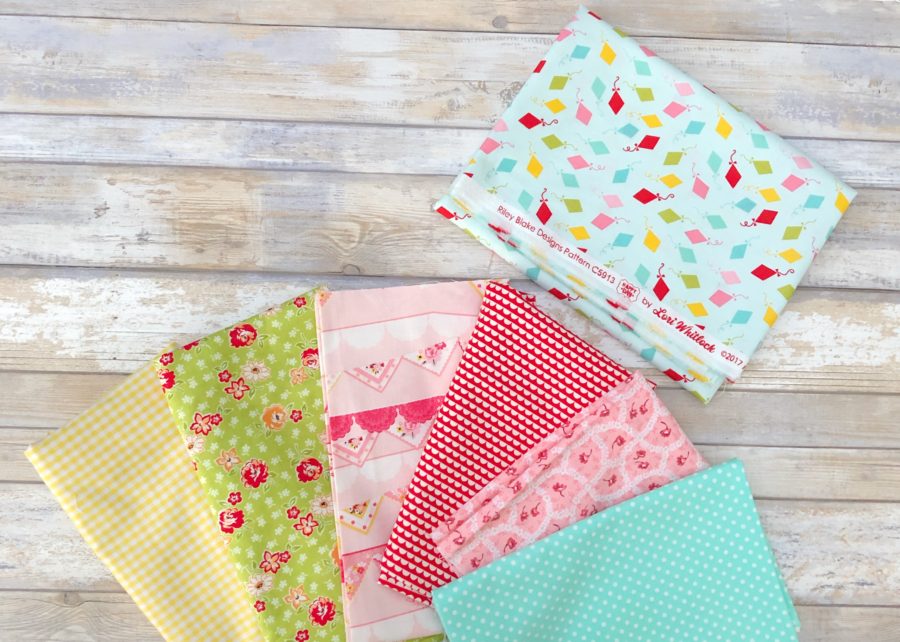
2 yards white fabric
1/2 yard binding fabric
4 3/8 yards of backing fabric and batting
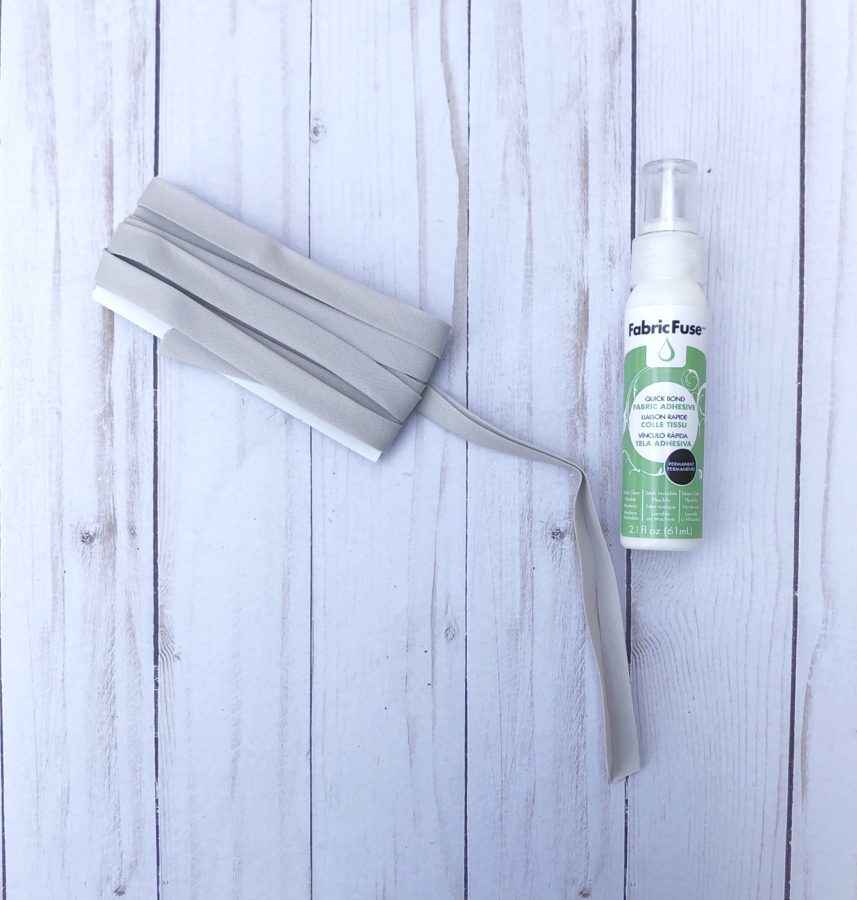
Grey 1/2″ bias tape
Heat n Bond Ultra Hold Fusible Adhesive
Sewing machine
Iron
Let’s Fly A Kite Quilt Instructions
First, you need to glue the bias tape together with the Fabric Fuse liquid adhesive. This will be for the kite tails. It needs time to dry so I did this step first!
Then you need to cut out 12 rectangles out of the white fabric. These rectangles measure 10 1/2″ by 12 1/2″. You also need to cut out 13 rectangles from the kite fabric. Cut these at 10 1/2″ by 12 1/2″ too!
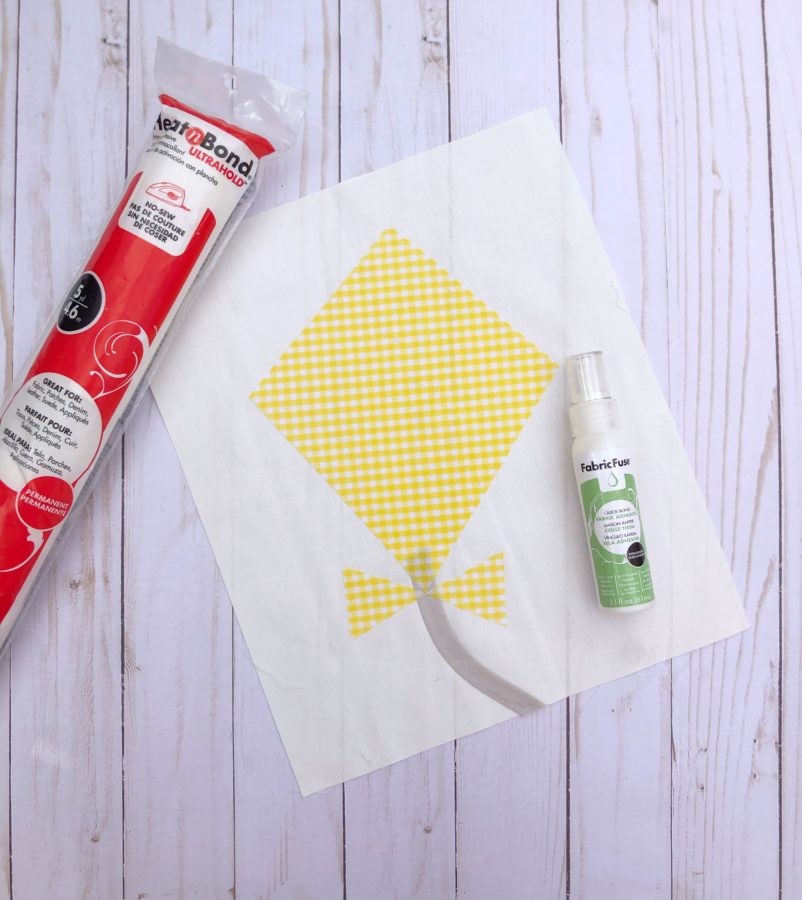
You will need to print out the FREE template for the kite. Trace the template 12 times to the paper side of the Heat n Bond. Cut out the traced templates from the Heat n Bond leaving about 1/4″ around the kite and bow. Adhere the Heat n Bond to the wrong side of the fabric. Cut out the kite and tails. Do this 12 times. I did two kites from each fabric.
Using the Liquid Adhesive, glue the bias tape to the white fabric rectangle. This creates the tail for the kite. I placed the kite with it to make sure the tail tucks under the kite.
Then adhere the kite and bow to the white rectangle according to Heat n Bond application instructions. I alternated the kite directions for fun! Repeat for all of the kites!
Next, cut two strips of white fabric 10 1/2″ by the width of the fabric. Trim off the selvage and sew them together with a 1/4″ seam. Trim the strip to 50 1/2″ long.
This strip is what you will attach the letters to. Print out one of each of the PDFs here and here. Or if you have an electronic cutter (like a Silhouette or Cricut), you can download the two SVG files here and here.
Set the letters how you like and adhere to the 10 1/2″ by 50 1/2″ strip of white fabric.
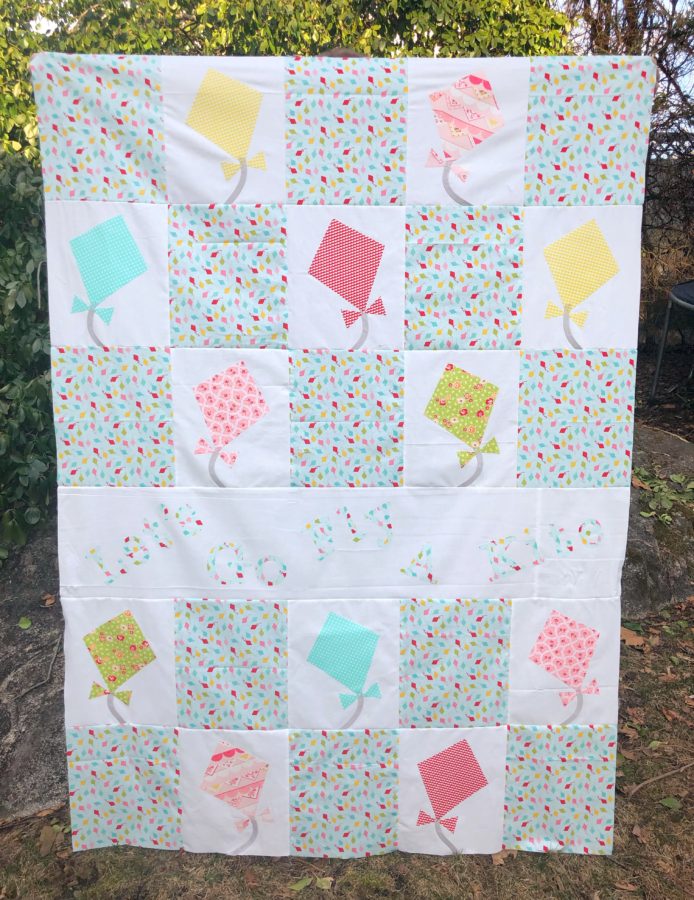
Now sew the blocks together. There are five blocks in each row. Alternate the kite with the kite fabric as shown in the layout. Once you have sewn the blocks into rows, sew the rows together. Sew three rows together and then sew the letter strip to the rows. Sew two rows together, then sew them to the letter strip. Use the pic for placement guidance.
Then quilt as desired. You can stitch around each of the kites if you want. The Ultra hold Heat n Bond will hold down the kites, especially once it is all quilted up!
I had so much fun creating this quilt! This song was stuck in my head the whole time! ‘Let’s Go Fly a Kite!’ Thanks for following along today. If you would like to see more of my projects, head to my blog, Instagram, Facebook or Pinterest!
Chirp Out!
Jen
[…] Last week I shared a super fun quilt pattern on the Thermoweb blog. You can check out this FREE pattern here. […]