


We’re coming down to the wire on holiday preparations, and if you all are like me, then you’re frantically running around right about now, hoping to get that to-do list done. One of the last things I tackle each year is my holiday wrapping, and today I have a couple of packaging ideas to share using your leftover scrapbooking supplies.
Merry and Bright Holiday Gift Wrap
Recently, the Therm O Web team joined up with our friends at PaperHouse, and we received their adorable Christmas Joy holiday collection. After making several cards with the supplies, I found I still had quite a few leftovers. So why not use those on my gift packing?
I am a huge fan of recycling, or upcycling, old gift boxes, bags, and whatever else I can salvage. But often those old packages have seen better days, and are in need of a little makeover. Perfect excuse to break out some papercraft supplies.
Merry and Bright Gift Box
by Designer Audrey Pettit
Supplies:
Therm O Web Gina K Designs Premium Cardstock: Red Velvet
Therm O Web XL Memory Tape Runner
Therm O Web iCraft Mixed Media Adhesive
Therm O Web 3D Adhesive Squares
PaperHouse Christmas Joy Collection: Patterned Paper, Cardstock Stickers, Dimensional Stickers
Other: Gift Box, Twine
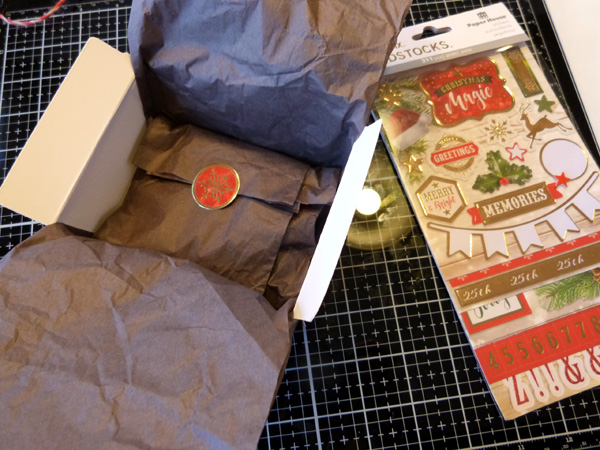
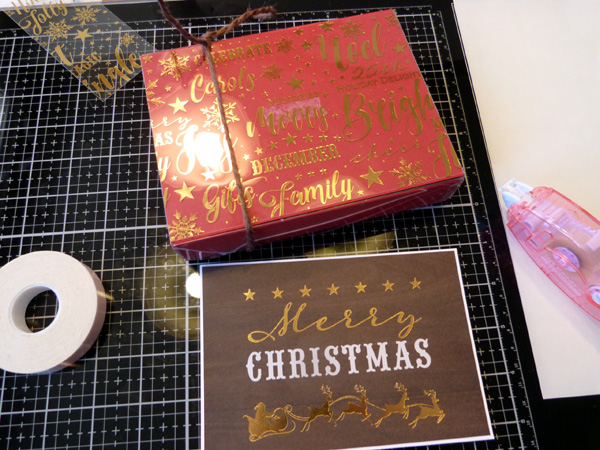
I always love how stores add a fancy seal to the tissue wrap, so I thought, why not do that on my packages, too? So first step, box up your gift and use leftover stickers to do the same.
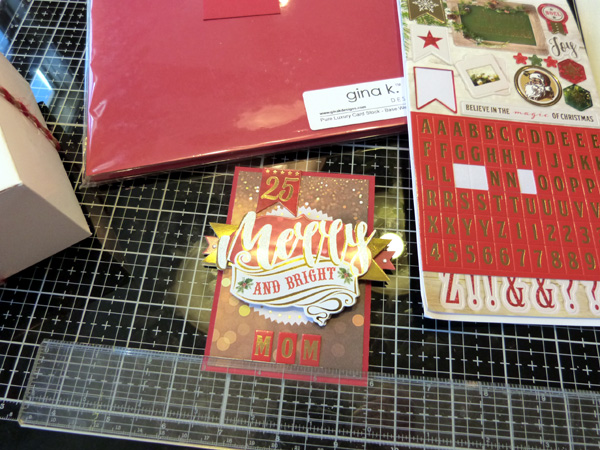
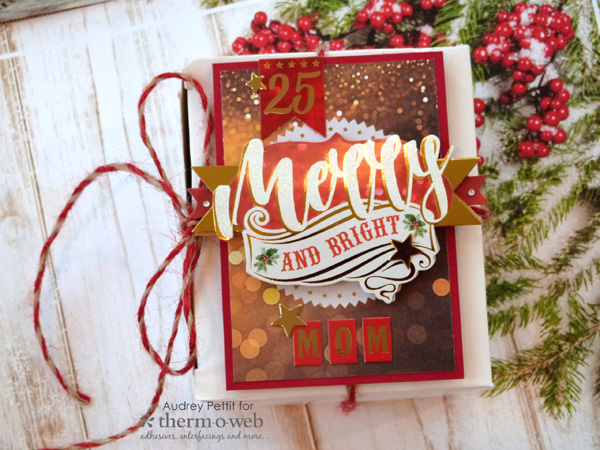
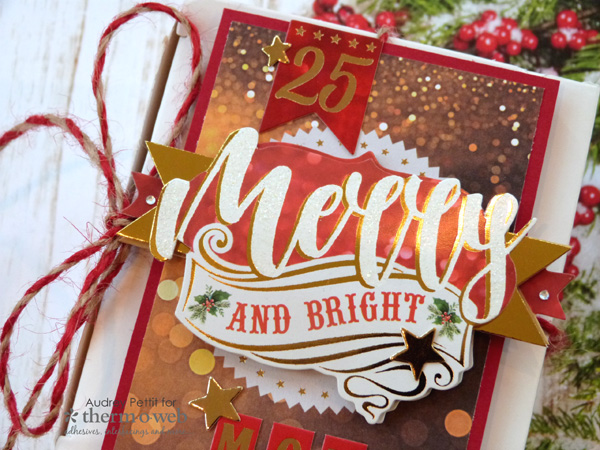
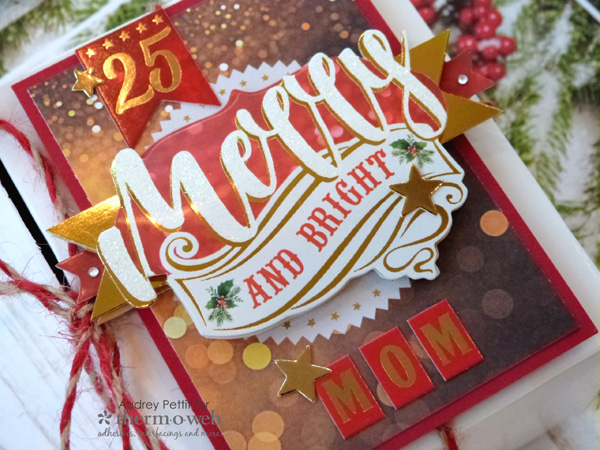
Leftover journaling cards make perfect gift toppers. And the nice thing is, they often come in different sizes. I had both 3×4 and 4×6 journaling cards leftover from my previous projects, and they became the base of my gift wrap. Since this box is small, I went with one of the smaller cards. And since patterned paper can be a bit thin on its own, I like to layer it onto a sturdy cardstock base. In this case, I’ve used Therm O Web’s Red Velvet cardstock by GinaK Designs. Then have fun adding leftover stickers and accents. Those leftover letter stickers are perfect for name tags, too.
*Tip: Since gift packages tend to be handled and jostled, I recommend adding a small dab of Therm O Web iCraft Mixed Media Adhesive onto the back of all the embellishments for an extra secure hold that won’t fall off.
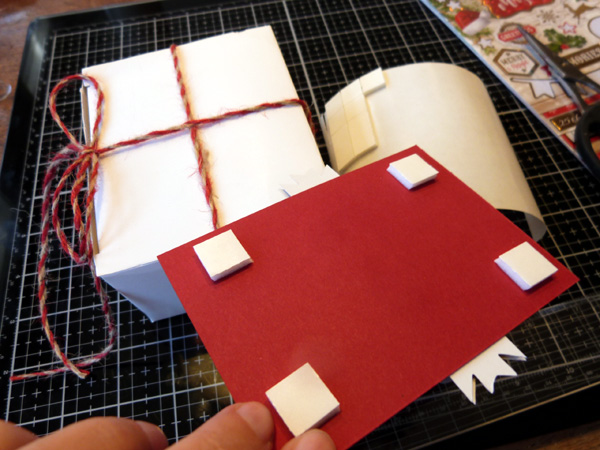
Tie the gift box with ribbon, string, or twine. I had saved this pretty twine from a recent package I had received and recycled it here for my holiday wrap. Since the twine adds some dimension to the top of the box, you’ll need to elevate your gift topper with some 3D Adhesive Squares.
Gift wrap is done!
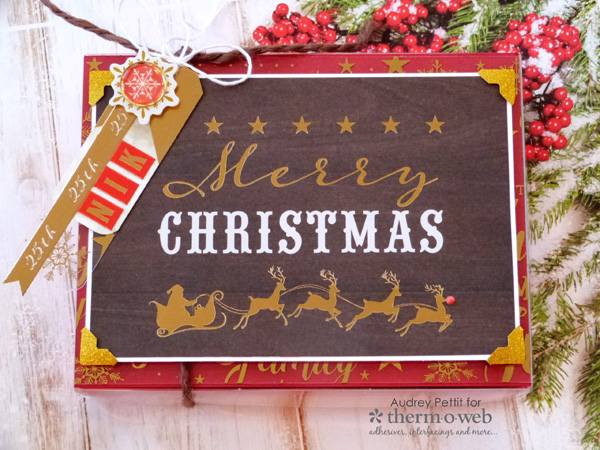
My second gift package is larger than the first, so this was a perfect way to use one of the larger 4×6 journaling cards.
And for this package, I added a swing tag made with leftover supplies, too.
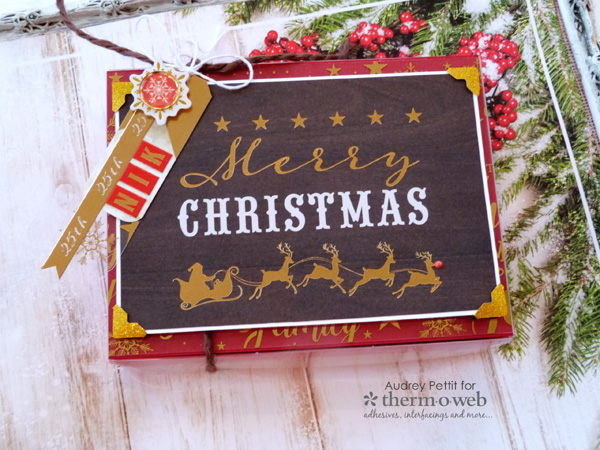
Merry Christmas Gift Box and Tag
by Designer Audrey Pettit
Supplies:
Therm O Web Gina K Designs Premium Cardstock: Red Velvet, Luxury White
Therm O Web Glitter Dust Photo Corners: Gold
Therm O Web XL Memory Tape Runner
Therm O Web iCraft Easy-Tear Tape: 1/2″
Therm O Web iCraft Mixed Media Adhesive
Therm O Web 3D Adhesive Squares
Paper House Christmas Joy Collection: Patterned Paper, Printed Transparency, Cardstock Stickers, Dimensional Stickers, Epoxy Stickers, Puffy Stickers
Corner Rounder: EK Success
Enamel Dot: Simple Stories
Other: Gift Box, Twine

Once again, gather a box and wrap your gift in tissue. Don’t forget to add a seal. This time I used a leftover puffy sticker. Anything will do. This box came with a plastic lid that is printed with the company logo but don’t let that stop you from using it. Simply cut a piece of cardstock to the same size, and adhere it to the lid. If you have a slick or textured surface, like this plastic lid, use a strong adhesive like iCraft Easy-Tear Tape for a secure hold.
For added detail, I trimmed some leftover transparency sheet to layer onto the cardstock. And since this surface is also slick, I used a bit of iCraft tape in the very center to hold it in place. Then tie the box closed with twine. Trim a piece of Luxury White cardstock that is slightly larger than the journaling card, and adhere them together with tape runner adhesive.
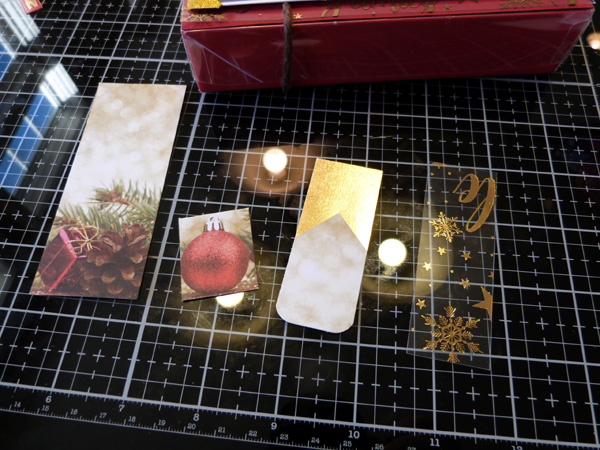
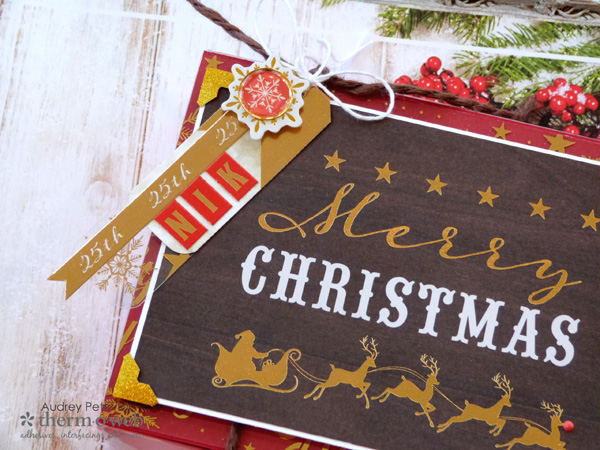
Extra journaling cards can be used as hang tags, too. Don’t be afraid to cut them down to suit your needs, as I did here. I cut the journaling tag in half and then trimmed off the ornament from the bottom of the strip. A corner rounder was used to give the tag a nice finish. Then use additional stickers, and whatever accents you have laying around, to dress up your tag.
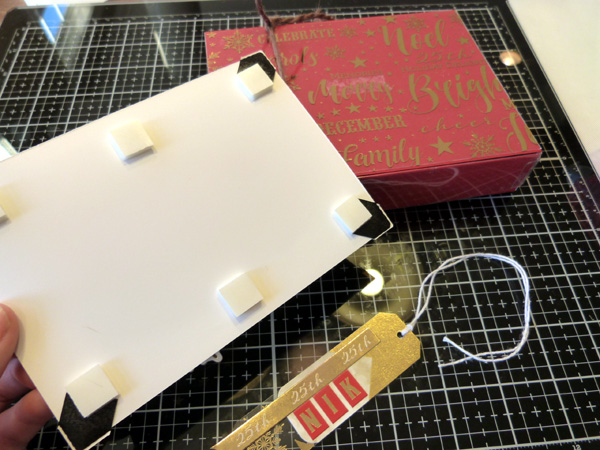
Add glitter dust photo corners to the layered journaling card, and then place 3D Adhesive Squares onto the back before adhering the panel to the box. Punch a hole in the top of the tag, and tie it onto the package with string.
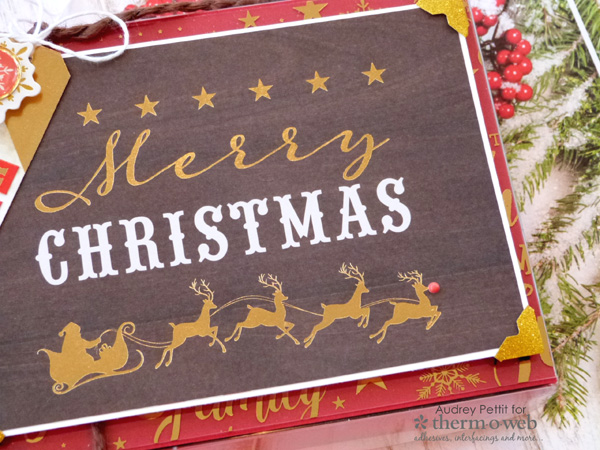
For one last detail, add an enamel dot for Rudolph’s nose.
Happy Holidays!