


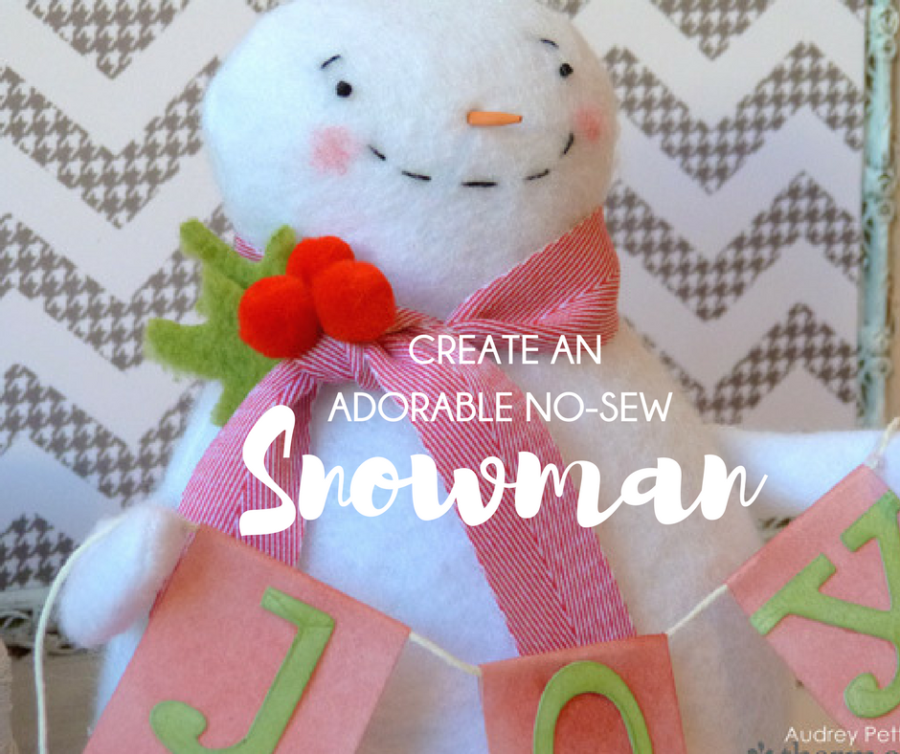
Bring home the holiday joy for you or a loved-one this season with this mixed media snowman stuffie! What’s sweeter than a snowman spreading joy during the holidays? Not much in our opinion. Designer Audrey Pettit will share with you a handmade adorable snowman featuring our Mixed Media Art Tape along with our StichnSew Sew-in Fleece! A favorite of Audrey’s!
Let’s take a look.
Mix It Up with Art Tape to Create a Joyful Snowman
Supplies:
Therm O Web Stitchn’Sew Fleece
Therm O Web Fabric Fuse Liquid Adhesive
Rebekah Meier Designs Mixed Media Art Tape by Therm O Web
Therm O Web Gina K Designs Premium Dye Ink: Grass Green, Red Velvet
Watercolor Cardstock: Ranger
Alphabet Die: Sizzix
Floss: DMC
Ink Blending Tool: Ranger
Ribbon: May Arts
Paint: Delta
Other: Polyfill Fiber Stuffing, Dry Rice or Beans, String, Fleece, Pom Poms, Toothpick, White Chenille Stems
Mix It Up with Art Tape to Create a Joyful Snowman Instructions:
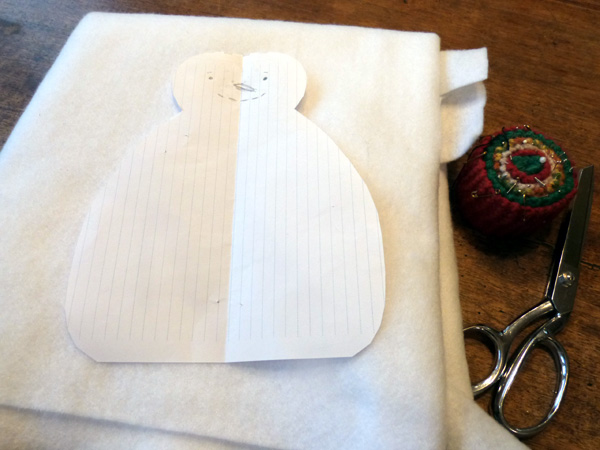
Gather your supplies and create or download a simple “bowling pin” style snowman pattern.
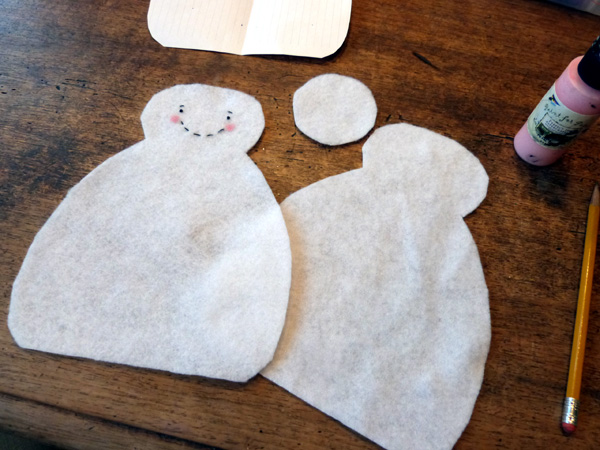
Fold a length of Therm O Web Stitchn’Sew fleece in half, and pin the snowman pattern into place. Cut out the snowman body shapes to create two pieces. Trace around a drinking glass onto the fleece, and cut that out also.
Using 2-strands of black embroidery floss, stitch a mouth and eyes onto the front of the snowman. Dab the end of a pencil eraser into pink paint, and touch the eraser onto the face to add rosy cheeks.
Layer the two snowman body shapes together, with right sides facing. starting at one bottom corner, stitch around the snowman shape using a 1/4″ seam allowance. Stop once you reach the other bottom corner, leaving the bottom of the snowman open.
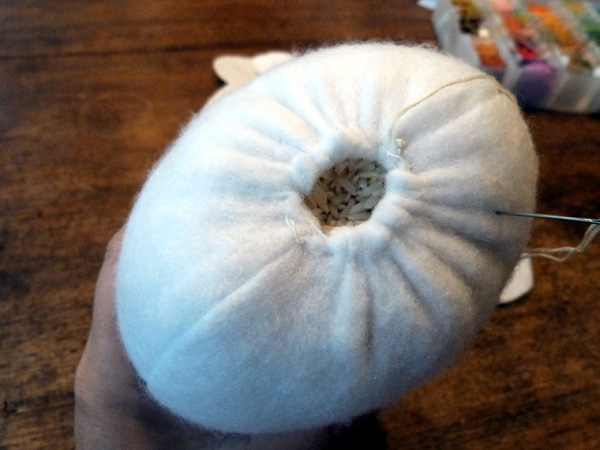
Turn the snowman right side out, and then fill it with polyfill fiber stuffing until full. Using a needle and thread, stitch a wide gathering stitch around the opening, and pull the thread to close. Before closing all the way, stop and add a bit of dry rice or beans through the opening. This will add weight to the bottom of the snowman, allowing it to stand upright. Then pull the thread tightly to close the opening completely, and knot the thread.
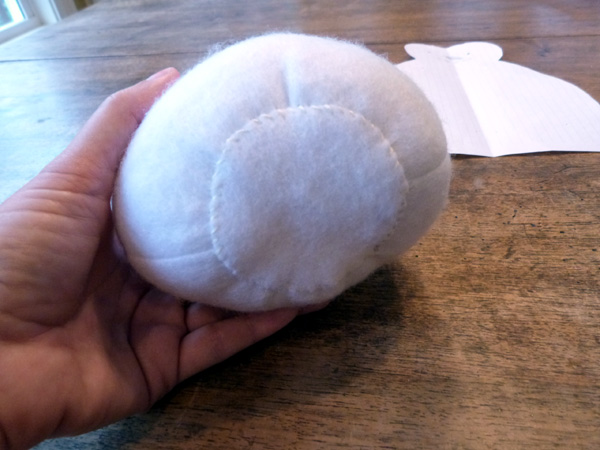
To hide the gathered knot, stitch the fleece circle over the bottom opening.
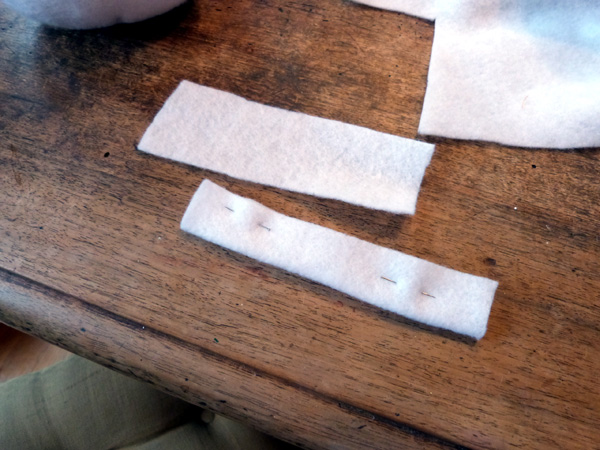
For the arms, cut two thin rectangles of fleece, approximately 1.5″ x 4″. Fold them in half lengthwise, and pin. Stitch down the open side, and around the bottom of the tube in an arc.
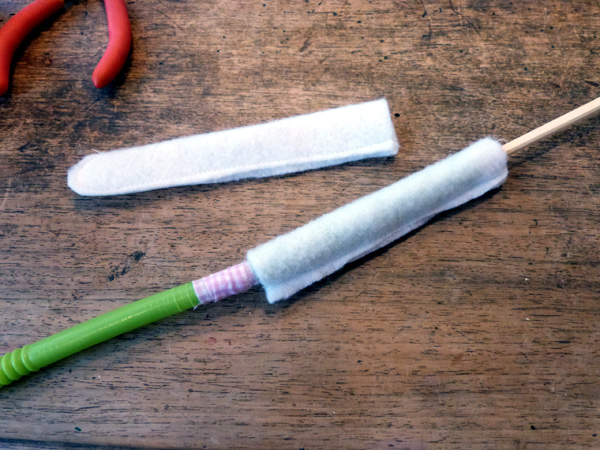
Trim the excess fleece away from the rounded end. To turn the arms, use this handy trick. Push a large straw down into the arm until the tip of the straw touches the stitched end. Then take a wooden skewer and push down into the tip of the fleece, pushing the fabric down into the straw and out the other end.
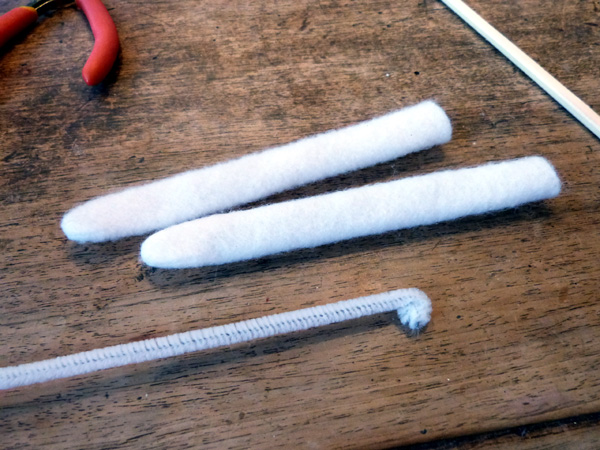
Wrap the end of a white chenille stem into a spiral coil, and then stick it down into an arm. Snip off the excess using a wire cutter. You may need to cut the arms a bit shorter for the finished snowman. I always like to give myself a bit of extra length until I have the final placement. Repeat the process for the second arm.
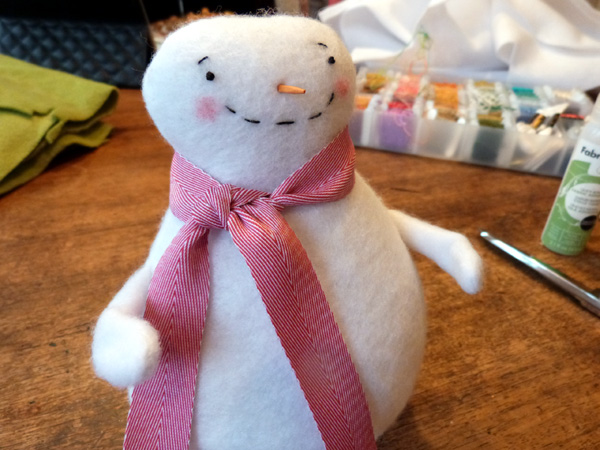
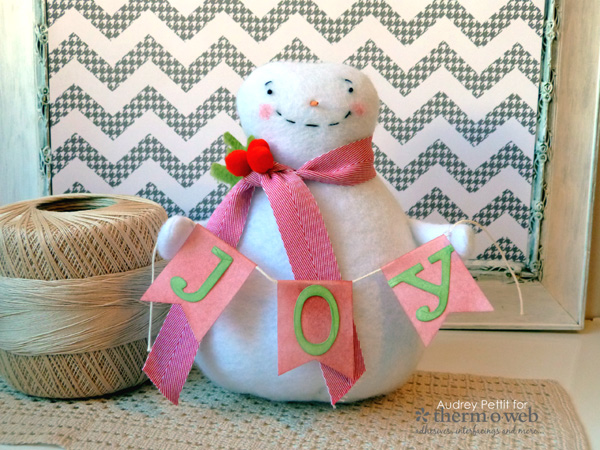
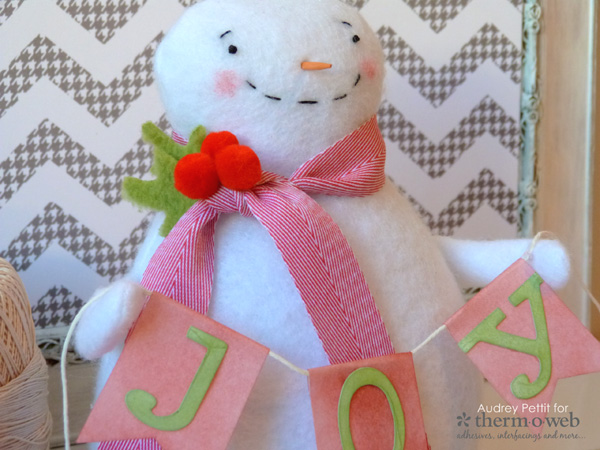
Stitch the arms onto the snowman body. Tie a bit of ribbon around the neck for the scarf. Snip off the end of an orange toothpick (or paint a wooden toothpick with orange paint). Add a small dab of Fabric Fuse Liquid Adhesive to the end of the toothpick, and poke it gently but firmly into the snowman.
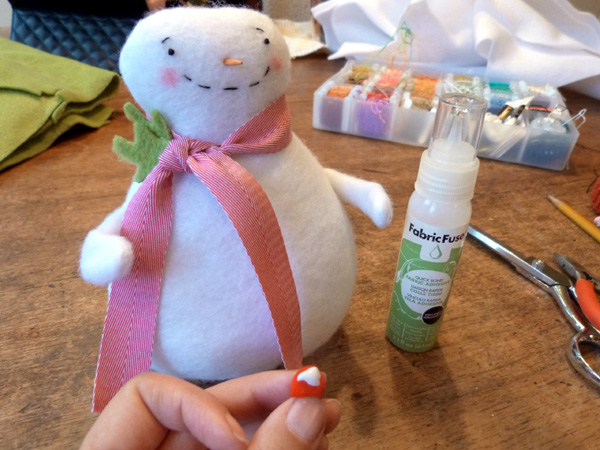
Free-hand cut some leaves from green fleece. Adhere the leaves to the side of the scarf using the Fabric Fuse glue, and then add three red pom poms around the leaves.

Die cut the letters J O Y from watercolor cardstock using a large alphabet die set. Ink the letters with Gina K Designs Grass Green die ink using an ink blending tool.
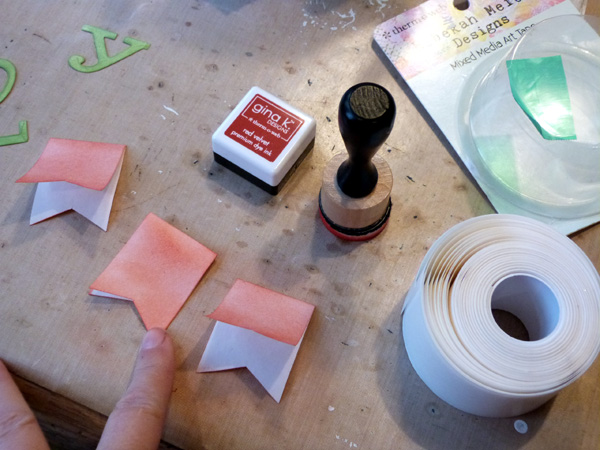
Cut three strips of Rebekah Meier Designs Mixed Media Art Tape. Fold the strips in half, and trim a bit from one side to fit the die cut letters (if needed). Cut the bottom into a V-notch. Ink the banners with Red Velvet die ink using the ink blending tool.
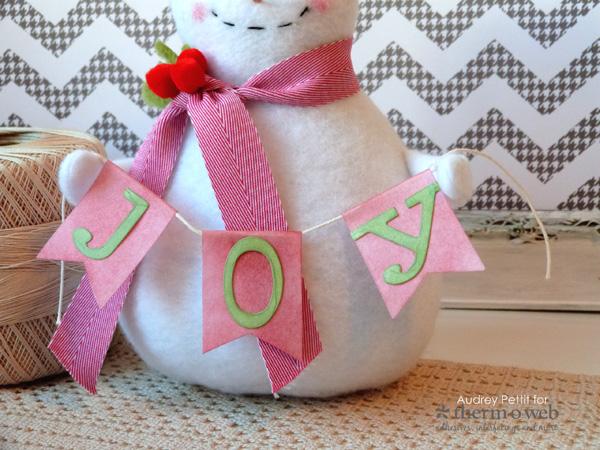
Cut an 8″ length of a white string. Peel the release backing paper from the art tape banners, and fold them over the string, pressing together once placed. Adhere the die cut letters to the flags using additional Fabric Fuse Liquid Adhesive. Stitch the ends of the strings to the snowman’s hands.
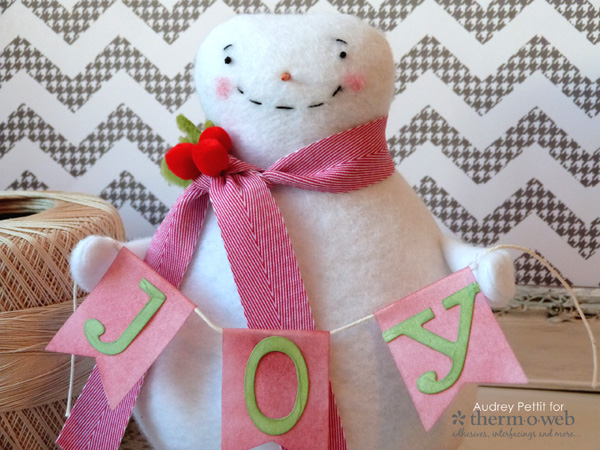
Happy Holidays!
Ivory
December 18, 2017 at 4:33 pm (6 years ago)I love this snowman, so cute. Happy Holiday’s