


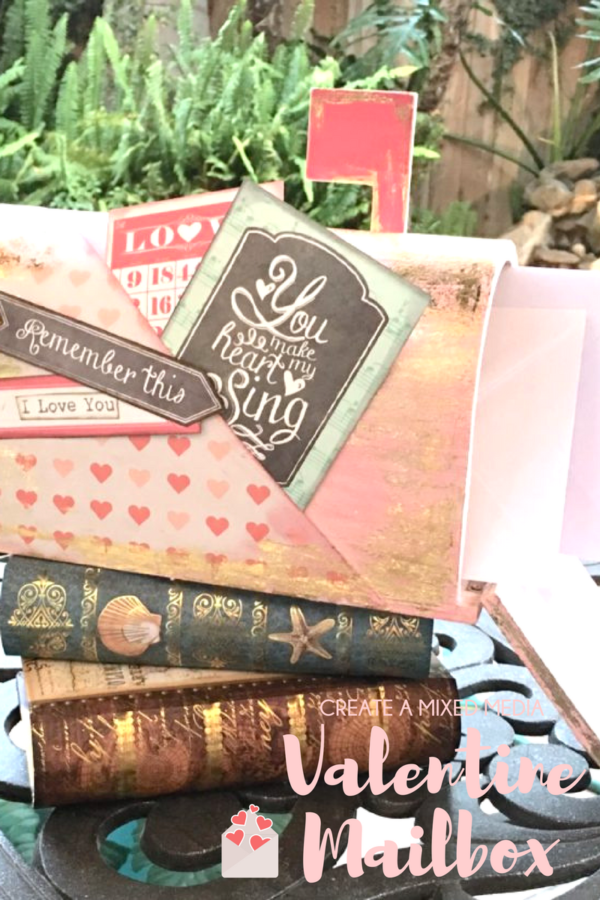
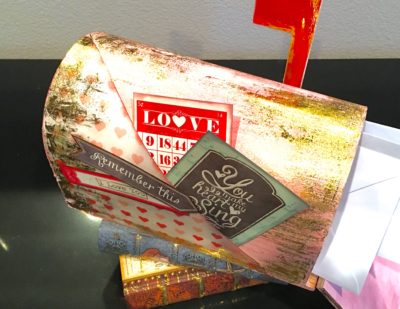
Mixed Media Altered Valentine Mailbox
Hello friends, Wendy here with a Mixed Media Altered Mailbox for Valentines. Use this mailbox as home decor piece or to deposit a Valentine for your sweetheart. As usual, Therm-O-Web Deco Foil products helped me to give my project a polished finish. Scroll through the step-outs below to see how fast and easy this project can be!
ThermOWeb Supplies Used:
Rebekah Meier Designs Mixed Media Medium
iCraft Deco Foil Adhesive Pen
iCraft Mixed Media Adhesive
Deco Foil Transfer Sheets – Gold
Deco Foil Transfer Sheets – Champagne
Hello friends, Wendy here with a Mixed Media Altered Mailbox for Valentines. Use this as home decor or to deposit a valentine for your sweetheart. As usual, Therm-O-Web Deco Foil products helped me to give my project a polished finish. Scroll through the step-outs below to see how fast and easy this project can be!
Other Supplies Used:
Wooden Craft Mailbox, Distress Crackle Paints and Distress Ink by Tim Holtz, Valentines Themed Patterned Paper, Scissors, and Paintbrush.
Valentines Mixed Media Mailbox Instructions:
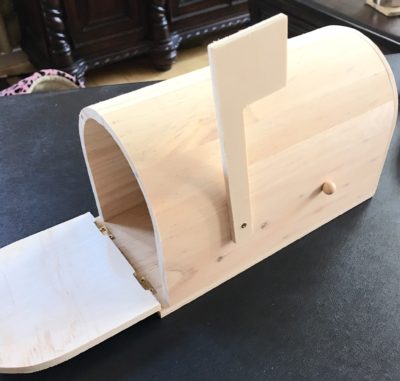
Begin with a wooden craft mailbox from your local craft store and paint a layer of soft pink over the entire surface (the sample uses Distress Crackle Paint – Worn Lipstick).
Hint: If you do not have a wooden mailbox, create one using lightweight (pliable) chipboard such as a cereal box and hot glue.TooltipText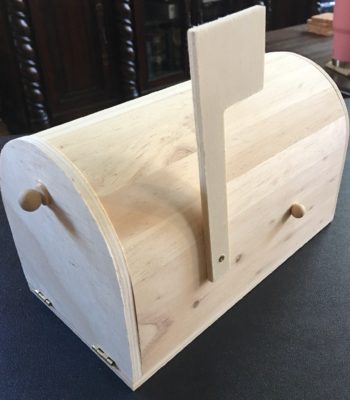
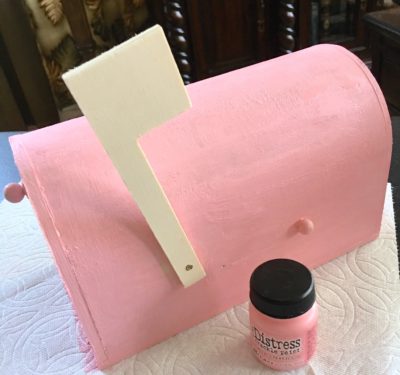
After the first layer of paint dries, brush on the second layer of pink in a lighter shade and allow to dry (the sample uses Tattered Rose).
Tip: Brush on the second layer with a light hand so that the brighter pink shows through.TooltipText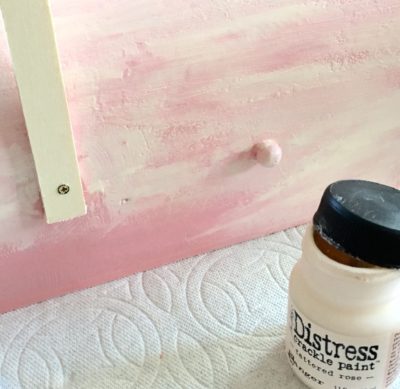
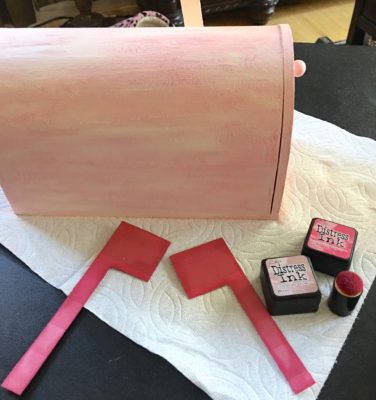
Once both layers of paint have dried (make sure paint has dried completely, especially if using crackle paint) add some depth to the color using Distress Ink (sample used Victorian Velvet). This process can be accomplished using either a blending tool or direct ink to the surface.
Tip: If you don’t have a blending tool but are afraid to ink directly, a makeup sponge will do in a pinch.
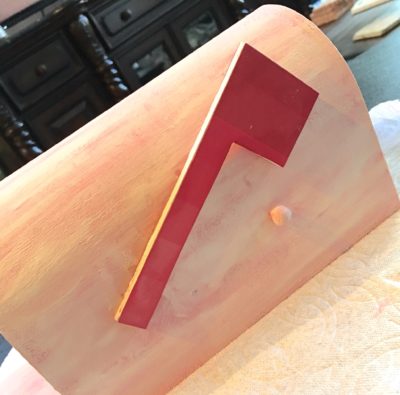
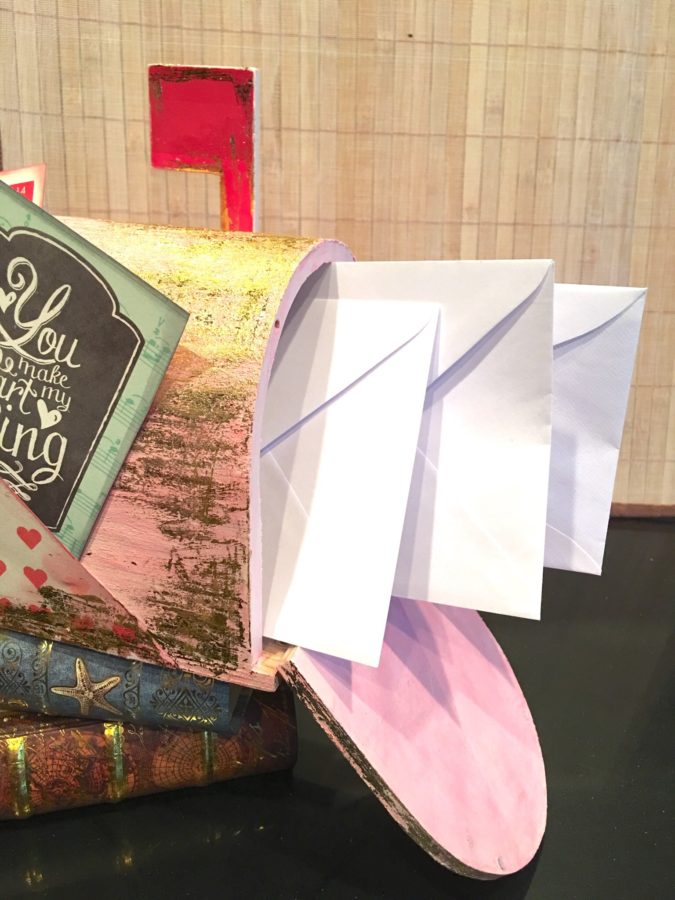
To cover the mailbox flag, hold a rectangle piece of patterned (or solid) cardstock up to the flag and trace around it. Cut out the flag shape using scissors and ink the edges (sample uses Picked Raspberry and Victorian Velvet). Repeat these steps for the back side of the flag as well.
Tip: You can also remove the mailbox flag, adhere the cardstock to it and then trim around the edges.
Adhere the cardstock flags to the mailbox flag.
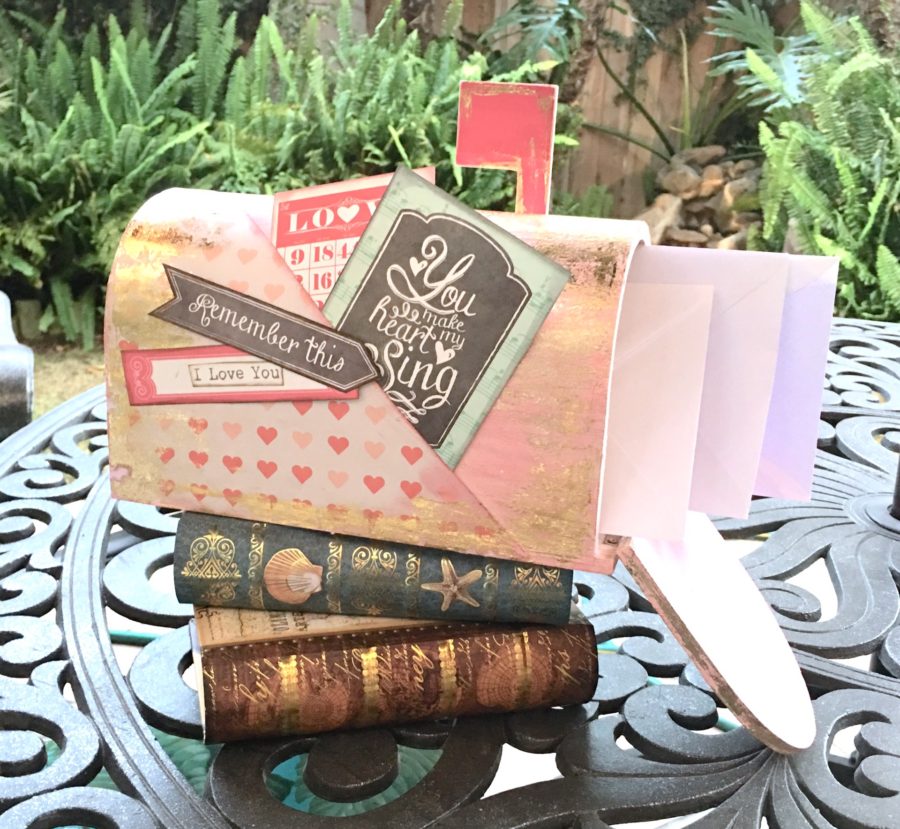
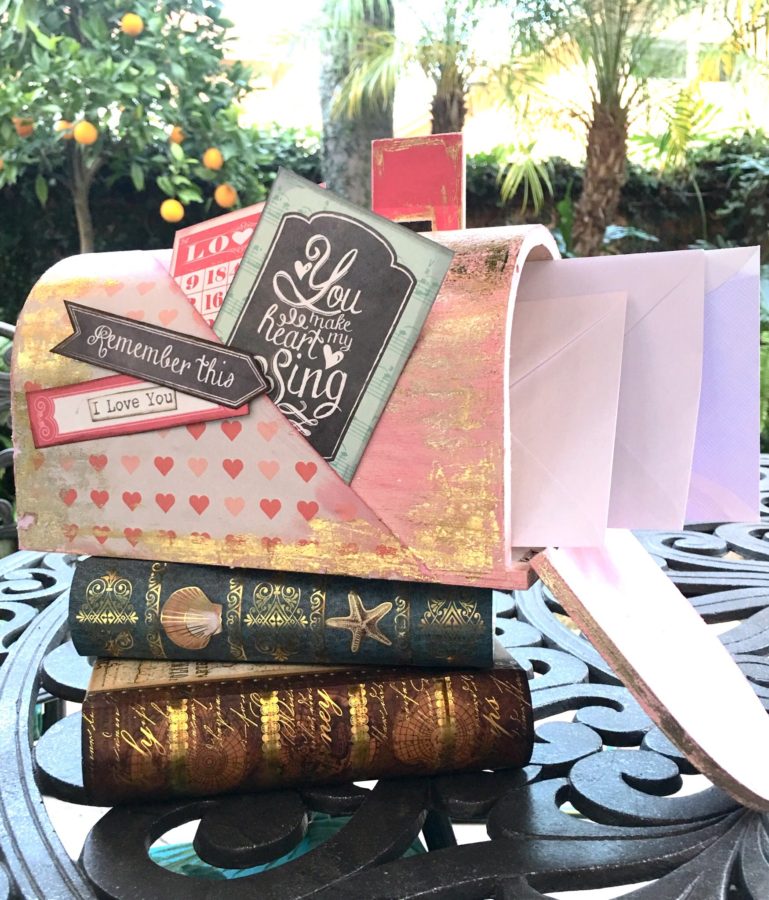
Cut a piece of 12×12 Valentines themed patterned paper diagonally across the center, creating a large triangle. Using iCraft Mixed Media Adhesive, adhere the triangle shape to the mailbox as pictured making sure to place your adhesive only along the side and bottom of the paper (not along the cut line or in the center), creating a pocket.
Tip: If you do not have Valentines themed paper you can create your own using heart stamps or stencil.
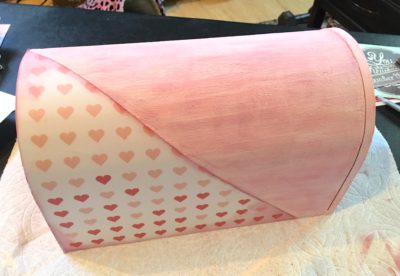
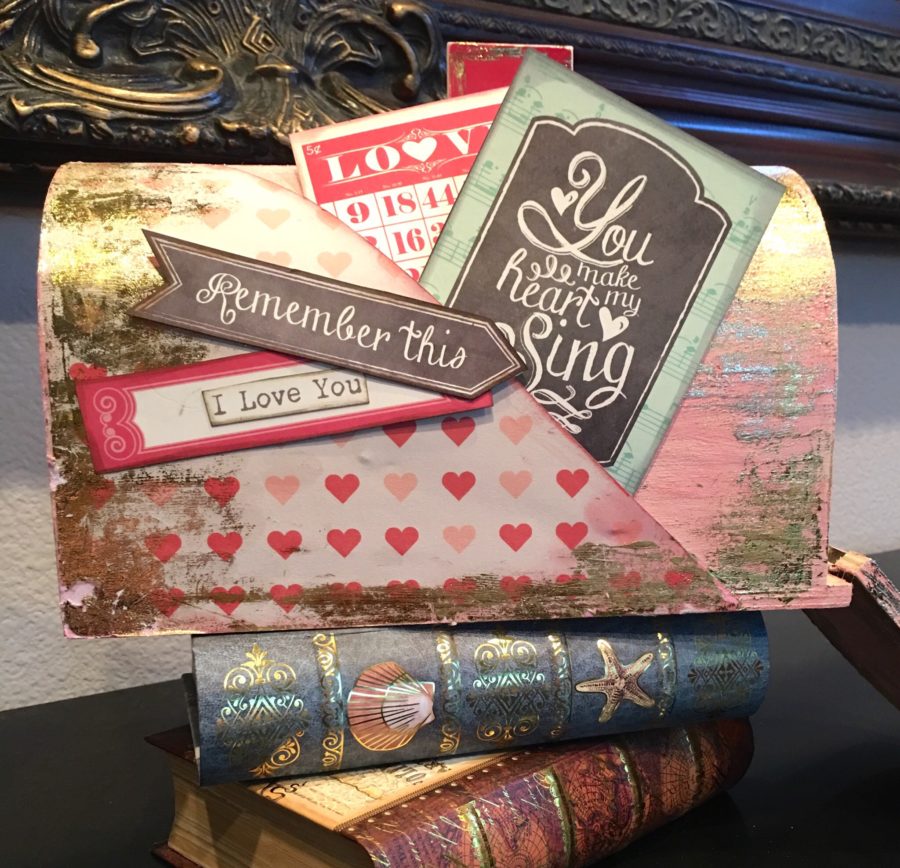
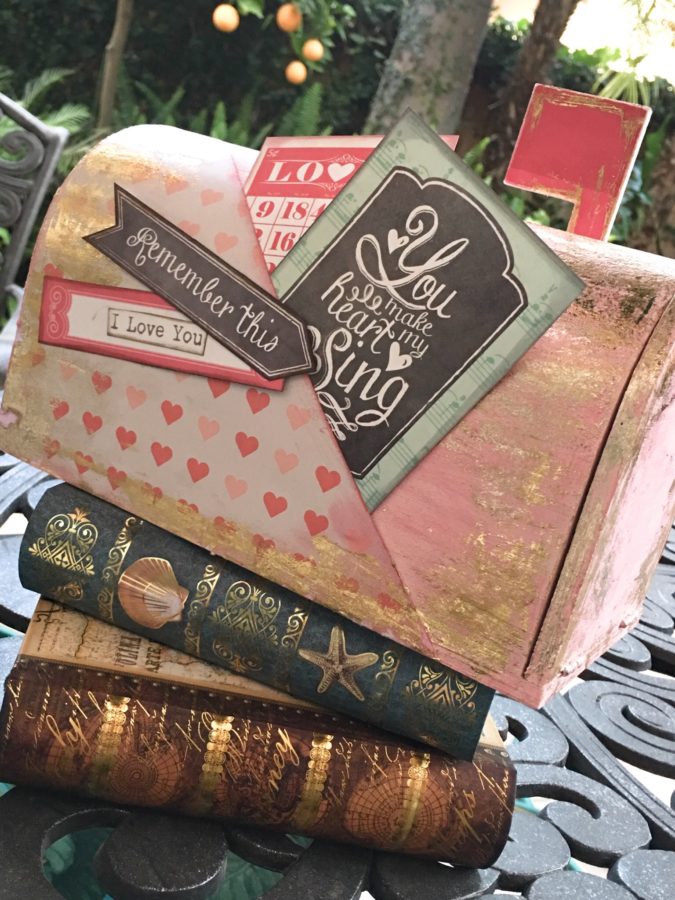
Cut out from your patterned paper or create your own journaling cards and tags which will be placed in the pocket when the project is finished.
While the mailbox looks cute as-is, it lacks the finished or polished look only Deco Foil products lend to a project. Using a paintbrush apply Mixed Media Medium randomly along the edges of the mailbox and patterned paper. Once the Medium has dried to a tacky state, press the dull side of the Foil Transfer Sheet to the tacky medium, burnish with your finger and pull away creating . . . instant shine!
Tip: Once you have pressed the Foil Transfer Sheets to all tacky areas, fill-in where needed using the Deco Foil Glue Pen and the same Foil Transfer Sheet process. The Glue Pen dries more quickly and is better for smaller areas.TooltipText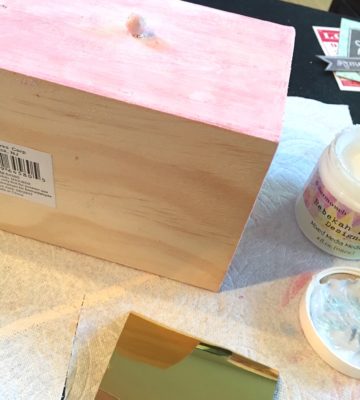
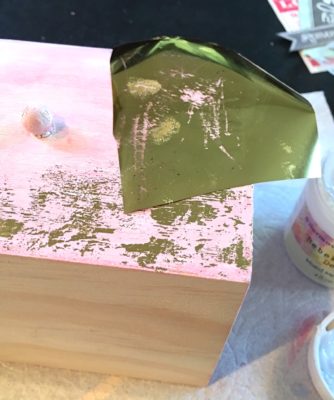
In the above picture, you can see that I didn’t wait quite long enough to press on the Foil Transfer Sheet (the Mixed Media Medium was still to wet). If this happens, stop foiling and wait a minute or two and try again. Usually, that is all it takes. On the flip side, if the Medium has dried completely, simply add a bit more. The process is pretty forgiving.
Once the entire mailbox has been foiled, add journaling cards and/or tags to complete your project.
I hope you enjoyed this tutorial and will give this project a try. Happy Valentines Day!
Shop NOW for all the products used in today’s tutorial online http://www.thermowebonline.com