Skyline Skyline I see you! When I got the new Mixed Media Sheets in the mail I just knew exactly what I was going to make. Mixed Media Sheets can be used with all types of projects. For this project I printed on them for my skyline pillow cover.
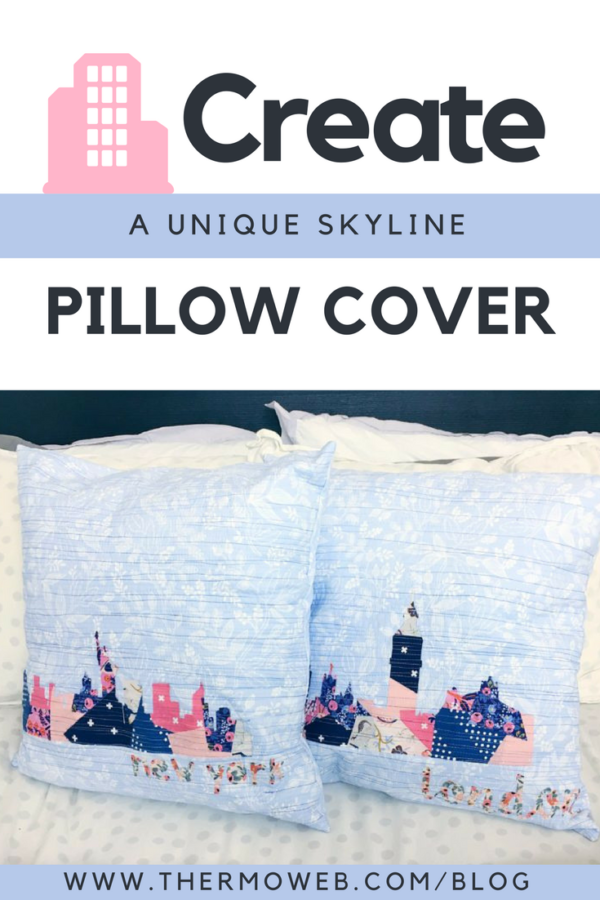
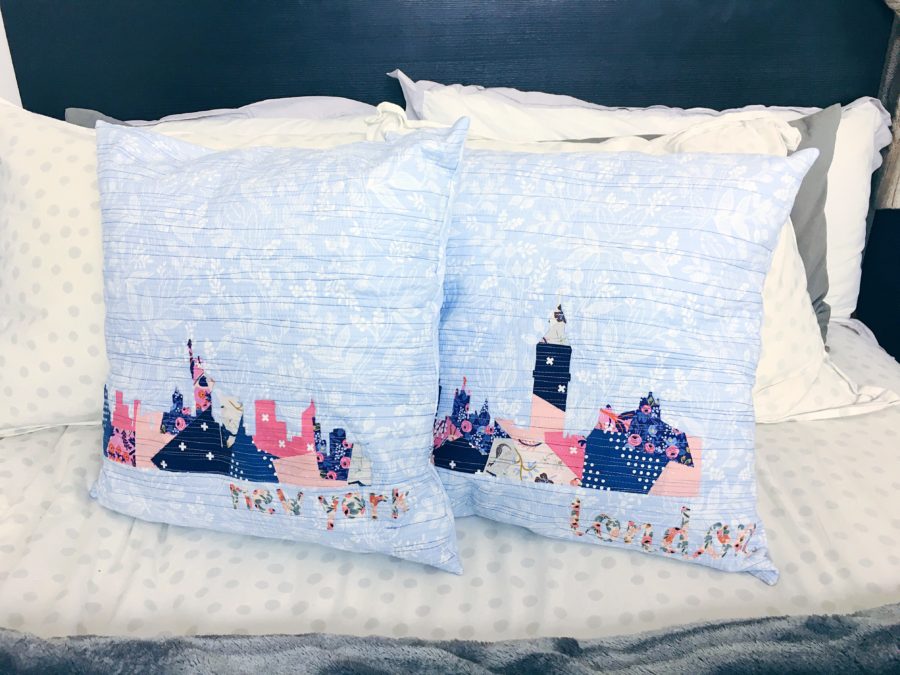
A while back Shannon Brinkley of The Bottle Tree hosted a sew a long with her gorgeous skyline patterns. I just love the scrappy bits appliqué and thought the new mixed media projects were absolutely a perfect match (and I’m an efficient-or lazy- quilter and hate having to hand trace out the images). My best friend is a world traveler/blogger and so I picked her two favorite places for the sew a long- New York and London.
Mixed Media Scrappy Bits Skyline Pillow Cover
Skyline Pillow Cover Supplies:
Heat n Bond® Fusible Fleece (21” x 21” piece)
Thermoweb Heat n Bond® Lite
Fabric Fuse™ Liquid Adhesive
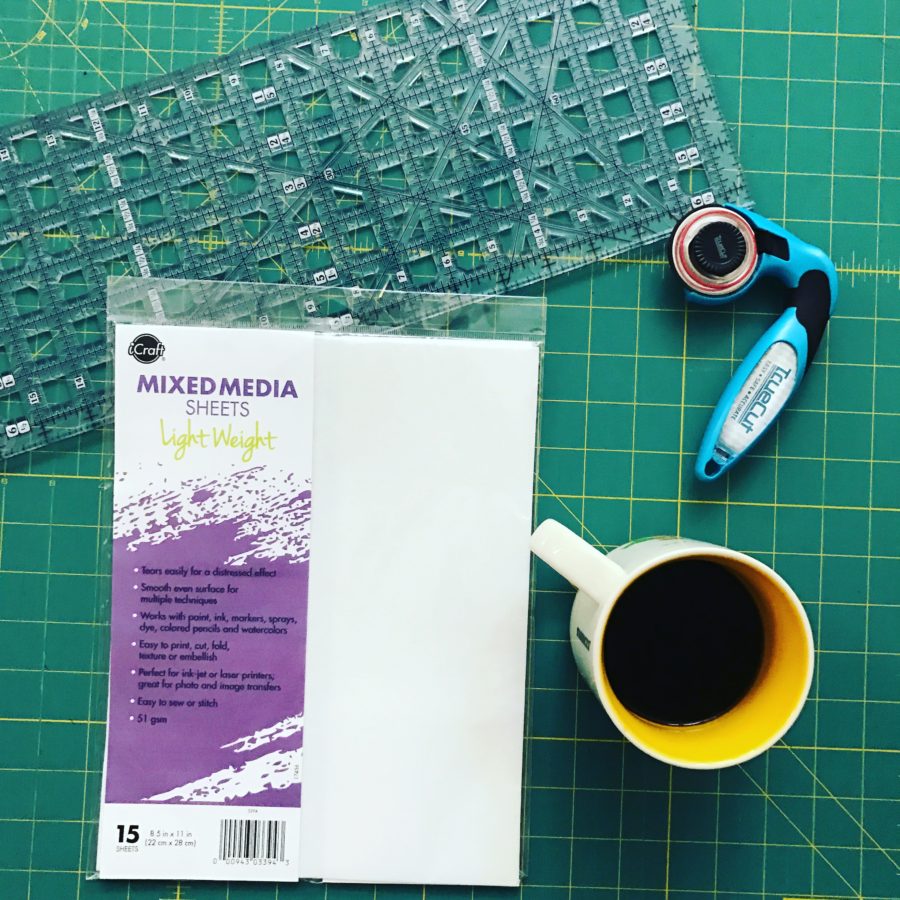
Thermoweb Mixed Media Light Weight Sheets
21” x 21” fabric piece for Front of Pillow
(2) 21” x 15” fabric pieces for Back of Pillow
Scraps for Applique
20” x 20” pillow form
Skyline Scrappy Bits Applique Pattern
Oliso Smart Touch Iron
Sewing Supplies: Machine, Pins, Thread, Scissors, Rotary Cutter, Rulers, Water Soluble Marker
Skyline Pillow Cover Instructions:
*all seam allowances are 1/2” unless noted
Download your Skyline Scrappy Bits pattern and choose the mini size and print it on your mixed media. I sized mine up a bit to fit (115%-120%) the pillow a little better.
Create and cut out your skyline following the instructions in the pattern (use heat n bond lite and fabric fuse liquid adhesive).
Once your skyline is fused onto your 21” x 21” fabric piece, fuse the fleece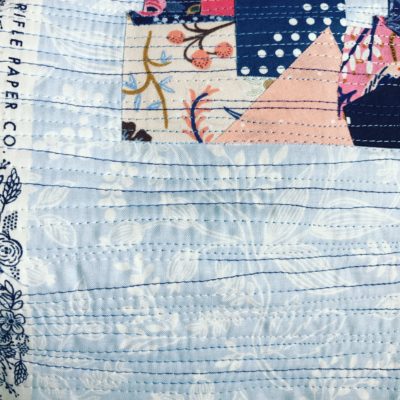 to the wrong side of the fabric. Quilt the front of your pillow how you desire. I chose to matchstick quilt these. Next, I started with a stitch length of 4-4.5 and quilted lines about 1/2” apart. Then I went back and filled in the spaces with 2-4 more lines. I wanted a very textured and sturdy look so I quilted very tight.
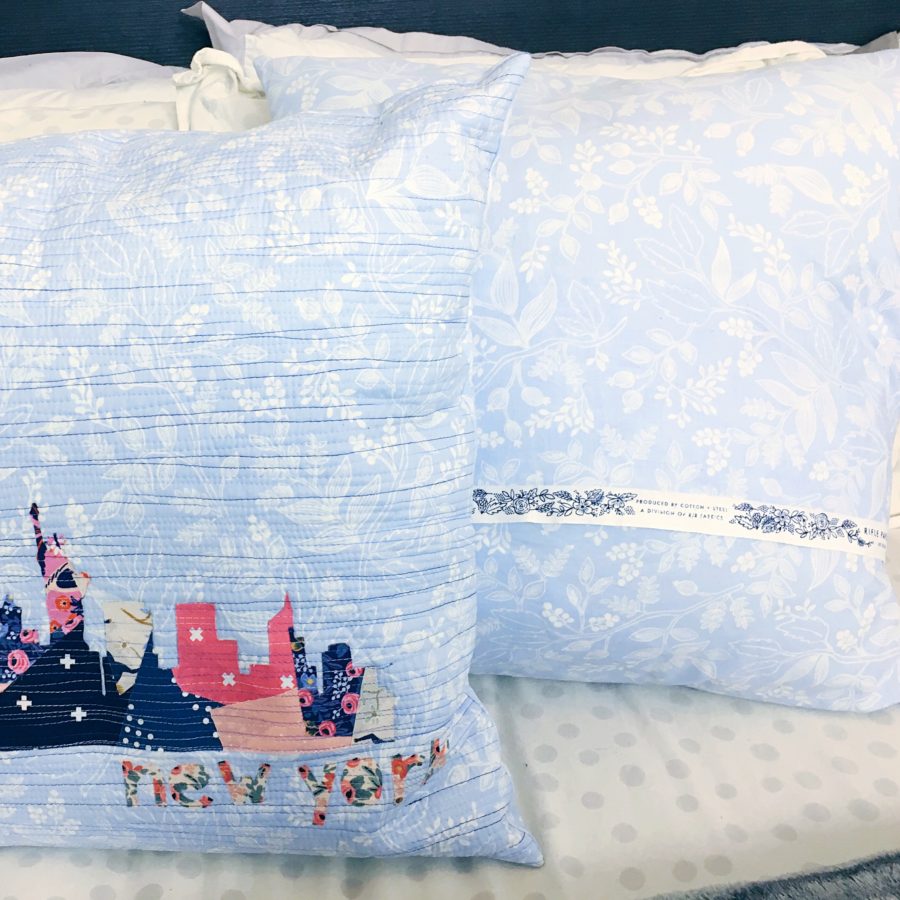
To create the pillow you will now need to create the back pillow insert covers. Take your 21” x 15” pieces and iron one 21” side of each piece 1/2” wrong sides together. Fold down another 1/2” and iron. Topstitch to create a clean and crisp edge. For these pillows I chose to use a “raw edge” and on each piece I made sure that one of by 21” pieces had the selvage on it to give a unique look to the project.
Lay your quilted top pillow piece wrong side down and then lay your two back pieces on top of it with the raw edges on the outside- pin it down. Your selvage or top stitched pieces should now be overlapping in the middle of the pillow. Stitch around the entire pillow cover. Turn inside out and iron well. Insert your pillow cover and enjoy your new skyline pillow cover!
Optional Details: Take your remaining scraps and cut out letters or symbols and iron on using heat n bond lite.
Can’t wait to see what you all create! Happy Sewing!
Kristen Wright of Two Blondes and a Sewing Machine
CELEBRATE NATIONAL CRAFT MONTH!


Don’t miss out! Be sure to shop with us during #nationalcraftmonth to save 15% + FREE SHIPPING all month long on all orders over $15 (after coupon applied). And that’s NOT all! Each time you shop with us you’ll be entered to win the ULTIMATE Deco Foil Giveaway! That’s right! Just imagine about every product we make! It’s valued over $300! So this is the month to shop, save AND be entered to win!!
Visit us at http://www.thermowebonline.com and use code: LUCKY
And that’s not all! Join us on Instagram for a chance to win prizes ALL MONTH LONG! That’s right! Join us in our Photo Challenge by sharing and tagging us #thermoweb in photos with each day’s challenge theme! The more you participate the better your chances are to win as we’re not telling you what days we’re picking winners!