


Hello crafters! It’s Shemaine and I am thrilled to be bringing you today’s fun inspiration here on the Therm-O-Web blog. With our new Pixie spray, your favorite stencil and some Metallix gel, you can create some really fun backgrounds for your cards and other projects. Let’s take a look at just how easy it is to use these awesome products.
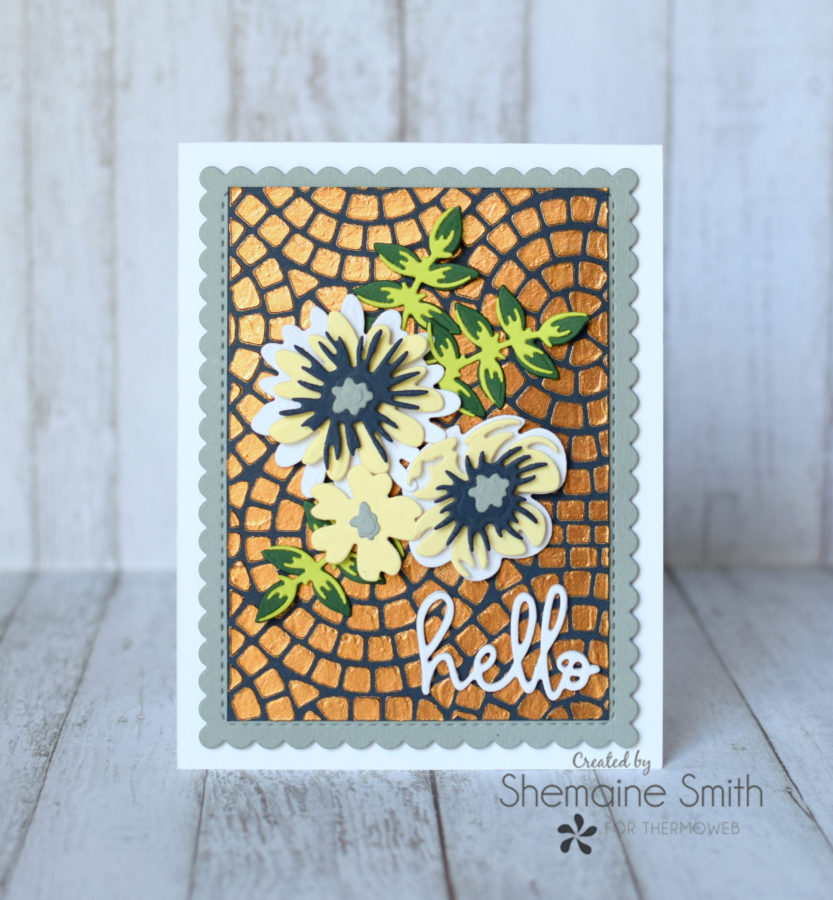
Mosaic Hello by Shemaine Smith
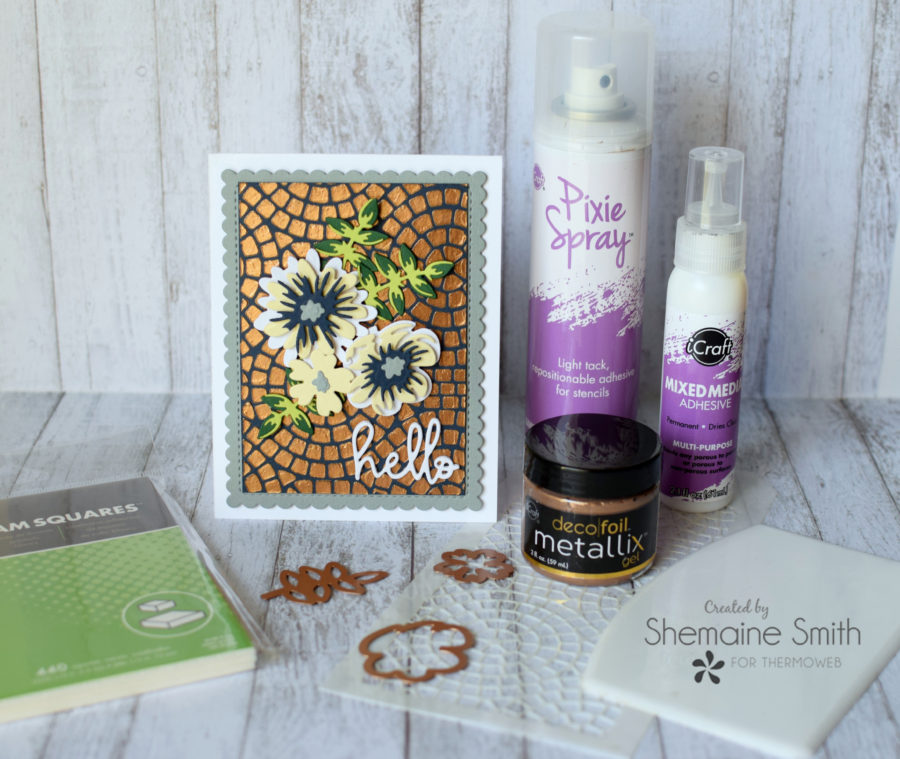
Therm-O-Web Supplies:
DECO FOIL METALLIX GEL – AGED COPPER
PIXIE SPRAY
ICRAFT MIXED MEDIA ADHESIVE 2.1 FL OZ
DECO FOIL STENCIL PAL
3D WHITE FOAM SQUARES • COMBO PACK
__________________________________________________________________________
Deco Foil Metallix Card
Start by spraying your Pixie spray on the back of your favorite stencil and let it sit for a minute. The stencil becomes tacky and easy to smooth over your card stock. The Pixie spray will not tear your paper when you lift and helps you spread mediums evenly without them running under the stencil.
Tip: Make sure you are spraying the stencil evenly over and use a craft mat since it’s tacky and will leave residue on your table or mat. With a craft mat, you can easily wash with soapy water.TooltipText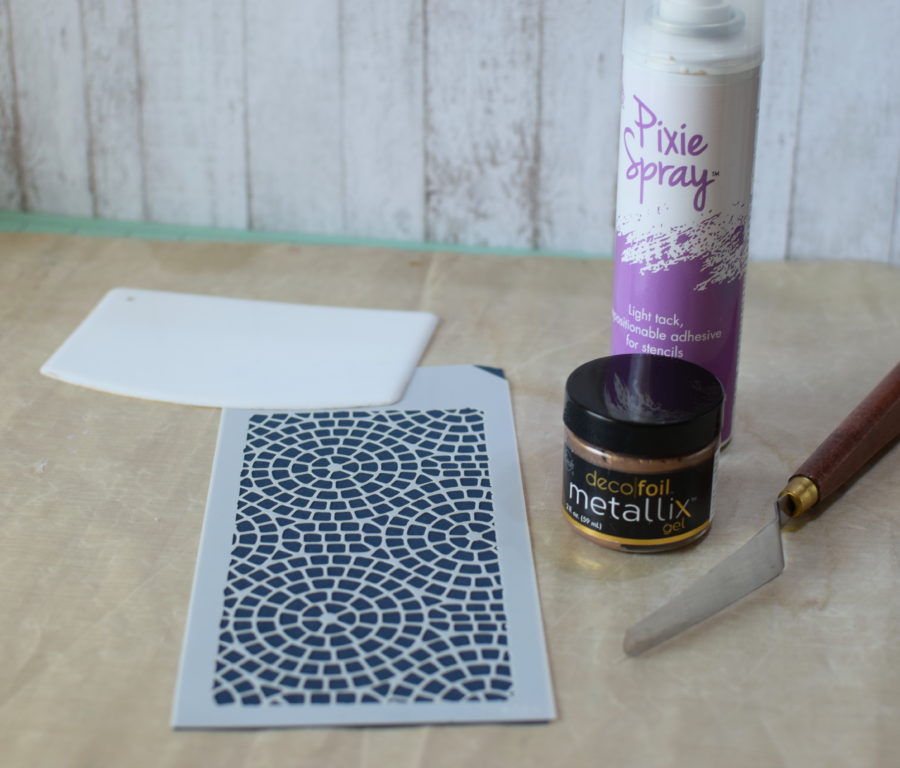
Next, I apply the Deco Foil Metallix Gel Aged Copper from top to bottom. When I have covered the entire stencil, I scrape away the excess and return it to the jar.

After I lift the stencil to reveal my design, I like to let it dry for at least 2 hours.
Tip: I like to stencil multiple sheets of card stock in case of mistakes and for quick cards later.
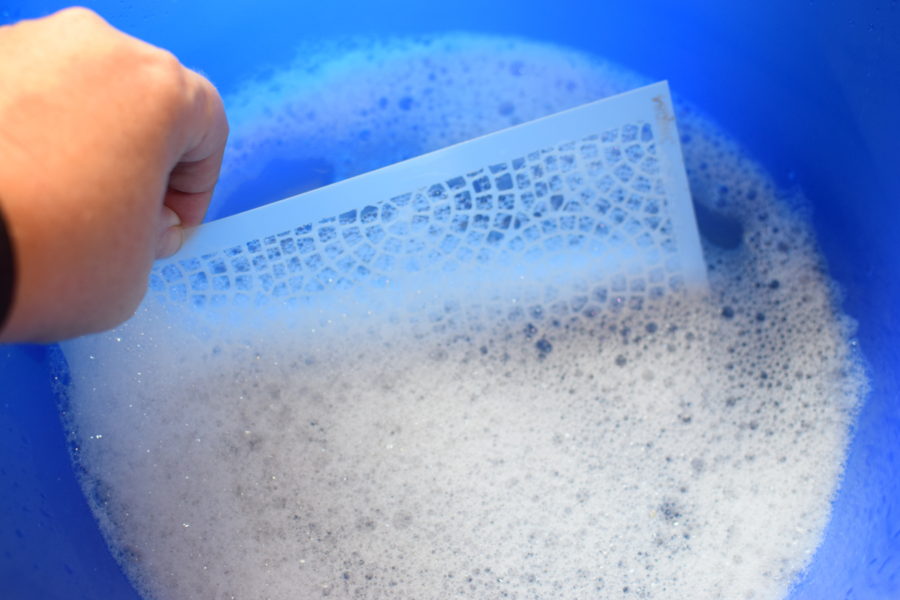
For easy cleanup, I filled a bucket of warm, soapy water to rinse off my stencils and patted them dry with paper towels. See how easy it is to clean them off.
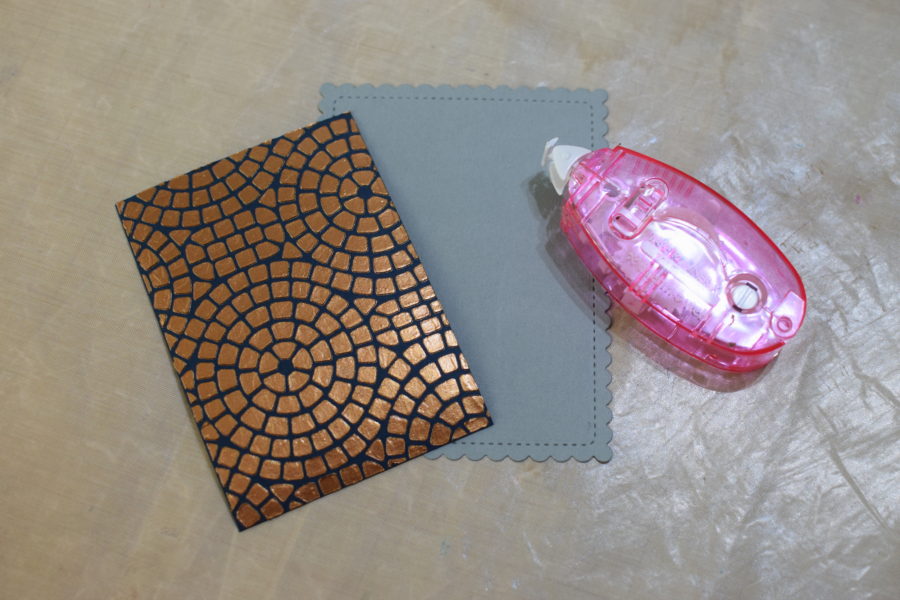
Now that the Metallix has dried, I can cut it to fit my card stock base at 4 1/3 X 5 1/3. I layer that over my A2 card base.
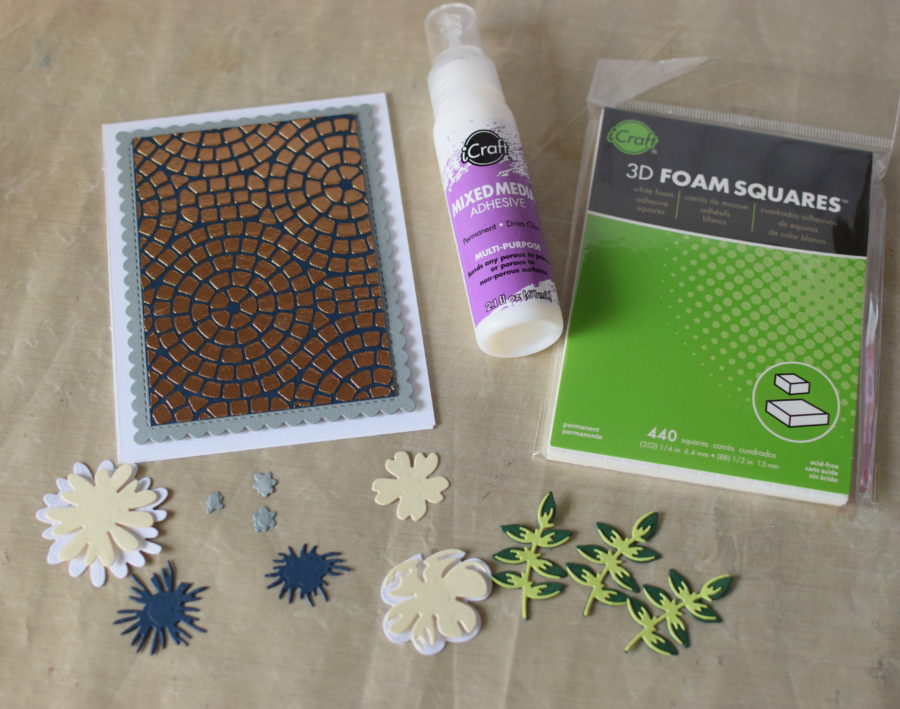
Now I am ready to piece together the die cut flowers with Mixed Media Adhesive and 3D foam squares for the front of the card. I really like using the mixed media adhesive because it bonds quickly and makes piecing the smaller die cuts quick and easy.

Now that I have placed the flowers and leaves where I like them, I finish the card off by adhering the sentiment to the card with the mixed media adhesive.
Deco Foil Metallix Card
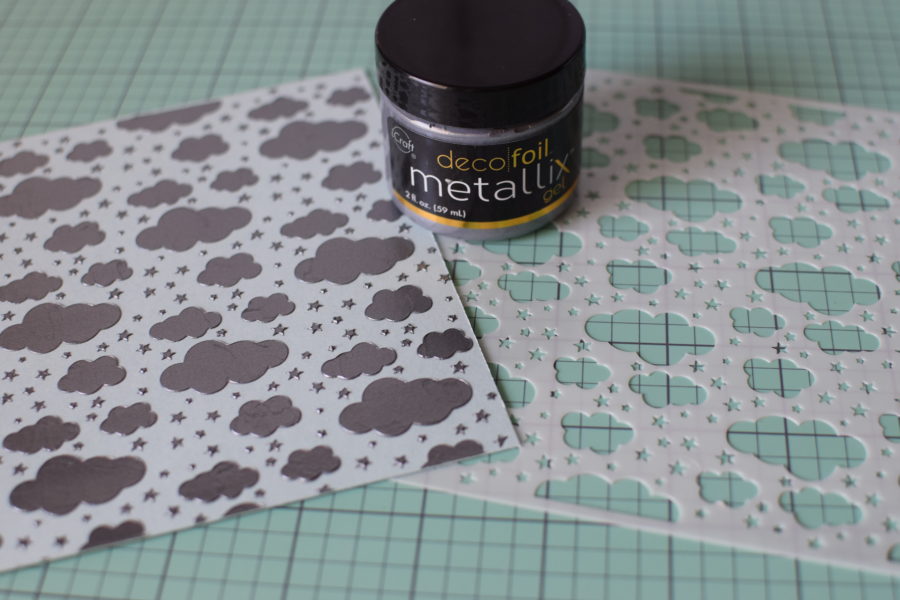
For the second card, I chose a more whimsical stencil with clouds and stars design. I used a sheet of heavyweight light blue card stock and the Deco Foil Metallix Gel in Glazed Pewter.
I allow the gel to dry the same amount of time and then I can die cut the card stock without ruining the design.
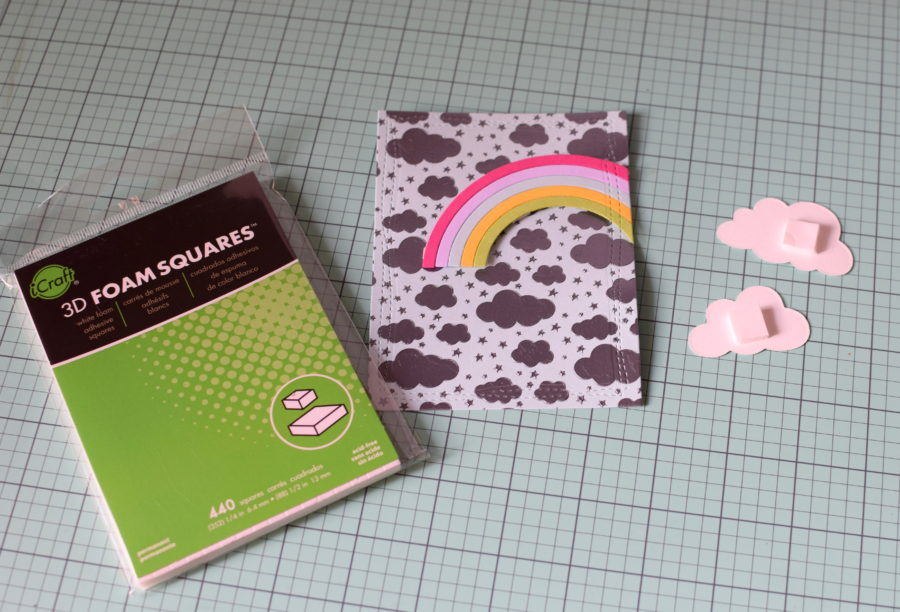
For this card, I die cut pieces of a rainbow die and pieced them together attaching to the front of the card base with 3D foam squares. I also used them for the clouds.
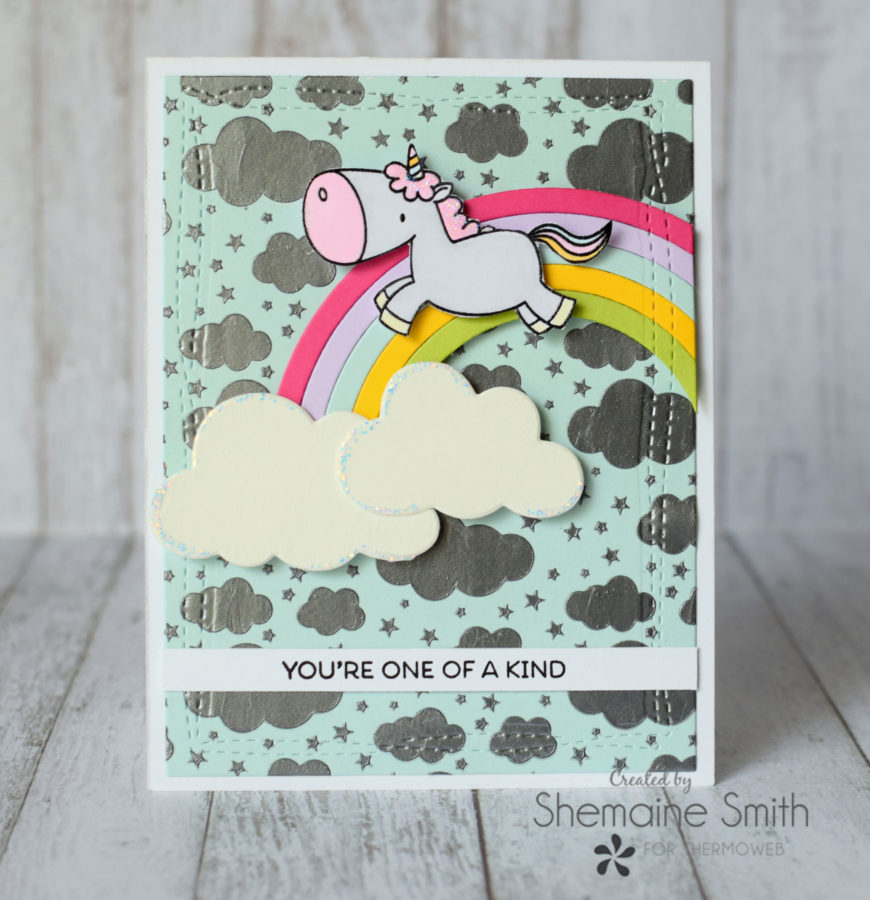
I finished off the card with a fun stamped unicorn image and sentiment. The Metallix background really made the stamped images stand out.
We hope you’ll tag us in your Metallix projects! Be sure and use the hashtag #thermoweb
Thanks so much for stopping by today!
Shemaine
Darlene M DeSario
April 16, 2019 at 2:03 pm (5 years ago)Awesomesauce! I LOVE the cloud and unicorn card, its my favorite. The other is pretty also though. Tyfs your lovely projects!