


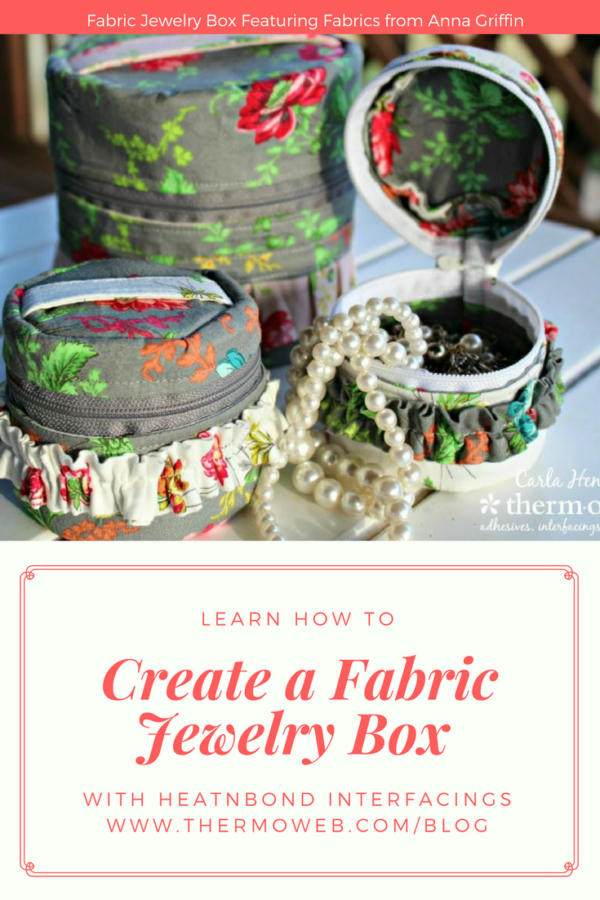
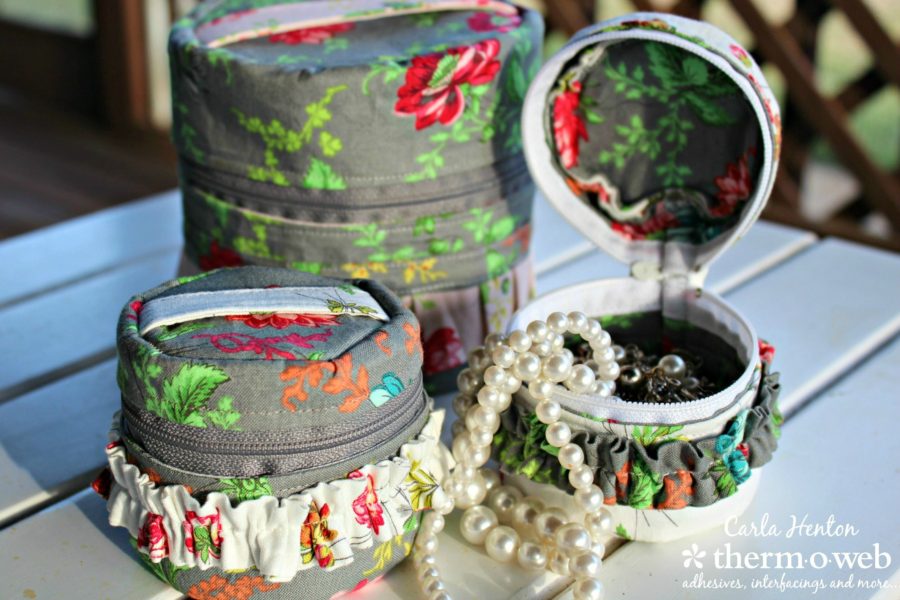
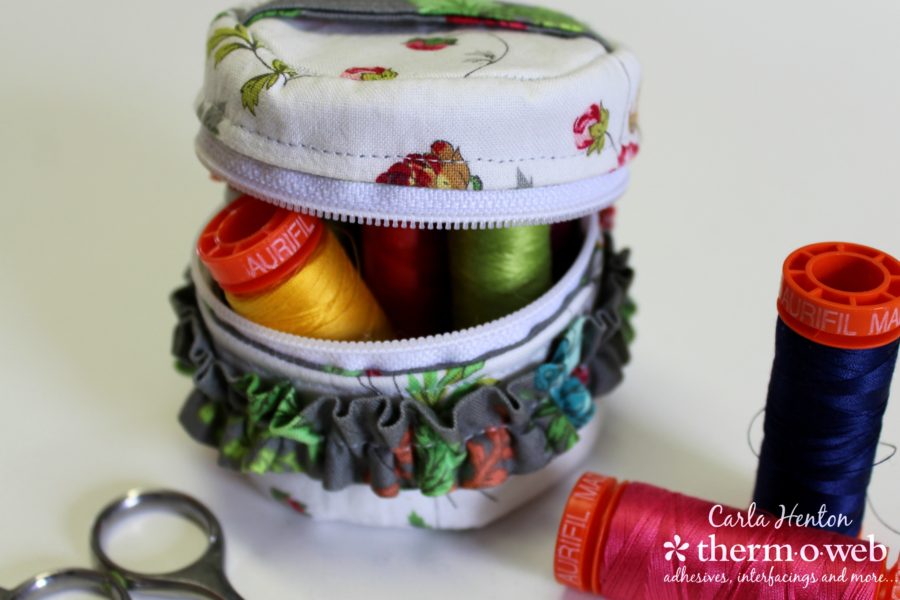
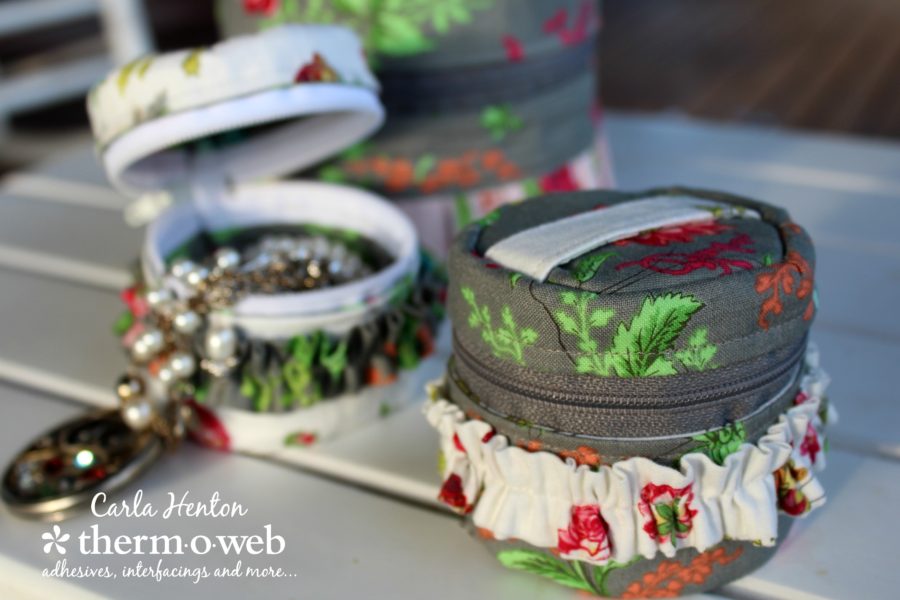
Here is a quick and beautiful gift idea for Mother’s Day. A sweet little fabric box for her to take overnight for jewelry or it’s the perfect size for needles and thread for the sewer on the go. It keeps its shape with HeatNBond® Craft Interfacing! Sewing in the round can be intimidating, but Carla from Creatin’ in the Sticks will show the steps of preparing each piece beforehand, to make this little round box a fun and quick project.
Overnight Fabric Jewelry Box in the Round with Anna Griffin Charlotte Collection Fabrics
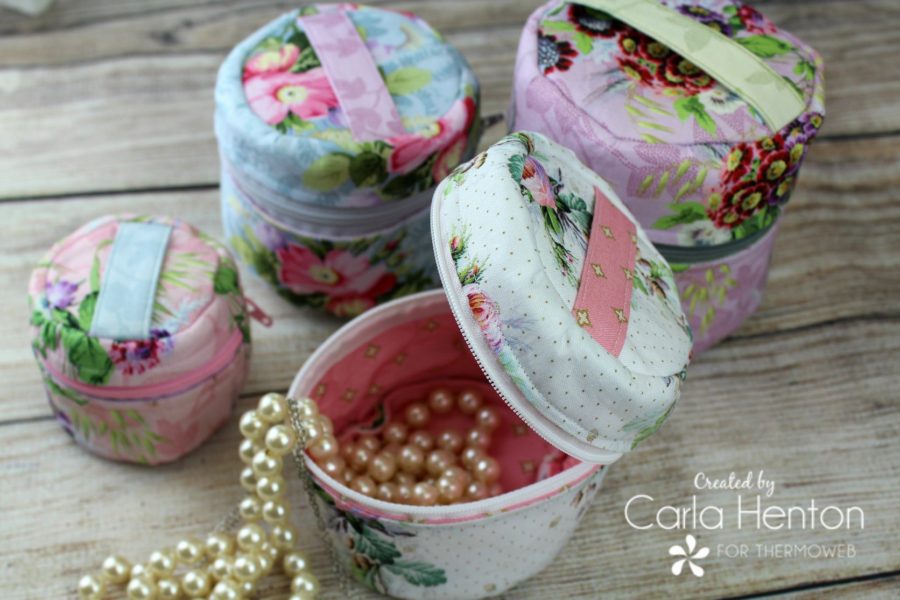
Size: about 3” wide and 3” tall
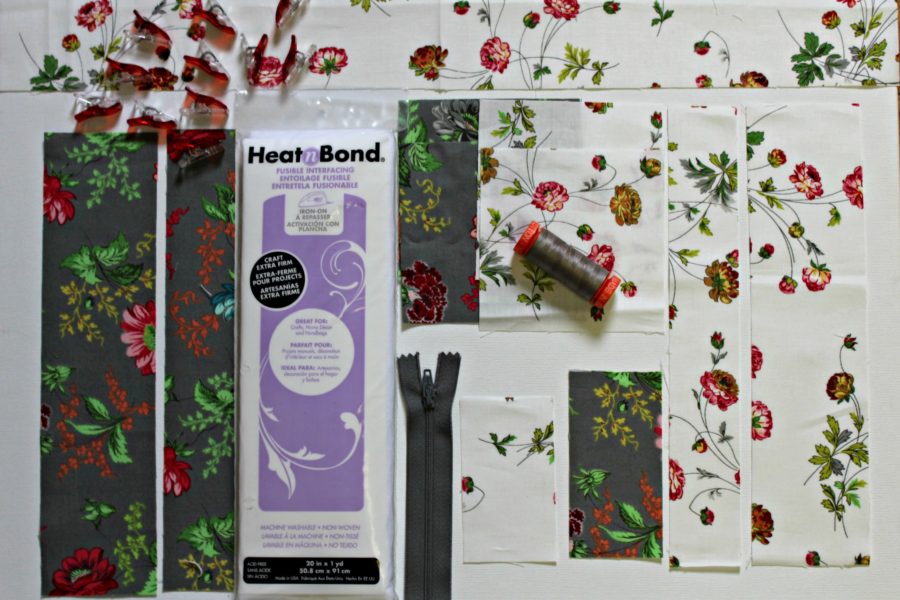
Supplies:
HeatNBond® Fusible Craft Interfacing
cutting:
2 – 1” x 10”
2 – 2” x 10”
4 – 4” x 4” for circles
1 – 1 ½” x 3 ½” for handle
Fabric:
Anna Griffin Charlotte Collection
Outside Fabric
Blossom Grey
cutting:
1 – 1 ½” x 10”
1 – 2 ½” x 10”
2 – 4” x 4” for circles
1 – 2” x 4” for back cover binding
Contrast and Lining
Flowerets White
cutting:
1 – 1 ½” x 10”
1 – 2 ½” x 10”
2 – 4” x 4” for circles
1 – 2” x 3 ½” for handle
1 – 2 ¼” x 20” for ruffle
Other Supplies:
1 – 9” polyester zipper
clips, erasable marking pen, Iron (I love my Oliso Pro), sewing machine with a ¼” foot and walking foot, sharp scissors, other general sewing supplies
Fabric Jewelry Box Instructions:
Read through all the instructions before beginning this project.
Fuse all interfacing pieces to the wrong side of all fabrics. For circles, trace the circle pattern onto the non-adhesive side of the 4” x 4” pieces of interfacing and then fuse the interfacing to the fabric squares.
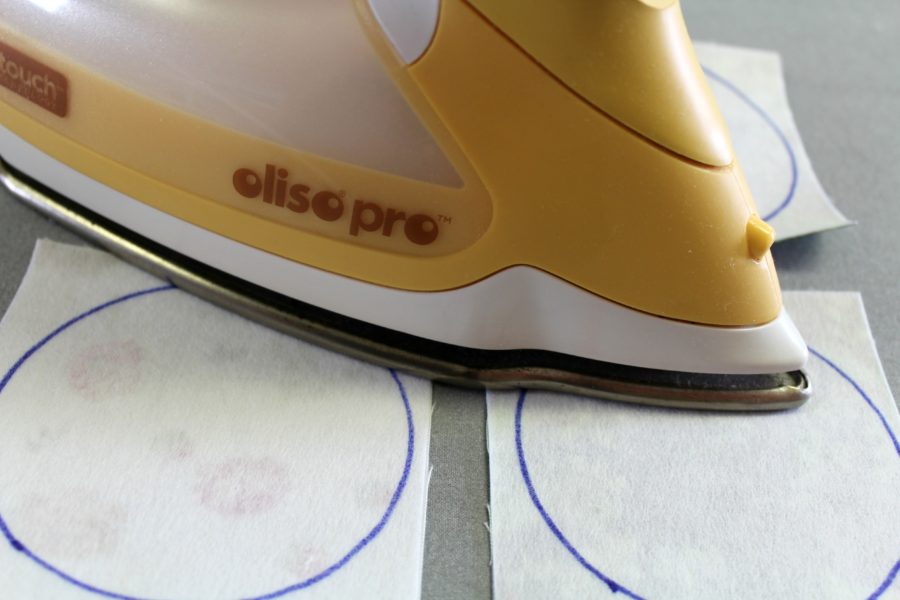
Next cut out the circles. For the strips, center the narrow strips of interfacing on the wrong side of the fabric strips leaving ¼” on each side. Prepare the handle by first fusing the interfacing to the wrong side and center of the fabric. There will be ¼” on each side lengthwise. Fold these ¼” edges over the interfacing and press. Now fold the piece in half lengthwise, press, and edge stitch around the handle. Place the handle on top of one of the outside circles, centering it and baste the ends 1/8” from the edge of the circle.
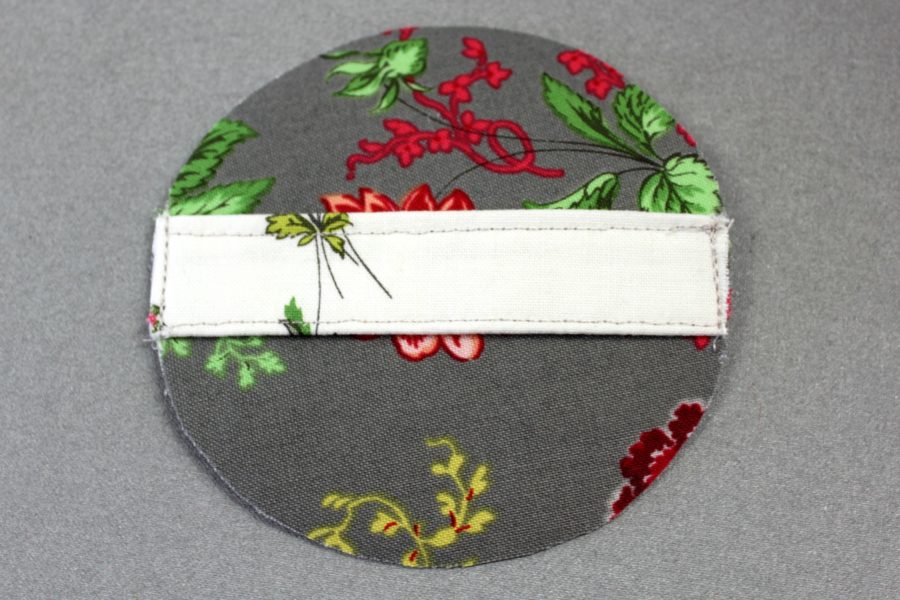
This will be the top of the box.
Stitch one lining circle to one outside fabric circle, right sides together with a ¼” seam. Leave a ¾” opening to turn it right side out. Repeat with the other set. Clip seam allowances around the circles up to the stitches and then turn both circles right side out. Slip stitch the openings on both shut.
The next step is to prepare the sides of the box. Do this by pairing the strips, one outside fabric 1” x 10” with the same sized lining fabric strip and one outside fabric 2 ½” x 10” with the same lining fabric strip. Pin them right sides together and stitch long sides with ¼” seams to form tubes. Turn both tubes right side out and press.

Stitch the zipper to the strips by marking a line ¼” from the edge of one long side of the lining side on each of the strips. Place and pin the zipper tape edge on the drawn line with the zipper facing towards the outside fabric. The zipper will extend off the edge of the strip, but that will be trimmed after it is sewn. Stitch the zipper tape on one strip and then repeat the steps on the other side by sewing it to the other strip.
Tip: Using small pins will keep the zipper tape in place while it is stitched. Remember to move the zipper out of the way while stitching. The pressure foot can be raised and the zipper will slide up and down.
For the ruffle accent, fold the ruffle strip of fabric in half lengthwise right sides together. Stitch on the raw edge side down the length of the strip with a ¼” seam to form a long tube. Turn the tube right side out. Press the tube flat.
To gather the fabric, stitch a basting stitch with contrasting thread (it will be removed) ¼” from each long side. Holding the bobbin threads, gather the fabric by pushing it to the center.
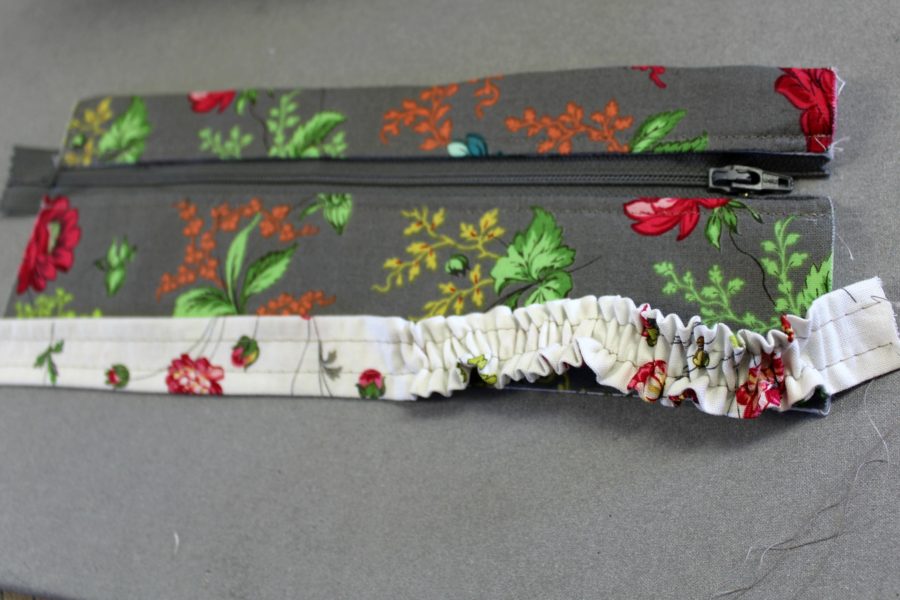
Continue gathering until the ruffle is 10” long. Pin the gathered strip to the zipper unit, lining up the top of the gather to the line of zipper stitching. Stitch down the middle of the gathered strip lengthwise. Remove all the basting stitches.
To finish the sides of the box, trim the zipper tape even with the edge of the side. Next fold the zipper unit with raw edges together and lining inside. IMPORTANT: Slide the zipper down out of the way.
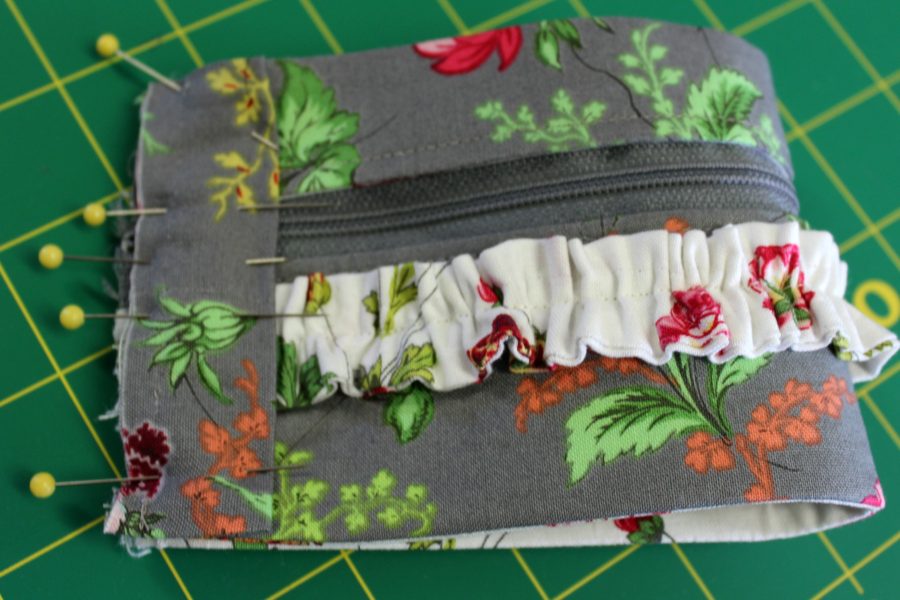
To prepare the seam cover binding, press ¼” to wrong side of 2” sides. Fold the piece of fabric in half lengthwise with wrong sides together and press. Now lay the seam cover binding on top of the zipper unit where you pinned on the side with the bottom of the zipper. Make sure all the raw edges are matching and pin in place.
Stitch ¼” from the edge through all thicknesses and press the seam cover binding to cover the seam. Open the bag sides completely to top stitch the cover binding down with a walking foot.

To attach the top and bottom circles, find the centers of front and back of the circles by folding them in half and marking with pins. Make sure the handle on the top will go across the bag as shown in the pictures. Find the front and back of the sides by smashing the sides with the seam to the back and mark the front with a pin. With binding clips, clip the top and bottom circles to the side piece by matching the pins you just inserted.
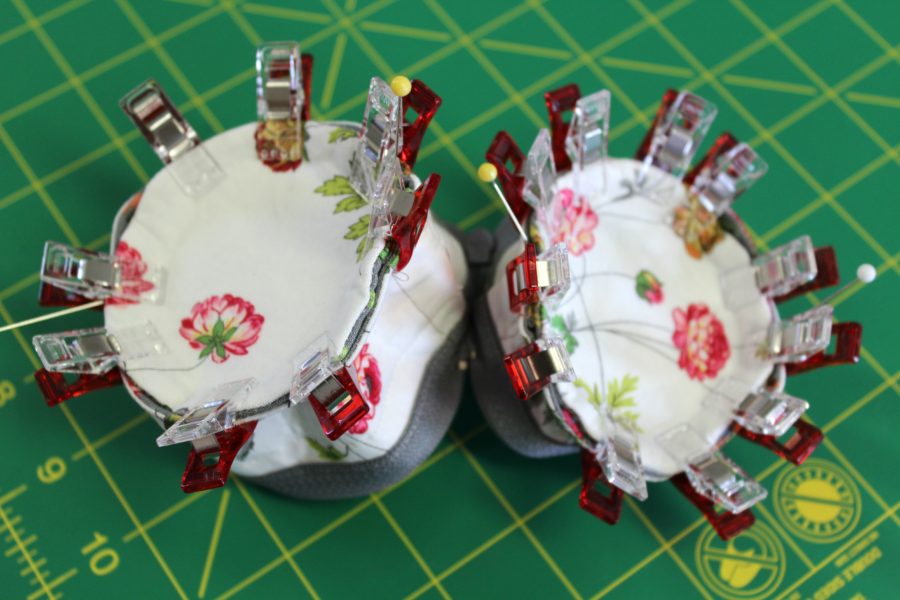
With the circles down, stitch ¼” seams around both the top and bottom though all thicknesses.Turn the box right side out and push the seams out to form a smooth outside circle.
The box is ready to hold any pretties. For more detailed instructions and templates for this size and more, download the pdf pattern in Carla’s Creatin’ in the Sticks pattern shop at Craftsy
[…] Mother’s Day Gift – Overnight Fabric Jewelry Box in the Round with Heat n Bond Craft Int…, by Creatin’ In The Sticks […]
[…] These fabric jewelry boxes are perfect for Mother’s Day or travel. […]
[…] It was such an honor to prepare these items for the Blend Fabrics’ spring quilt market booth. You’ll find the tutorial for those fabric jewelry boxes shown in this picture HERE. […]