


 Hi! Its Jen Belnap from The Smitten Chicken. I am excited to share with you a fun holiday banner today! I love banners and garlands. If I can string something up, I will! I was trying to decide what banner I wanted to make. My daughter’s middle name is Noel since she was born 2 days after Christmas. I now collect Noel decorations. And I realized… I didn’t have a Noel banner yet! Would you like to make one too?
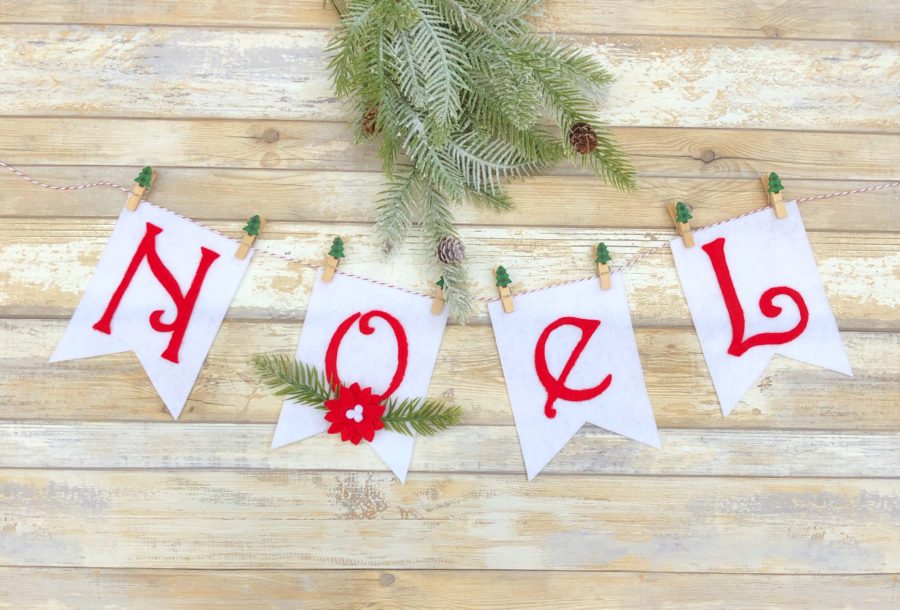
Noel Holiday Fabric Banner with HeatnBond
Supplies you will need:
HeatnBond Ultrahold Fusible Adhesive
1 piece of white STIFF felt
1 9″x 12″ piece of red felt
Iron
Sizzix Bigz L Die- Holiday Greetings
Small pom poms
Greenery
Fabric Fuse Liquid Adhesive
Noel Holiday Fabric Banner with HeatnBond Instructions
First you will need my pattern. You can download the PDF or the SVG file. The SVG file will allow you to cut out the letters on your Sillhouette or Cricut. Adhere the HeatnBond to the back of the felt. Then cut it out using your cutting machine.
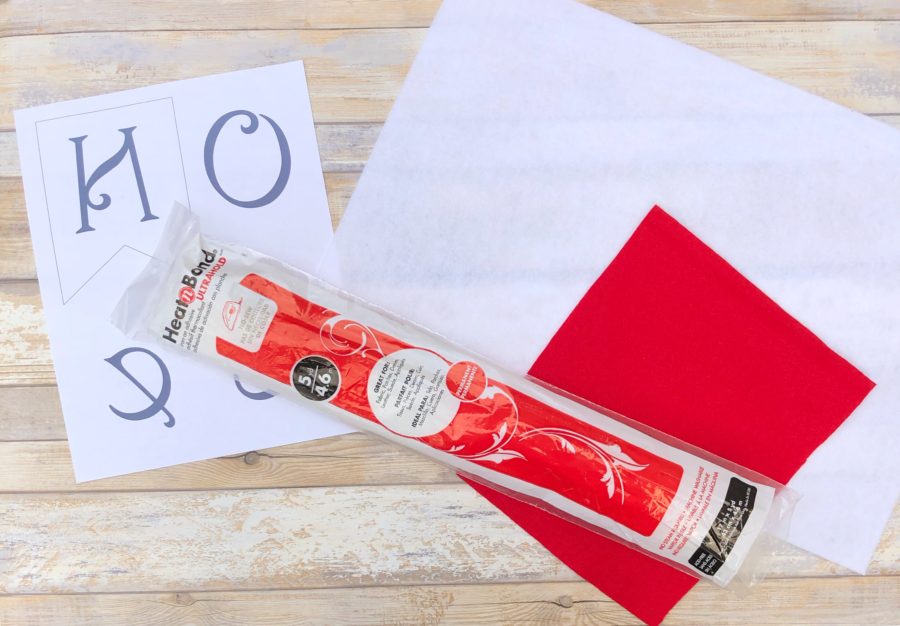
If you don’t have a digital cutting machine, don’t worry! Print out the PDF of my pattern. The PDF is a mirror image. Print the PDF and trace the letters onto the paper side of the HeatnBond. Then iron the HeatnBond to the back of the felt. Cut out the letters.
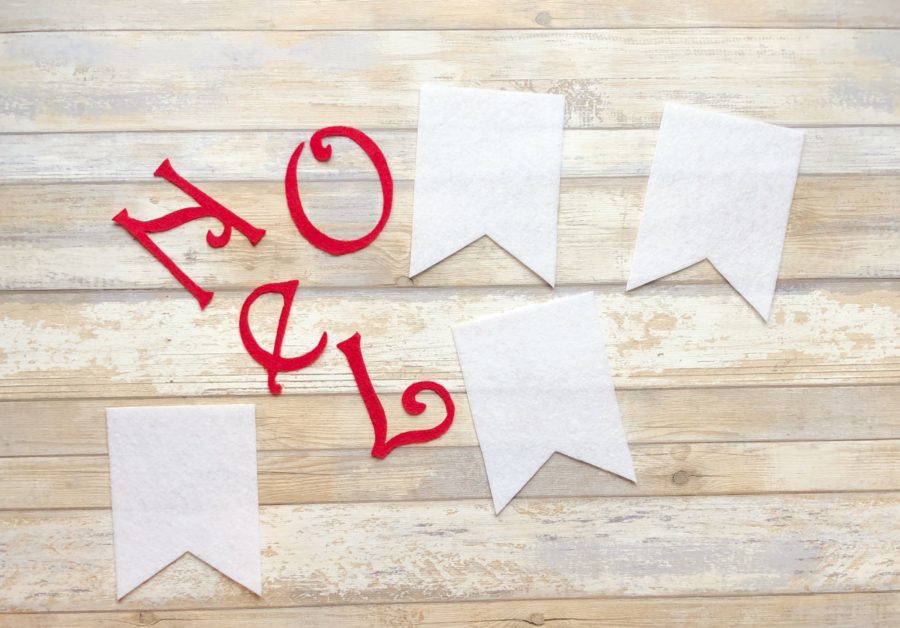
Now that your letters are cut (using whatever method you would like), its time to cut out the banner! Cut 4 banners out of the white stiff felt. I use the stiff felt for the banner so that it holds its shape better. You can find the stiff felt at most big box craft stores.
Noel Banner
Now iron your letters to the banner pieces. I thought the letters looked a bit lonely, so I had to embellish them! I have loved seeing all of the pretty felt flowers online lately. So I decided to try out my own!
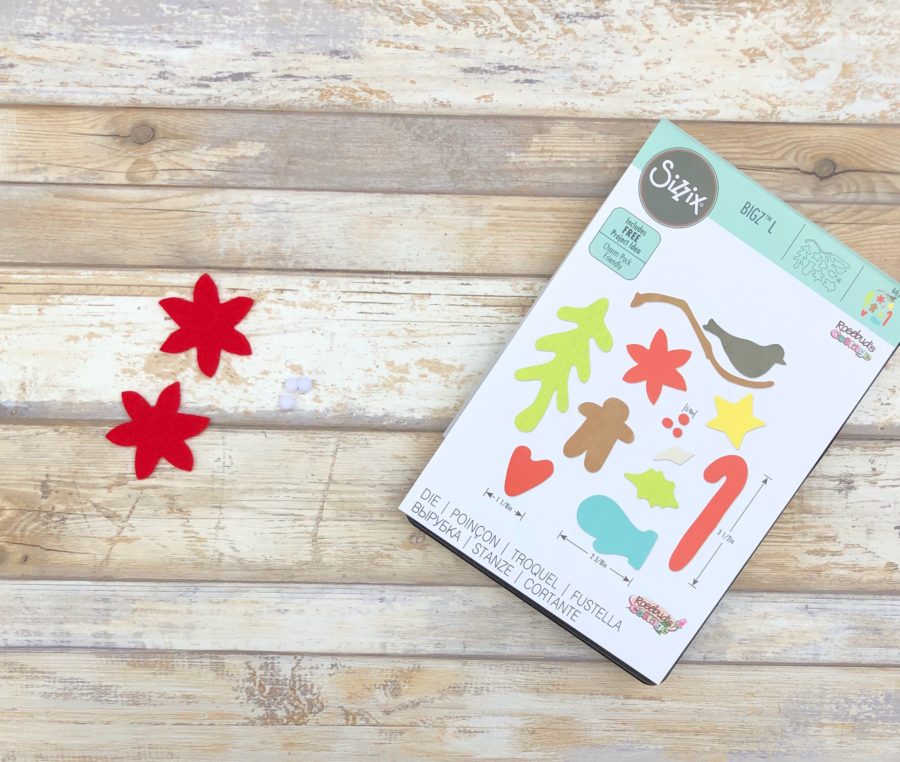
Using my Sizzix Big Shot Plus machine and the Holiday Greetings Die, I cut out two of the poinsettia shapes. Isn’t that red poinsettia so cute?
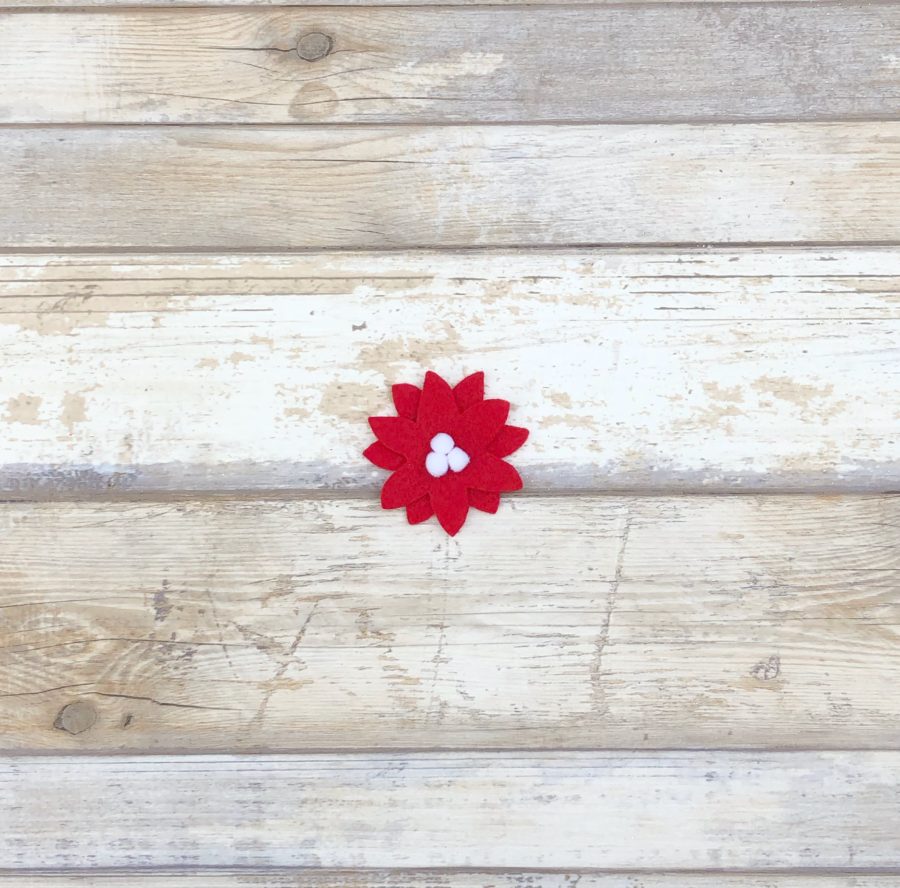
To make the poinsettia flower, glue the two cut pieces of felt together. Make sure you alternate the flower petals. This adds dimension to your flower. Then glue 3 small pom poms in the center of the flower with Fabric Fuse. And your poinsettia is finished!
Glue some greenery to the bottom of the ‘O’ banner. Then glue the poinsettia on top of the greenery. And you are done!
I attached my banner to some baker’s twine with little clips I found. You can attach it to baker’s twine as well or ribbon or whatever matches your holiday decor.
Thanks for following along with me today. I hope you enjoy making this Noel Banner. You can follow along with more of my fabric adventures over on my blog, Instagram, Facebook and/or Pinterest!
Chirp Out!
Jen (The Smitten Chicken)
[…] my house is BLAH! So I needed a little quick fix. I love making banners! You may remember my Christmas Noel banner I made last year. I seriously can’t get enough […]
[…] you have been following along for a while, you know how much I love banners. I made this festive Noel banner last year for the Holidays. And I made this super fun Snow banner to help me get through the […]