


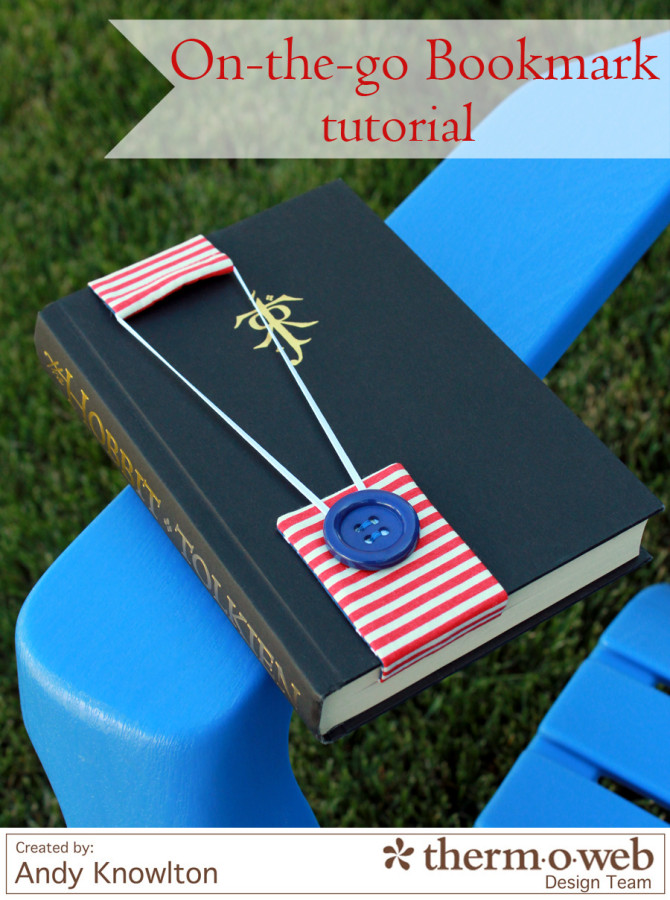
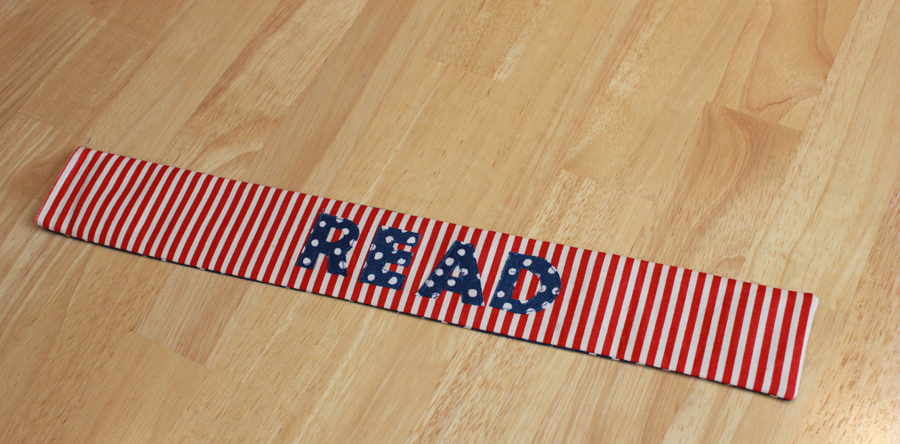
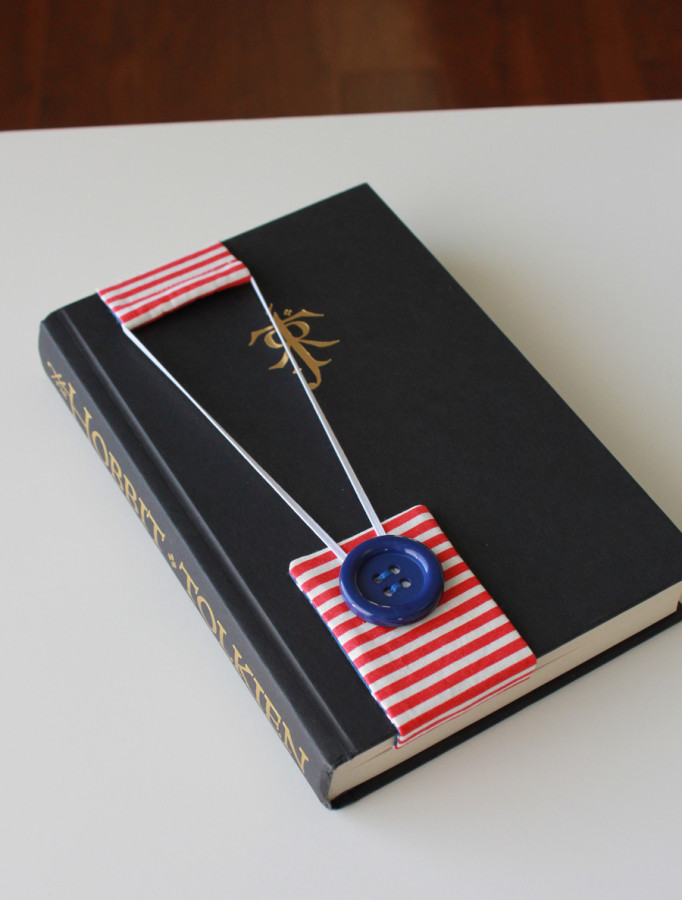
Hi everyone – it’s Andy from A Bright Corner. I love taking books with me to the park, to the pool, camping… you name it! What I don’t love, is when my bookmark (which honestly is usually a scrap of paper) gets pulled or blown out and I lose my place! So I made myself an On-the-go Bookmark!
What you’ll need:
- Two coordinating fabrics
- Heat n Bond® Lite (a 6″ x 6″ piece is plenty)
- Heat n Bond® Fusible Interfacing Craft Extra Firm
- thin elastic (at least 15″ long)
- one button
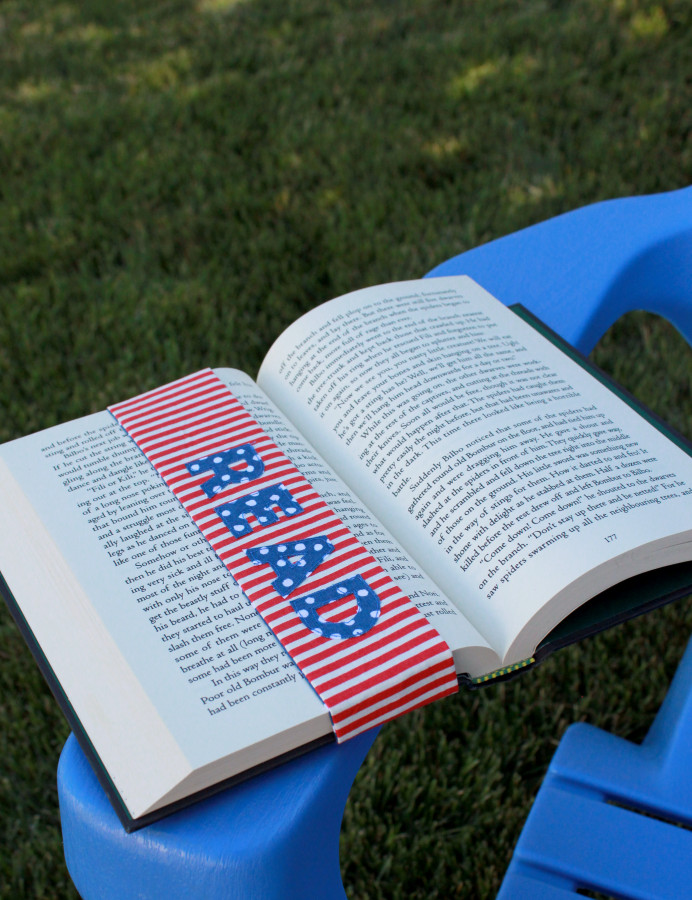
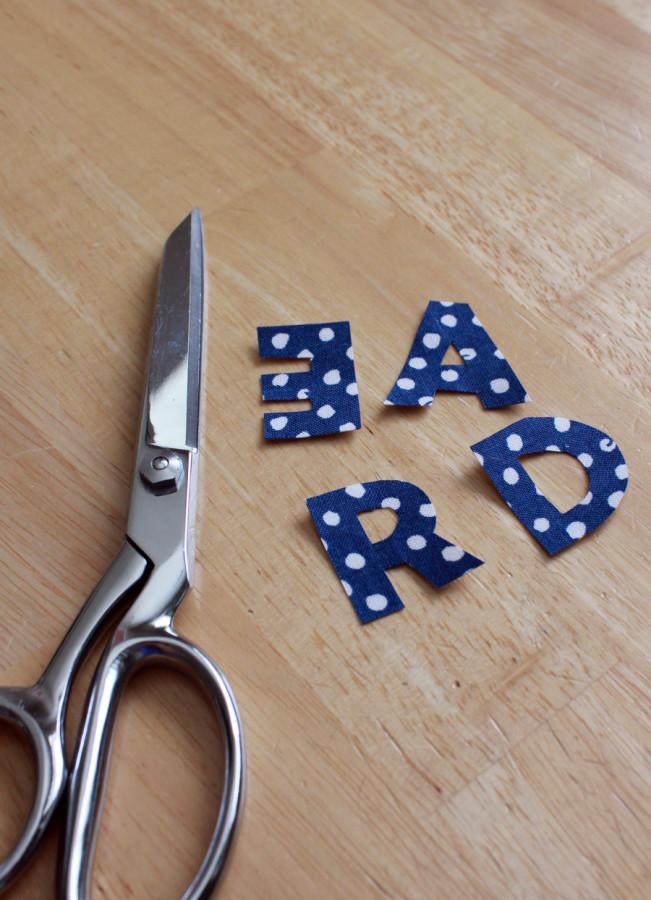
- applique letters for bookmark (printable page)
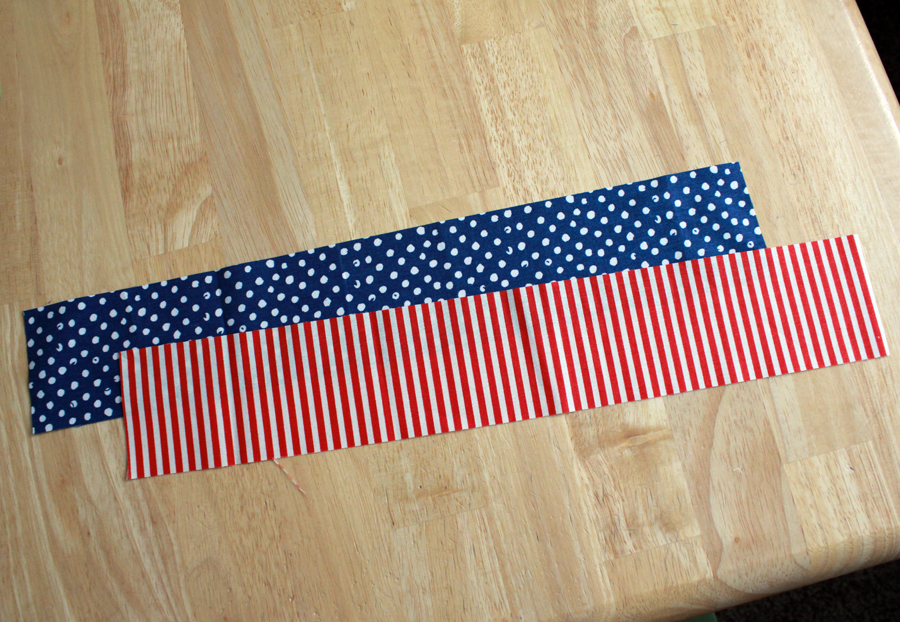
1. From the two fabrics, cut strips that are 2.5″ x 15.5″
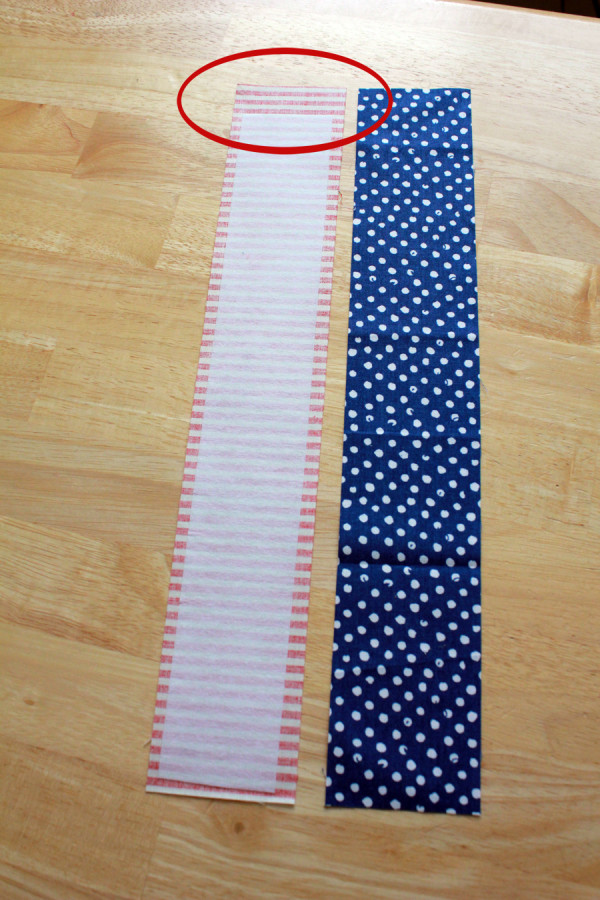
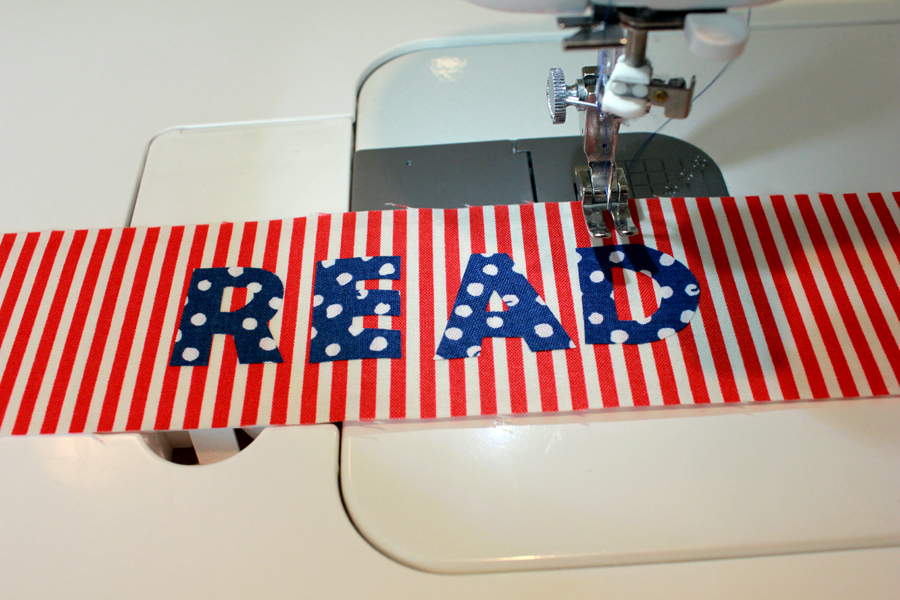
4. Following the instructions on the package, iron the Heat n Bond® Lite to the wrong side of a coordinating fabric. Cut out each letter. Nice, sharp scissors come in handy here.
6. With right sides together and using a 1/4″ seam, sew the two strips together along three sides. Remember the interfacing gap? Leave that end open for turning.
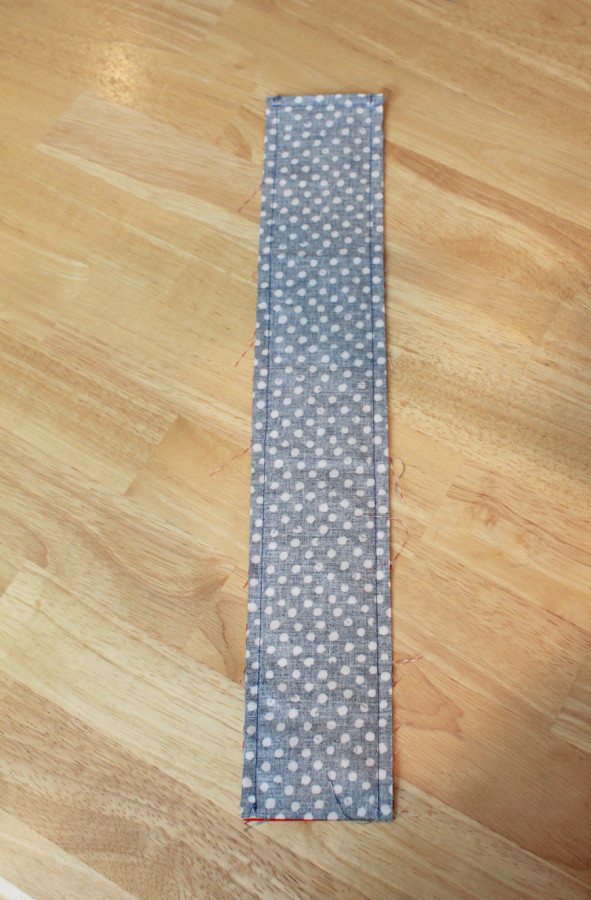
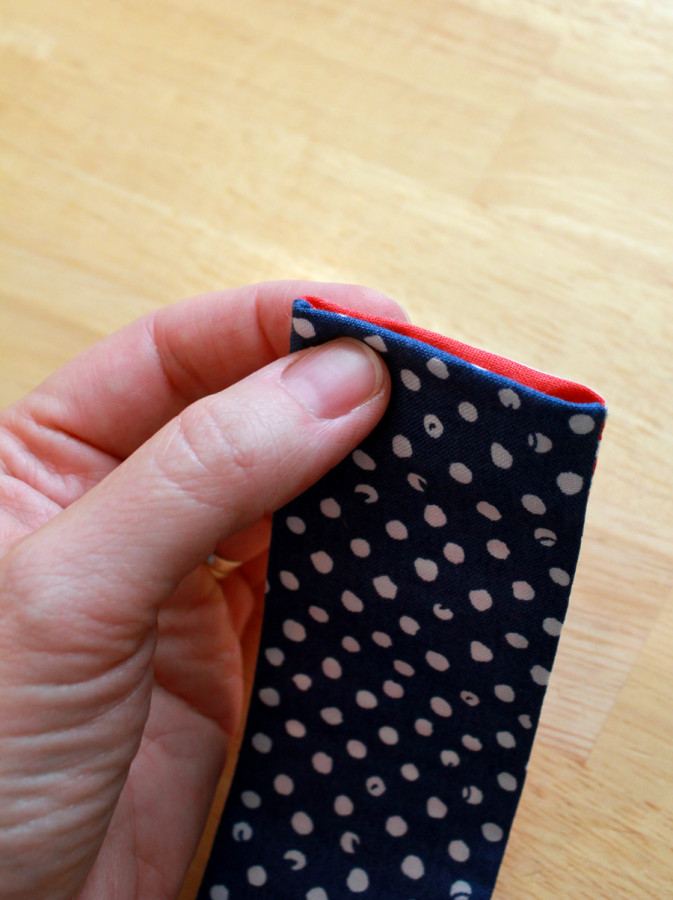
7. Turn the bookmark right sides out now. Use the tip of your scissors to carefully push out the corners. Press flat.
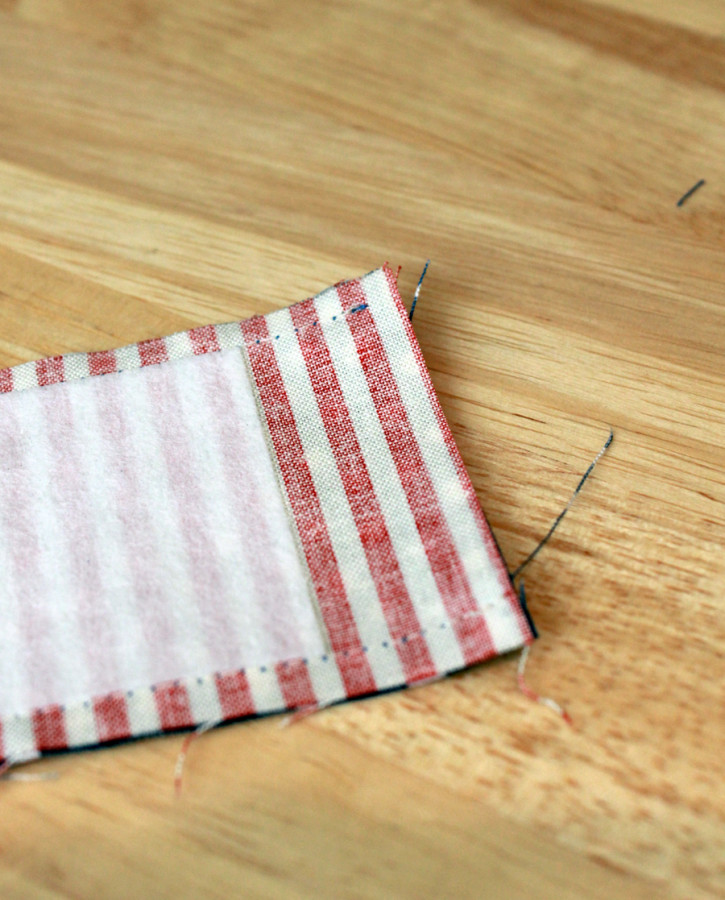
8. Fold the open end in to hide the raw edges. Press flat.
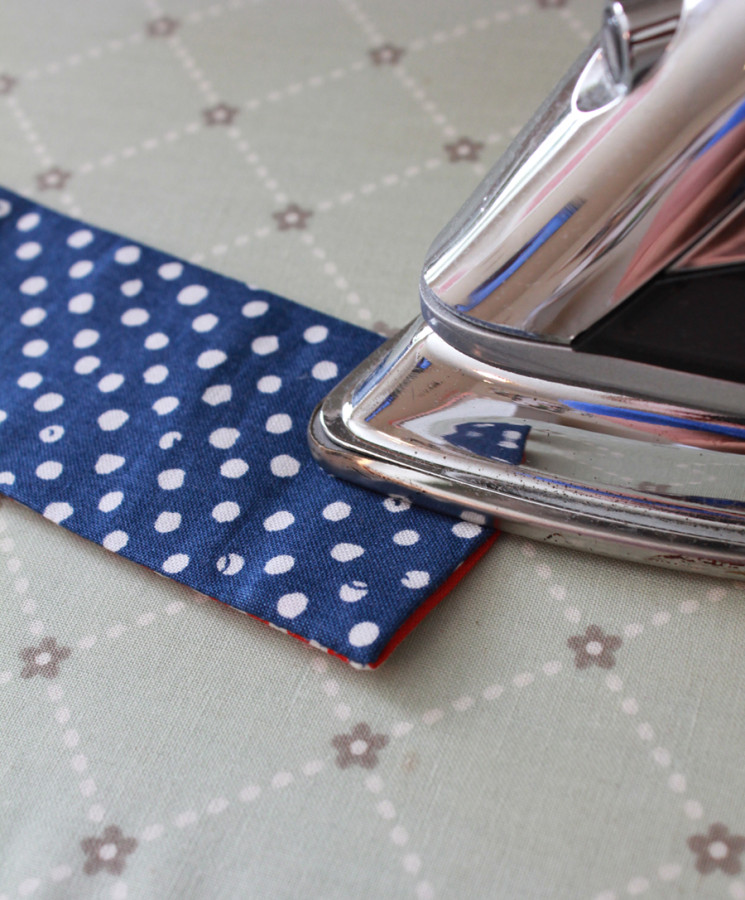
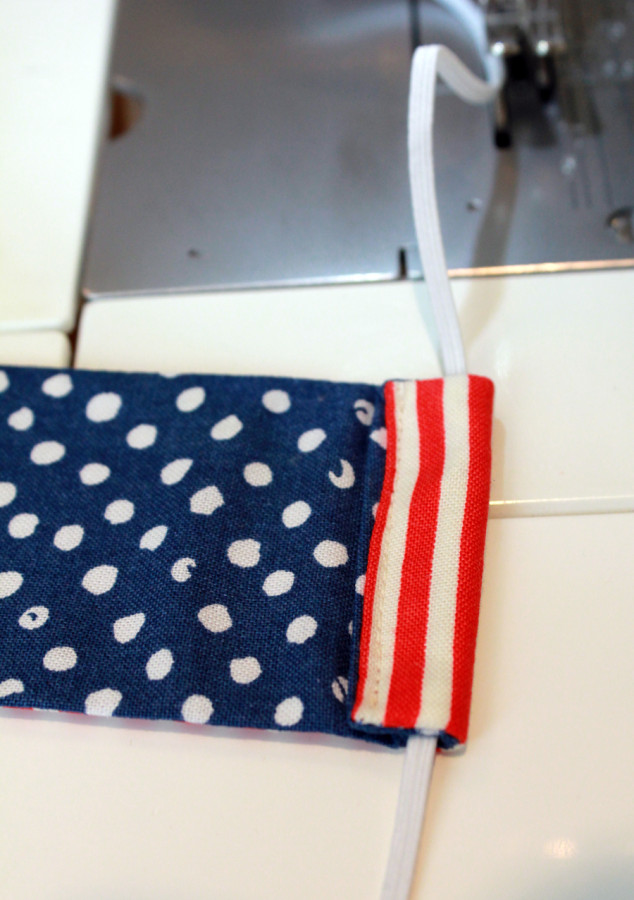
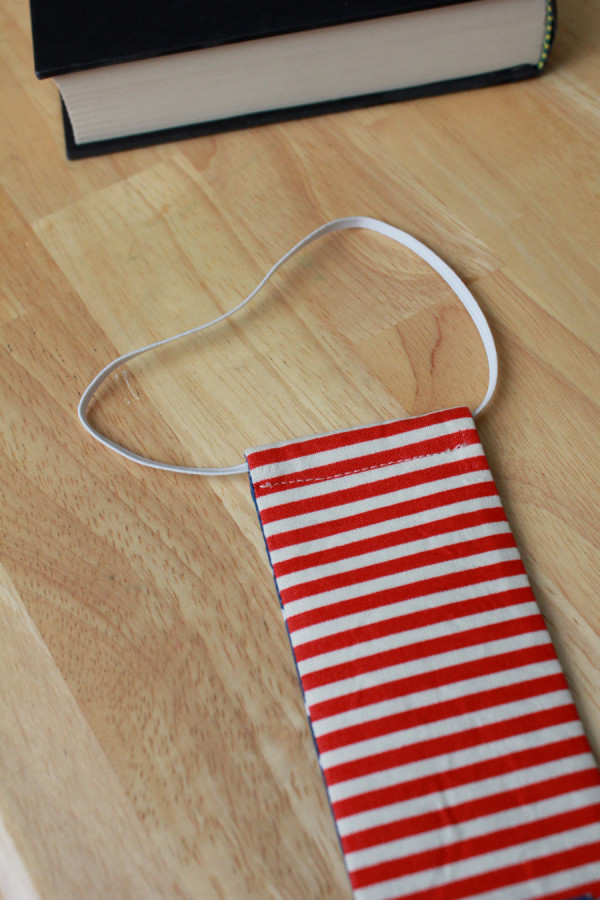
9. Next we will make the casing for the elastic. On the end that you just pressed, fold that over about 3/4″ to 1″ to the inside of the bookmark. Stitch right along the edge to close up that end and to create the casing. Push one end of the elastic through the casing.
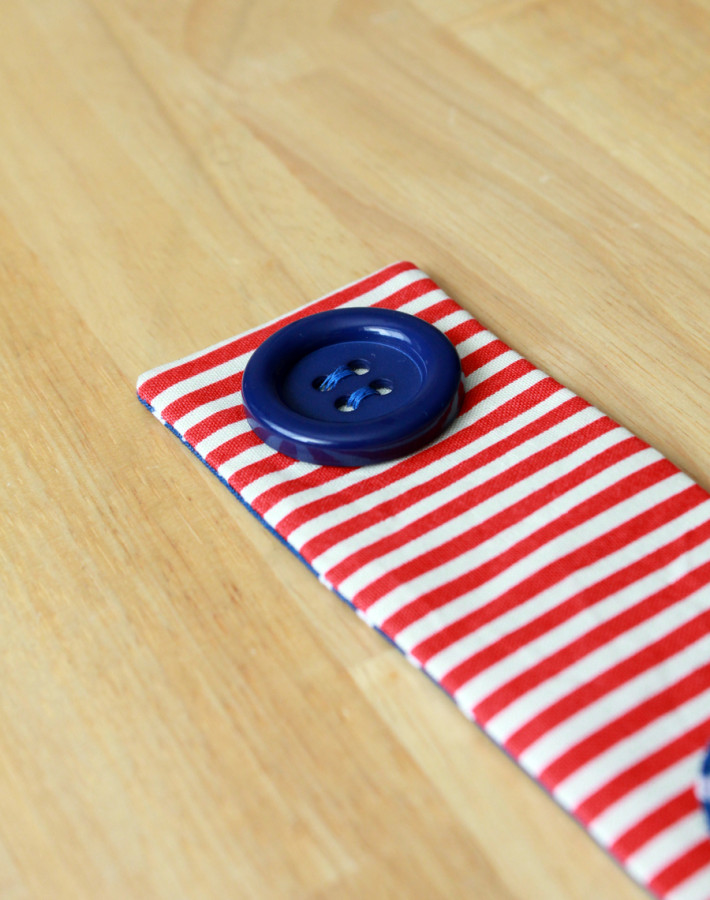
10. On the other end (on the outside of the bookmark) sew the button.
11. Next we need to check the length of the elastic. So grab a book and put the bookmark inside. Loop the elastic around the button and find the needed length of elastic. Cut it to size and sew the ends together.
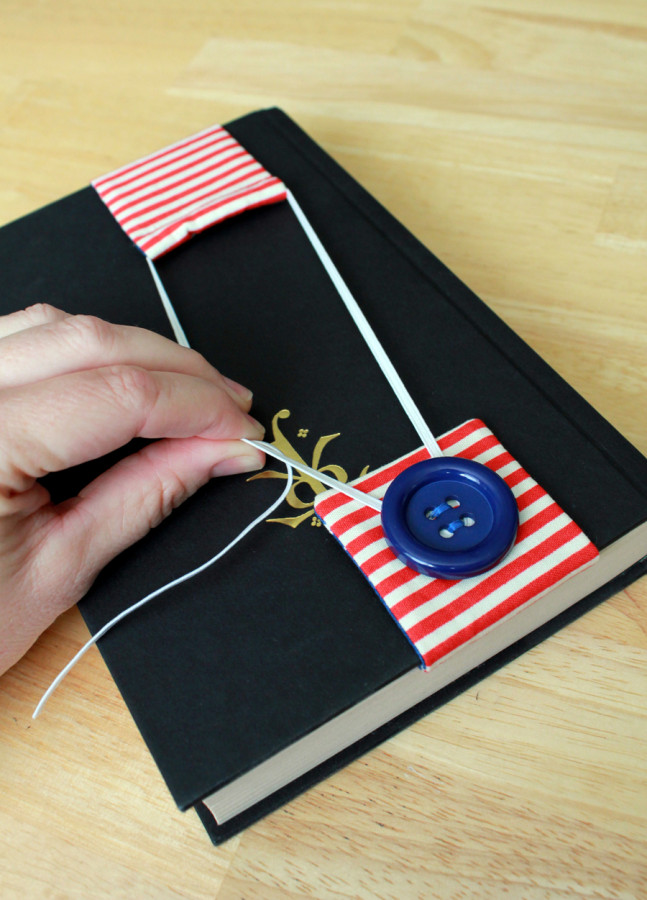
Then to hide that end, pull the elastic until the sewn part is hidden in the casing.
Announcing our First Crafty Corners Contest!!

We’re giving away prizes for the Most Creative Out of the Box use of Photo Corners along with Best Overall Use of Photo Corners. Your project should use our Glitter Dust™ Corners and/or our Decorative Photo Corners.
And to help you get started we’re offering 25% off those products so you can get shopping now and creating!
Best of all…we’re awarding a $50 VISA Gift Card to each winner along with an assortment of our best selling iCraft Adhesives™ and Glitter Dust™ products valued at over $100! Plus the winners projects may be chosen to be used in an upcoming ad! #Craftycorners
Click here for more information on our Crafty Corners Contest!