


It’s time to start Christmas crafting so December is smooth sailing. Carla from Creatin’ in the Sticks is on the blog today with a free pattern and tutorial to make quick little fabric Christmas trees. Make them with Christmas fabrics, like Fairy Frost from Michael Miller Fabrics for the perfect sparkle. Grab your HeatNBond Fusible Fleece and let’s get started.

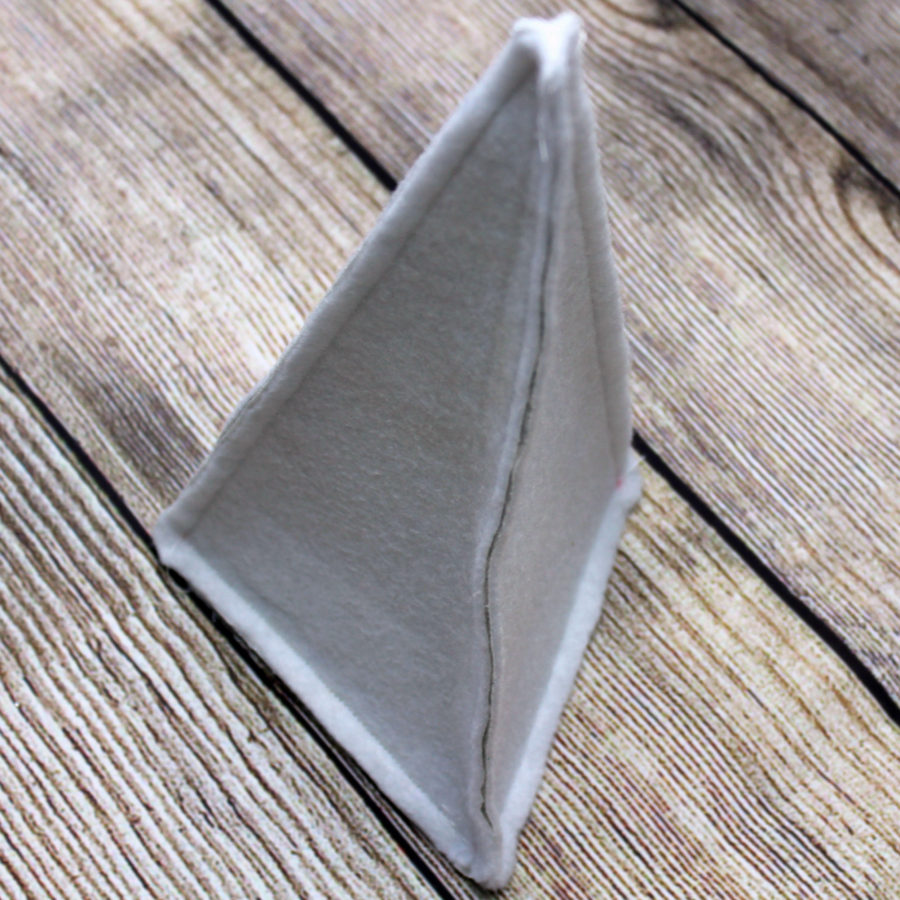
Fabric Christmas Trees
By Carla Henton at Creatin’ in the Sticks
Finished size: about 4” x 7 ½”
Supplies:
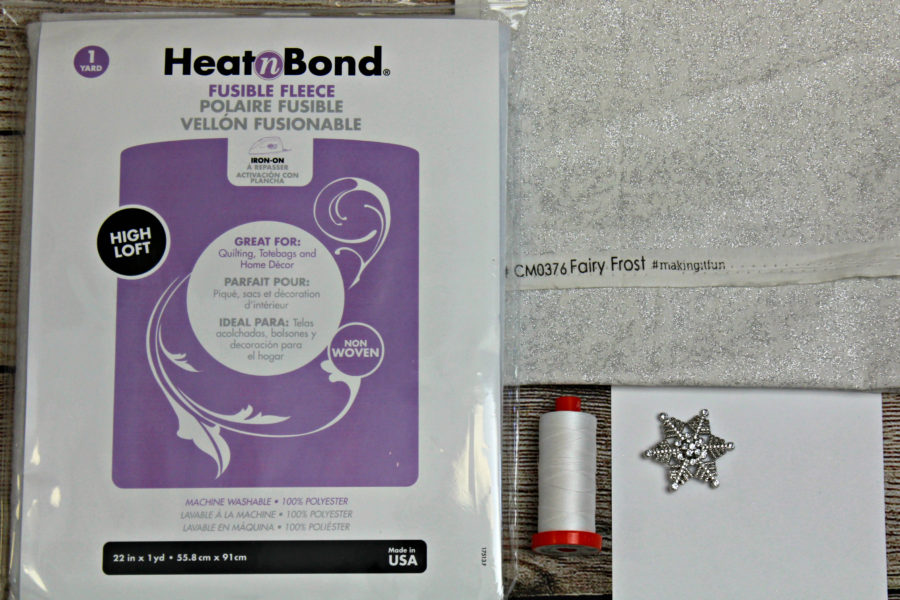
Fabric: 1 fat quarter of Christmas fabric – try Fairy Frost Metalic by Michael Miller Fabrics, it’s perfect for sparkle.
Interfacing: HEATnBOND® Fusible Fleece
Aurifil thread: 50wt # 2021
Iron – I love my Oliso Pro
Button – 1 ½” or any size
Cardboard (poster board or cardstock) – 5” x 5”
Fiberfill
Chopstick for turning, pushing corners, and stuffing
Basic sewing supplies – scissors, needles, pins, sewing machine, erasable marking pen, etc.
Instructions:
**All seams are ¼”
Please read through the complete instructions before starting.
Step 1:
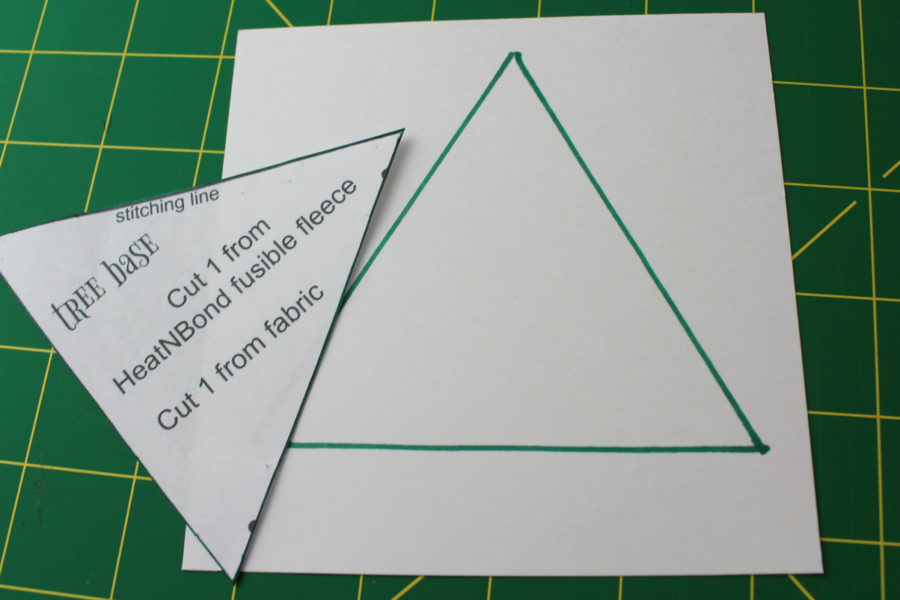
Print the pattern for the tree.
(You can make it larger or smaller if you prefer)
Step 2:
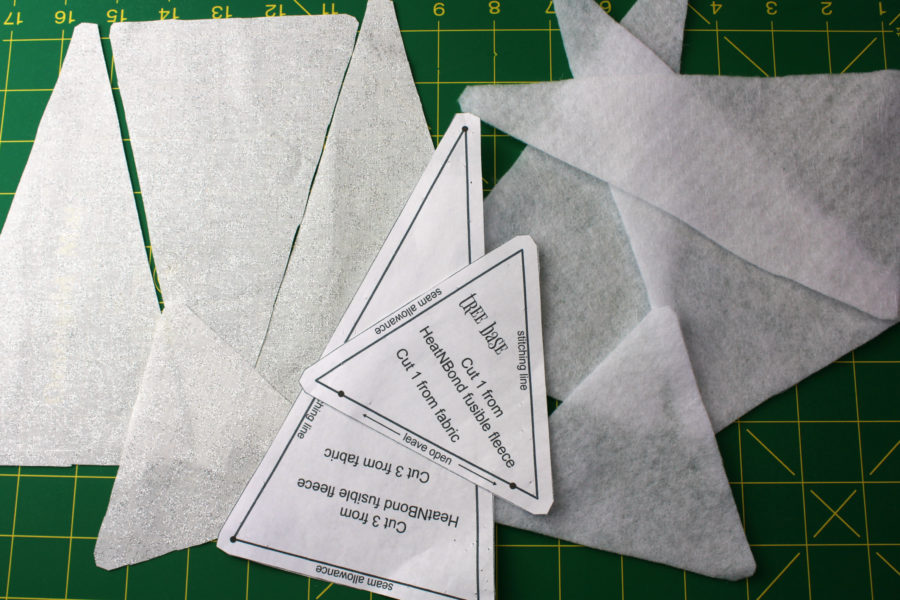
Cut out 3 of the tree side patterns from fusible fleece and Christmas fabric.
Cut one tree base from fusible fleece and Christmas fabric
Step 3:
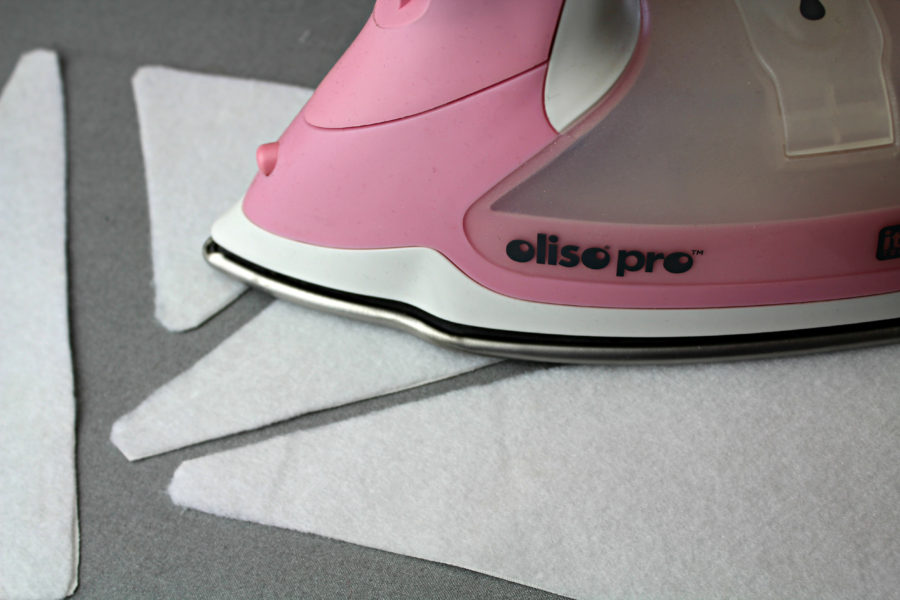
Bond the fusible fleece to the wrong side of fabrics following the package instructions.
Step 4:
Mark the dots from the pattern pieces on the fleece sides with an erasable marker.
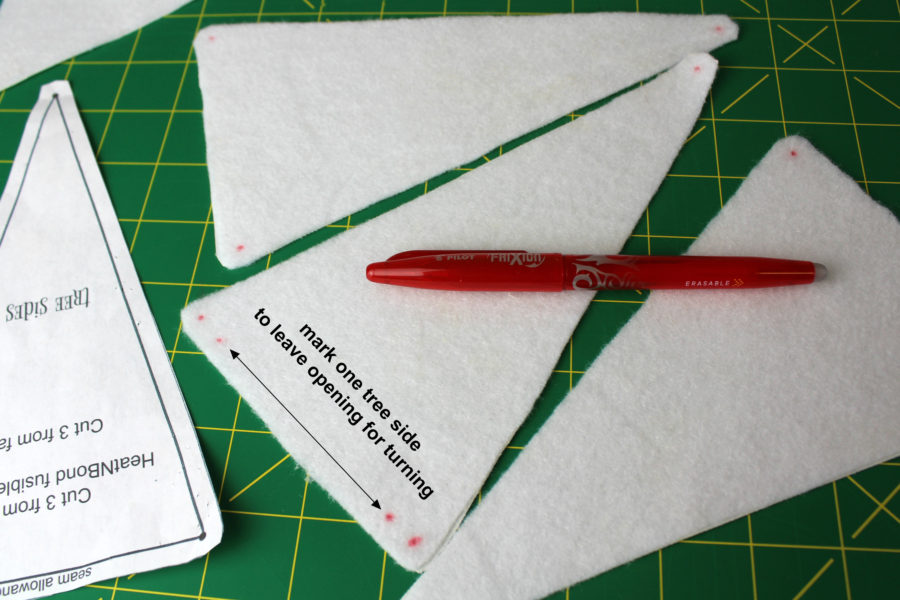
Step 5:
Stitch one tree side to each side of the base with right sides together. Stitch only from the marked dot to the other marked dot. Be sure to lock the stitches with backstitching.Finger press the seams toward the sides as each side is stitched to the base. One side of the base is only stitched about ½” from each corner and the middle is left open for turning later.

Step 6:
Pin and stitch the sides together from dot to dot to form the three sides.
Trim the excess fabric from the top and turn the tree right side out through the opening that was left in the base. Use a chopstick to push out the corners and top.
Step 7:
Trim the seam allowance away from the base paper pattern piece.
Trace the triangle onto card stock and cut it out. Stuff the top of the tree with fiberfill and place the cardboard triangle in the bottom of the tree. Finish stuffing the tree, then stitch the opening closed.
Step 8:
Sew the button to the top of the tree.
![]()
Make one or ten in all different sizes. The trees would be so cute with patchwork too. Replace the button with a charm and glue it with Fabric Fuse Liquid Adhesive. Have fun with these quick little fabric Christmas trees. I sure did.
Carla