


Hi everyone! This is Kim Lapacek from Persimon Dreams! Today I’m going to share with you a quick little project that you can either make for yourself to store your business cards or you could put a gift card in it to snazz up a gift for someone special.
Scrappy Gift Card/Business Card Holder
Project Supplies:
- (1) StitchnSew EZ Print Quilt Block Sheets – cut (2) 3.5″ x 4.5″ rectangles
- Fun Scraps of Fabric
- (2) interior fabrics – just over 3.5″ x 4.5″
- SpraynBond® Basting Adhesive
- Aurifil Thread, 40 wt, color 4020
Scrappy Gift Card/Business Card Holder Project Instructions
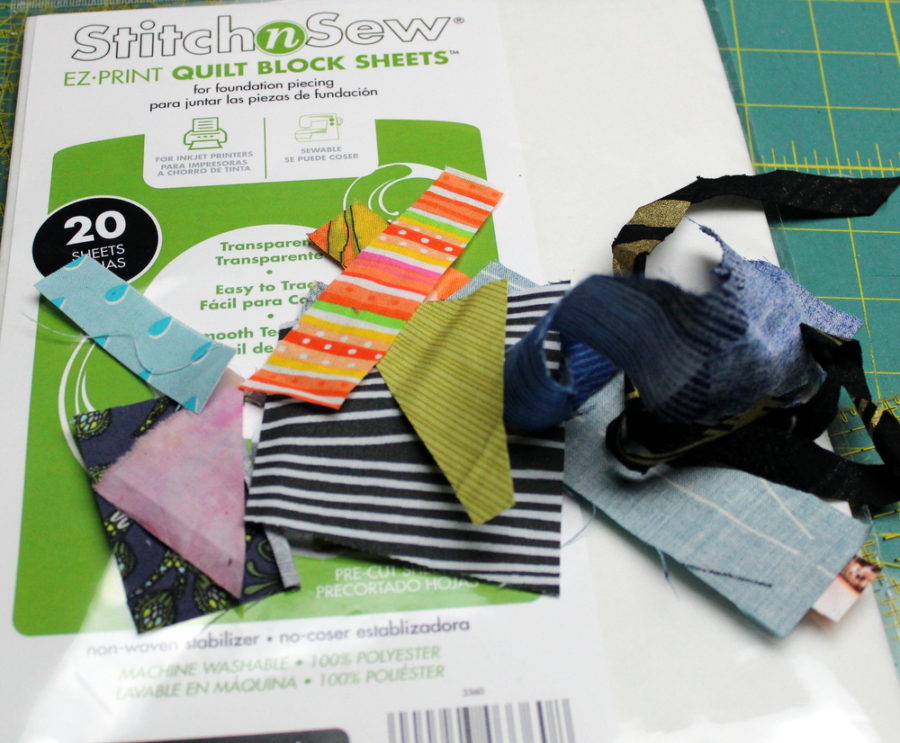
Pull together the necessary supplies needed for the projects. The scraps I chose weren’t too big as this is a small project … the more different pieces of fabric, the more fun the holder. Stitch n Sew EZ Print Quilt Block Sheets are used to help stabilize the project without making it too stiff.
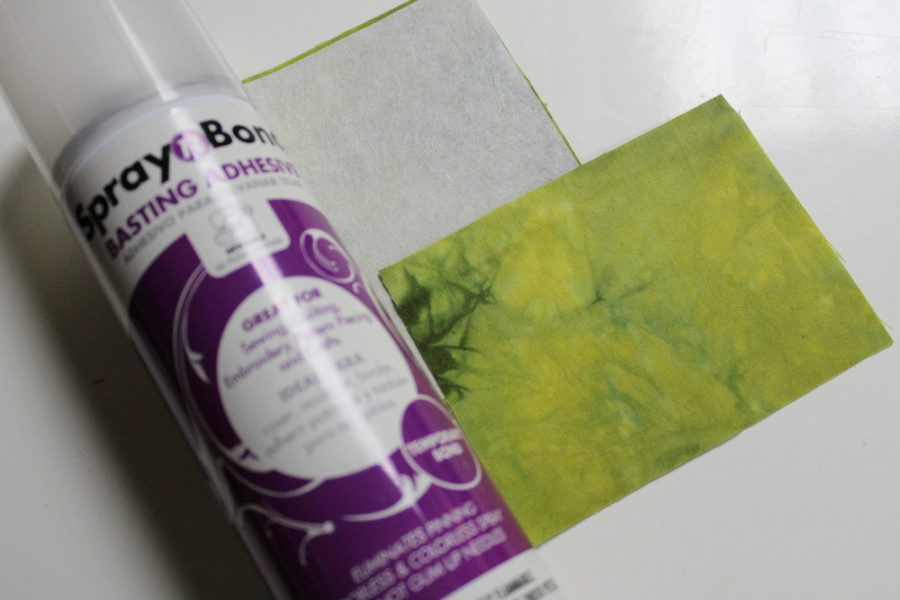
Lightly spray one side of the Stitch n Sew EZ Print Quilt Block Sheets with Spray N Bond® Basting Adhesive and carefully flatten the interior fabric to it so it sticks securely. The interior fabric should be slightly larger than the StitchnSew EZ Print Quilt Block Sheets. Repeat so you have two rectangles with an interior fabric spray basted to one side.
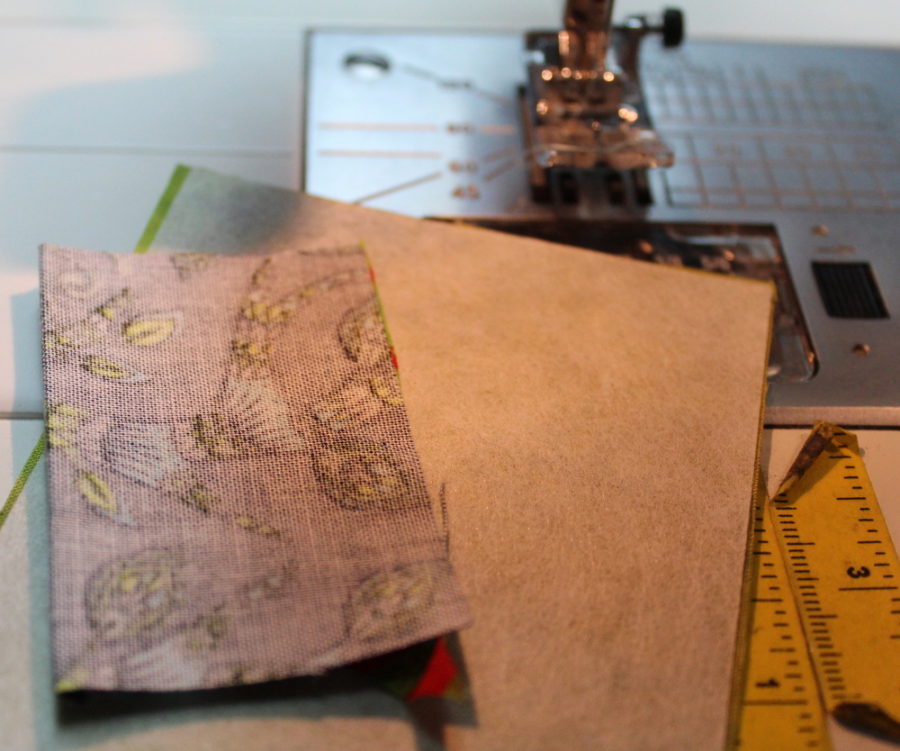
Place two fabric scraps right sides together on the exterior side of the basted rectangle.
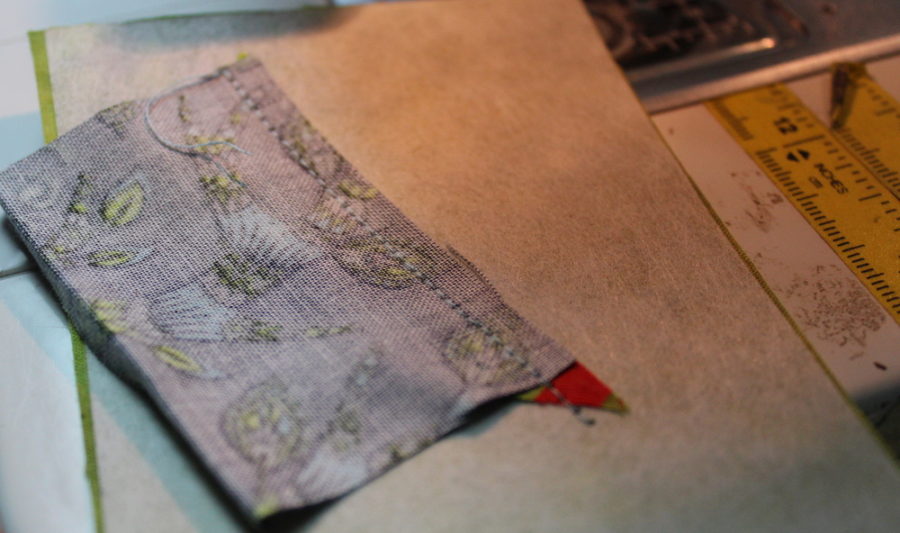
Stitch approximately a quarter-inch seam through all four layers (the two fabric scraps, the stitch n sew paper, and the interior fabric).
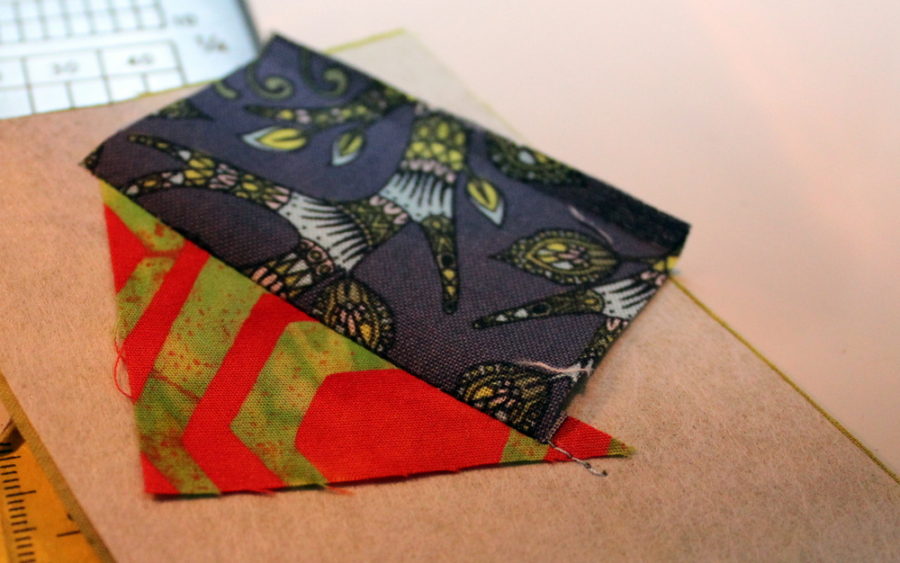
Press towards top fabric.
Place another scrap of fabric right sides together with the two already stitched on. Stitch a along the edge with approximately a quarter inch seam. Press open.
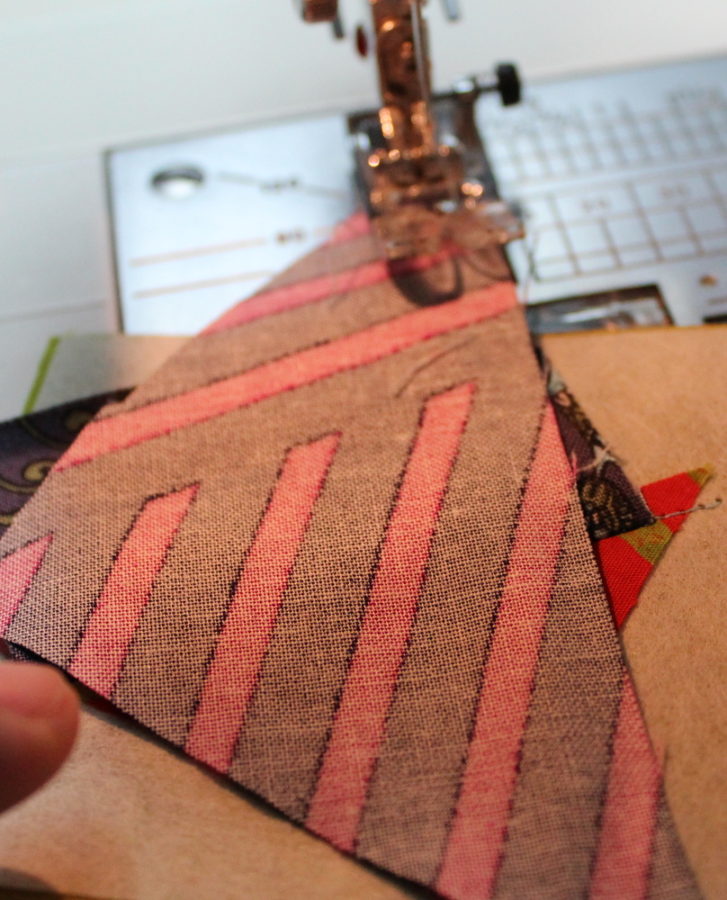
Repeat this process – place a scrap right sides together, stitch the edge down, press towards the top fabric. Continue to do this until the entire rectangle is covered for both rectangles.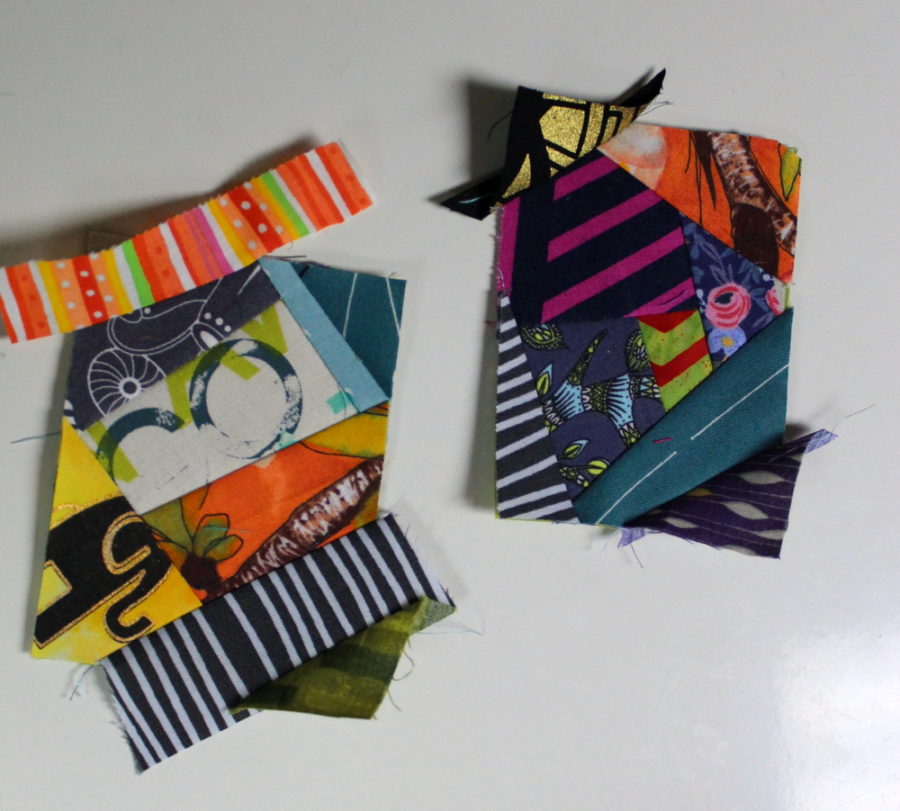
The scraps will overlap a bit. It is not necessary to trim them – yet.
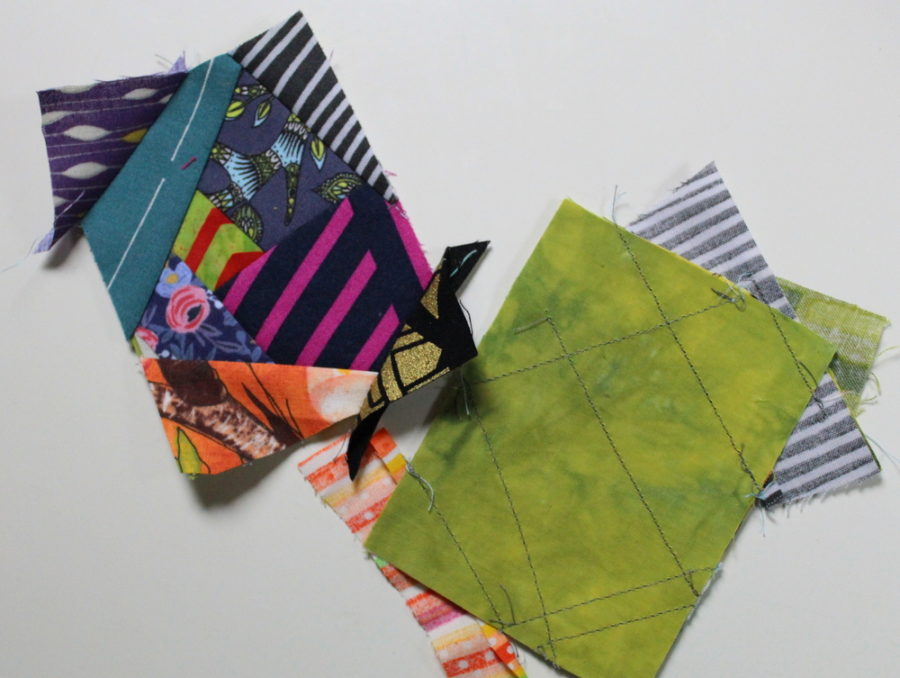
You will see the stitches showing through onto the interior fabric – no worries!
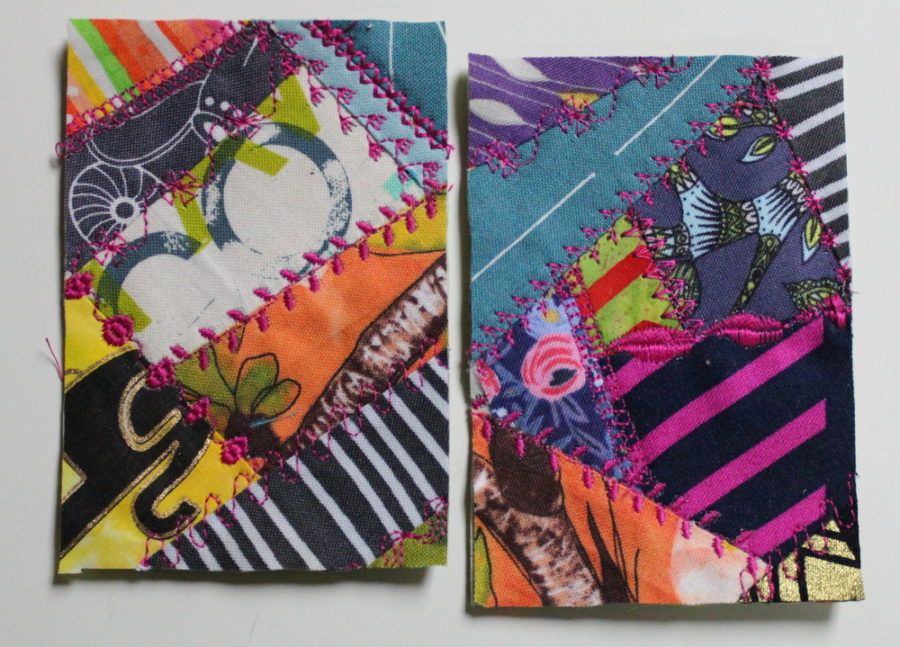
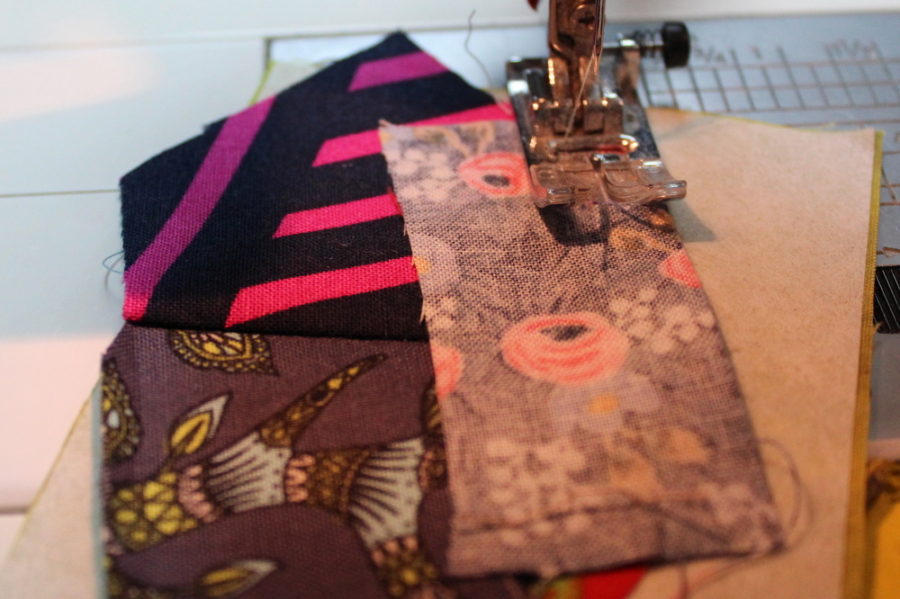
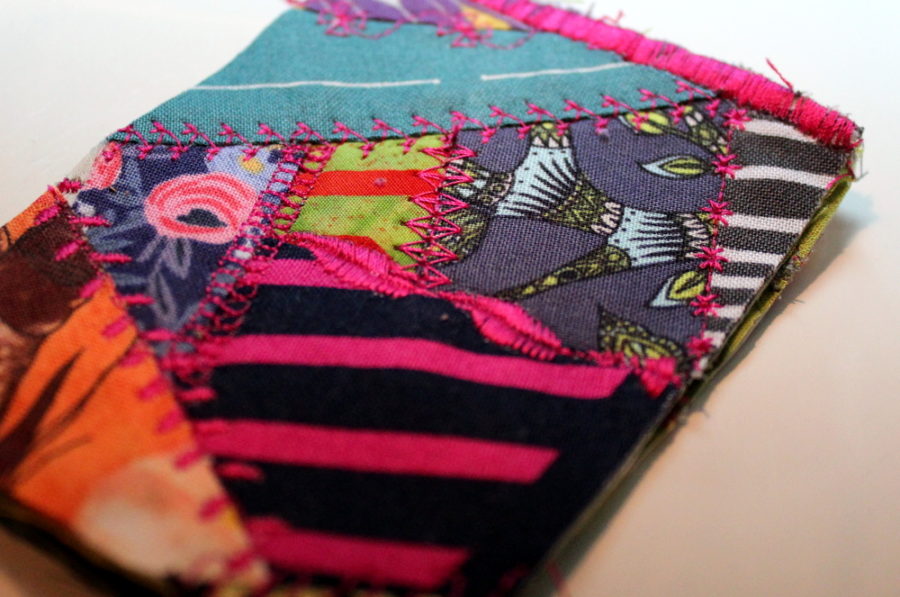
Here’s a chance to use the fancy stitches on your machine (if you want). This part is completely optional but I think it adds some fun. I used 40 wt. Aurifil 4020 thread to add my fun stitches over EVERY seam on this piece. Feel free to play around with hand embroidery here too … think of it as a mini crazy quilt! If this were to be a gift card holder I would also have used some fun fibers and such to embellish this little gift but since I’m using mine as a business card holder I didn’t want to make it too bulky for my pocket or purse.
Once your fancy stitches are done, trim the rectangles to 4″ x 3.25″.
On one 3.25″ edge of each rectangle, use a zig-zag stitch or similar to “finish” the raw edge.
Pin the two rectangles together so the stitched raw edges meet on top. The inside fabric should be together and all the fun decorative piecing and stitching should be on the outside. Now, using the same zig-zag stitch (or similar) stitch the three edges together to finish the holder.
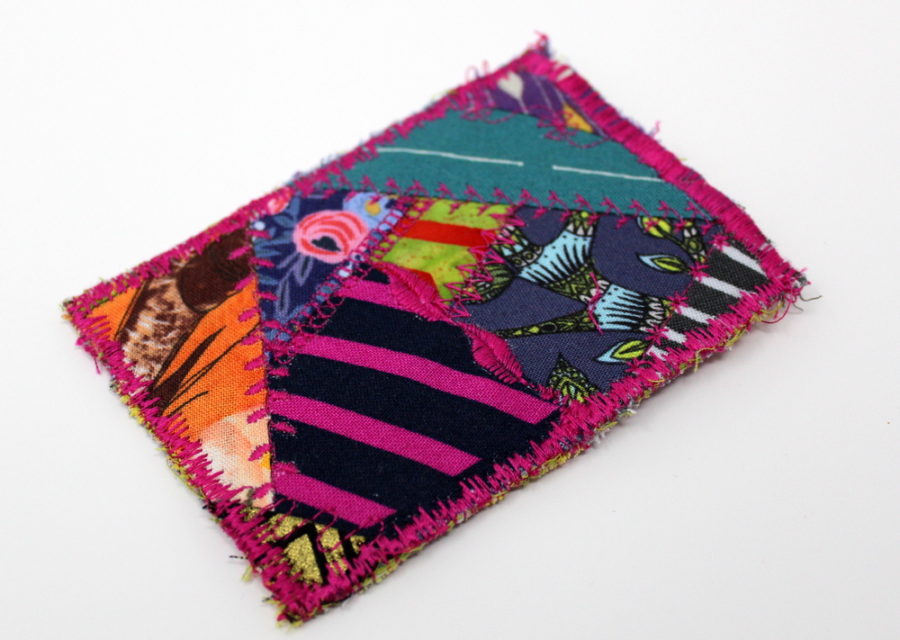
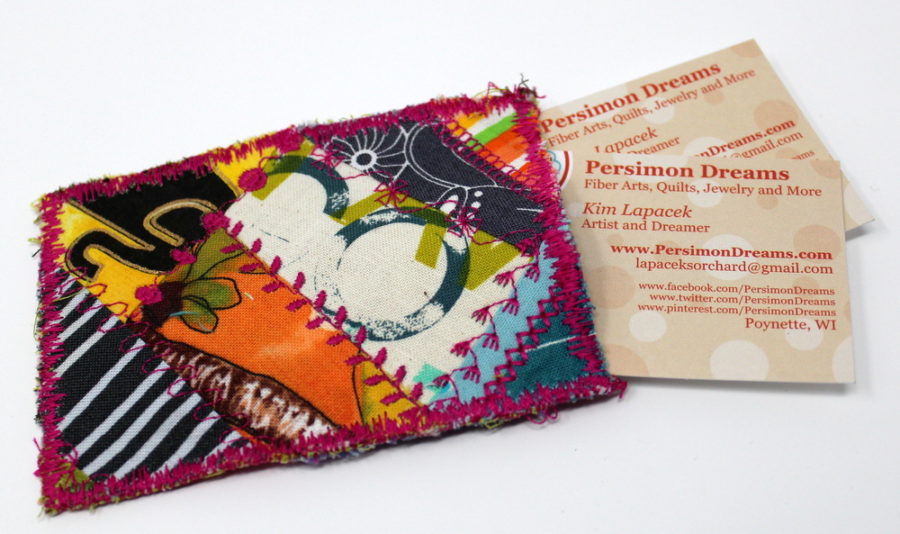
You now have a fun card holder!
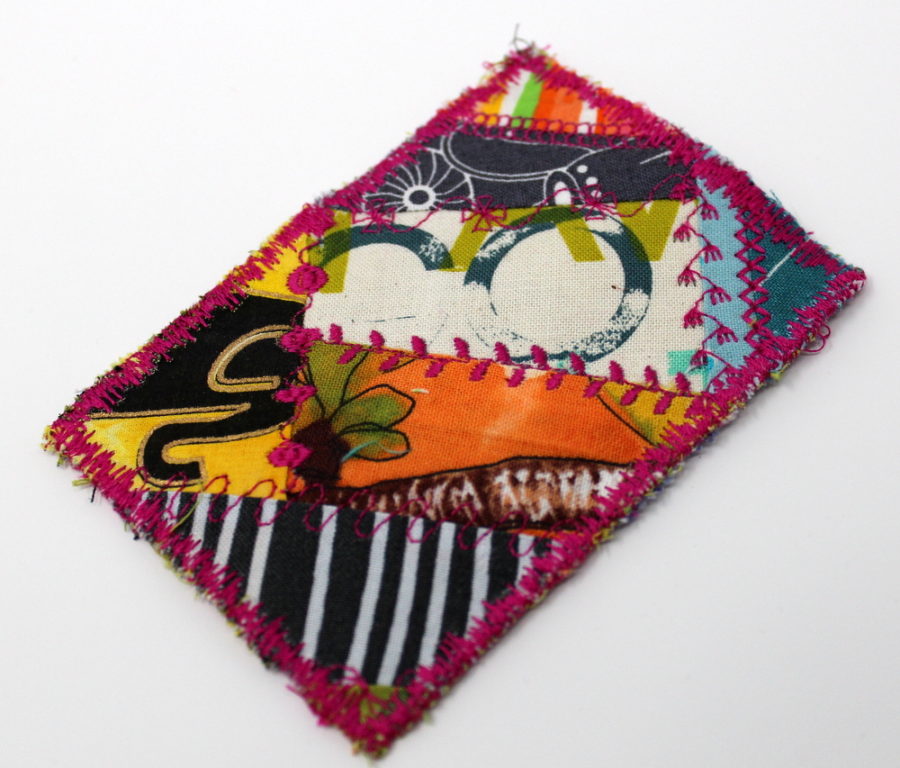
Both sides of the cardholder are adorable and fun!
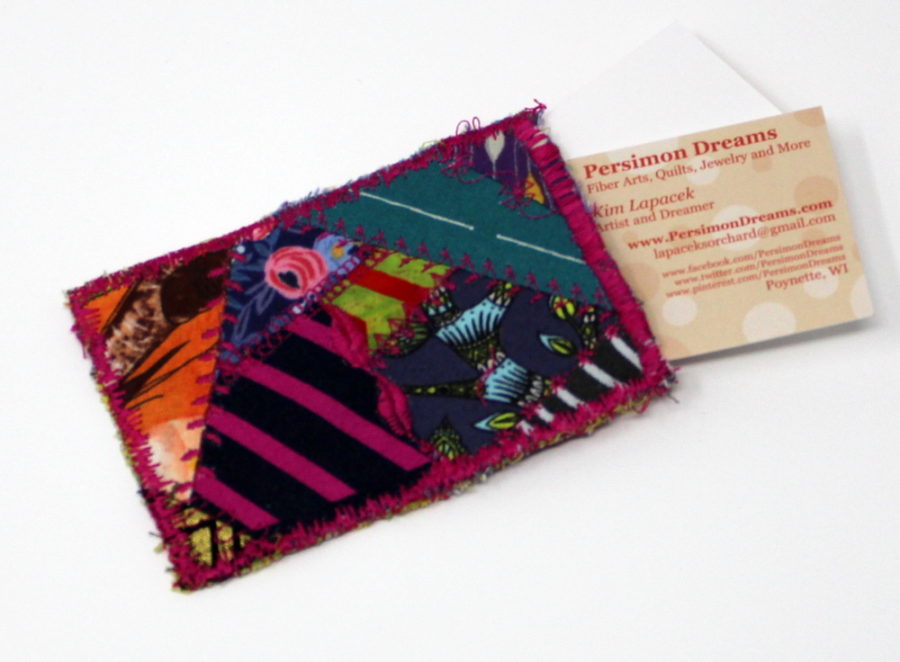
I’m excited to have a fun holder so I never forget to bring my business cards with me again! It was also a quick and fun project that used up at least a few of my scraps!
If you are inspired to try making one of these cute card holders … feel free to share your work in my group “Quilt and Dream Along with Kim Lapacek.”