


Valentine’s Day is right around the corner so why not sew up a fun Valentine Garden Flag for someone special? HeatnBond® Ultrahold Fusible Adhesive helps make applique work a snap! And once you’ve made one for Valentine’s you’ll be wanting to make more for future holidays and much more!
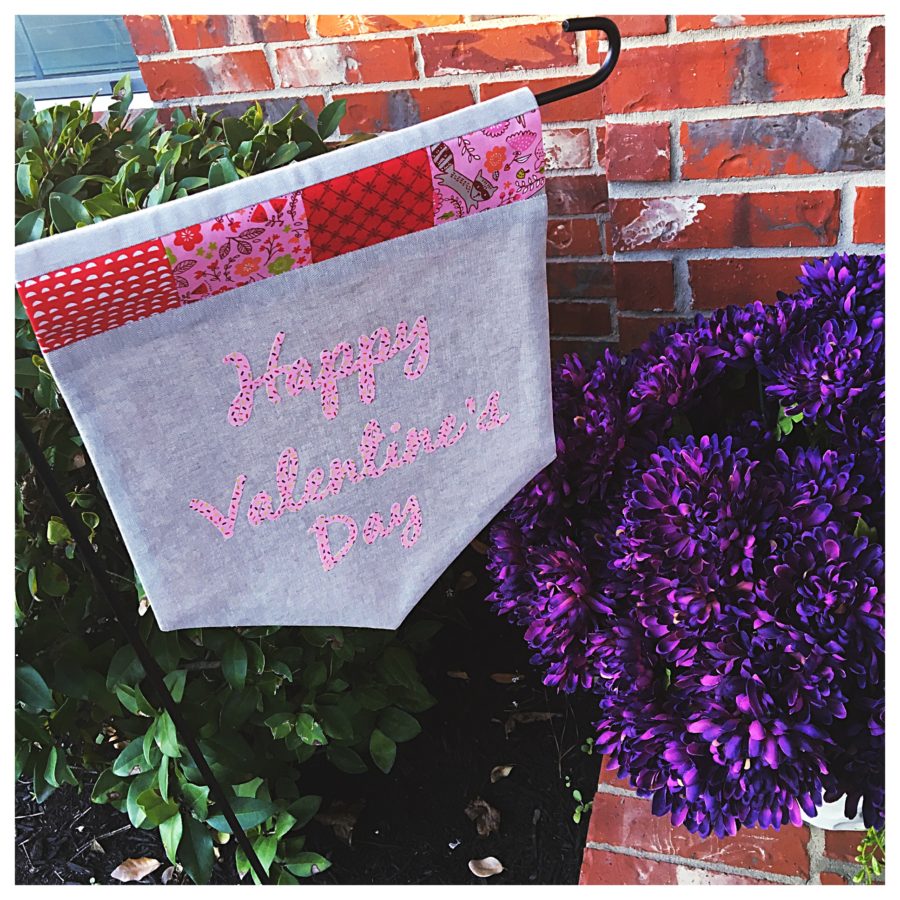
Sew Up a Special Valentine Garden Flag
Designed by Erin Schlosser of Schlosser Designs
Finished Size: 12″ w x 14″ H
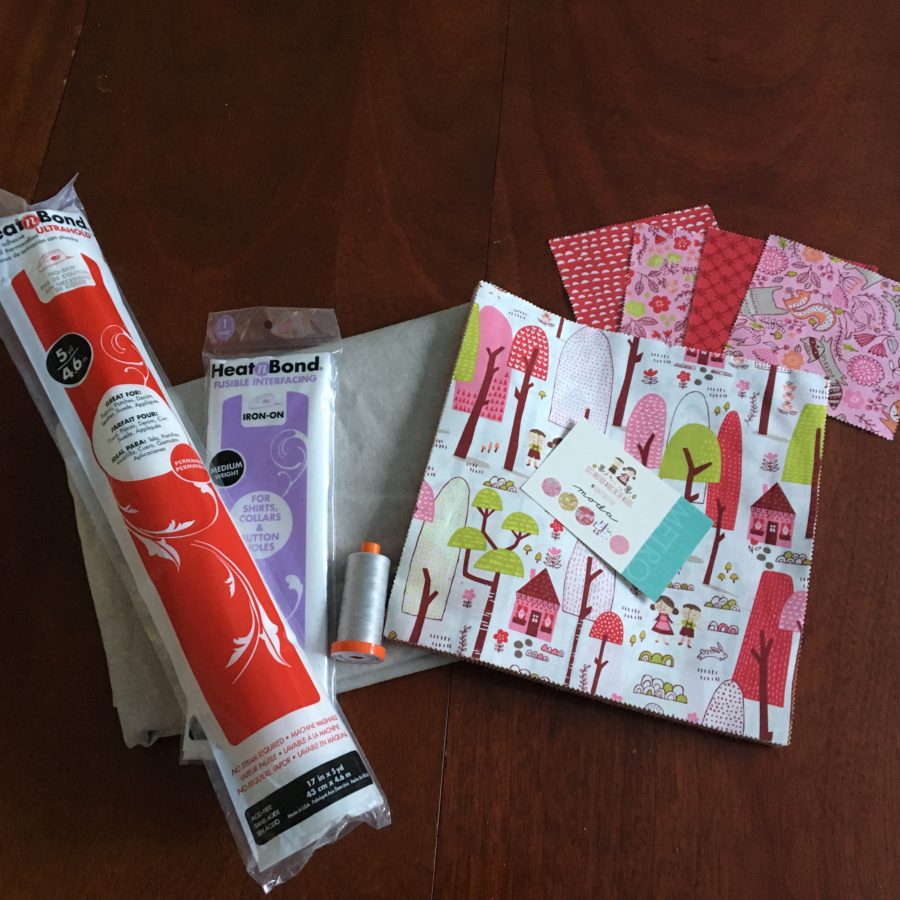
Valentine Garden Flag Supplies:
Therm O Web Heat n Bond® Medium Weight Fusible Interfacing
Therm O Web Heat n Bond® UltraHold Fusible Adhesive
Coordinating thread (I love Aurifil!)
Digital Electronic Cutter (Download SVG file here)
*Don’t have an electronic die cut machine? Download the SVG and print in reverse on Therm O Web’s Heat n Bond® EZ Print Sheets. Then cut out by hand.*
1/2 yard linen fabric
4 Charm Squares of coordinating fabric, cut into 4″ x 3″ rectangles
One Layer Cake Square (10″ square of fabric)
*I used Moda’s new line from Stacy Iest Hsu, Just Another Walk in the Woods.
Press well after each sewing step to give a more finished look to your banner.
Sew all seams with 1/2″ seams unless noted otherwise.TooltipText
Valentine Garden Flag Instructions;
Step 1: Prepare the Banner
Cut the following from the half of the linen:
ONE 13″ x 13″ square
ONE 4 1/2″ x 13″ rectangle
Save the other half for our backing fabric.
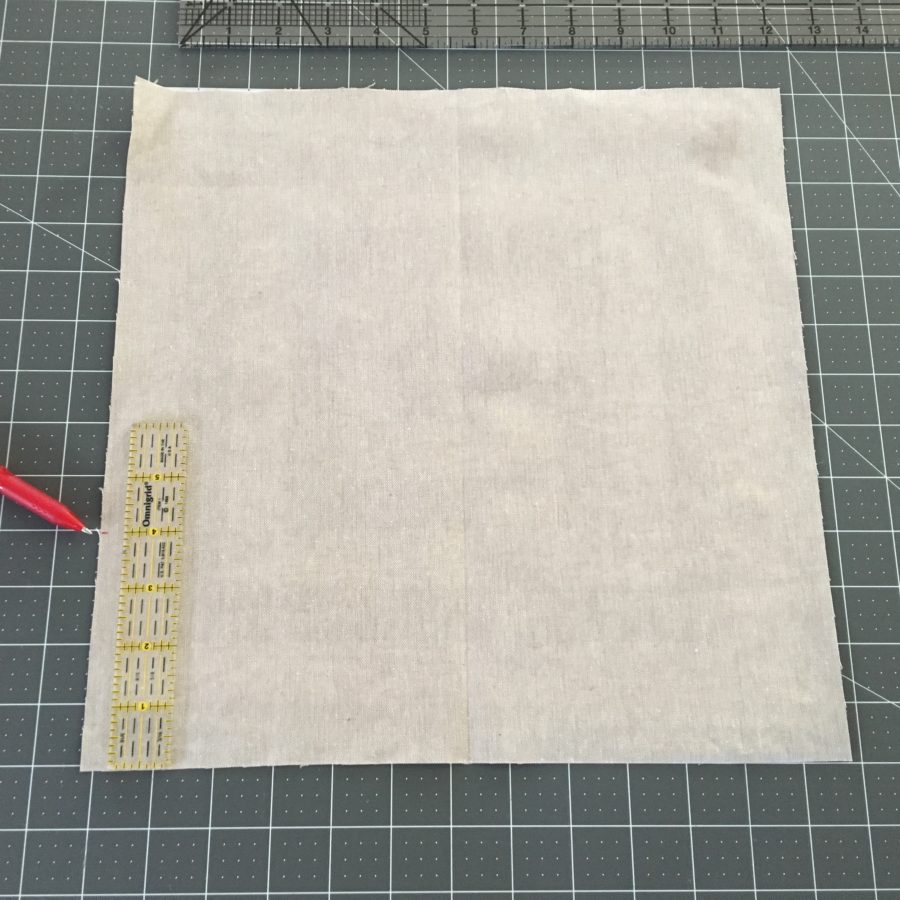
Fold the 13″ square in half vertically and crease. Unfold. Measure up from both bottom corners 4″ and make a mark.
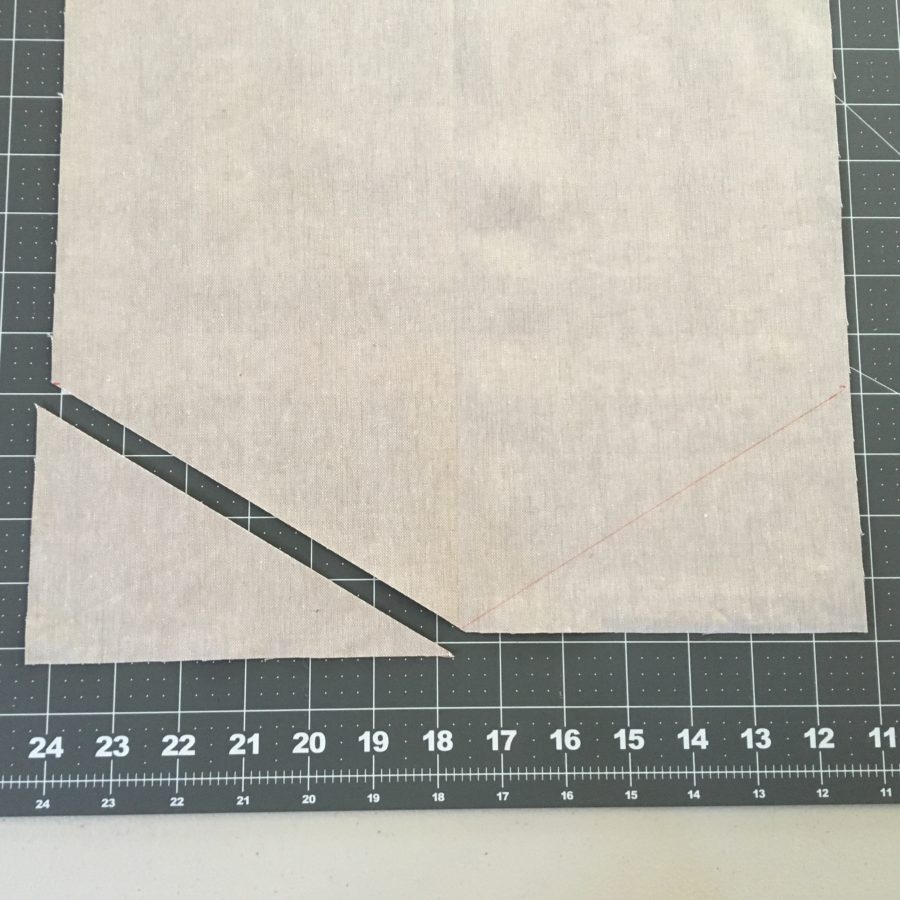
Draw, then cut, a line going from the bottom center up to the 4″ mark on either side. This will give your square the bottom banner shape. Set aside.
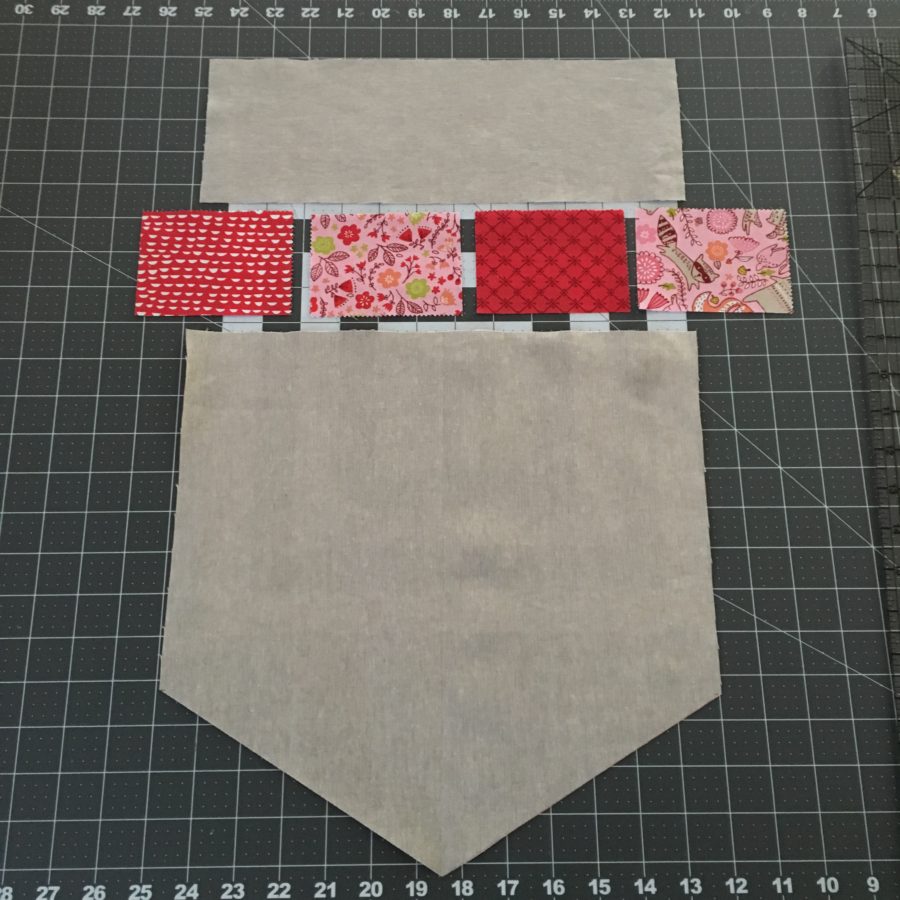
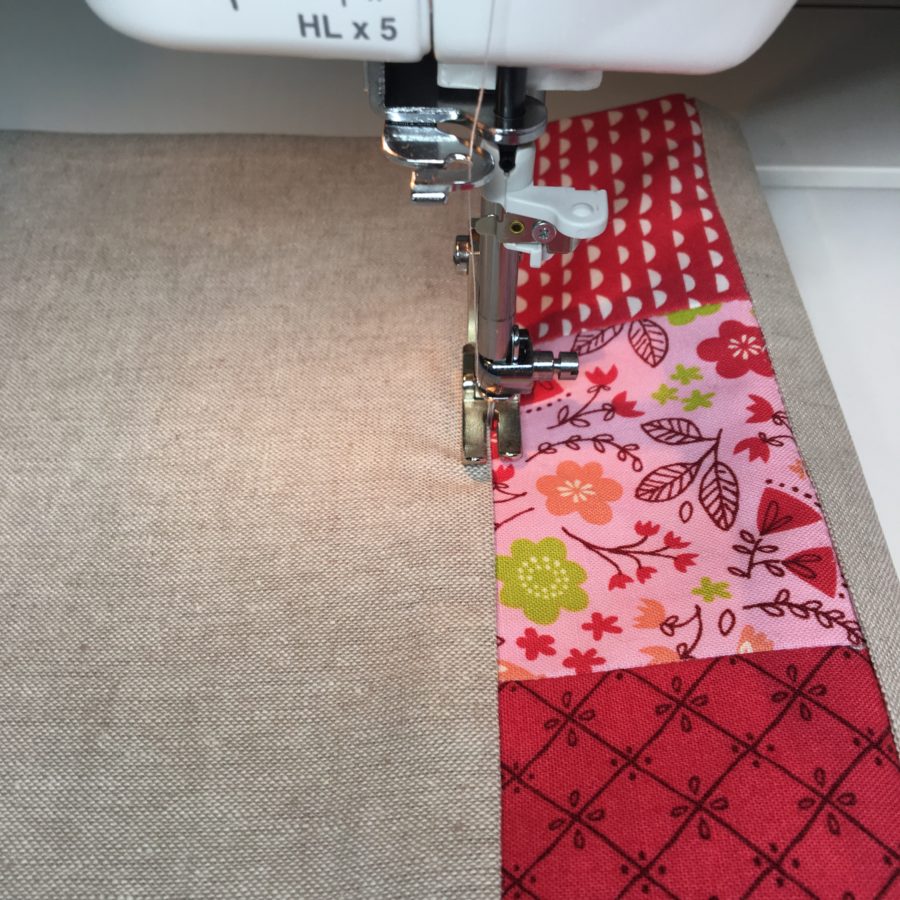
Take each of the 4 small 4″ x 3″ rectangles and piece together along the 3″ edges to make one continuous fabric strip.
Stitch this strip to the top (straight edge) of the linen banner piece. Stitch the remaining small linen rectangle to the top of the strip.
Now use the finished banner front as a pattern piece to cut out the following:
ONE linen piece from the other half of your linen
TWO Heat n Bond® Fusible Interfacing pieces
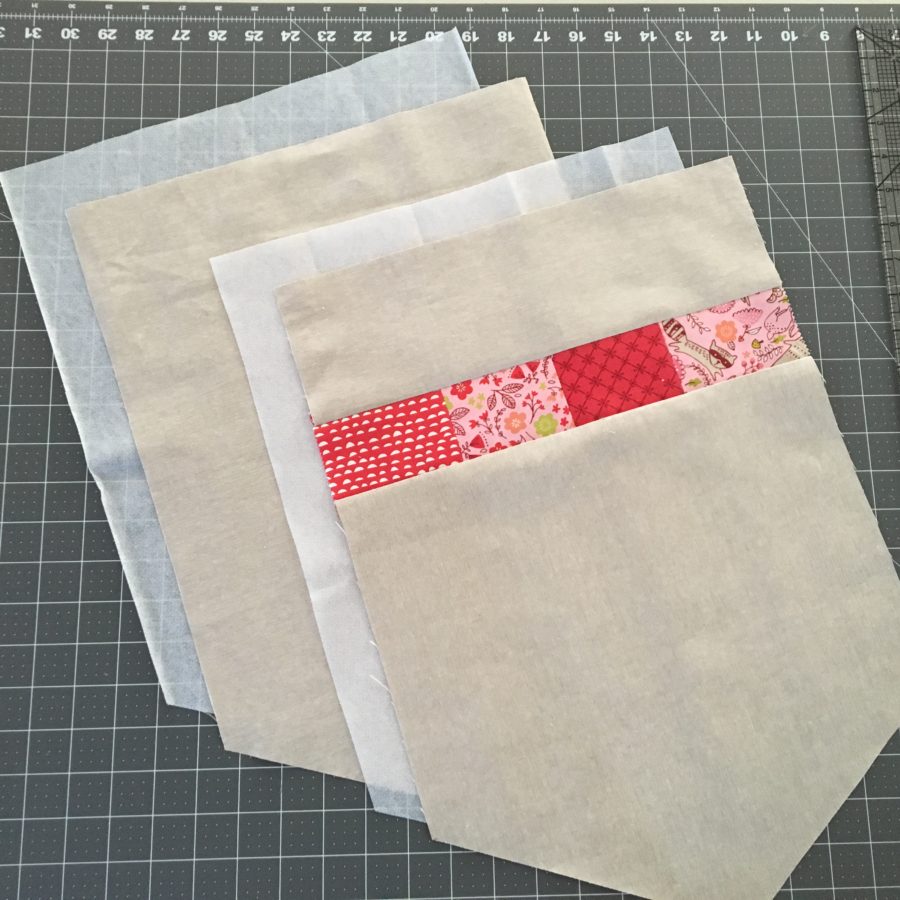
Iron one interfacing piece to the back of the banner front. Iron the remaining interfacing piece to the other linen piece. This will be the banner back.
Place the front and back pieces right sides together and stitch around all edges leaving a 4″-5″ opening along the top edge. Clip the corners and turn right side out. Press well and edgestitch the opening closed.
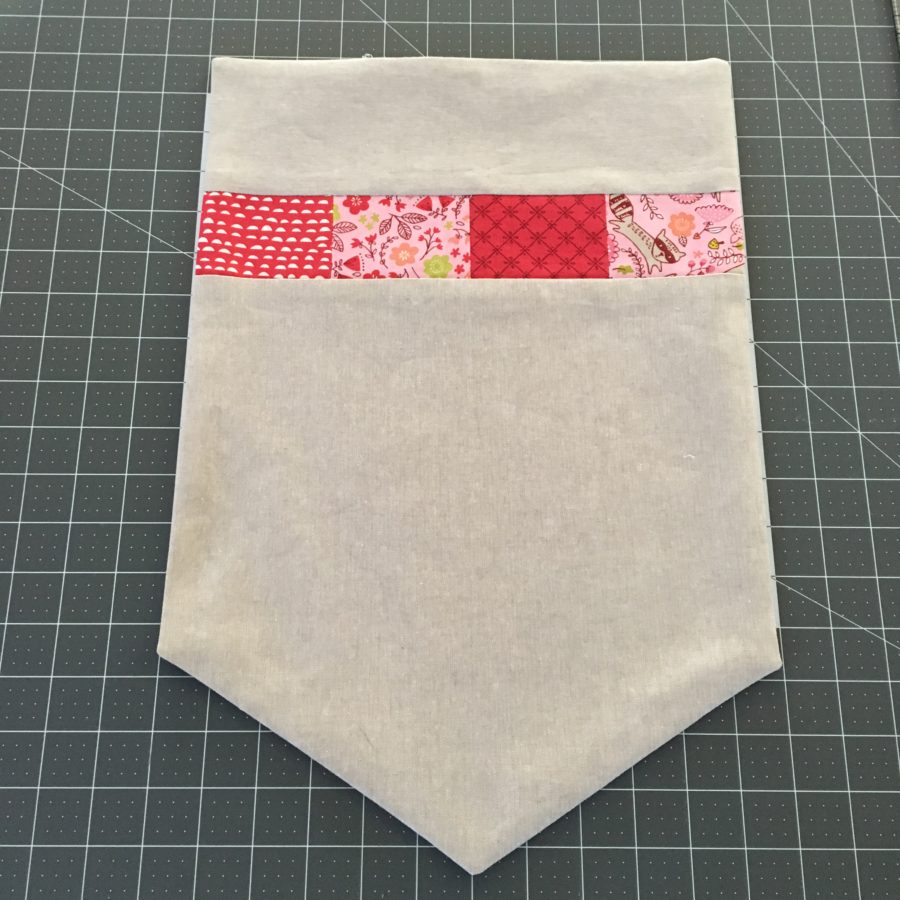
Fold the top edge down on seam line close to the small linen top strip and pieced strip.
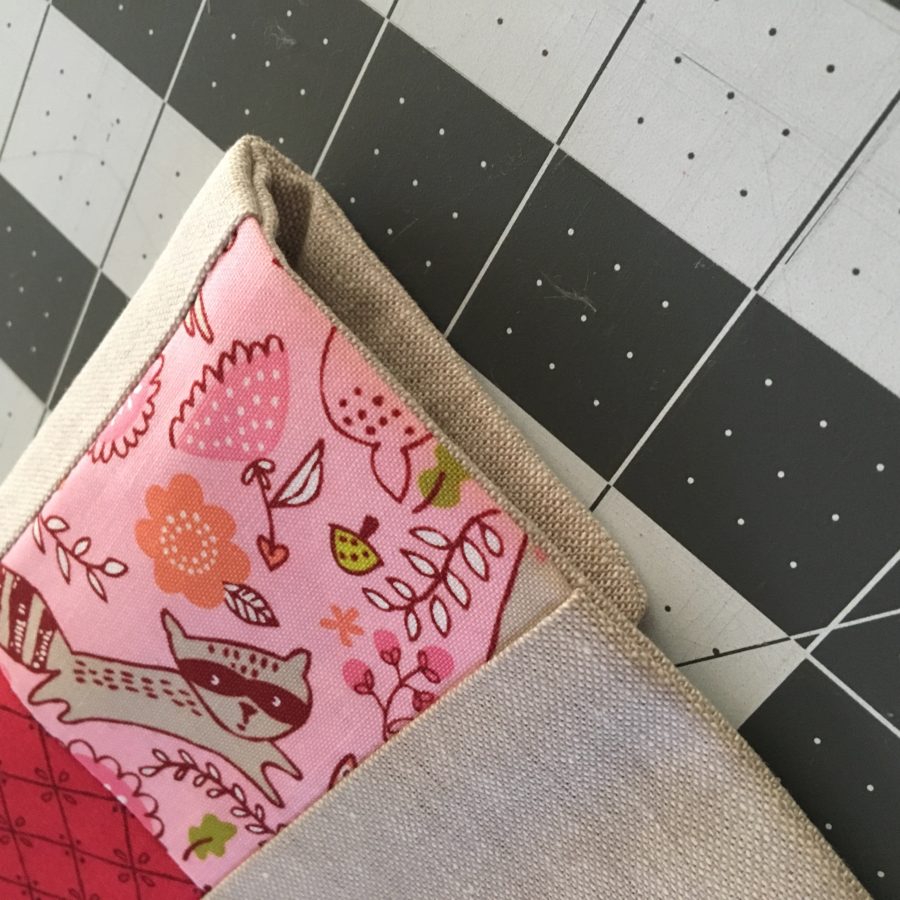
Stitch in the ditch from the front to hold down this fold. This will be your slot to hold the banner to the garden banner stake.
Step 2: Add the Letters
To add the letters, open the downloaded SVG and open in the cutting software. Iron a 10″ square of Heat n Bond® Ultrahold to the back side of the 10″ fabric square. Let cool then place on your cutting mat. Use the fabric settings to cut out the lettering.
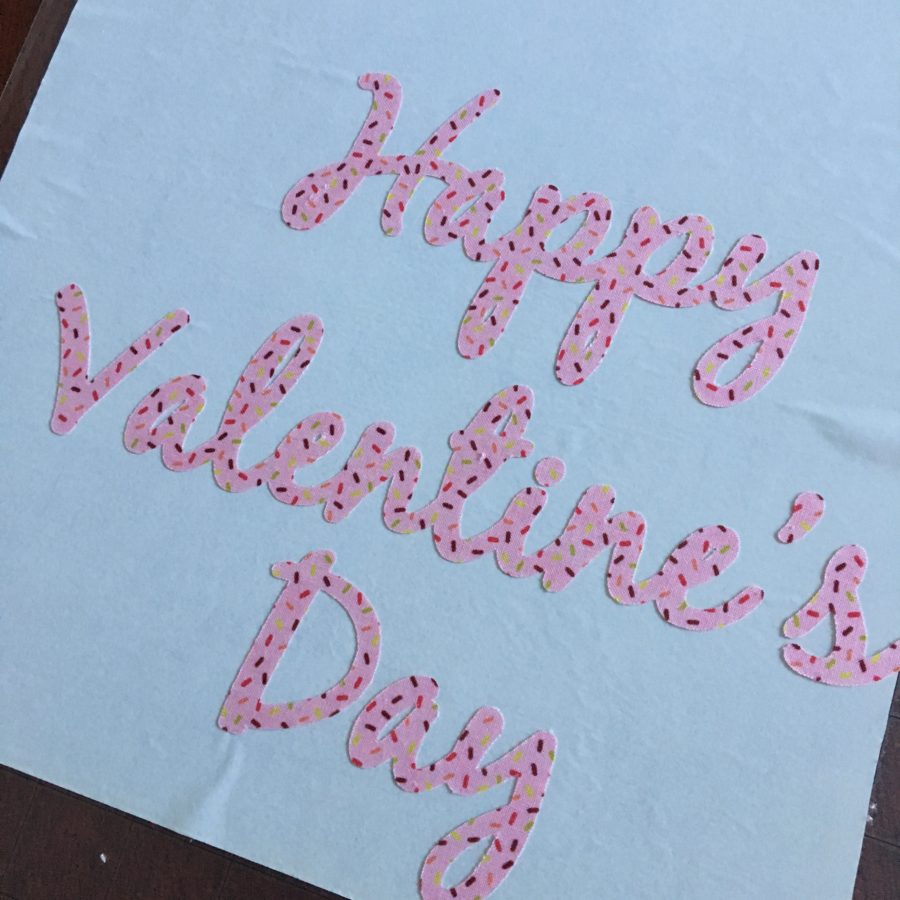
Slowly peel away the paper backing to the HeatnBond® Ultrahold and layout on the linen banner. Iron in place to hold the letters.
Congrats! You’re done!